


Easy Decoupage Easter Eggs!
Can you believe how quickly time is moving along? It feels like I just posted my Valentine’s cake! It’s almost time to celebrate Easter! Actually it’s a pretty big celebration around here!
One way we celebrate is painting Easter eggs, real eggs! Even though my kids are adults we still like to get together to do eggs! This year may be a little different with all that’s going on, but it’s okay we will make do with easy decoupage easter eggs!
So… I did easter eggs by myself this year, well not totally by myself, the dog’s Tucker and Scout were here. They seemed interested in what I was doing, I think! I was at the kitchen counter and they hung out laying at my feet until I finished. So maybe they were interested in easy decoupage easter eggs!
I decoupaged easter eggs, foam eggs. Have you ever decoupaged foam eggs before? It really is easy, and so fun! I love the look, and you can keep the eggs year after year! Also you can use paper, napkins, newspaper, so many different materials!
I have a few little secrets to help make the perfect decoupage eggs!
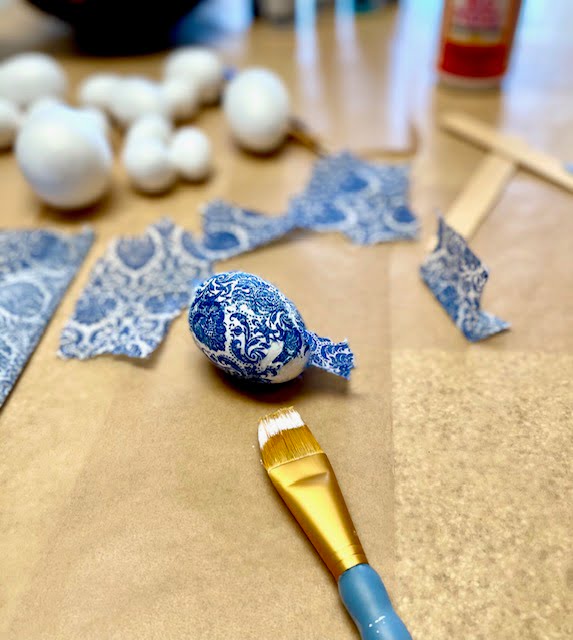
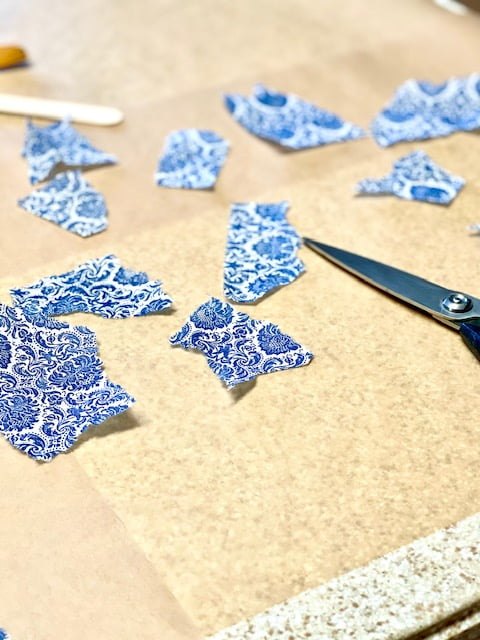
1: Use smaller pieces of paper you choose to use. 2: use a good amount of the decoupage glue on the egg as your applying your napkin or paper over the egg. 3: If using foam eggs you can use toothpicks inserted at the bottom of the egg so you can hold the egg as you decorate it. 4: the paper you choose use a thinner paper, it works best.
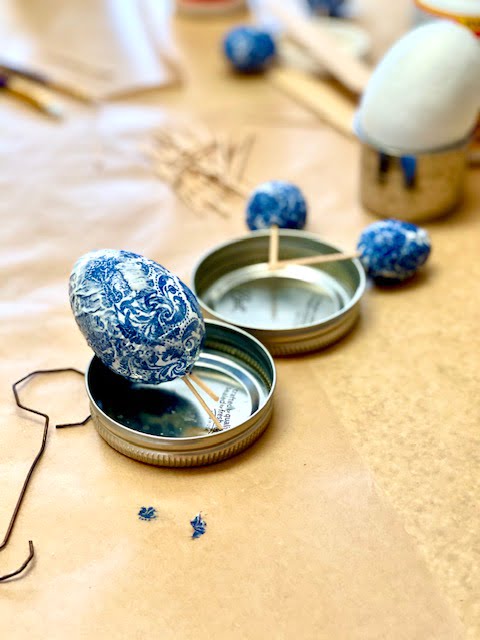
I tried to use a few different items to help with the drying process. Canning lids helped because you’re able to set the toothpick on the rim of the lid and it elevates the egg some.
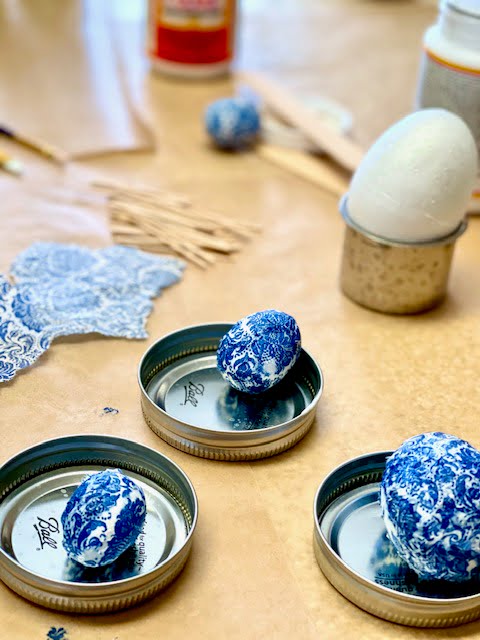
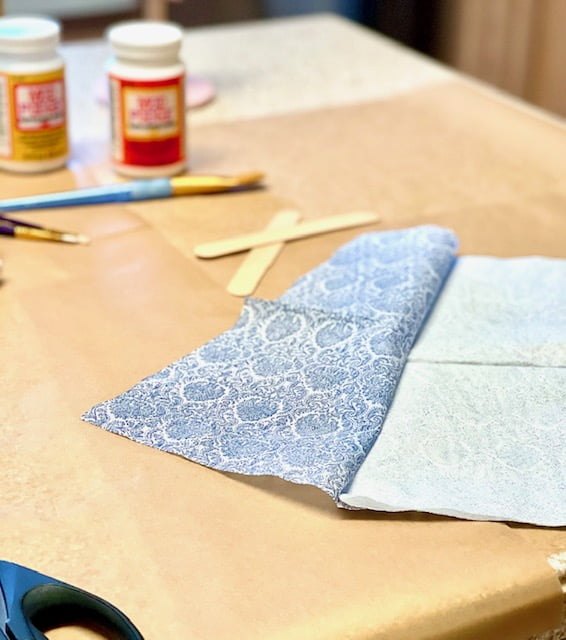
You can do so many eggs with a little bit of material. When using napkins make sure you pull the napkin ply apart. Use only the thinnest of paper when making decoupage eggs.
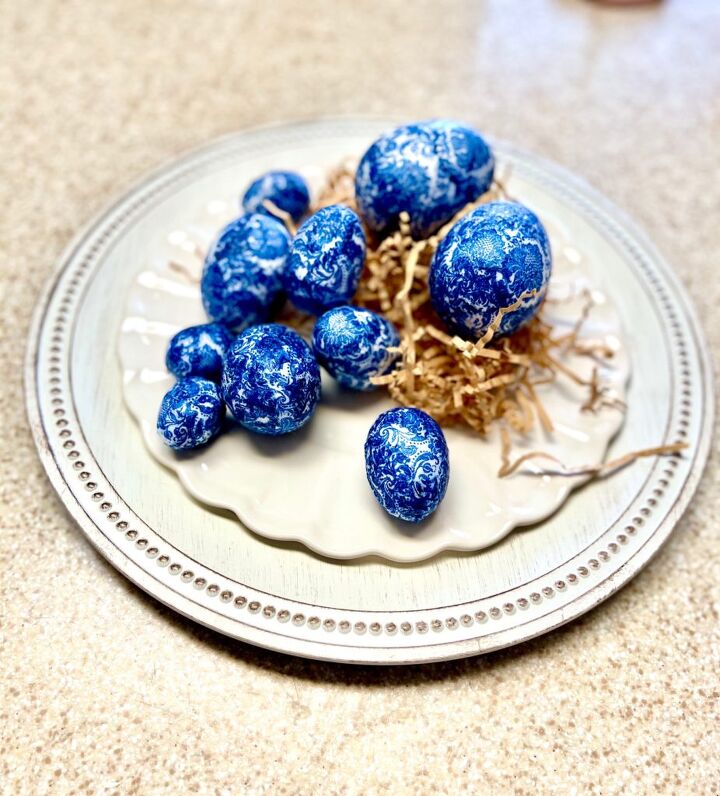
I chose two different patterns of napkins. This is the second pattern of napkin I choose, well because I had the napkins at home.
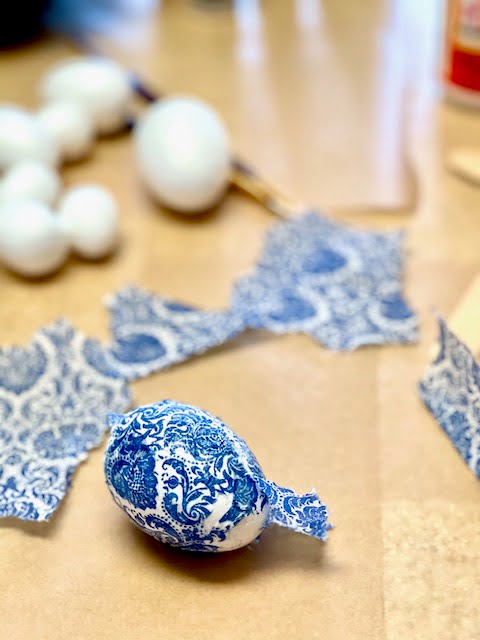
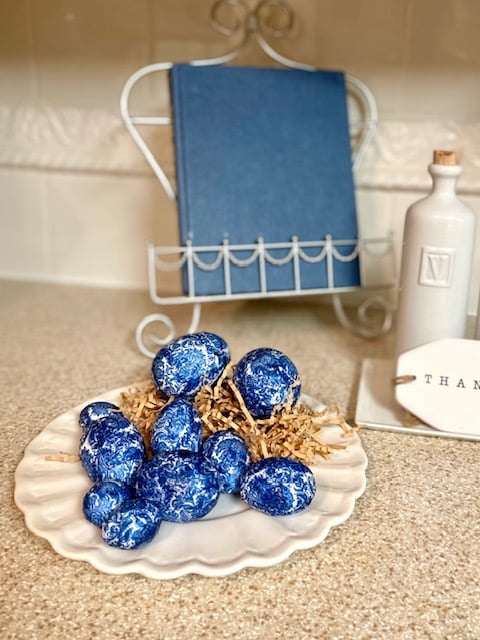
Really loving how the blue napkin looks on the egg! It’s such a pretty pattern!
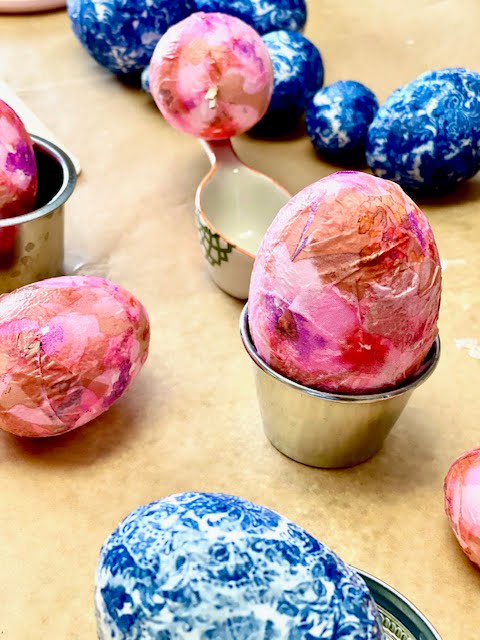
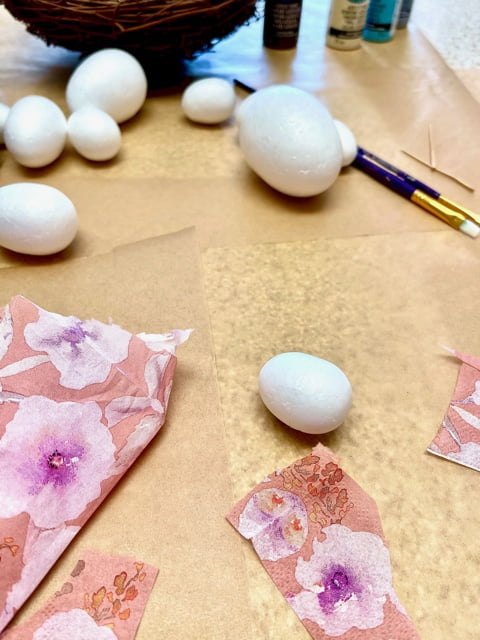
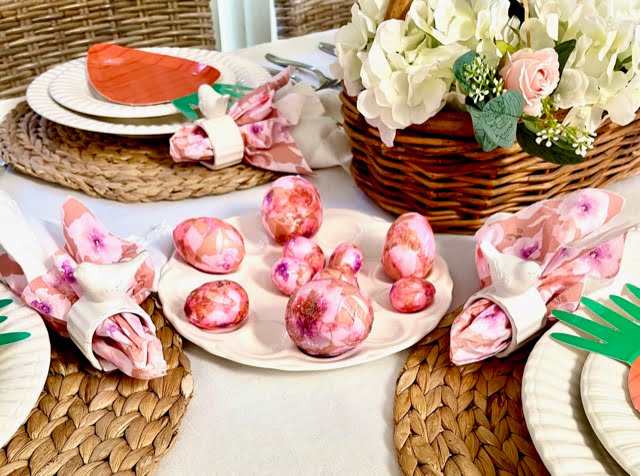
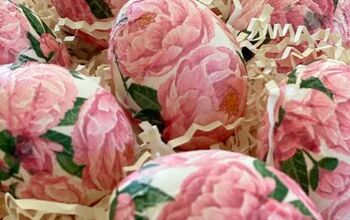
The pink napkin pattern as you can see on these wrinkled some, but just add a little more of the decoupage glue and it takes it away. These little eggs are also a great gift to give!
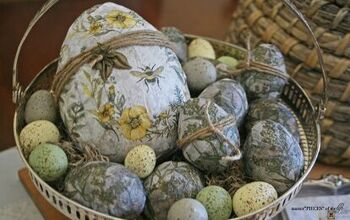
Look!… the end result!
These eggs were so easy peasy to make!
Firstly: A few steps to follow…
1: Set up your work area, the decoupage glue can get messy so you’ll want to put wax paper or paper down to protect any surfaces.
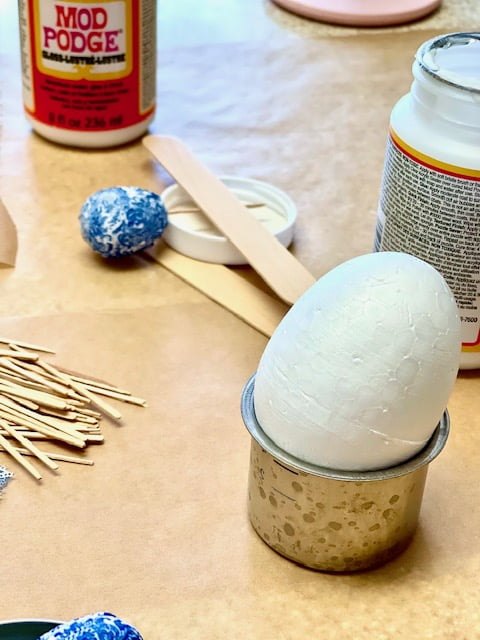
2: Items you may want to use for drying. I used canning lids, depending on the size of your eggs you could use a jar, glass or a mini muffin pan. Also, a cardboard box with toothpicks sticking up to hold the egg.
3: Toothpicks work great to hold Polystyrene foam eggs while you’re adding the paper and decoupage to the egg. Insert the toothpick at the bottom of the egg pushing it in halfway.
Items you’ll need:
Supplies:
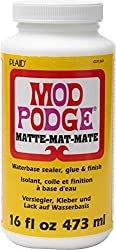
1: Mod Podge, it comes in a matte or glazed finish.
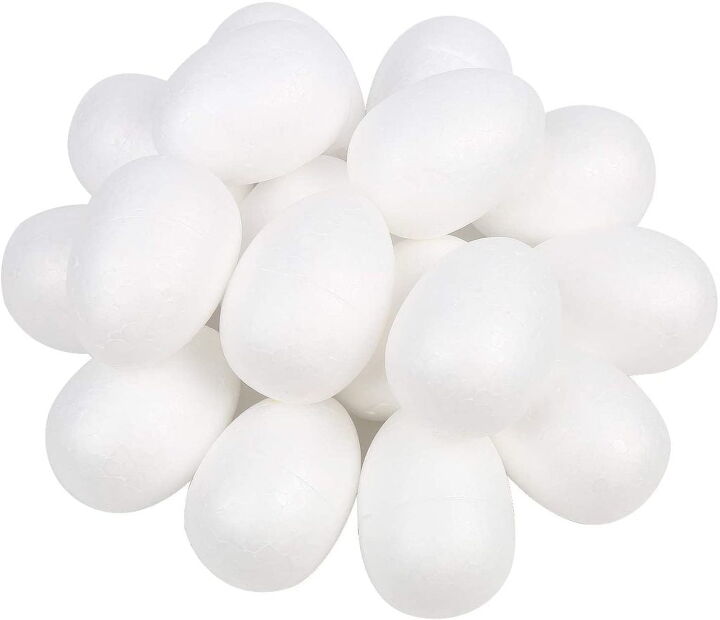
2: Eggs, I used Polystyrene foam eggs, you could also use wooden, paper mache, plastic, and sponge eggs. Whatever you choose will work fine. ( I chose not to use real eggs but you could)
3: Small paint brush
4: Scissors
5: Paper Napkins, thin paper, or fabric
I bought my products on line with Amazon. They were delivered with in a day or two and the price was great
You can also go on to my Amazon page at this link for all craft items. https://www.amazon.com/b?tag=houseofmar6-20&linkCode=ur1&node=5622719011
! https://amzn.to/3CucgAw
Sharing this little craft with you today I hope it inspired you to get together with family to do an activity and have some fun!
I hope you’ll check back I’ll be sharing my table all decorated for our Easter Sunday Brunch!!!!
Here’s an easy tutorial on decoupaging real eggs and using other items such as fabric and jewels. https://www.cityviewnc.com/2021/04/21/how-to-decoupage-easter-eggs-2/
Happy Spring!


Frequently asked questions
Have a question about this project?