


How to Make Speckled Eggs for Spring Decor
Hi friends! Spring is right around the corner! That means it’s time to decorate for the season. I love to use Easter eggs in my Spring decor. However, I want them to look real, not like the artificial plastic ones you can buy this time of year. I have two colors of chalk paint that remind me of bird eggs, and that’s where my inspiration came from. This is an easy DIY project anyone can do! Join me as I make speckled eggs to add to my Spring decor!
For more DIY ideas from An Organized Season, click HERE!
GATHER
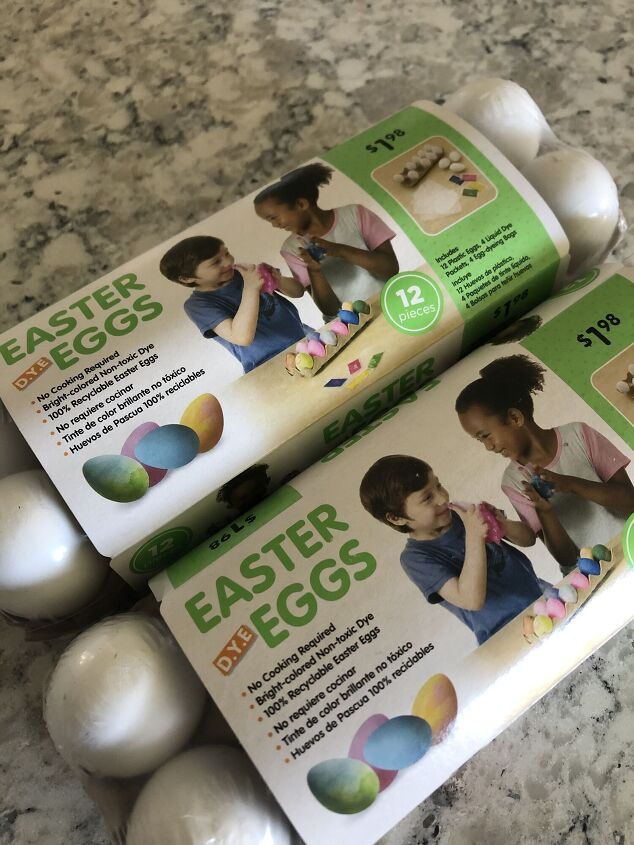
Eggs – Gather or purchase eggs. I purchased these from Walmart for only $1.98 a dozen!!
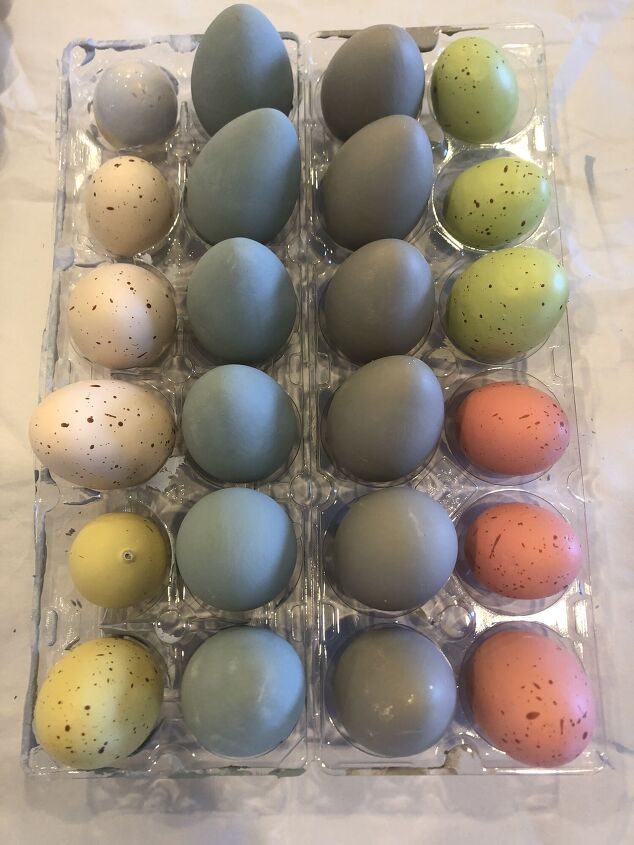
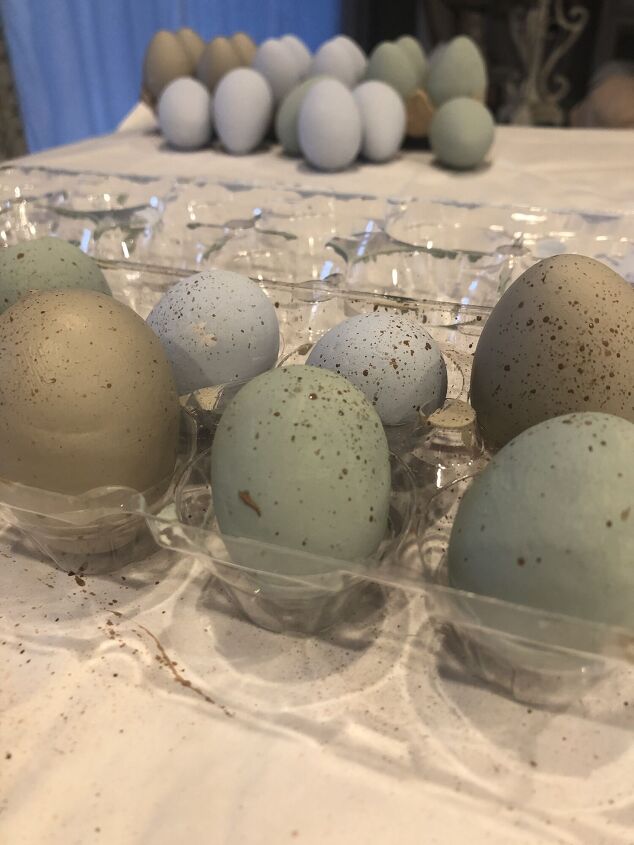
After I painted the plain white eggs, I decided to paint over some speckled eggs I bought years ago. I usually don’t use these eggs because I like more muted, natural colors. So I figured why not try to paint them too! I added them to the plastic tray! You can see them in the picture below! The eggs in the center are drying!
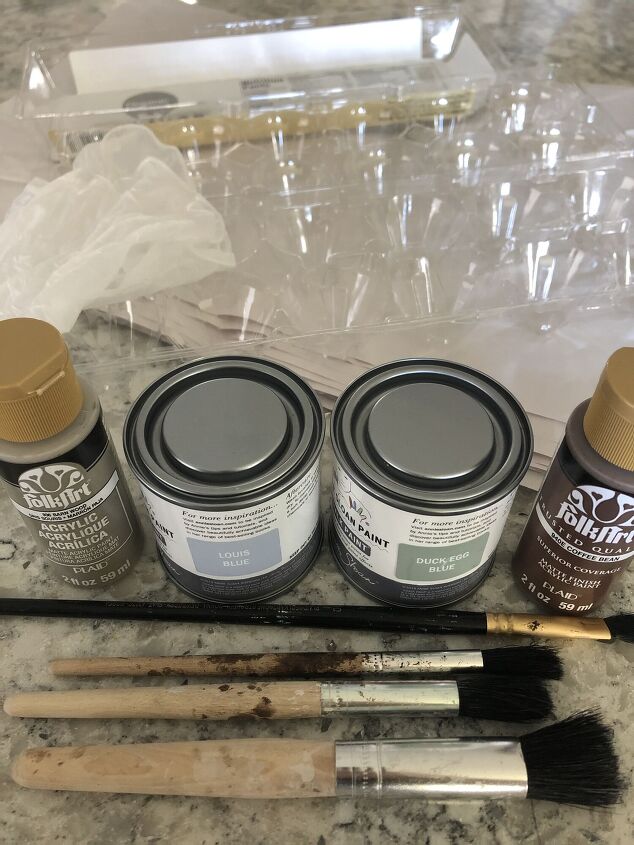
- Paint – Gather or purchase chalk or acrylic paint and choose realistic colors. I used Annie Sloan Chalk Paint in Duck Egg Blue and Louie Blue. I wanted a tan-colored egg so I also used FolkArt acrylic paint in Barn Wood. For the speckles, I used FolkArt acrylic paint in Coffee Bean
- Paint key
- Paintbrush
- Stir stick- I used a plastic knife
- Old egg carton
- Plastic gloves – so your fingers won’t be covered in paint
PREP
- Protect your work surface – I used craft paper
- Put eggs in the egg carton
PAINT
Below you can see the colors of paint I chose for my project. They look beautiful together!
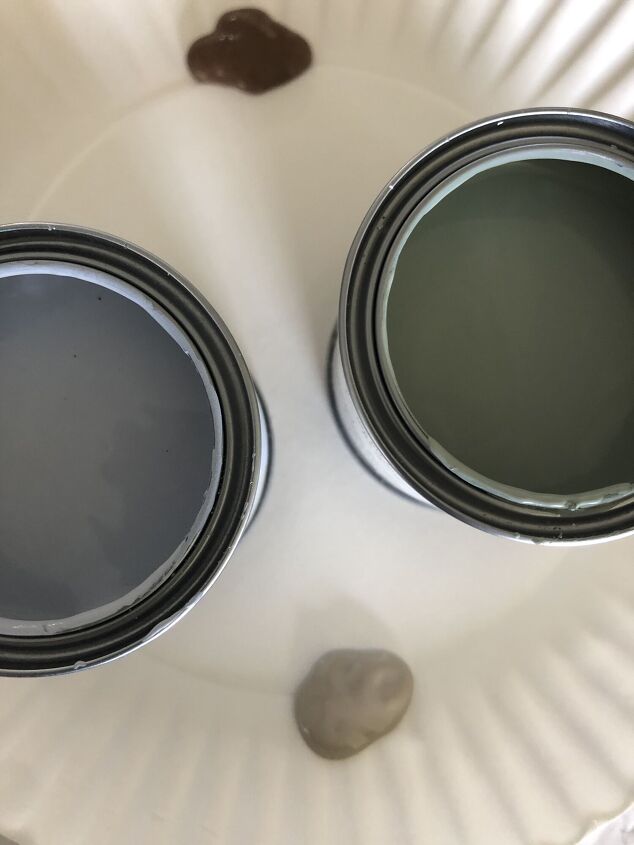
- Stir the paint
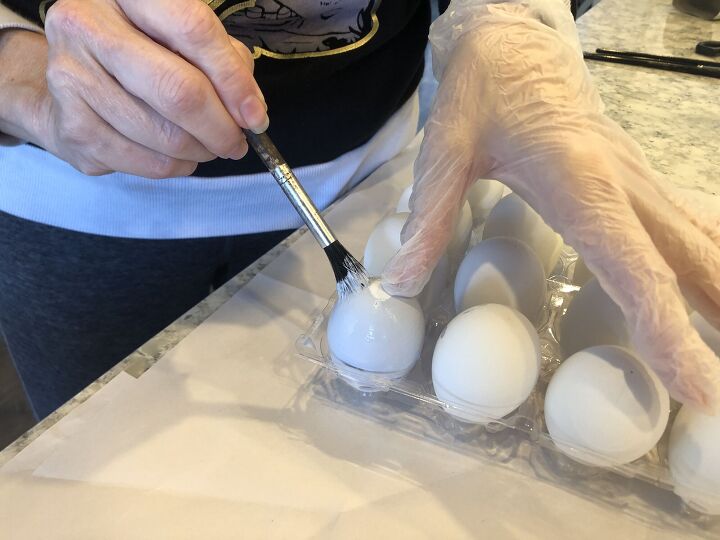
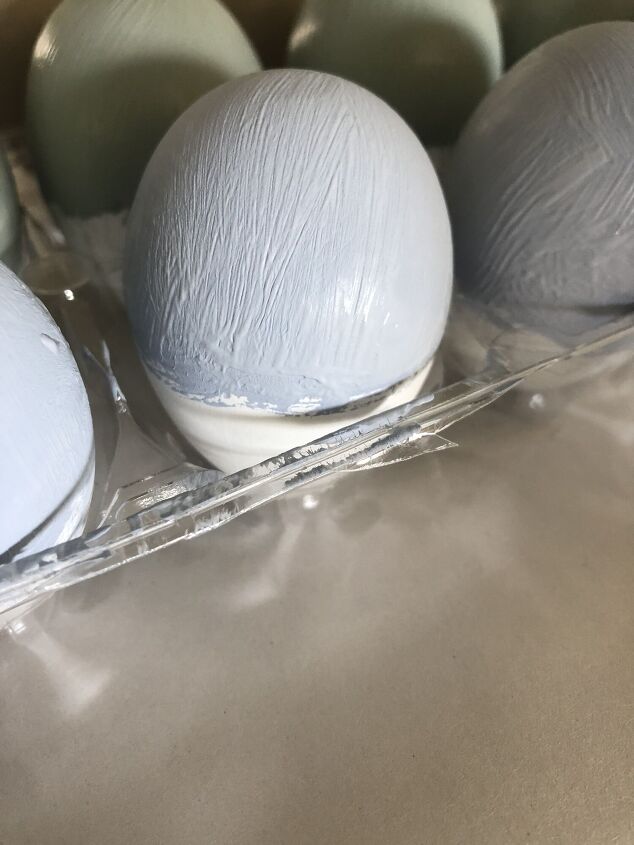
- Paint half of the egg that is visible
- Let dry
- Turn eggs over and paint the other half
- Let dry
- Apply a second coat of paint, if needed
I painted the top half of the eggs and stopped because the paint was going on too thick. In hindsight, I should have used a brush with fine soft bristles. I thought they looked terrible, so I sanded them to remove the lines.
Ok, here goes round two! This time, I thinned the paint with water and used the paintbrush in the picture below.
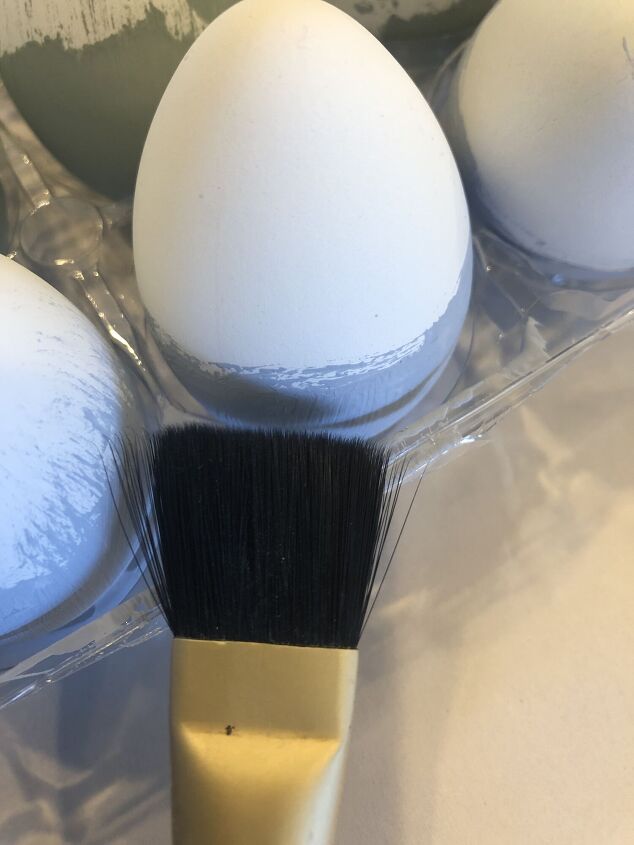
The type of paintbrush you use makes a difference!! Don’t forget, if your paint goes on too thick, you can add water to create a smooth finish!! Look at the eggs now! What a difference!
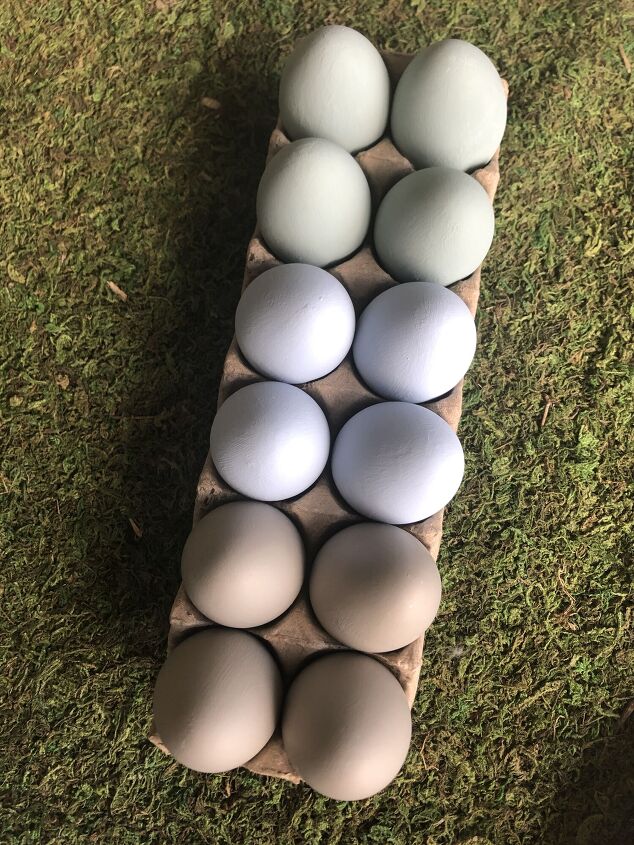
It took two coats of paint to get the coverage I needed. I love the light natural colors! Now it’s time to add the speckles! So much better don’t you think?
SPECKLE
To make the eggs look more realistic, I want to add dark speckles, similar to robin’s eggs. Here are the steps I took to get a real look!
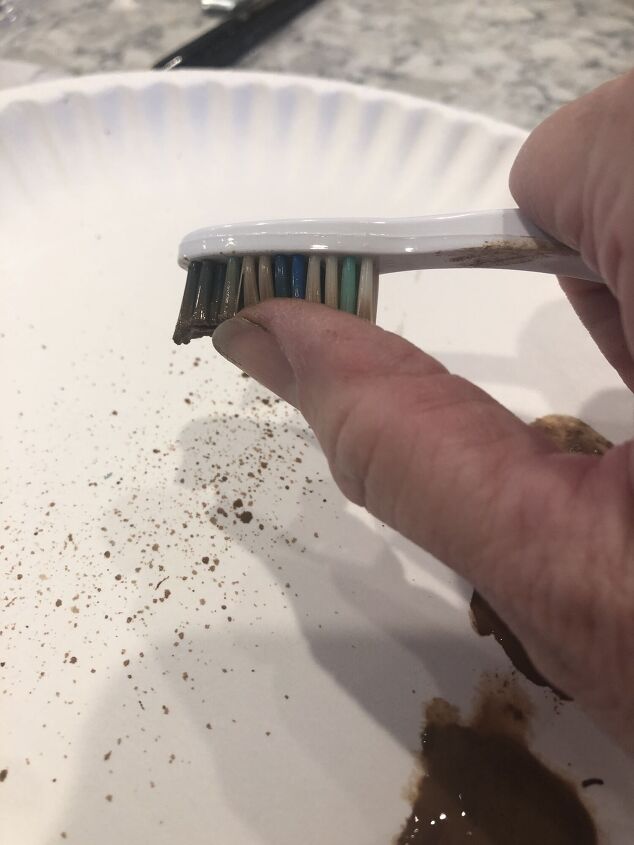
- Wet the toothbrush
- Dip the toothbrush in brown paint
- Run your finger across the toothbrush (practice a few times on white paper to determine how much pressure to use)
- Let dry
- Turn eggs over and speckle the other half
- Let dry
First, I tried to apply the speckles with the same paintbrush I used to paint the eggs. In the picture below on the left side is my first attempt with the paintbrush. The speckles came out straight in a row. Not the look I was going for. So, I grabbed an old toothbrush and tried it instead. You can see those speckles are on the right. That’s more like it! Plus, the toothbrush was much easier to use, so it is the winner!!
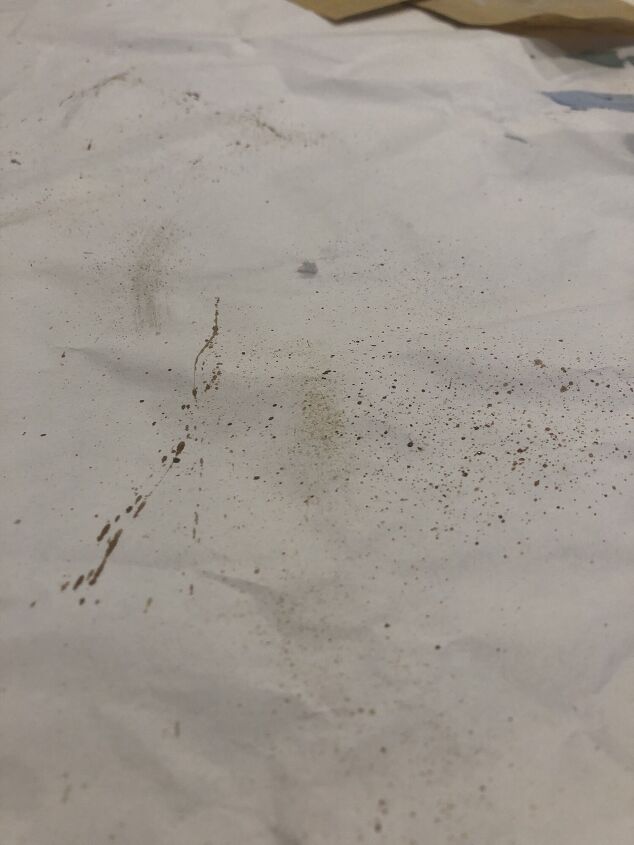
The trick is to dip the toothbrush in water, put it into the paint, blot excess paint on a paper plate. Then gently run your thumb down the length of the toothbrush. I suggest wearing a glove, so you don’t look like you have dirt under your fingernails when you finish!!
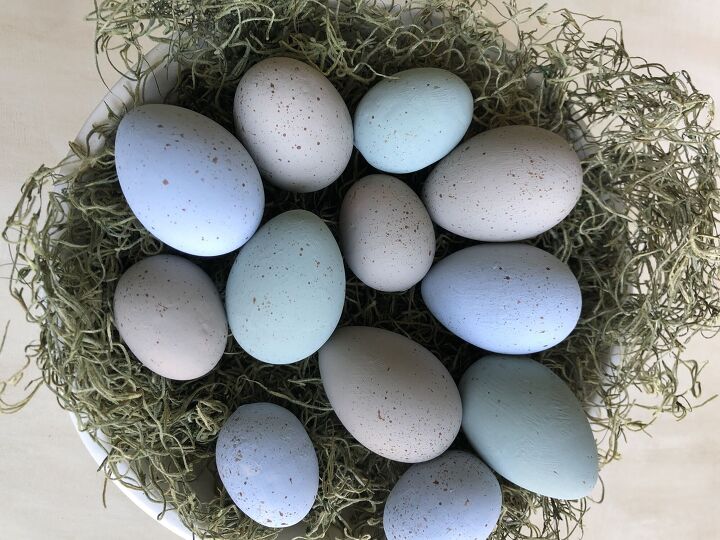
I might have gone a bit heavy on my first try, but I love how the speckles look on the eggs!
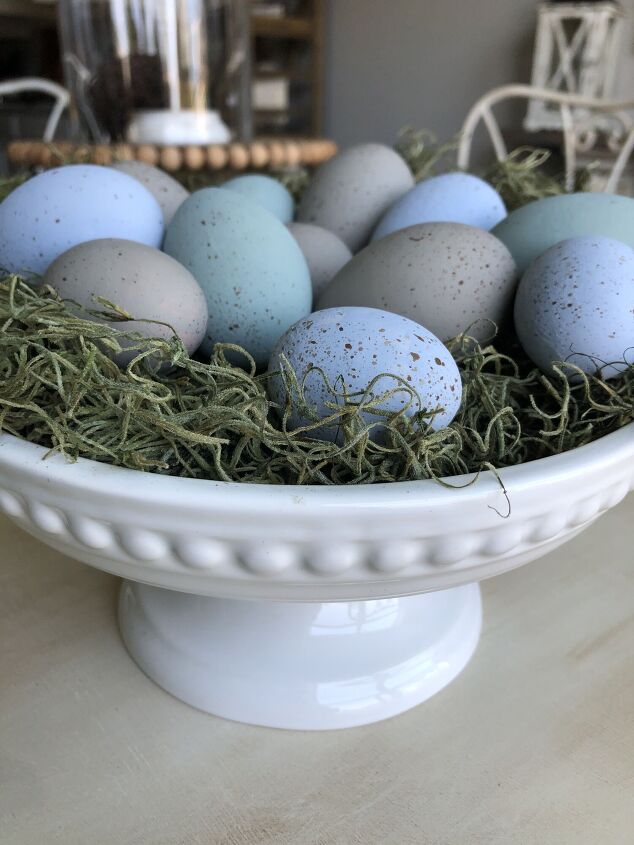
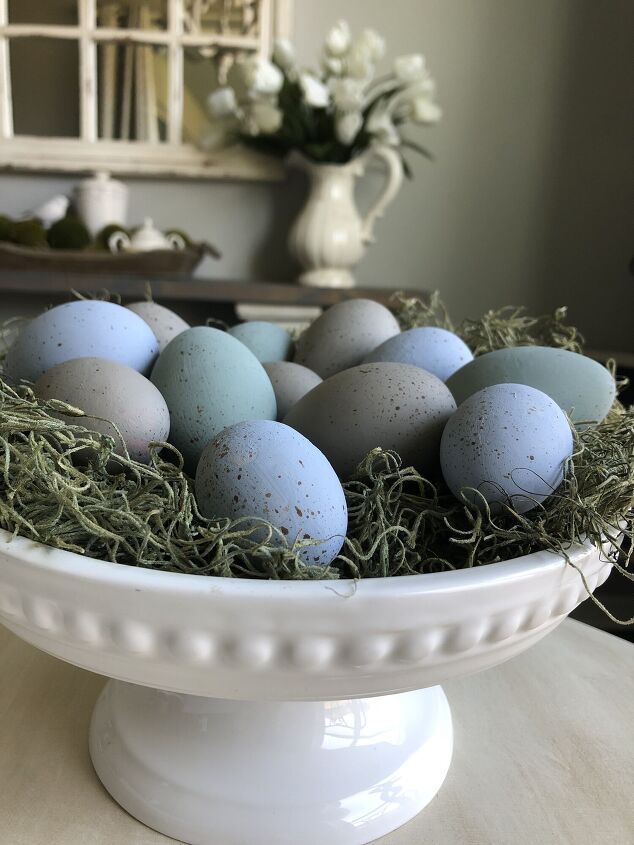
The eggs are dry and here is the finished product! I’m pleased with how they turned out!
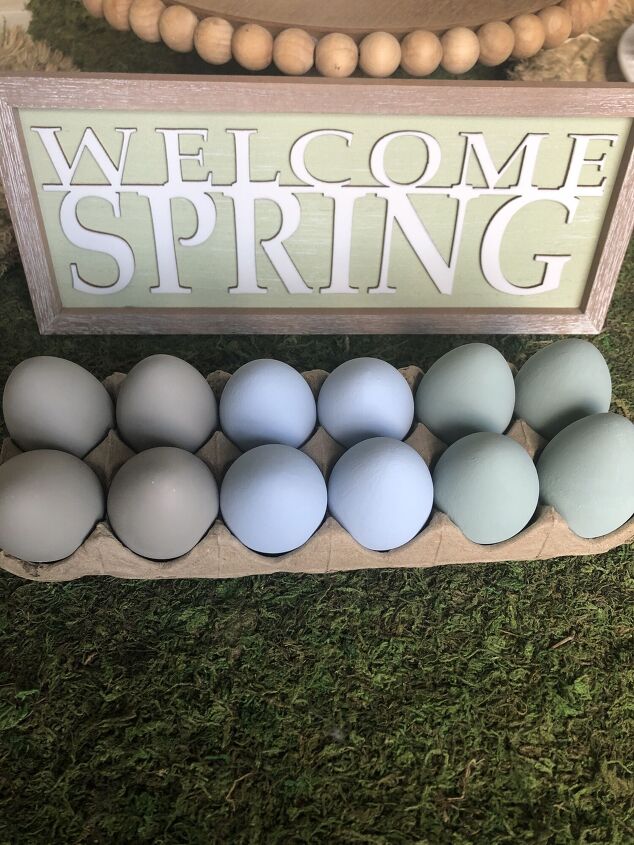
THE FINISHED PROJECT
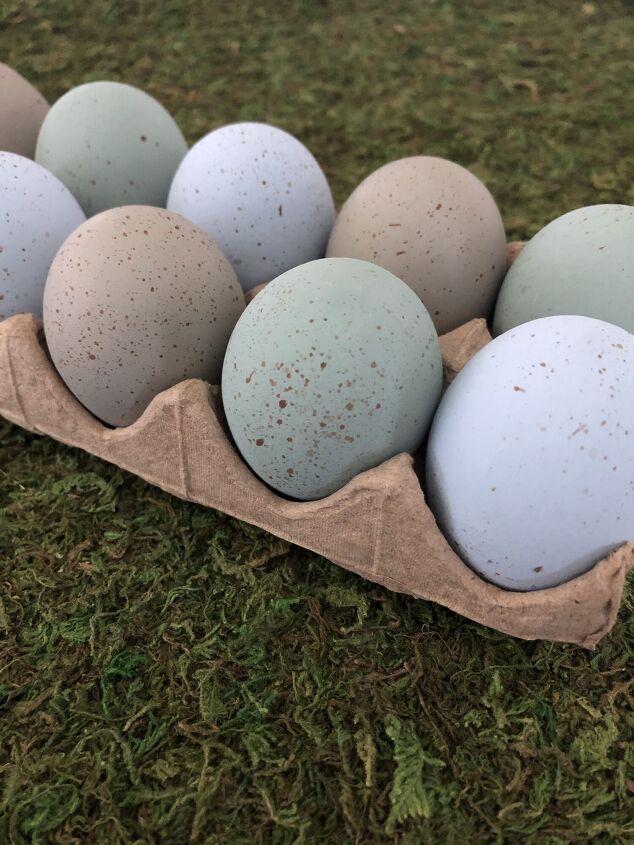
I displayed the eggs on my kitchen counter. I’m so excited to welcome Spring! This DIY was a fun and creative way to do so!! You should try this at home!!
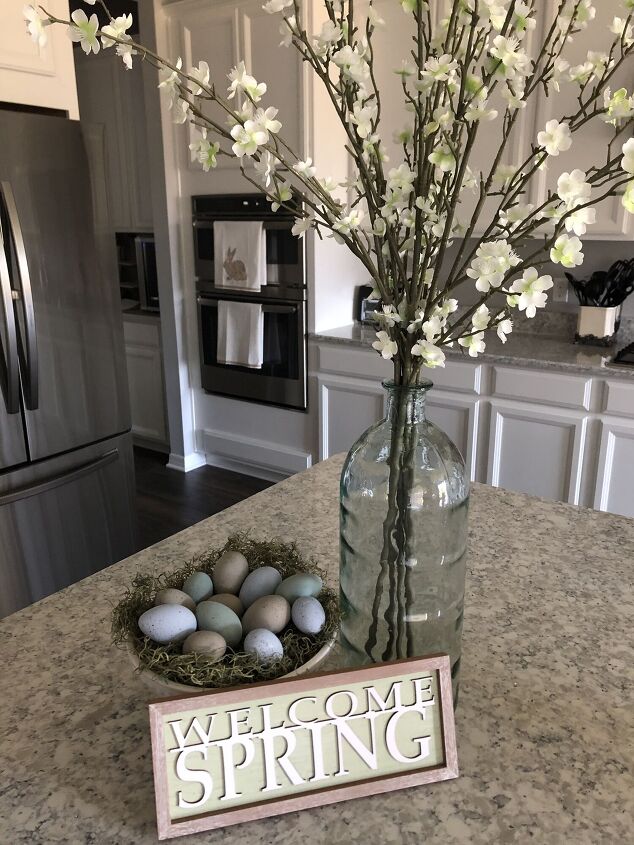
I had fun with this simple DIY project! Now I have plenty of speckled eggs I can use in my Spring decor year after year. Let me know what you think about this project in the comments. Happy Spring!!
If you are interested in learning more about home organization, seasonal decor, and more diy projects, from simple crafts to full room makeovers visit our blog AnOrganizedSeason.com
Blessings, Donna and Rich


Frequently asked questions
Have a question about this project?