


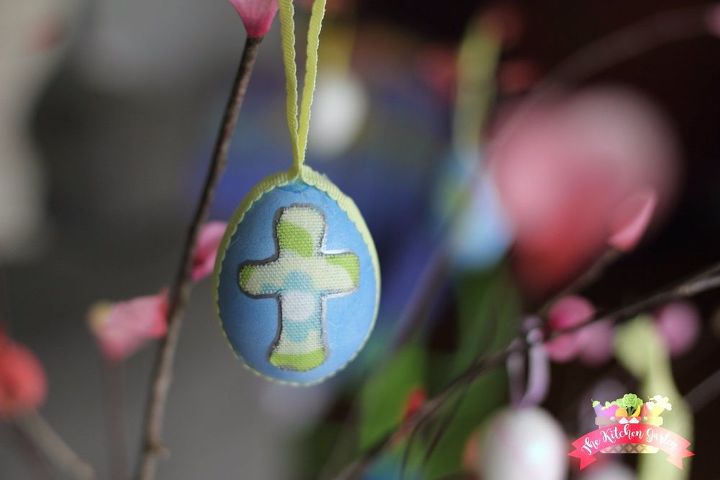
Mod Podge Easter Eggs
Use real (or plastic eggs) eggs along with fabric scraps and Mod Podge to create beautiful Easter decor that will last for years!
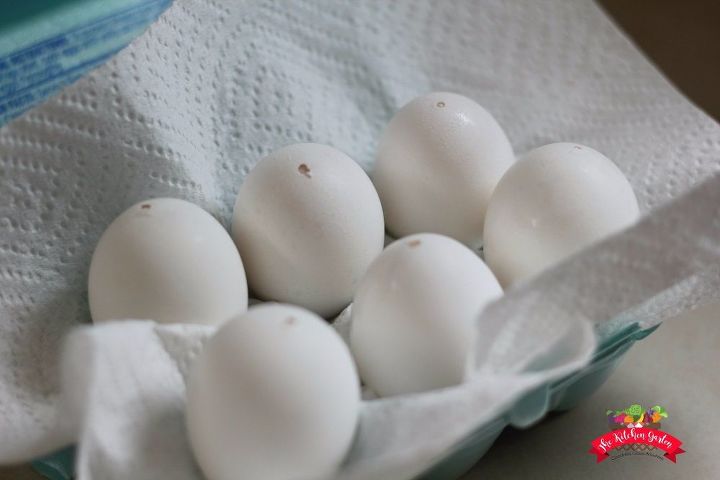
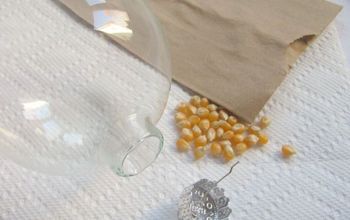
Begin with clean egg shells or sturdy plastic eggs. I dyed my shells blue to match the fabric scraps I was using, but the choice is yours. White and brown eggs are just as lovely.
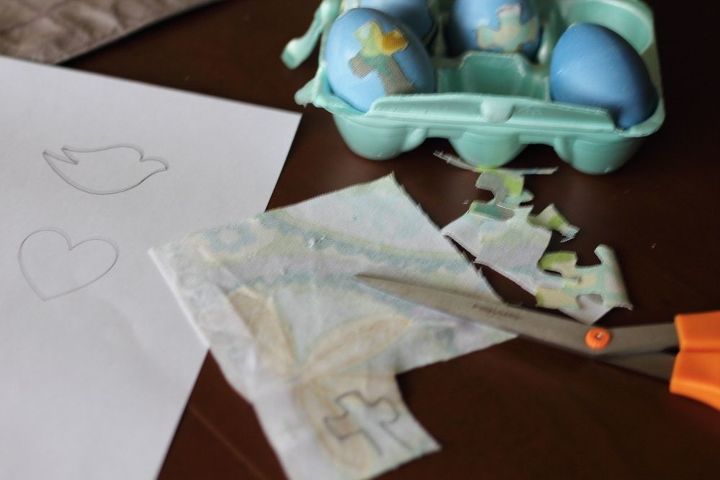
Choose a design for your eggs like a cross, bunny, dove, heart, etc. Free hand draw your chosen image on the back side of your fabric, or use a stencil printed on cardstock. Cut out your image/design.
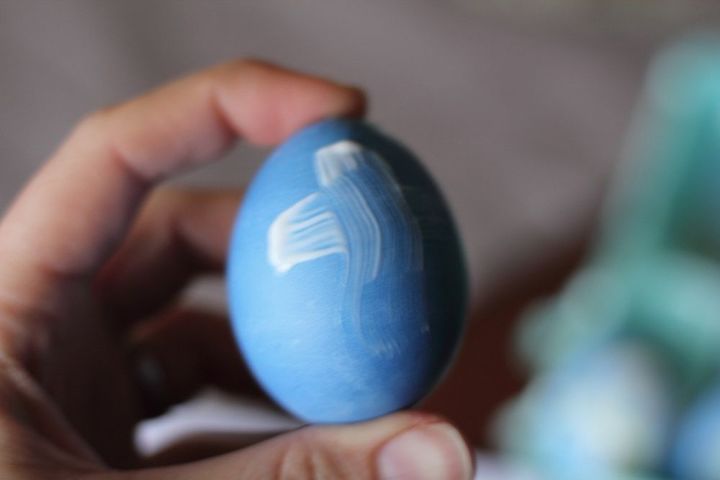
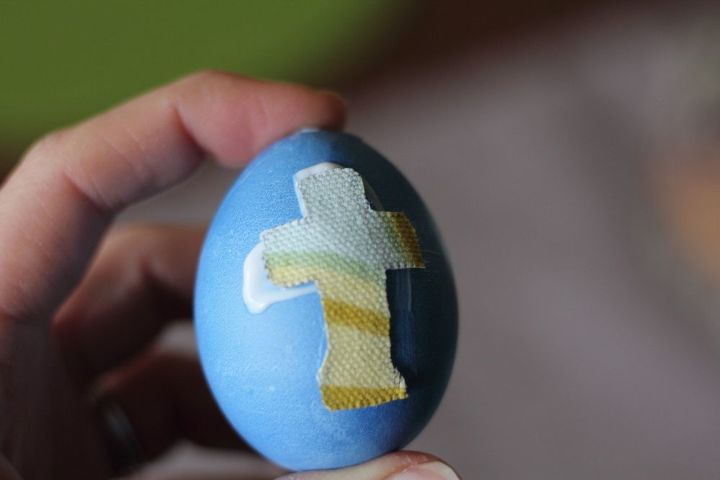
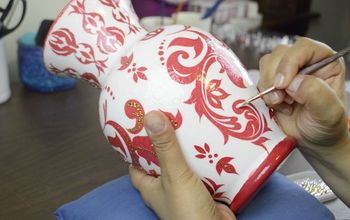
Apply Mod Podge to your egg, then gently apply the fabric piece. Press fabric down to be sure it adheres. Then coat over the fabric with another layer of Mod Podge.
Allow time for the Mod Podge to dry. (I stood the eggs on an upside down egg carton.) You can leave the eggs with only the fabric image on them, or you can add ribbon so the eggs can hang.
These lovely eggs are a perfect activity for kids, and they can be safely saved in an egg carton for use for years to come.
For full instructions, including how to attach ribbon, visit my blog!


Frequently asked questions
Have a question about this project?