


Pretty String Wrapped Eggs
3 Materials
30 Minutes
Easy
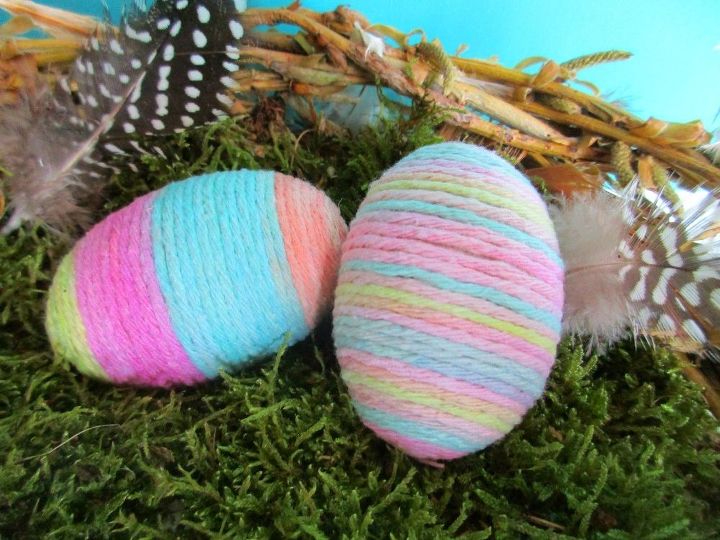
These pretty string wrapped eggs are perfect for Easter decorations, and are quick and easy to make without having to use messy glue. We used wooden eggs for our base which we had painted white, but I think this method would work just as well with blown eggs, or the polystyrene ones you find in the craft stores.
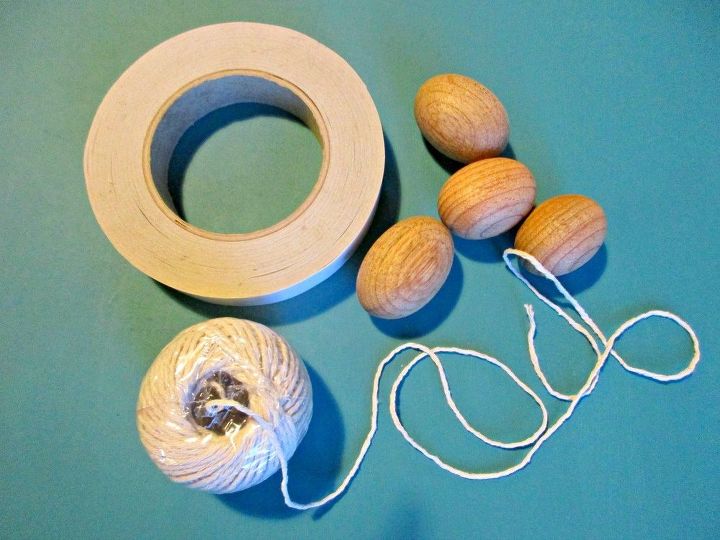
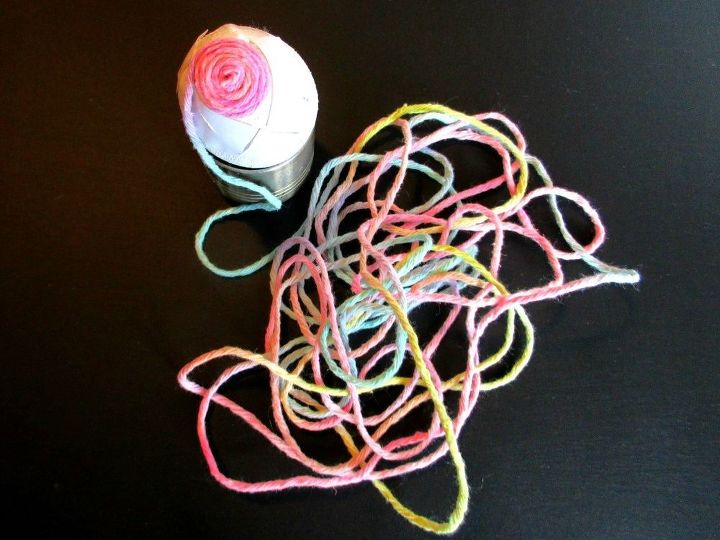
As well as eggs, you will also need string or yarn of your choice (we used about 2m per hen sized egg), double-sided sticky tape and scissors. We opted to use cotton kitchen string, which we dyed into pastel stripes using sharpies and nail polish remover. The method is super simple - simply tip a little nail polish remover (10-20mls) into a small glass bowl and swish the tip of your sharpie in it until you achieve the colour you want, then dip your portion of string in it to soak up the colour. We repeated this process along our string so that we had a rainbow effect.
We started our egg wrapping at one of the points of the egg, and wrapped ours with a single piece of string. We covered the top quarter of the egg with the double sided sticky tape cut into little squares, and found it easiest to start the tight spiral in our fingers before pressing it into place.
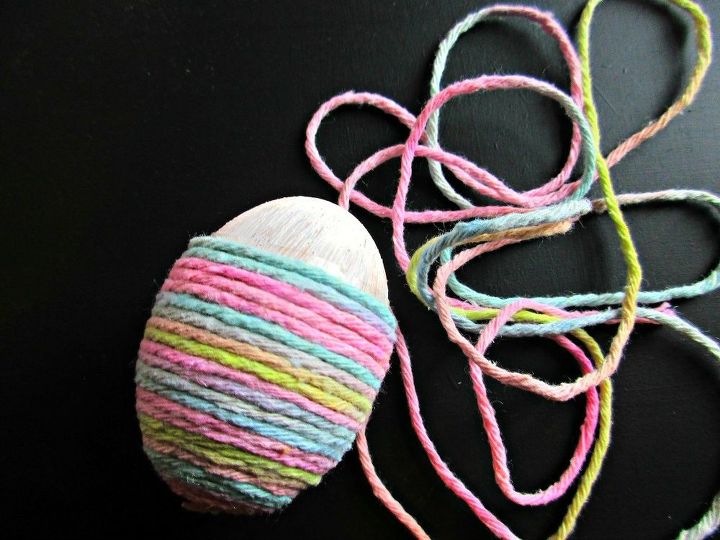
Once you have started the wrapping, the process is really straightforward. The tape holds the string really well, but it is easy to unwind and replace if the string grips before you have it in position. We found that covering a quarter of the egg with the tape at a time made the process really easy and still gave you plenty of non sticky egg to hold on to while you are winding.
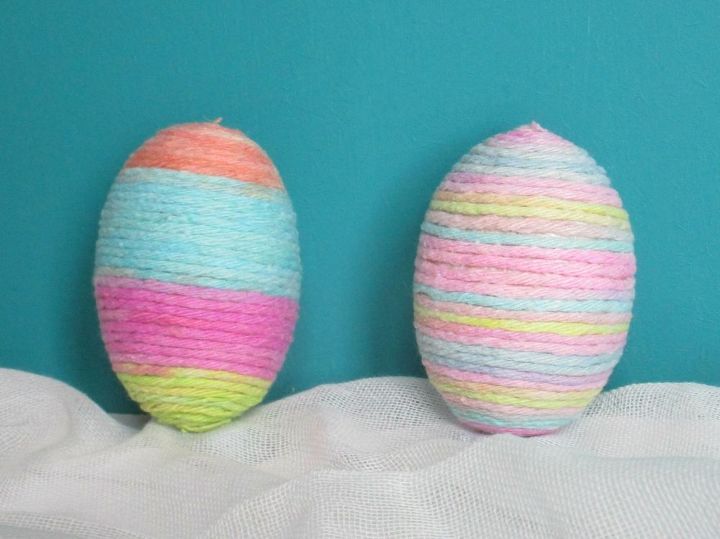
We think our string eggs look so pretty in their pastel spring colours, but you could choose any colourway you fancy - you could even just do part of your egg to make a beanie hat or belt.
If you are looking for more egg craft ideas, please check out our Easter Egg Decoupage and our Sgraffito Eggs

Want more details about this and other DIY projects? Check out my blog post!
Comments
Join the conversation
3 of 4 comments
-
Thanks Brenda, we were really pleased with how they turned out :)
-
I love how you used sharpies and nail polish remover to color the string. That's so clever


Frequently asked questions
Have a question about this project?