


Silk Tie Easter Eggs
I am super excited to share this post with you today! This post is all about dying Easter Eggs with men’s silk ties.
If you don’t already know this about me, I love thrift stores, estate sales, and the thrill of the hunt, so this project was right up my alley.

Supply List
You need to be sure your ties are 100% silk, of course, you can also use silk scarves, a silk blouse, really anything that is 100% silk.
1 large piece of white fabric ( I cut up an old sheet)
Rubberbands
Water to cover the eggs
1/4-1/2 C white vinegar
The funny thing was, all of my ties said they were 100% silk, as there is a small tag on all ties that tells you the content of the material, so I was sure to double-check, however…… I think somebody fibbed as there were a few that were not silk!!!
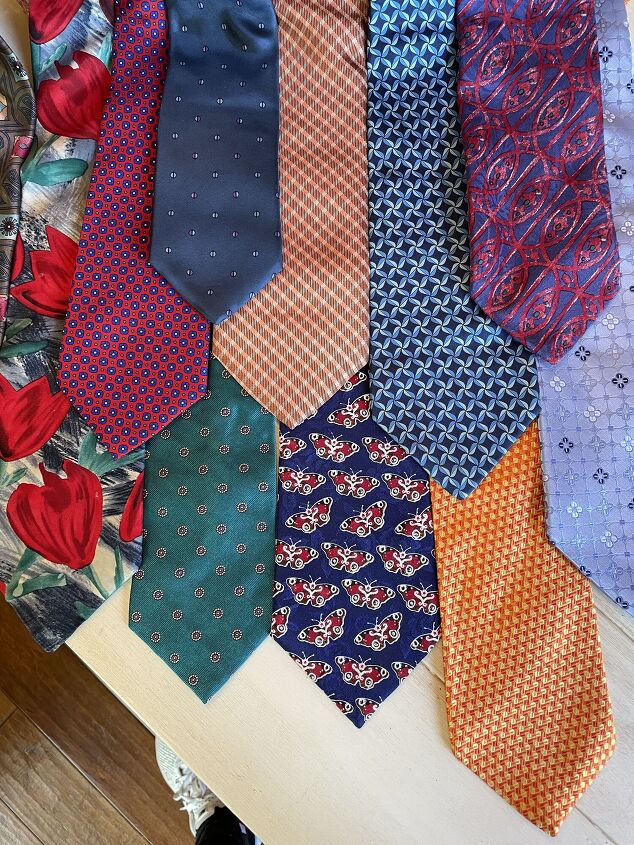
I try to find an assortment of colors and patterns. Usually, dark reds, blues, and oranges work the best. but keep an open mind as it is fun to experiment with different colors and patterns. It is very fun as you never know which fabrics will transfer the best, and which ones bomb! so have fun and give it a try.
Here are some of the ties I picked up from my local thrift stores.
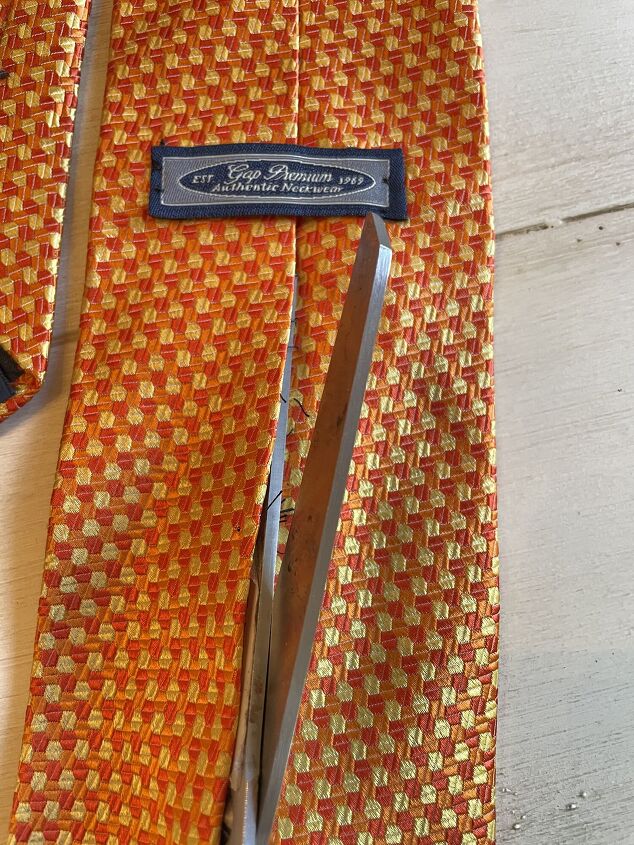
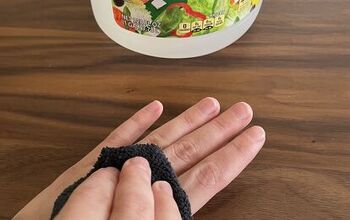
The first step is to deconstruct your ties and remove the inner lining and any labels that may be sewn to the back of the tie.
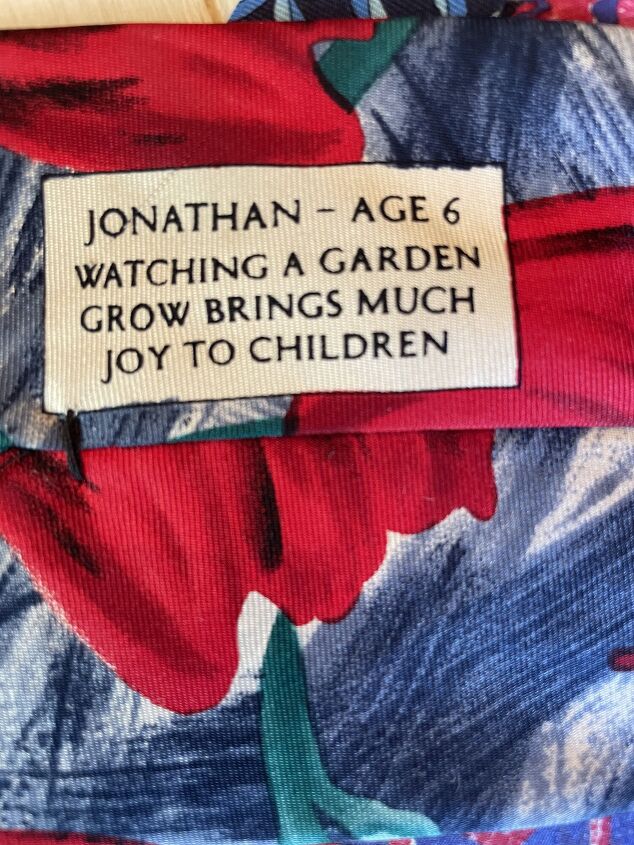
I loved this sweet tie that was designed by a 6-year-old boy! and must have been a fundraiser, and the egg this pattern created was one of my favorites.
.
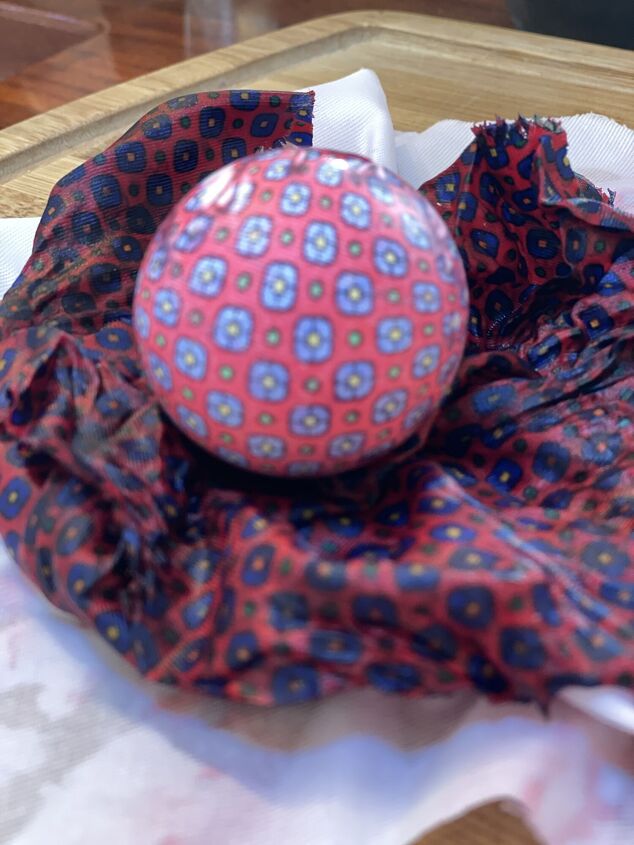
Next, you want to cut a piece of silk that is large enough to wrap around the egg and tie it up at the end. The more direct contact the silk has with the egg the clearer the imprint of the pattern will be, but be careful not to wrap too hard or you will break the egg and these are raw eggs.
You also want to be sure that the right side of the material is against the eggshell.
Where there are folds in the fabric you’ll get kind of a swirly watercolor effect or some white lines.
I tied my eggs at the point of the egg as I wanted the larger end to show the most pattern as I was going to put my eggs in egg cups.
If you want your pattern to be more on the side of the egg, wrap it horizontally instead of vertically.
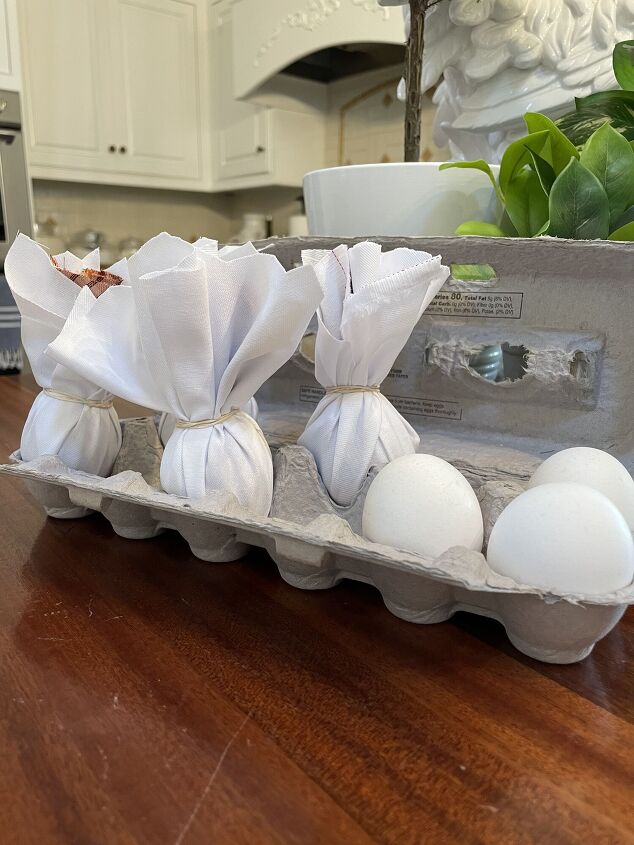
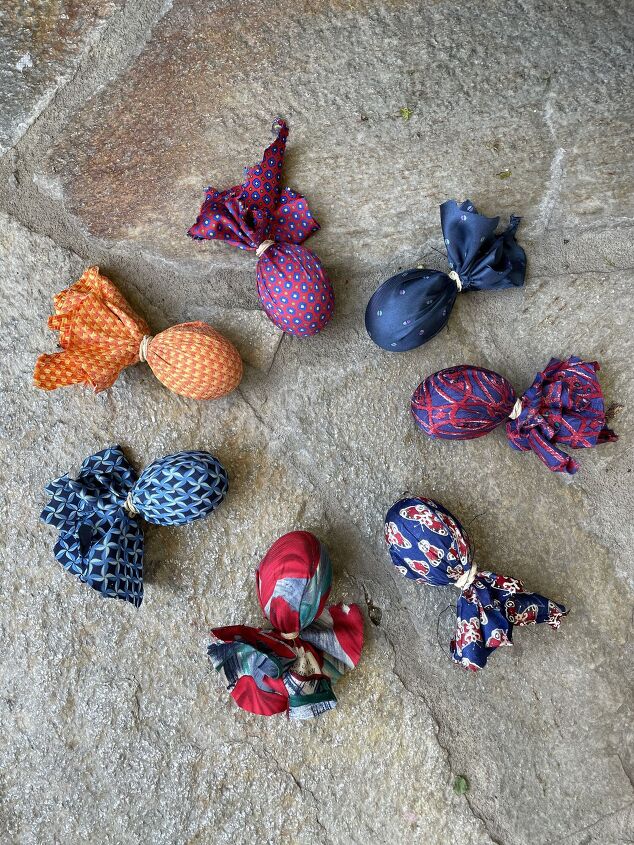
After you have wrapped all of your eggs up in their Sunday best, it is time to wrap them in the white fabric.
Now put all of your eggs in a pot and cover with water, I put 1/4 cup of white vinegar to every 8-10 eggs. Once the water comes to a boil, cook for 20 minutes.
Now is the hard part, you need to let them cool a bit before you can unveil their beauty. ( this is the hardest part for me, I like instant gratification )
It is kind of like Christmas when you open them up to see what you get!!! Here are my results.
I started with 18 eggs and 6 bombed, so I ended up with a dozen.
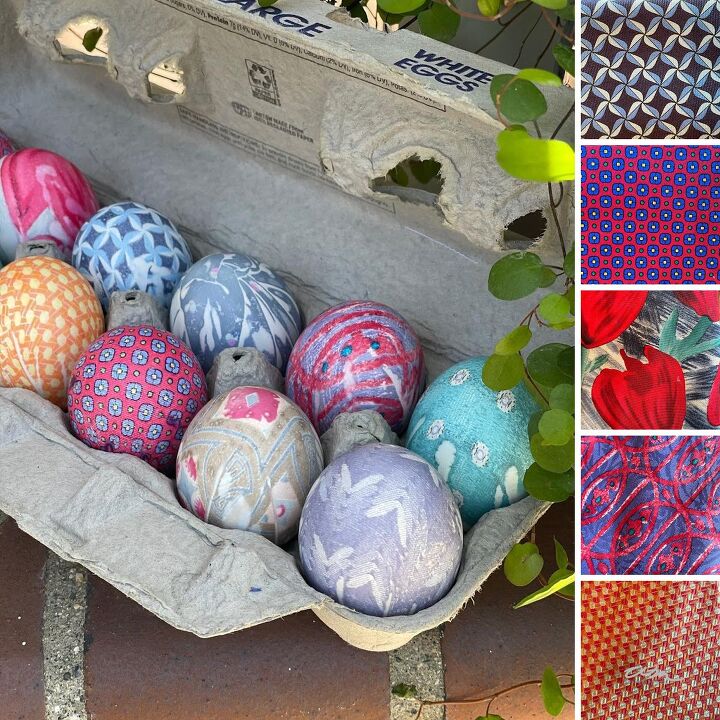
You can see how the eggs match up with the silk prints on the right, it is quite exciting, I must say!


Comments
Join the conversation
-
This is so fabulous! I've never seen this done before! I can't wait to try it! Thanks so much!
-
They are really fun to make. Just make sure that you are using natural silk.


Frequently asked questions
Have a question about this project?
After water comes to a boil and has been 20 minutes, do i remove from water and place in cool water or just let stand alone
Cathy
How long can you keep the finished product?
Would this possibly work on unsealed wooden eggs?