


What NOT To Do to Make Decoupage Easter Eggs

Want to make beautiful decoupage Easter eggs to decorate your home for spring? Learn which mistakes to avoid to get the best results!
For more simple and budget-friendly DIY project ideas, be sure to follow us on HomeTalk and visit our blog!
When I was a little girl, my mom showed me how to make decoupage eggs for Easter using spring napkins and styrofoam eggs.
We rolled them in diamond dust glitter so they were so sparkly!
In my memory, making them was so easy.
I mean, put some Mod Podge on an egg, put pieces of napkins, add some more Mod Podge and roll it in clear glitter.
Easy, right?
I love that it’s so easy to customize these eggs to make them work in your home no matter what style your decorating is.
Just choose colors and patterns that work in your home.
If your style is more glamorous, add some sparkle!
If you like more bohemian or rustic looks, use some walnut ink to give them a distressed look.
I decided to try using old plastic eggs instead of styrofoam eggs to save some money (and because I have a ton of them from when my kids were small!).
And I skipped the glitter because I’m just not a fan.
I had some napkins and some patterned tissue paper.
When I sat down to make them, I felt pretty confident!
Maybe I shouldn’t have been because these are my first attempts.

Yikes.
This is not the look I was going for…
Fortunately, I’m not one to give up that easily!
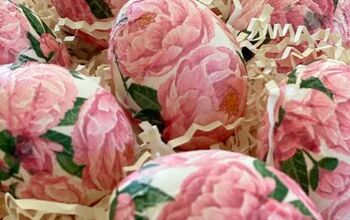
I shifted gears and tried using some napkins instead of the patterned tissue paper that was a little thicker.
And…
I ended up with some mixed results.
However, I figured some things out while making these decoupage plastic eggs!
And since I don’t want you to make the same mistakes I did, I’m sharing what I learned with you.
Because that’s what friends do, right?!
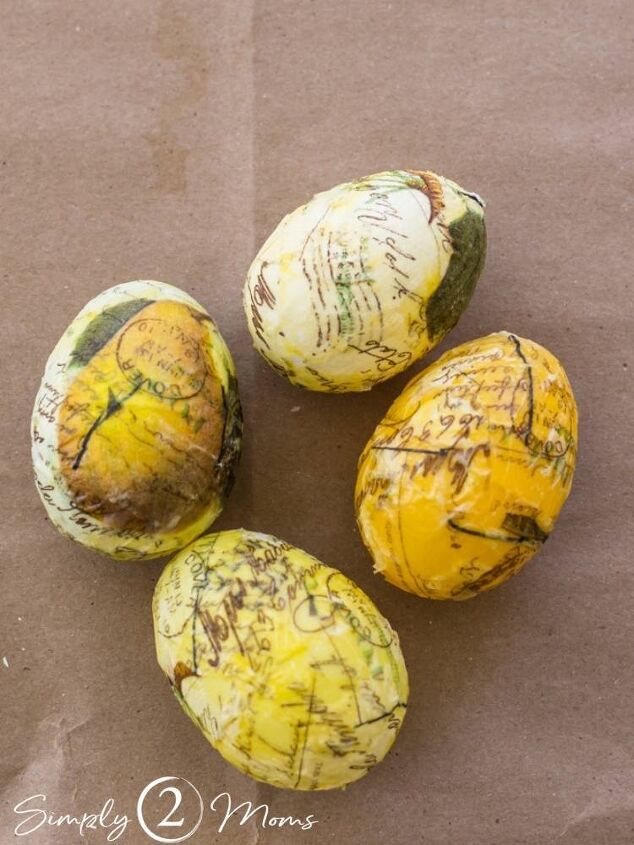
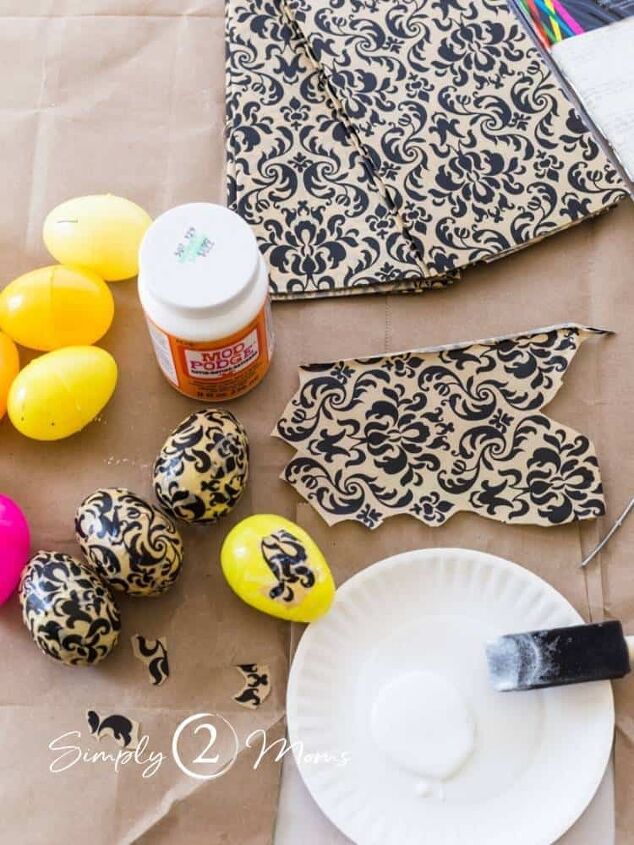
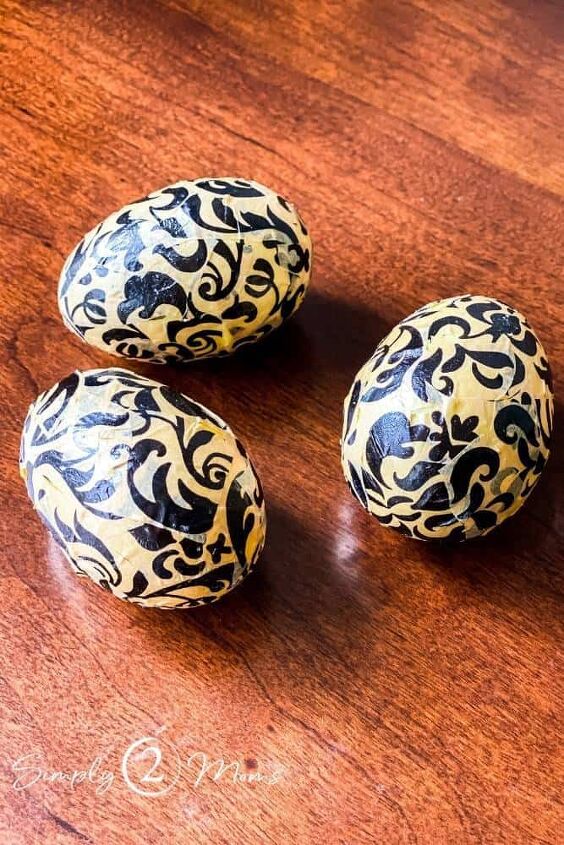
If you look at the eggs in the photo above, and start with the egg on the far right, you’ll see I tried using a color of plastic egg that coordinated with the color of the napkin.
But that shade of yellow as a little too dark.
So I tried again using a lighter shade of yellow with the next egg, the one at the bottom, and it turned out looking a little better.
But what if I paint the egg white using chalk paint before adding the decoupage treatment?
After all, I loved the way my chalk painted eggs turned out!
The project was looking up!
And I’m gonna share my successful process with you.
But I’m not done with my fails just yet.
You’re not gonna believe how I ruined some eggs at the end.
Tips for Making Decoupage Plastic Eggs
Supplies You’ll Need:
- Plastic eggs
- White chalk paint
- Mod Podge
- Foam brushes
- Scissors
- Plastic plates
- Wooden skewers or toothpicks
- Napkins or tissue paper in patterns of your choice
- Styrofoam block or homemade drying station
Optional Supplies:
- Fine clear glitter (for sparkly eggs)
- Brown ink pad (for rustic, tea-stained eggs)
Getting Started
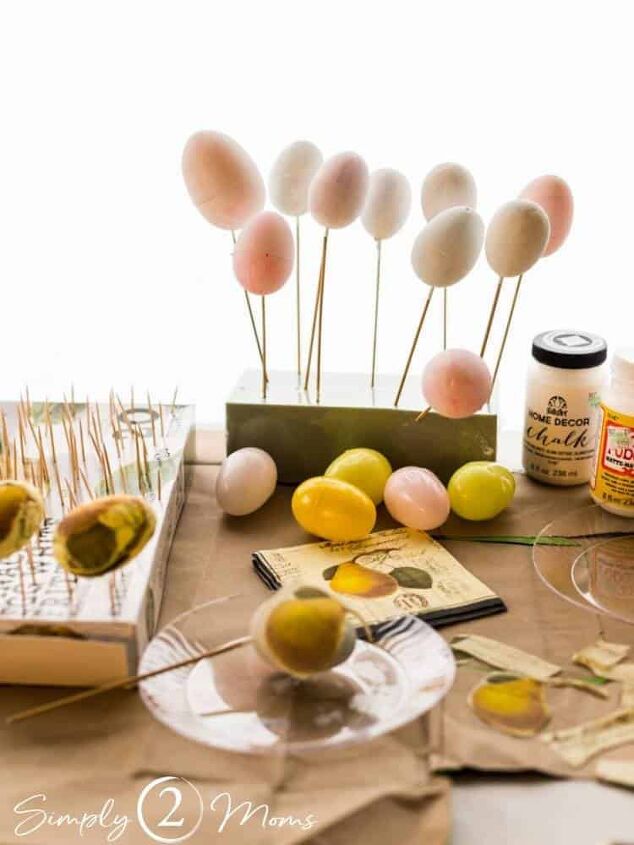
It all starts with a good workstation!
I covered my table with paper because I’m not a neat crafter.
A plastic plate is a great place to set your egg down between steps.
Disposable plates are also great to pour the Mod Podge glue and chalk paint!
I made a simple drying station for the decoupage eggs using an empty box and toothpicks.
Simply punch holes in the box spaced about an inch apart with a metal skewer, then insert toothpicks in the holes.
Then place your finished eggs on top of the toothpicks to dry.
This allows air to circulate around the egg and they won’t stick to the few tiny points of the toothpicks that support them.
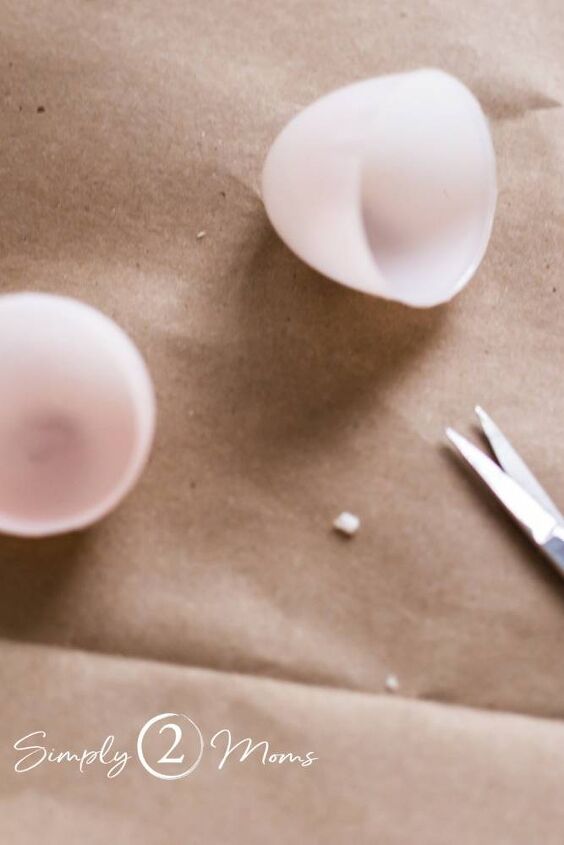
Some plastic eggs have a small plastic hinge holding the two halves together.
I recommend snipping off this hinge so you don’t have a little lump on your decoupaged egg.
Sharp scissors make this super easy!
Next, you’ll want to cut out the designs you want to use to decoupage your eggs.
I recommend keeping the pieces of napkin or tissue paper fairly small.
You’ll be overlapping these pieces on the egg.
I’ve found that napkins become more transparent than tissue paper.
So if you don’t want the color of the plastic egg to show through, paint the plastic egg with white chalk paint before beginning to decoupage the egg.
How To Decoupage a Plastic Egg
Now that you’ve prepared your workspace, cut out your designs, and painted the plastic eggs white, it’s time to start decoupaging your plastic Easter eggs!
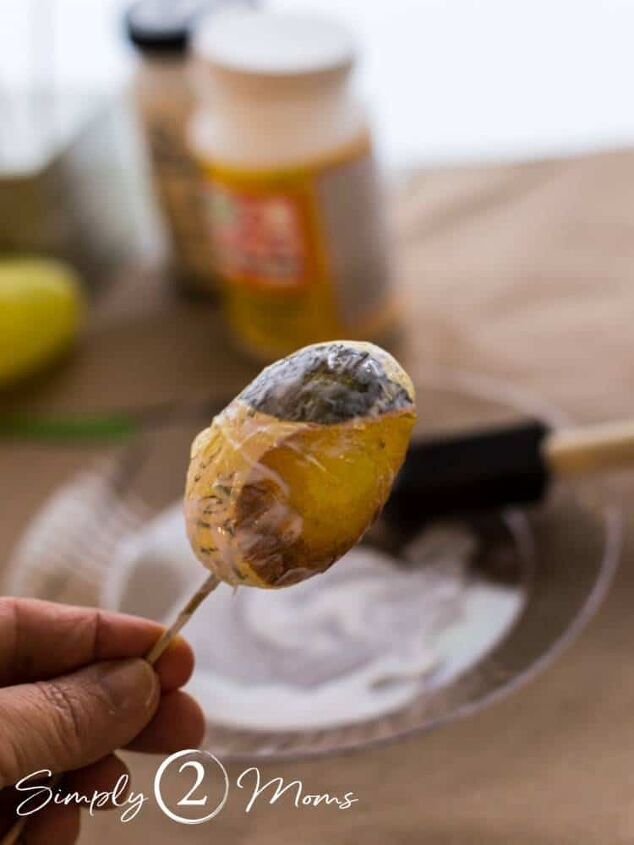
Pour some Mod Podge onto a plate.
Place your egg on a wooden or metal skewer.
Many plastic eggs already have small holes punched through the ends to prevent them from being a choking hazard.
If your eggs don’t have a hole, use a sharp metal skewer or a small nail to poke a hole.
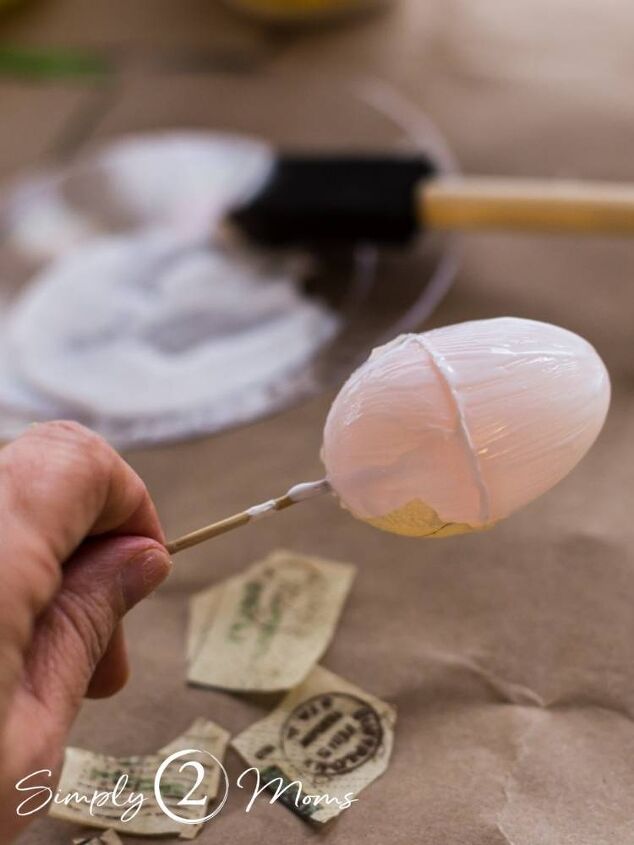
Coat the surface of the egg with Mod Podge.
Then start placing the pieces of the napkins or tissue paper you cut out over the surface of the egg.
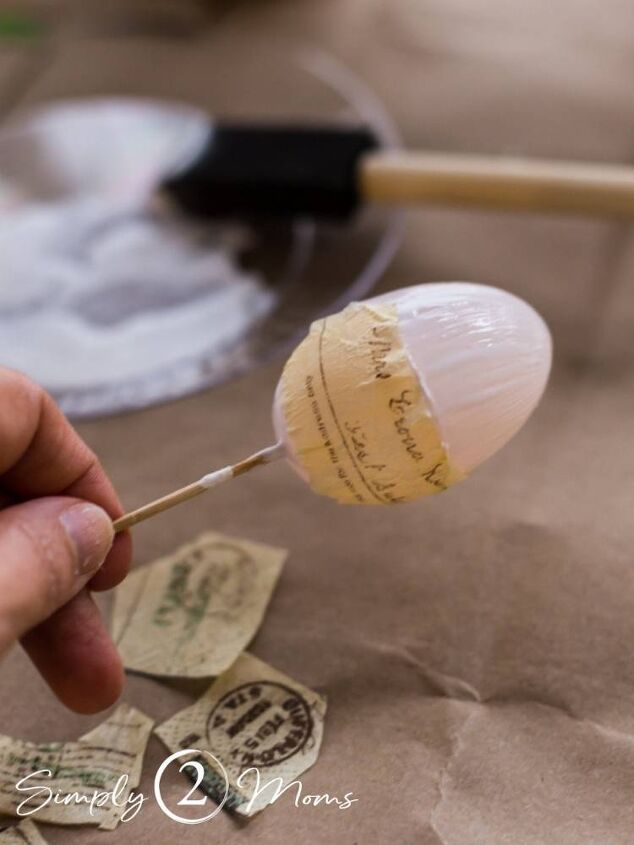
Use your fingers to smooth out the pieces of paper over the surface and to remove any wrinkles.
Cover the surface of the egg with the paper.
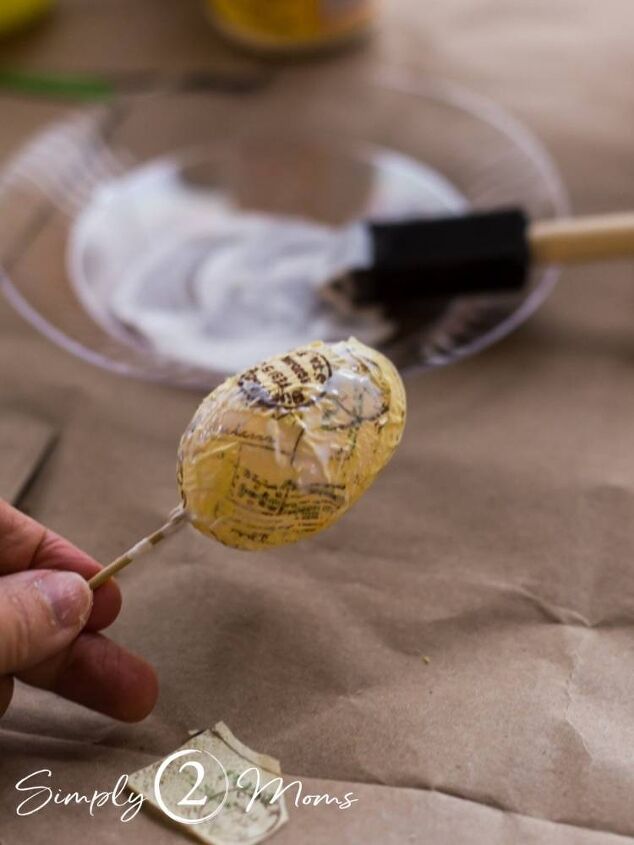
I found that the eggs look best when you overlap the designs.
You may need to apply more Mod Podge to the egg as you go along, especially where pieces overlap.
Once the egg is completely covered with the paper and you like how it looks, add another coating of Mod Podge over the entire egg.
This is a protective layer and will dry clear.
You can add another layer of Mod Podge over your egg once it’s dry for even more protection!
If you want your eggs to be shimmery, roll them in ultra fine clear glitter just after the last coat of Mod Podge.
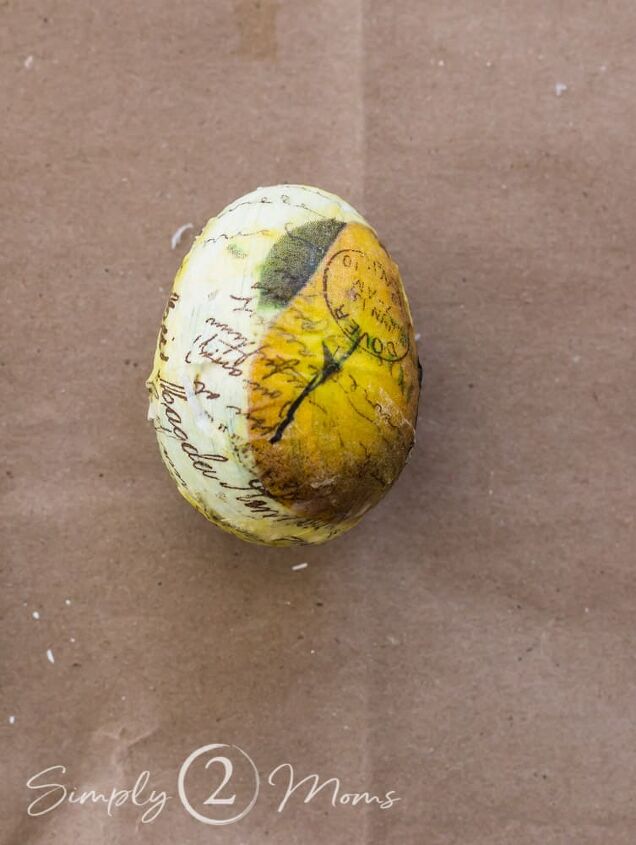
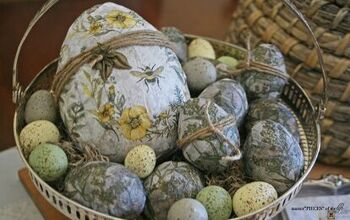
I really like the way the words and other elements from this napkin design look layered over the larger pear!
If you like a more rustic look, you can brush some walnut ink or other brown permanent ink over the egg for a tea-stained look.
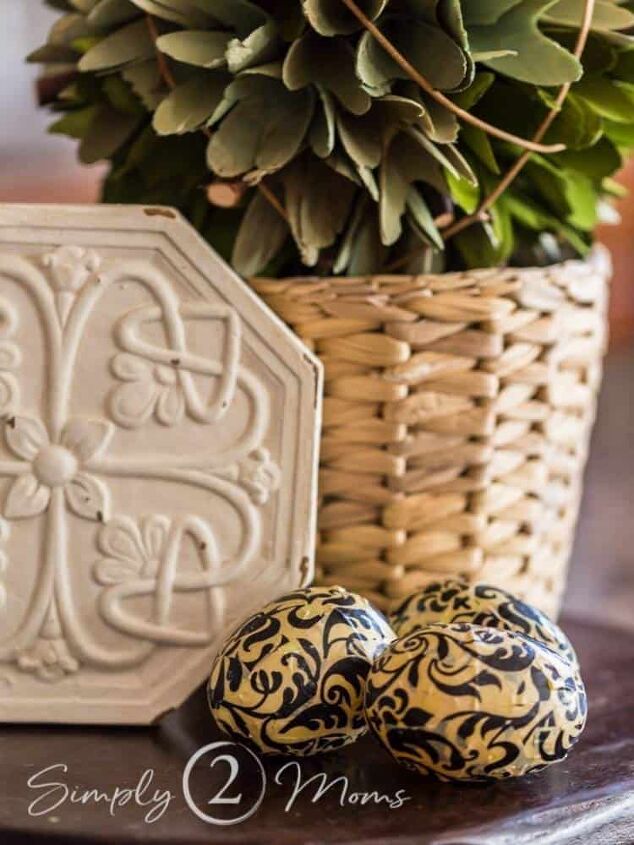
Now it’s time to display your custom decoupage Easter eggs in your home!
I placed some in a tiered tray, and grouped a few on a shelf.
My Huge Mistake
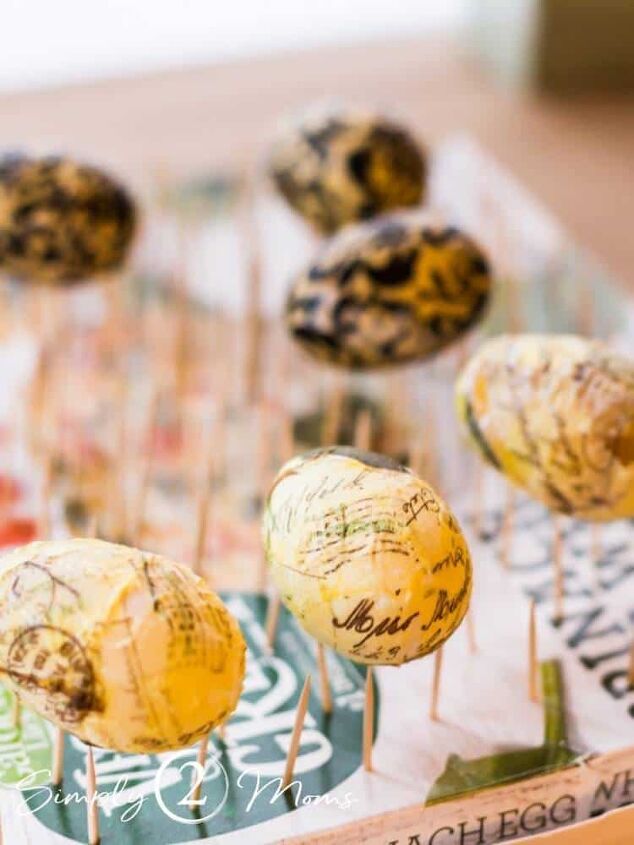
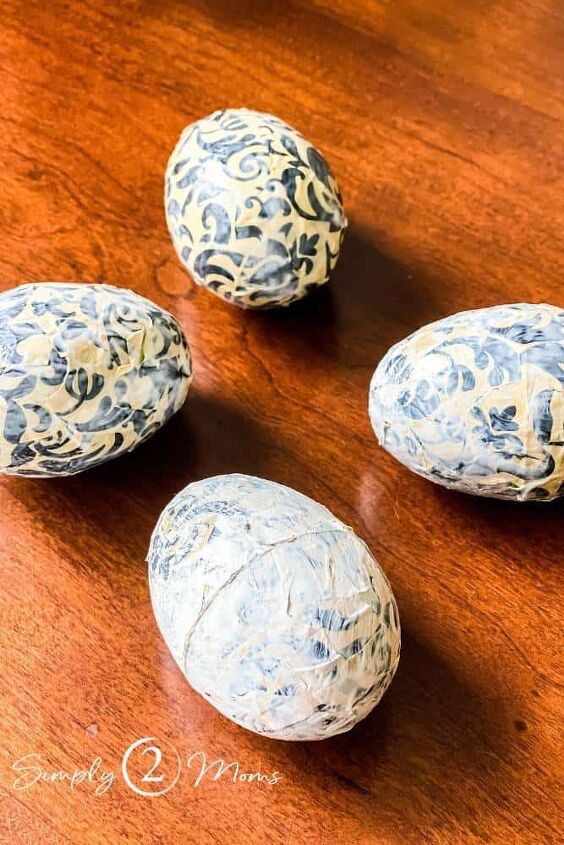
I made a lot of eggs using the black filigree tissue paper.
I love how that pattern goes with my French country decor!
It took a lot of time to cut out all those tiny filigree pieces.
I found that this pattern looked best with tiny pieces of the pattern and lots of overlapping.
Remember how I said you can add another coat of Mod Podge on top for more protection after the first top coat is dry?
Well.
Since these eggs took so much time, I wanted that extra protection!
I had two plates on my table and two foam brushes.
Can you guess where this is going yet?
How ’bout now?
I picked up one of the brushes and added Mod Podge to the plate.
Then I slathered the bottom egg with Mod Podge.
It went on a little milkier than I expected, but Mod Podge always looks more white at first then dries to transparent.
So I just kept on going.
By the third egg, I realized something wasn’t right.
Because the Mod Podge didn’t really look as white anymore on that egg.
Have you figured out why?
Yeah.
I picked up the wrong brush.
I used the brush from the white chalk paint plate instead of the brush from the Mod Podge plate.
Most of that chalk paint ended up covering the first egg.
But I ruined two more eggs before figuring it out!
Once I figured out what I did wrong, I quickly (or not so quickly considering I ruined 4 eggs) switched to the other foam brush.
So, learn from my mistake!
Always double check your brush to make sure it doesn’t have paint on it instead of glue…
Have you ever made a mistake like this during a craft project?
If so, help me feel better and tell me about it in the comment section at the bottom of this post.
Comments
Join the conversation
-
I love the idea. My Mom collected eggs. We lived in Italy and she would look for eggs made from different materials. The way she displayed them was a huge crystal dish. When the dish got too small she put them in a large straight sided glass dish. I think it was a container for large candles or an oversized vase. It got so many compliments on it. Anybody that went over to her house immediately were drawn to the eggs. I'm going to do my own dish of eggs but I plan to use your idea of plastic eggs that I can get on clearance now. Thanks for the idea. Also you might like to display your eggs like my mom did.


Frequently asked questions
Have a question about this project?