


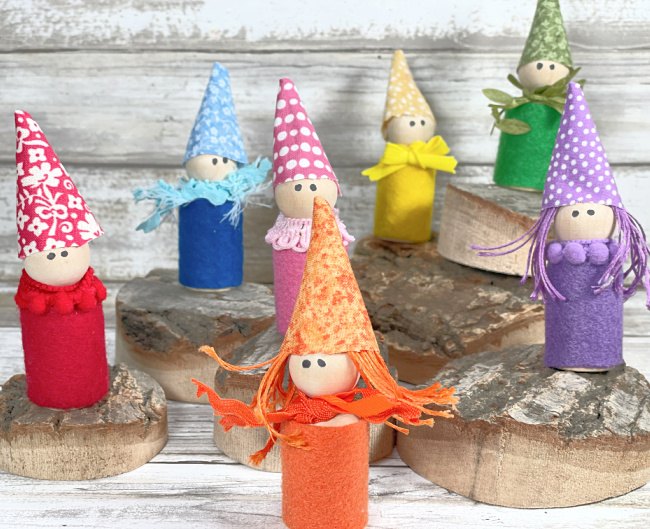
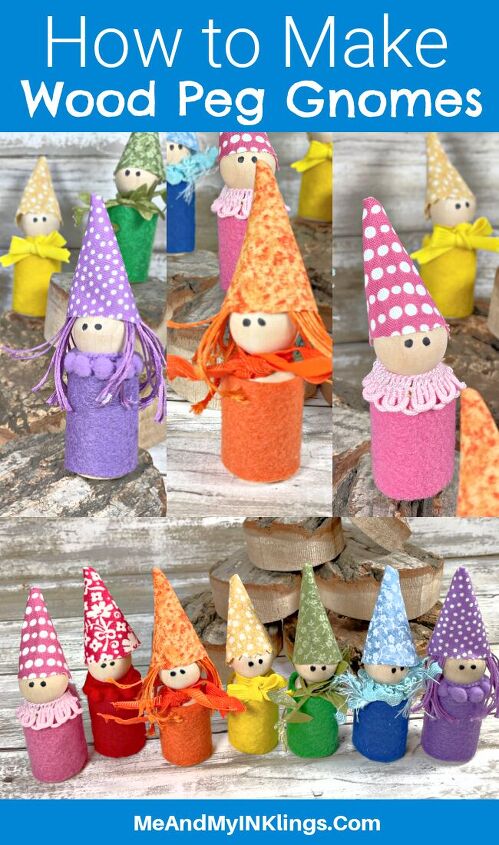
Easy DIY Wood Peg Gnome Dolls
I am so excited to share these adorable little dolls because not only are they totally adorable for little home decor but they are also perfect for pretend and play activities. Gnomes are magical little creatures that are legendary for guarding the earth’s treasures. Personally, I think they are super adorable and I love them and all of the stories that surround them. Creating toys that are fun for kids to use in learning and growing makes my heart so happy. These Wood Peg Gnome Dolls are so easy to make with a little felt and fabric material from the craft room – and of course Beacon Felt Glue! Let’s make a rainbow of dolls!
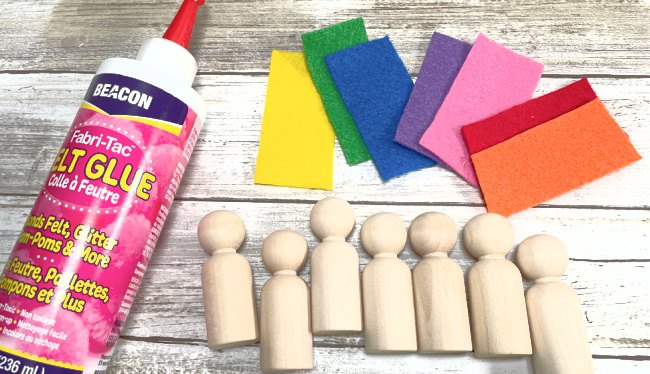
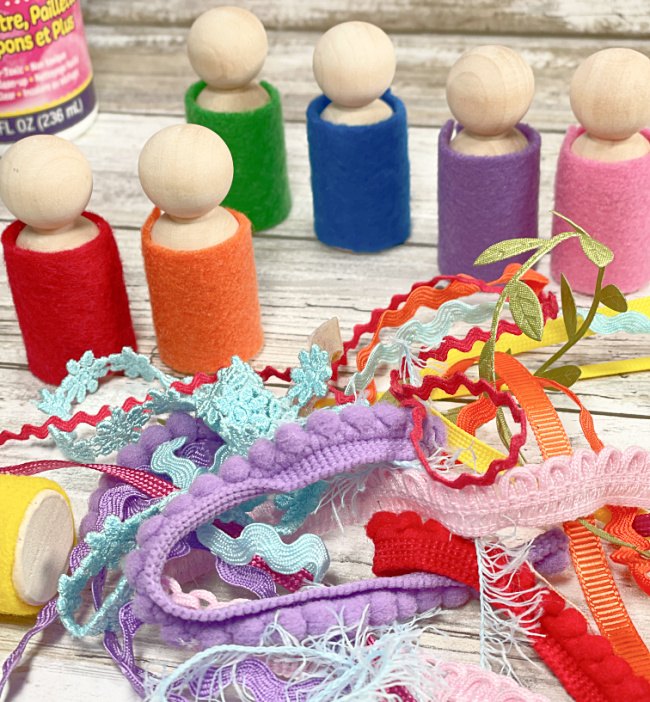
Materials and Supplies Needed
- Beacon Felt Glue
- Kunin Classic Felt in a Variety of Rainbow Colors
- Wood Pegs (Any size would work!) – I bought these on Amazon
- Scissors
- Miscellaneous Trims and Ribbon
- Fabric
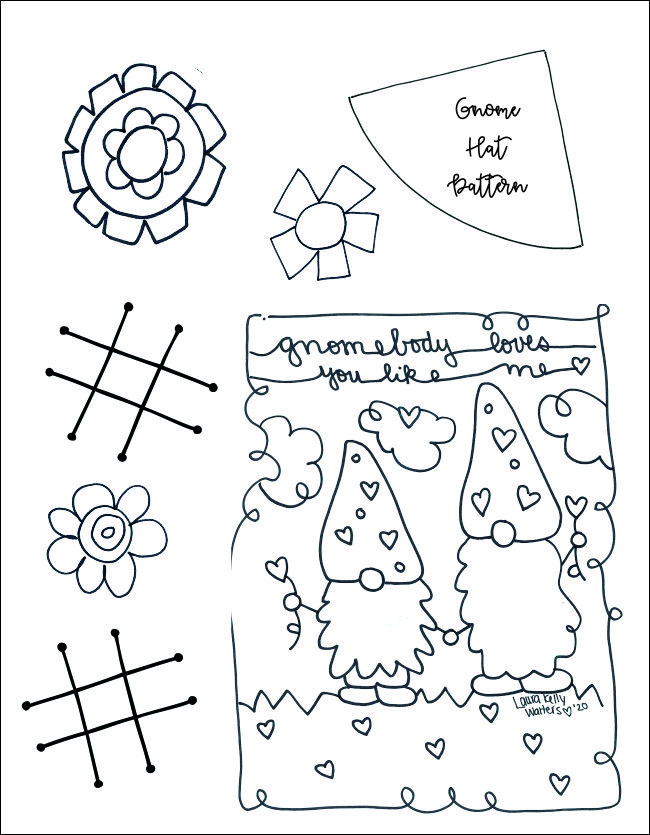
- Free PDF Pattern for Hats

Directions to Make Gnome Dolls
These could be made in so many fun ways using the wooden pegs and the felt with the awesome Beacon Felt Glue. This tutorial is one of the simplest ways for beginners in doll making and crafting of this kind. If you want to stretch beyond this and make skirts and such, go for it. However, if you are new to this – I think you will love this as is.
Cut the pieces of felt to cover your peg dolls. To do this, lay the peg on the felt and cut a strip the height of the peg part of the doll. Then, cut it the length needed to wrap around the doll.
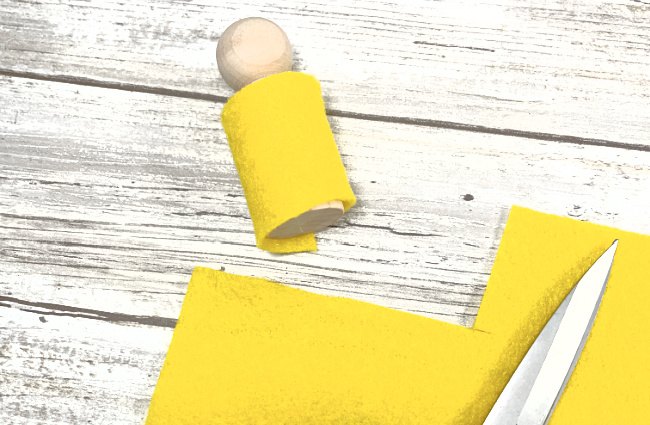
Use this piece as a pattern to cut out as many as you have dolls to make.
Step Two
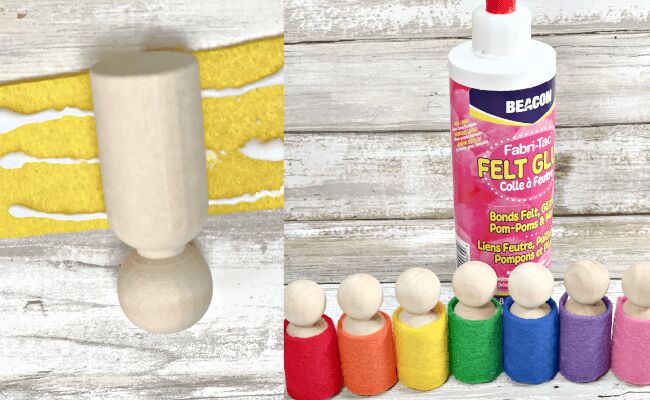
Apply a generous amount of the Felt Glue to the felt on the top, bottom and middle. Set the peg in the middle of the felt piece with the glue and wrap the felt around the sides. Hold it in place for a few seconds then set it down to let dry completely.
Step Three
Add trims around each neck of the wood peg gnome dolls. These could be ribbons, rick-rack, pom trims or whatever you have on hand. Add a tiny bit of the Beacon Felt Glue to the back of the neck under the trim to secure in place. Yes – this awesome glue works for fabric and trims top. For these dolls, I made all of the trims match the colors of the dolls.
Step Four
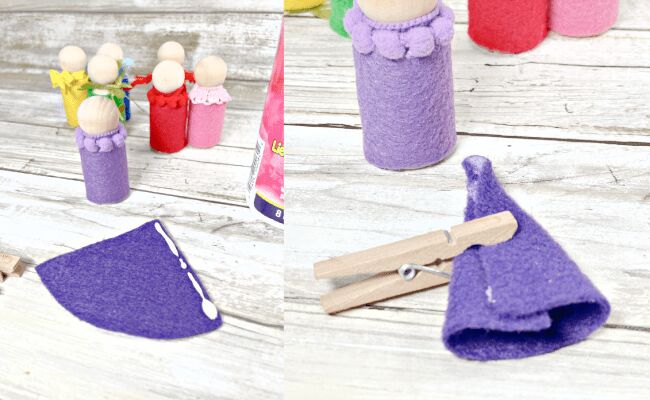
To make the hats, use the free PDF pattern. The pattern has some fun gnome activities for you too!
Add a line of glue down one of the sides. Fold it around to make a cone then add a clip to hold it in place until totally dry. This works for felt and fabric. For these darlings, I made each hat in the colors to match the outfits of the rainbow gnomes. Once the hats are dry – they can either be glued to the heads OR left to be added as part of a play activity to match colors.
Step Five
Add eyes to the peg gnome dolls with a permanent marker. I prefer for the eyes to be small but you can make them any way you like. Paint would work too.
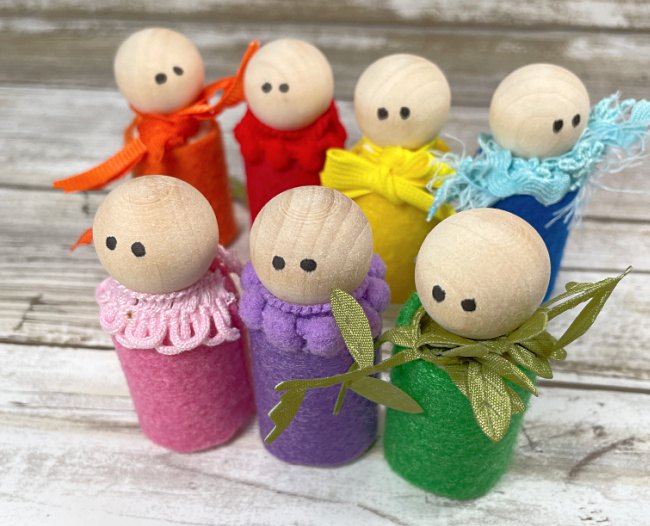
Aren’t they simply the cutest little gnomes? I added hair to a couple of them just for fun – using embroidery floss. The Beacon felt glue is great for holding the hair to the wood too.
Ways to Use Wood Peg Gnome Dolls
These are super fun to use as home decor. They can be added to a tiered tray or put on a bookshelf. They are also really cute to put in plants or on the windowsill.
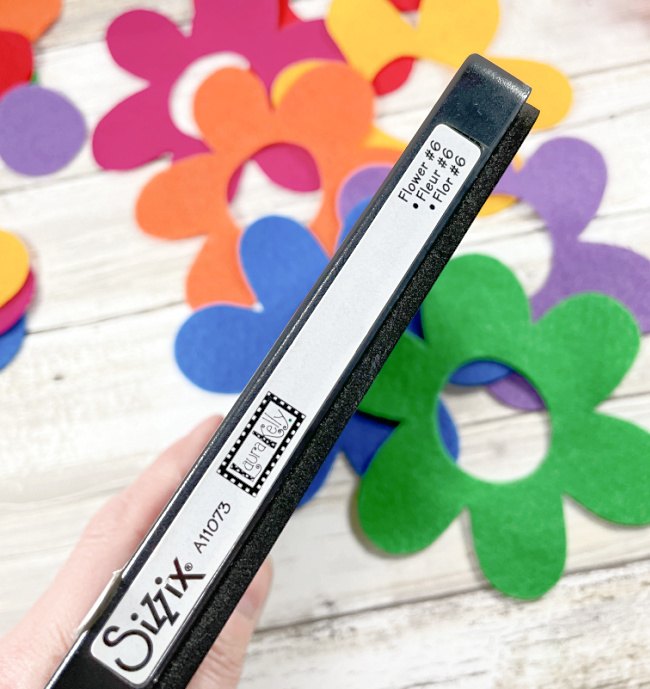
The dolls are fabulous for kids to play with. They can use them for color matching with felt cut flowers.
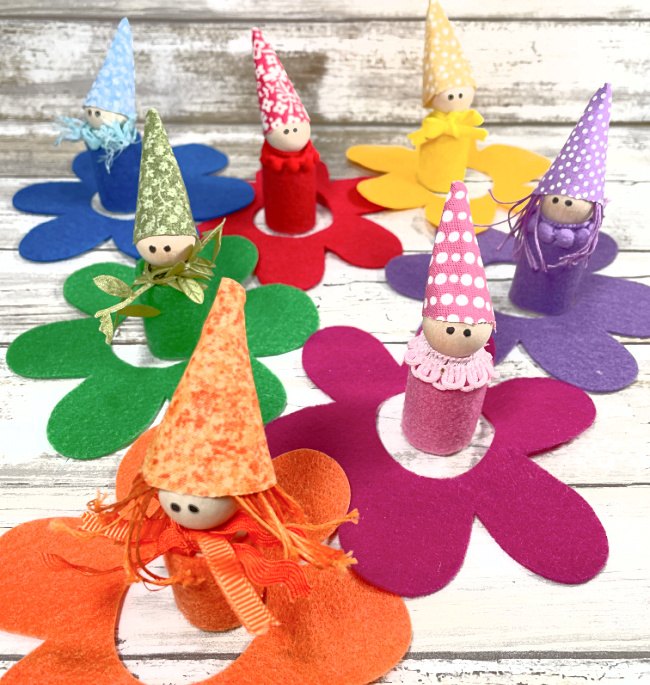
These flowers were cut with one of my Sizzix dies from my classroom collection. They are so easy to cut out and so much fun.
Beacon Felt Glue
Felt Glue is a fast fix for all felt projects! It is great for all felt projects – toys, banners, home decor, wearables, and so much more. This safe, non-toxic, glue if great for projects at home, in the classroom and at camp. I love that it dries clear and really hold felt in place durably. It withstands wear from play which makes it perfect for kid projects.
This is another really fun little project to do while you have you felt and Beacon Felt Glue out and ready. These “beads” are fun to use in so many different ways for play and fashion.

Too busy to make this right away?! Pin it for later! Pin this project to your favorite craft board on Pinterest and it’ll be waiting for you when you’re ready.
This post contains affiliate links.
XOXO,
Laura


Frequently asked questions
Have a question about this project?