


Fast, Easy, Cheap DIY Cabinet Hardware Jig for Custom Placement
$2
10 Minutes
Easy
Found some great hardware? Need it in a custom location? Never fear, custom jig is here!
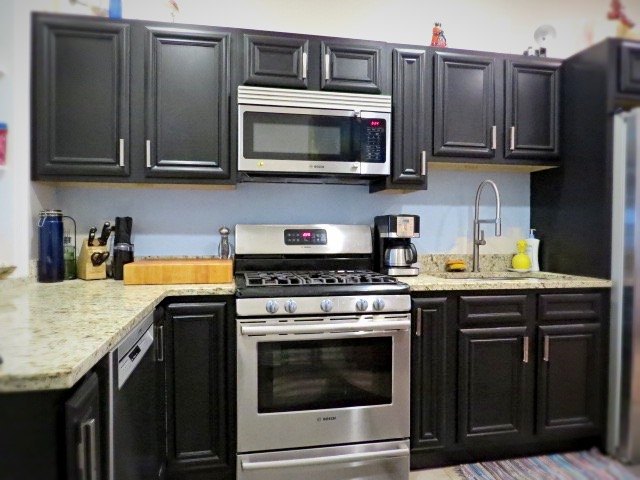
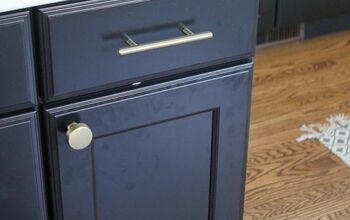
Ah, our kitchen. Slowly it's coming around to tolerable-to-look-at. Even more so now that our new cabinet hardware has been installed!
Yes, it took me four tries, I made four jigs, thanks to lots of drilling errors but I finally got one made that works. Come read all the hilarious details (and much more) over on my blog, Flipping the Flip at humboldtartdept.blogspot.com.
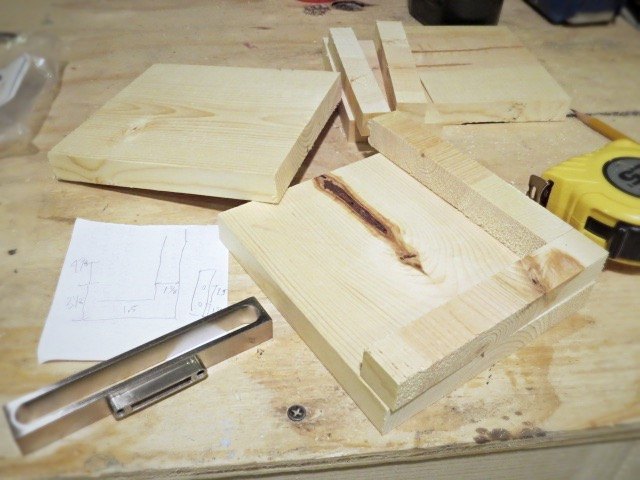
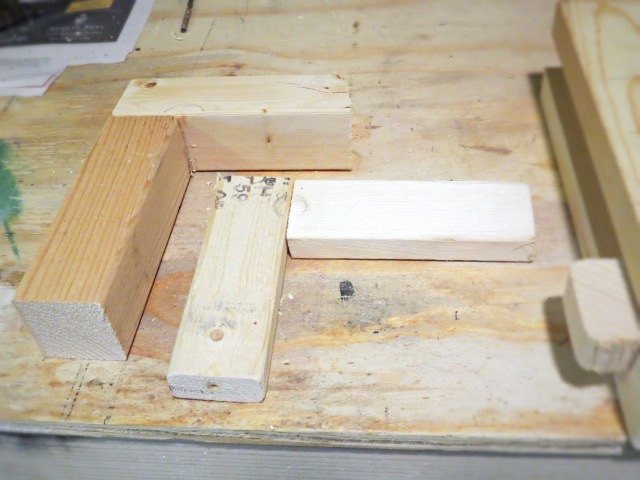
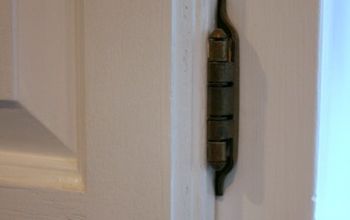
Measure and note everything about the cabinet door. Next, I used 1x6, cut two pieces.
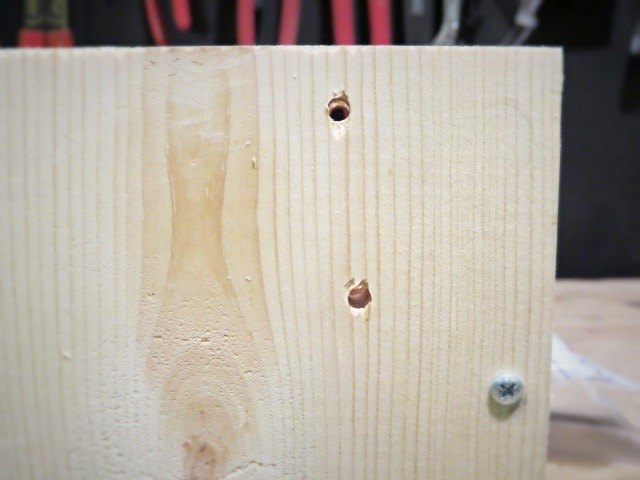
Drilling the holes straightly and accurately was the hardest part. I made these little guides but my drill bits weren't long enough. I have other suggestions on my blog on how to get the holes straight and true.
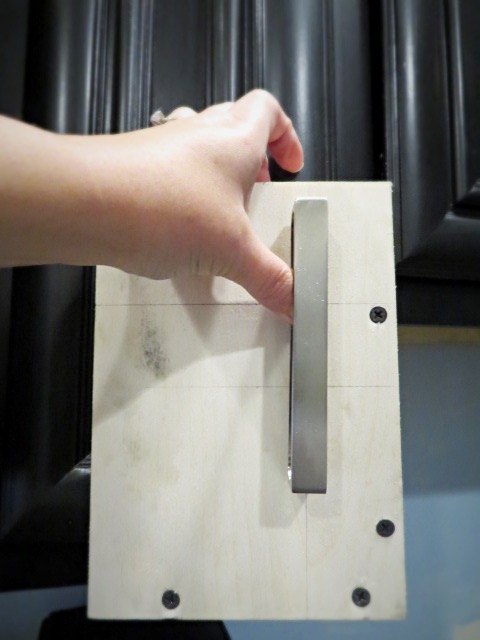
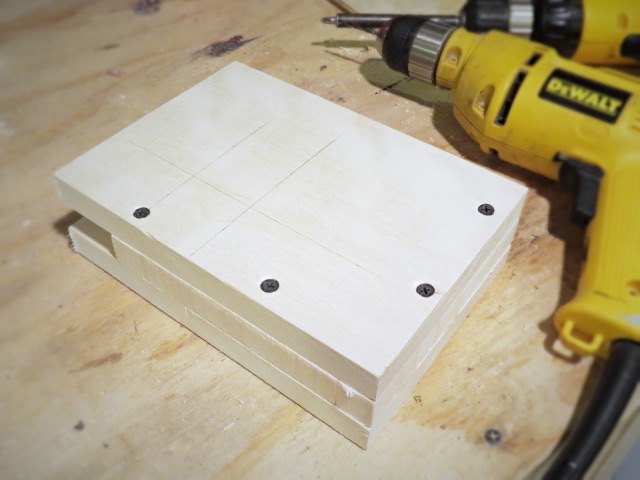
Last step before drilling the cabinet doors -- checking the alignment one last time. If you're not 100% positive, test it out on a piece of scrap wood first.
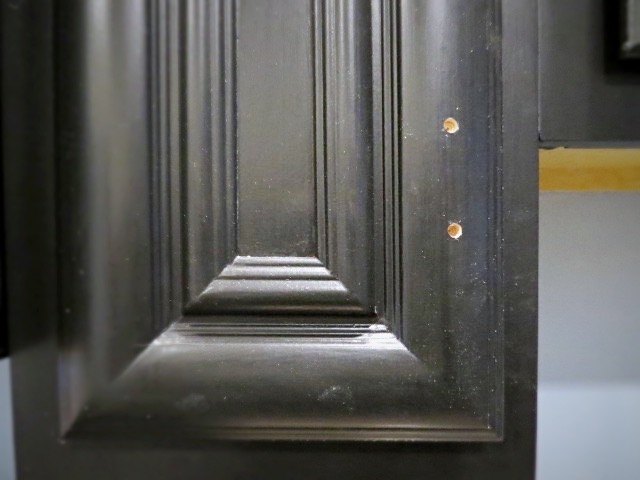
Hold your breath. Drill your holes. Take big sigh of relief.

In this instance, I wanted the bottom edge of the hardware to line up with the edge of the trim. Aaaaand, it's pretty darn close! Whew!
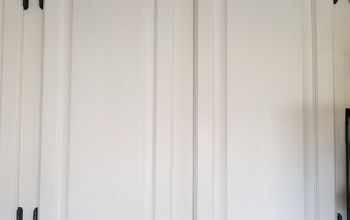
So once you've got one done, it's easy peasy lemon squeezy to do all the rest of the doors, resting assured you'll land the hardware in the right spot every time! Be sure to click on the link below to read all about this adventure as well as many others around our house!

Want more details about this and other DIY projects? Check out my blog post!


Frequently asked questions
Have a question about this project?