


How to Build a Bunk Bed Ladder

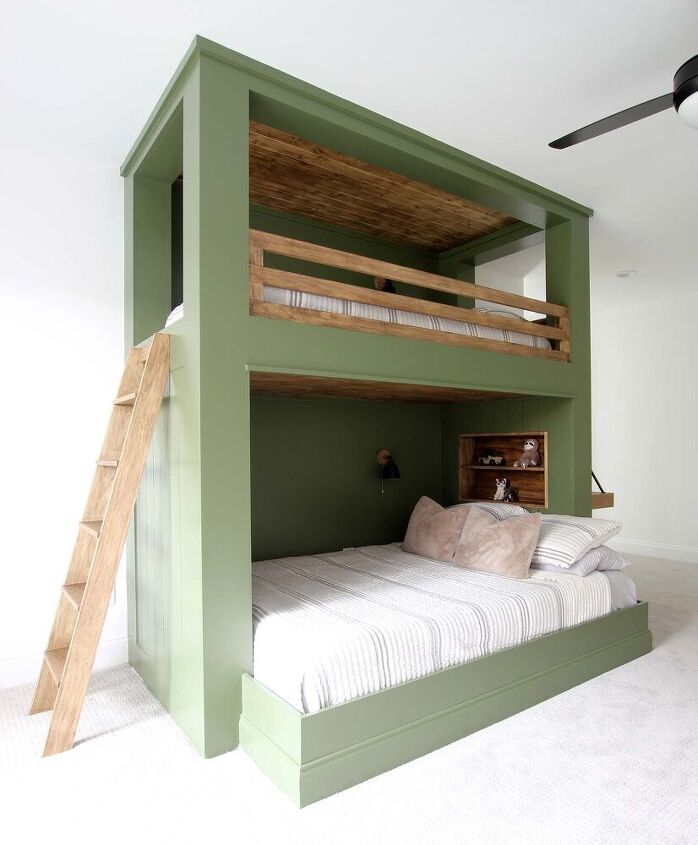
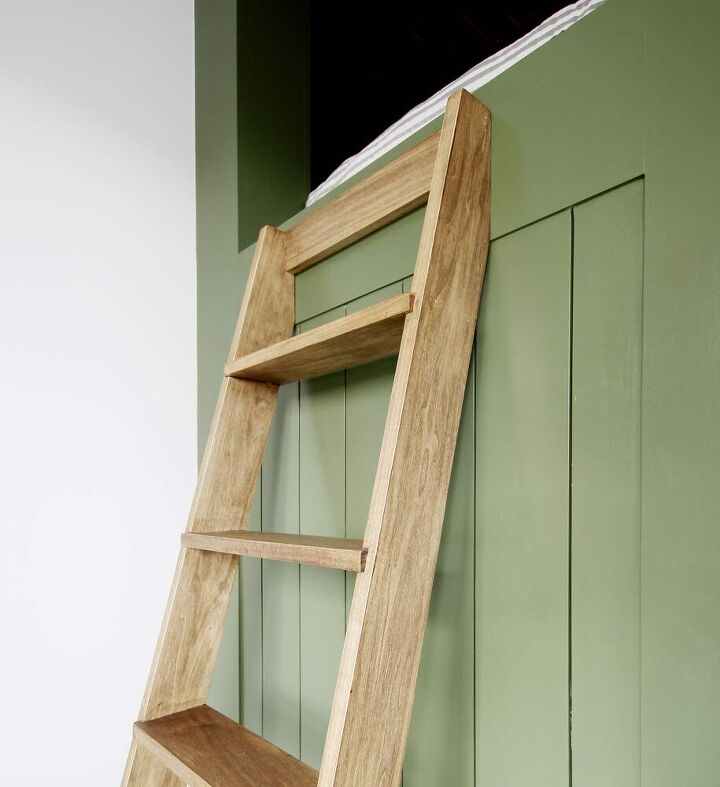
I recently designed and built a custom built-in bunk bed for my nephew. I pretty much had complete freedom over the design, but he did have a few requests. He wanted it to be green, have built-in shelves, lights, and a desk. And of course a ladder – maybe one of the most important features of a bunk bed.
In this tutorial, I’m going to show you exactly how I built this bunk bed ladder.
Before we get started, if you want to build a bunk bed like this one, you’re in luck! I created easy-to-follow printable plans for the entire build. You can grab them here:

- Finish Nailer
- Miter Saw
- Table Saw
- Tape Measurer
- Wood Glue
- Wood Stain
- Sand Paper
- Wood Filler
- 1 1/4″ Finish Nails
Wood
- (2) 1×4 x 6ft poplar
- (1) 1×6 x 8ft poplar
Before actually starting the build, I determined how tall the ladder needed to be. Of course, this all depends on the height of the top bunk. The one I built for my nephews has a height of 60 1/2″.
I also needed to decide how much of an angle I wanted the ladder to lean. I ended up going with a 15-degree angle. This seemed like a good amount to make it easy enough to climb and keep it out of the bathroom doorway that is right beside the bunk bed.
First, I cut two pieces of the 1×4 to 62 inches in length with a 15 degree angle on each end.
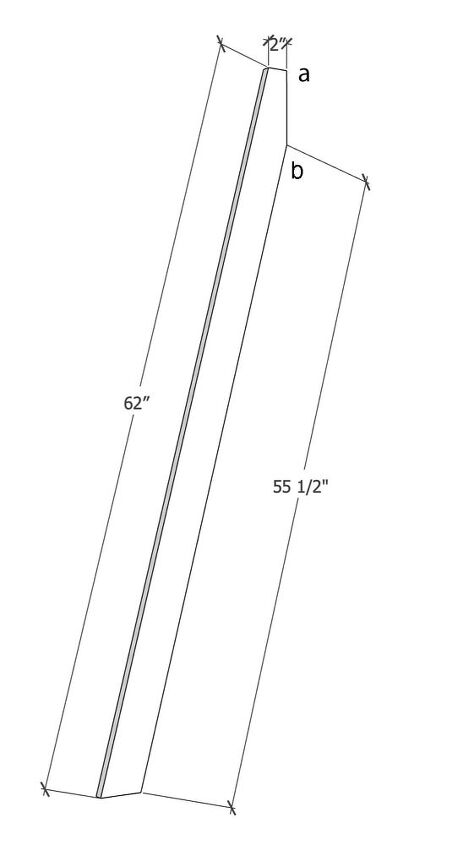
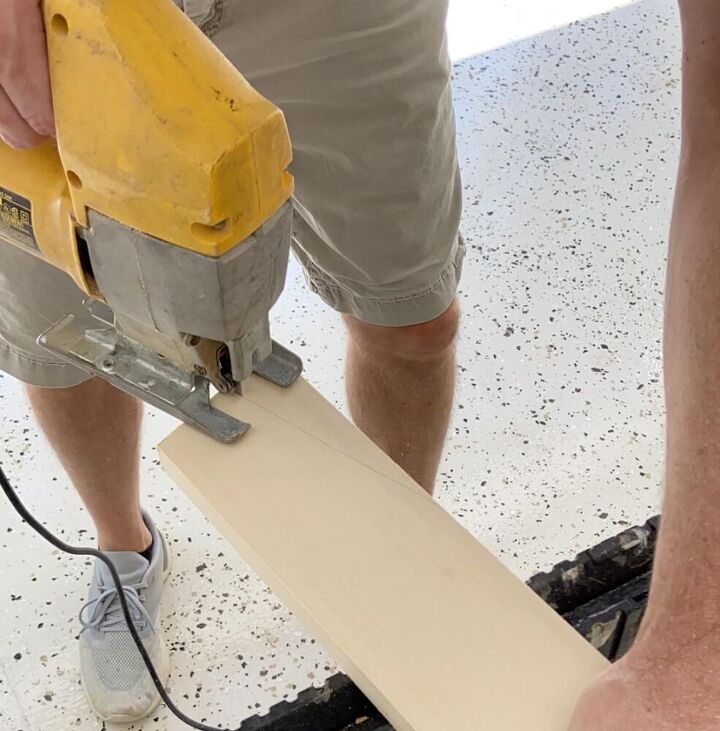
Then I used a jigsaw to cut in a straight line from point b to point a.
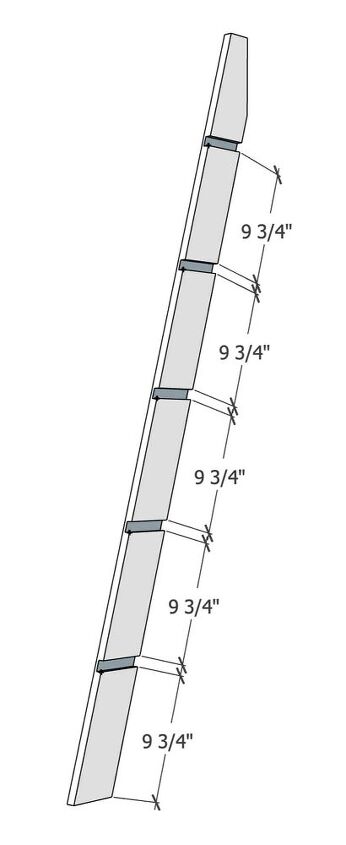
Next, I determined how many steps the ladder needed and how much space between each one. I decided to go with 5 steps. To determine the space in between, I multiplied 5 times 3/4″ (the thickness of each step). Then I subtracted that number from the overall length of the rail and divided by 6 (the number of spaces). This came out to about 9 3/4″.
I Cut a scrap piece of 1×4 to this length with each end cut on a 15-degree angle. Then used it as a template to mark where each step would be.

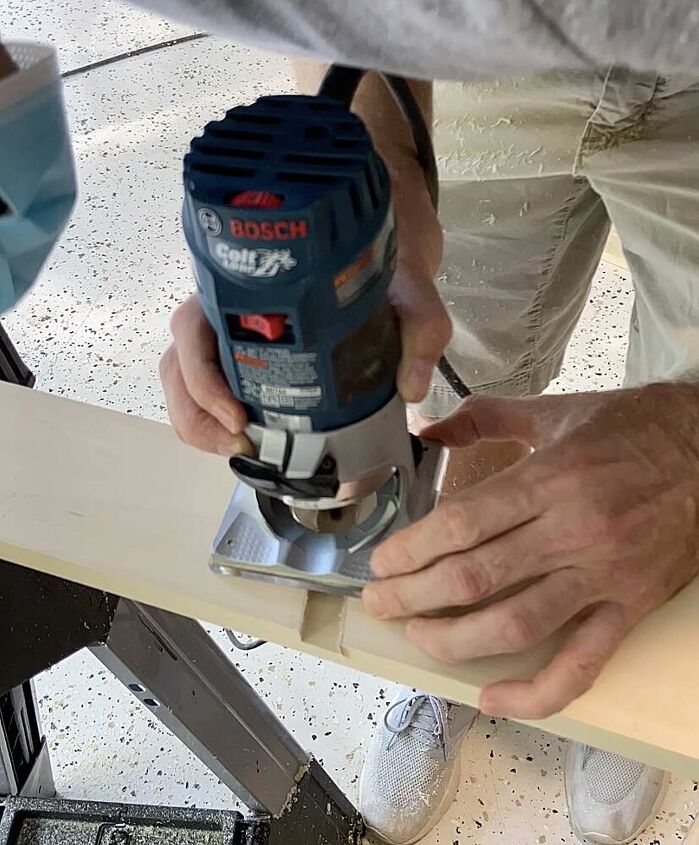
Once I had all of the steps marked on both rails, I used a router (set on 1/2″ depth) to cut our notches inside of the step marks.
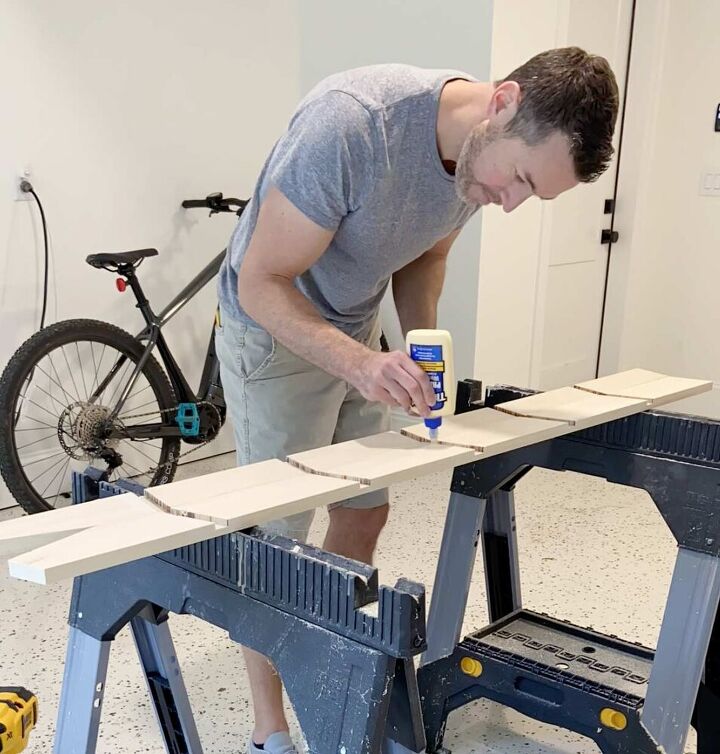
Using a table saw, I rip cut the piece of 1×6 to 4″ in width. Then cut it into five 15″ long pieces. After I had all of the steps cut, I added some wood glue to each of the notches on both rails.
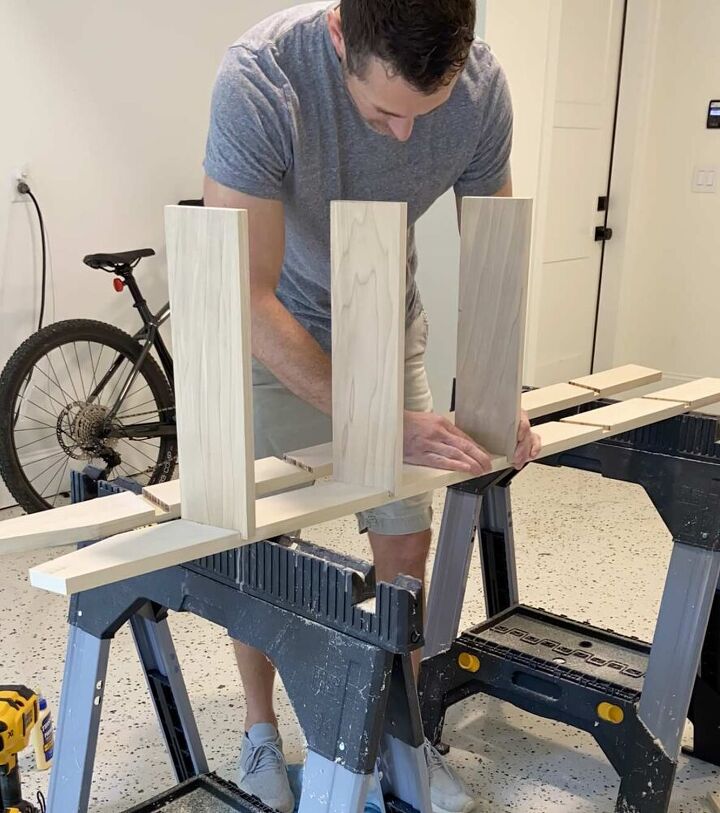
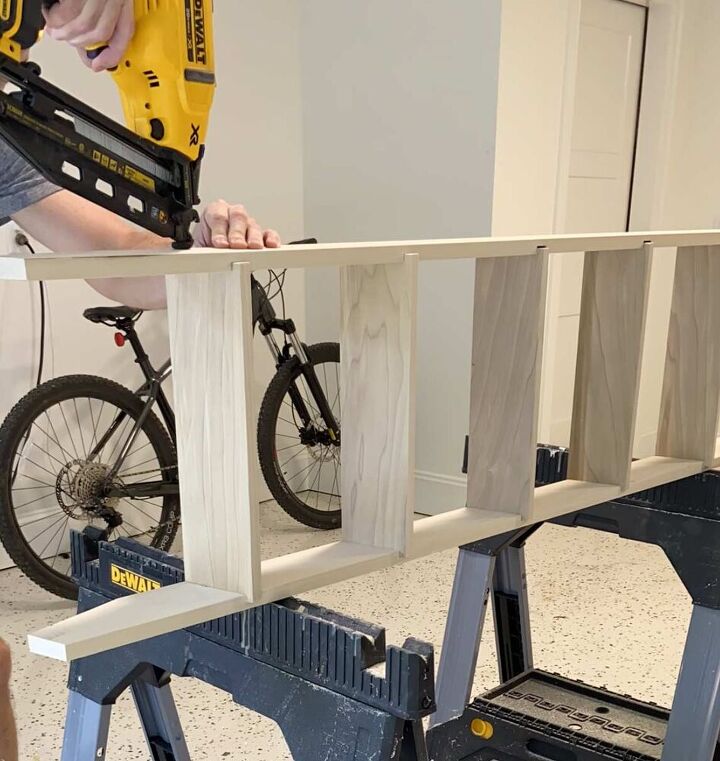
Then I placed each step into one of the bunk bed ladder rails.
On the backside of the ladder, I made sure that the top edge of the steps was flush with the rails. This created a little more overhang on the front.
I placed the other rail and then used 1 1/4″ finish nails to secure the steps to the rails.
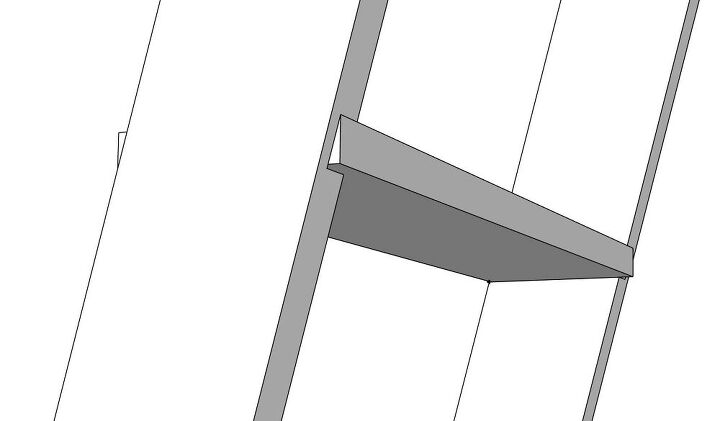
Finally, I cut a piece of 1×4 to 14 inches in length and rip cut it to 2 1/2 inches wide. Then I nailed and glued it between the very top of the two rails as shown below.
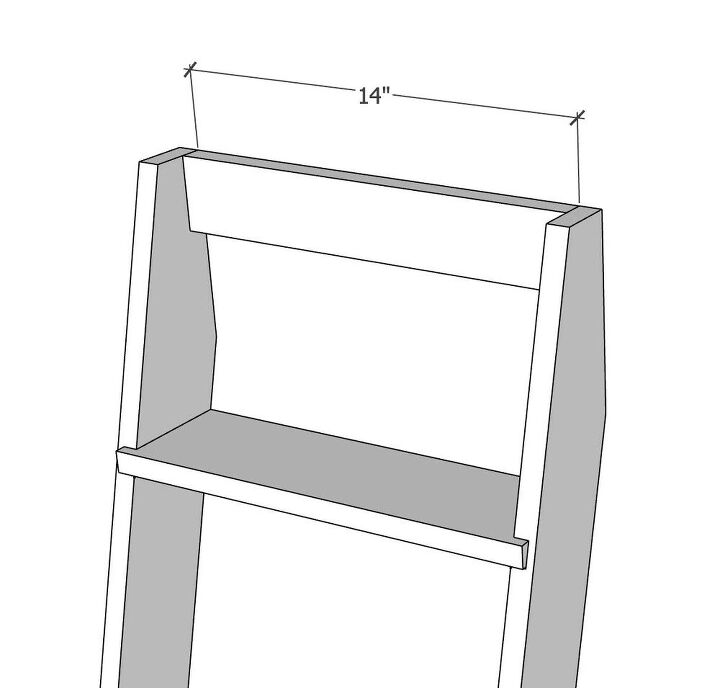
This gave me a place to nail the ladder to the bunk bed.
Once I had the ladder built, I filled all the nail holes with wood filler. After letting the wood filler dry, I used fine sandpaper to go over the entire ladder and soften the corners and sharp edges.
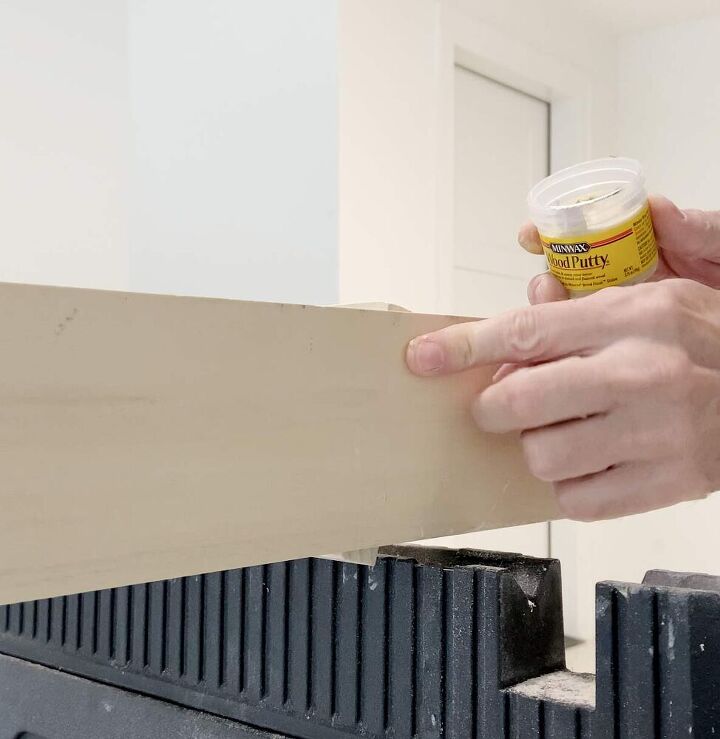
Then using a clean cloth, I stained the entire ladder with Minwax Rustic Oak.


Frequently asked questions
Have a question about this project?