


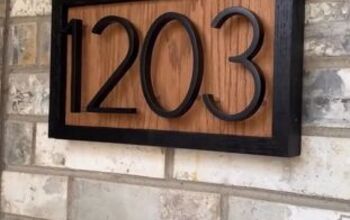
How To Make An Address Sign
Would you like to make an address sign like the one over our front doors? I get so many questions about that sign so I decided to share all the details with you.Today I’m sharing how we made the address sign over our front doors with step by step instructions. This includes how to make the letters, how to attach the boards and how to achieve a reclaimed wood appearance.
We were fortunate to have some reclaimed shiplap boards to use for our sign, however I’m sharing how to achieve this look with new wood.
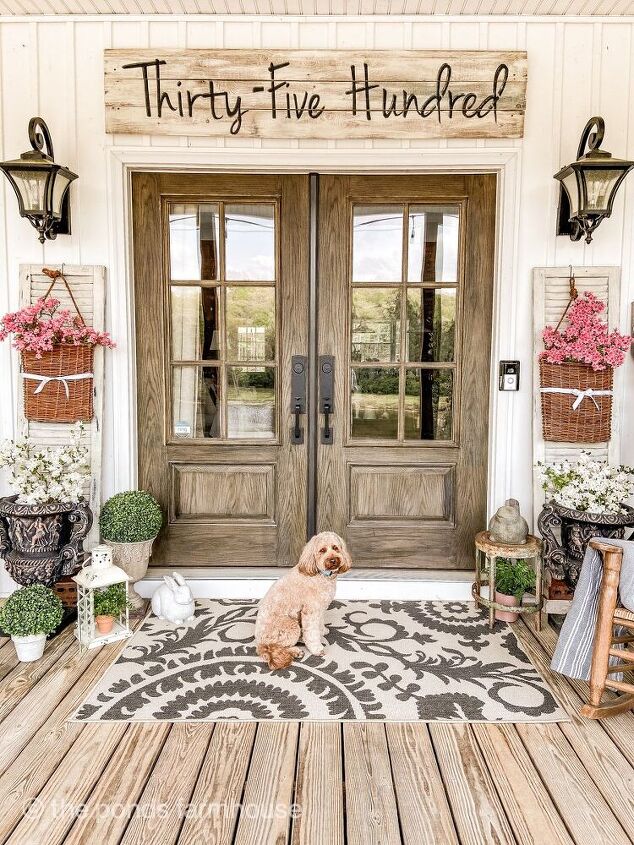
First, determine the length of your sign. We wanted our sign to cover the top of our french doors and therefore we cut our shiplap boards 73 inches long.
For this example, we purchased two 8″ by 8′ shiplap boards. This sign needed to be 60″ long so therefore, we cut the excess wood into narrow strips to attach the two boards together from the backside.
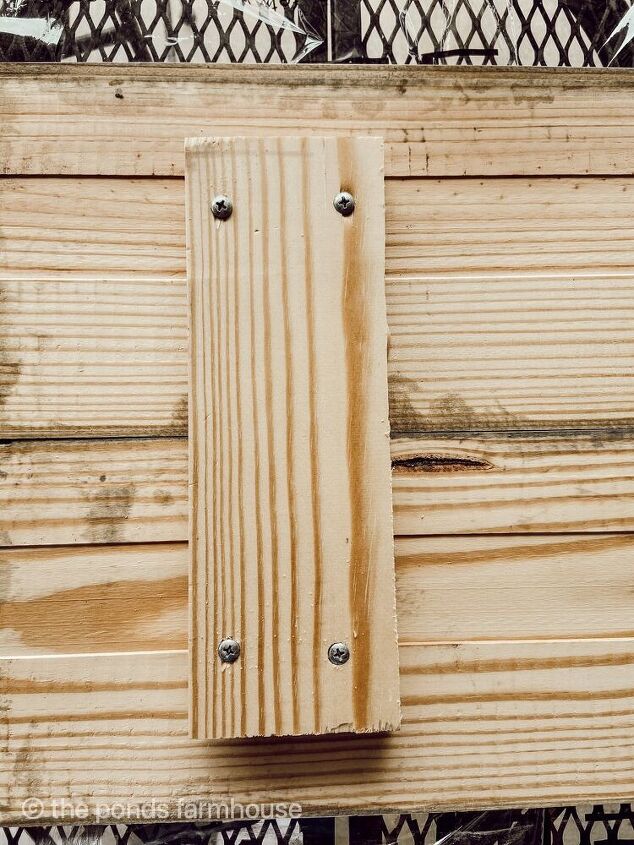
Next, turn the two boards with the backside upward and attach your wood strips with screws to hold the boards together. Be sure to use screws that are the proper length to avoid the screw from coming through the front of the sign.
Place a minimum of 3 attachments to the back of your sign. If your original boards don’t have excess length, you can use any scrap wood your might have available. The wood attachments will not be visible once your sign is hung.
Distress your Address sign
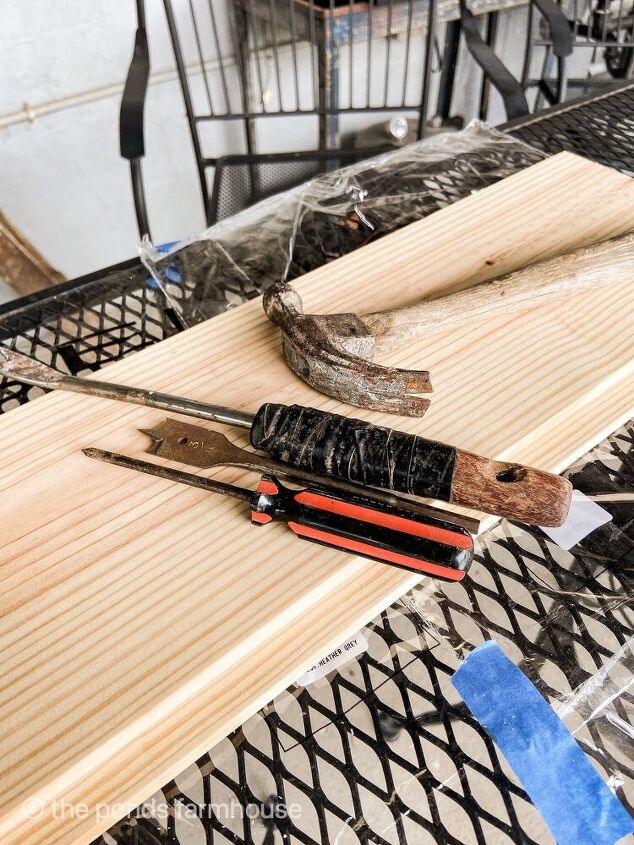
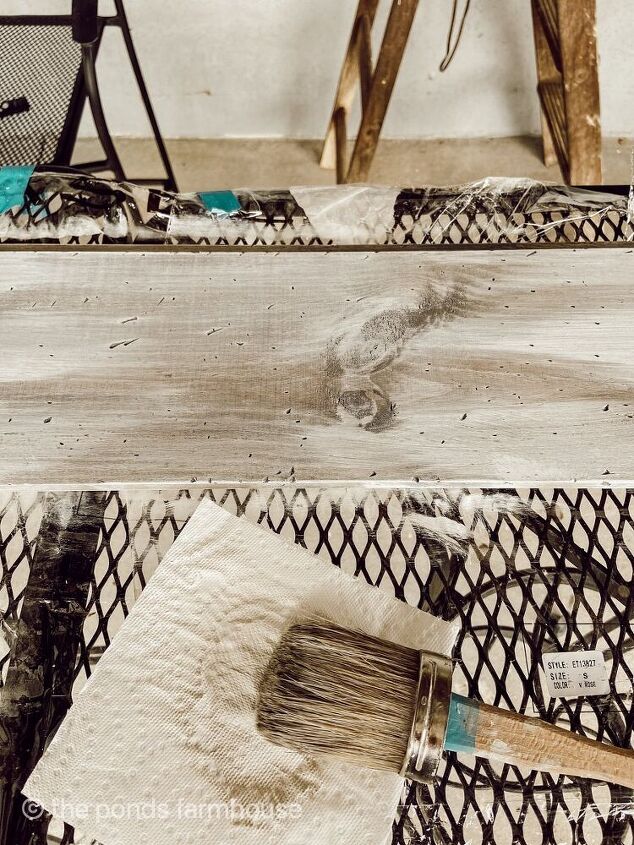
The first step to aging your new wood address sign is to add some dings and dents to the wood. This can be achieved with various tools including hammers, screw drivers, chains, nails, screws, etc. Anything that you can beat the boards with.
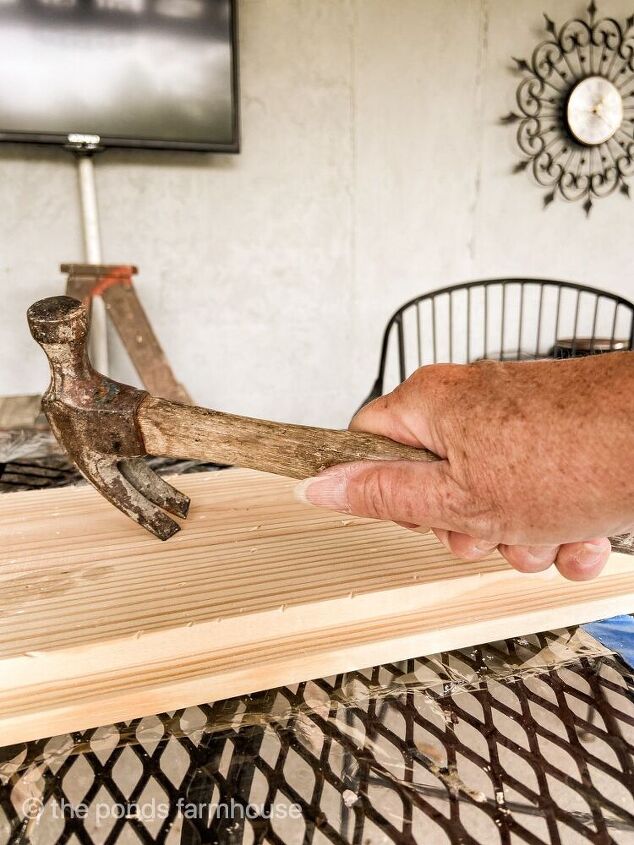
Begin by placing your sign right side up on a solid surface and begin hammering away. This is also a great stress reliever. LOL.
Whitewash your new wood
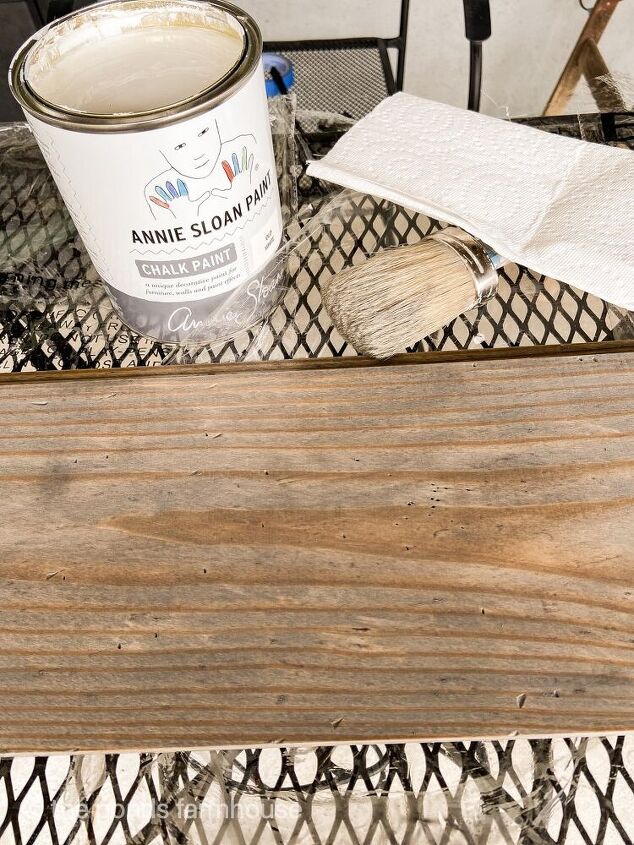
After you finish with the distressing, you will want to whitewash your new wooden sign. In order to achieve an aged appearance, you will need to stain the wood before applying the whitewash. This will require a gray penetrating stain and your choice of white paint. See complete details on How to Whitewash Wood.
For the address sign, I used this Classic Gray Minwax Stain and White Chalk Paint.
For the address sign, I used this Classic Gray Minwax Stain and White Chalk Paint
See How to make new wood look like OLD BARN WOOD here.
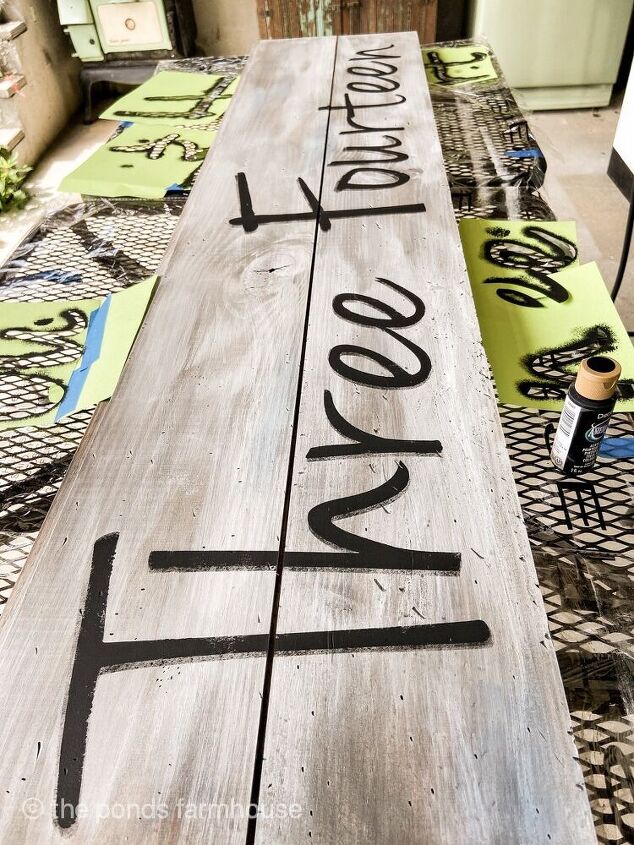
Add House numbers to your Wooden Sign
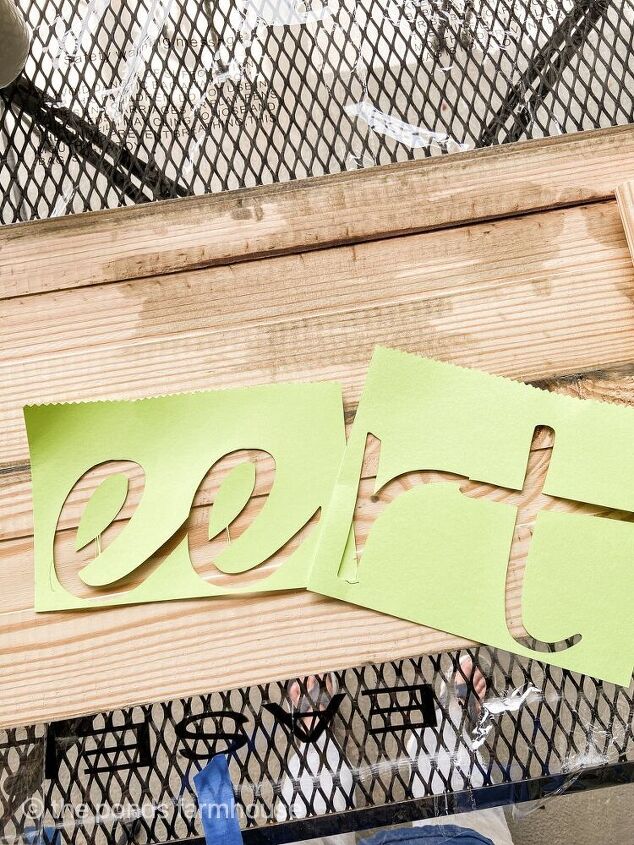
Once the paint is dry, you are ready to add your signage. For this step, I used letters that I created with my Silhouette Cameo. I used card stock to cut each individual letter and the taller letters are approx. 11 inches tall.
If you don’t have a Silhouette Cameo or Cricut Maker, you can purchase precut stencils to complete your project. You will probably want to purchase upper case stencils and lower case to achieve the look you desire.
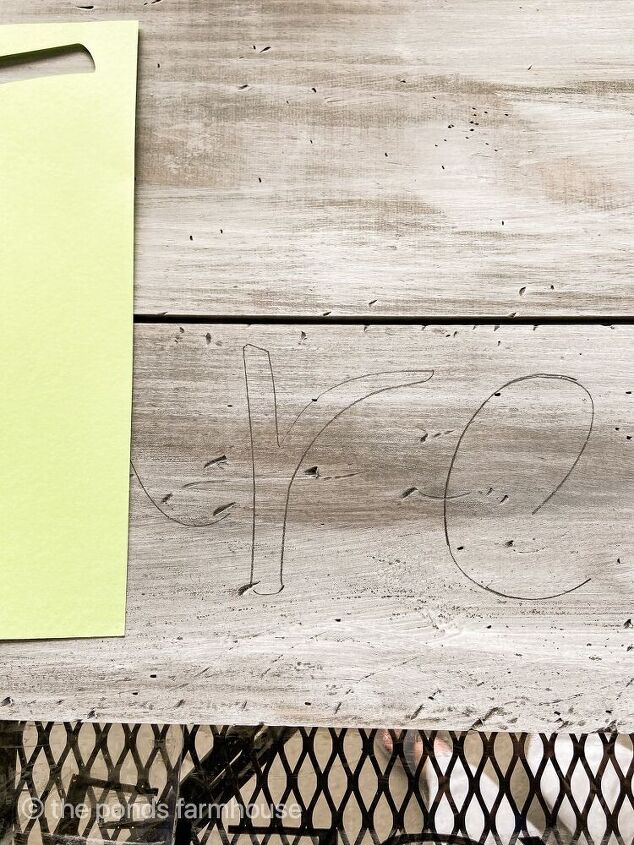
Trace
In order to assure that your letters will be arranged and fit properly on your sign, I recommend tracing the letters with a pencil before applying any paint.
You want to assure that the placement is appealing in design. It’s very difficult to correct after you begin to stencil with paint.
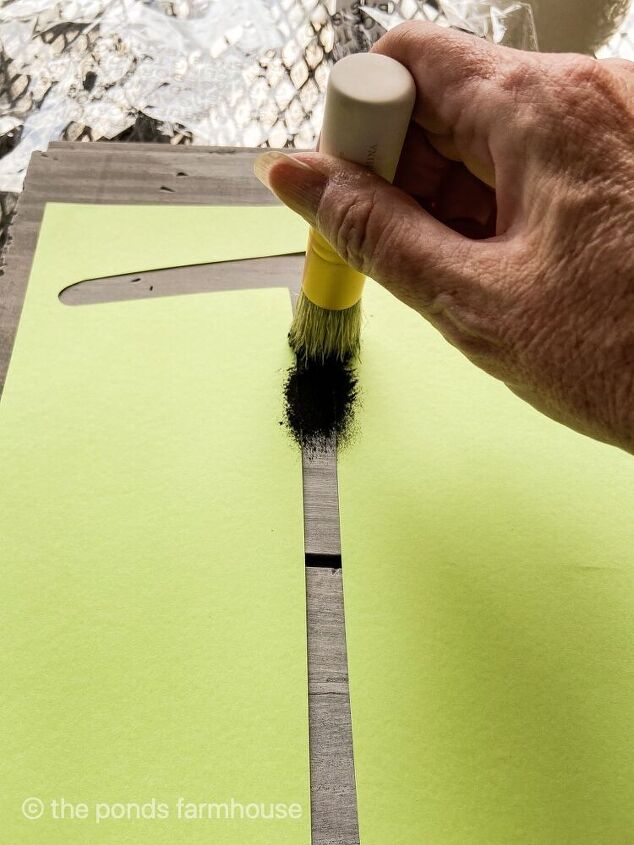
Stencil
Begin by aligning the first stencil and securing it in place with painters tape. Using a stencil brush, add a small amount of paint and blot any excess from the brush. In a downward motion, paint your stencil.
Note: Because the stencils may overlap to get the placement correct, you may need to allow drying time before moving to the next letter.
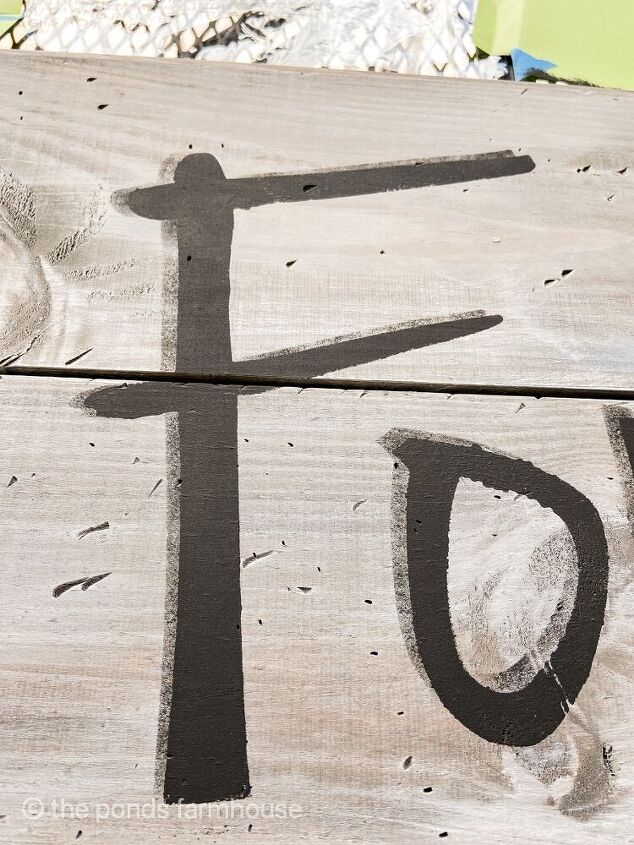
Optional Step
In addition, you can add dimension to your signage by adding a shadow effect. This is an optional step that I like to add.
Once the original stenciled paint is dry, place your stencil back over the letter slightly to the left and upward of the original placement. Using a very dry brush of your original paint color, lightly stencil again. This creates a shadow behind the heavier paint.
Now the signage is complete. Allow to dry and then coat with a fine mist of Rust-Oleum Mat Sealer. If your sign will be exposed to rain or snow, you will want to seal the entire sign, front and back with at least two coats of protective sealer.
Resources for this project:
See all materials


Comments
Join the conversation
-
Love that!! Just beautiful!
-
That is so cool! Love Love Love it!


Frequently asked questions
Have a question about this project?