


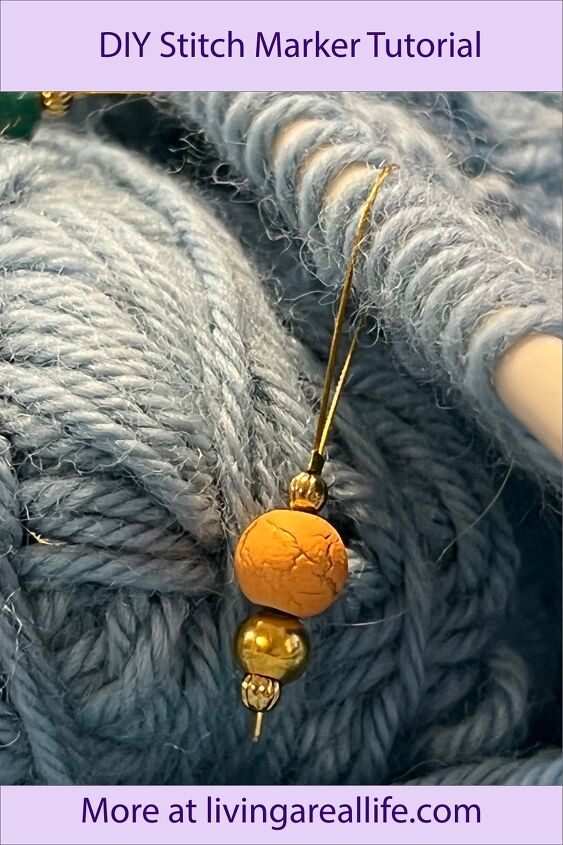
Make Some Knitting BLING | DIY Stitch Marker Tutorial

Would you like to bling up your knitting with some extra special stitch markers? In this week’s tutorial, that’s exactly what I’m doing. I made a stitch marker that you can make to fit any size needle. When I shared the knitting row counter a few weeks ago I got a lot of comments and questions so today, there’s more bling for your knitting.
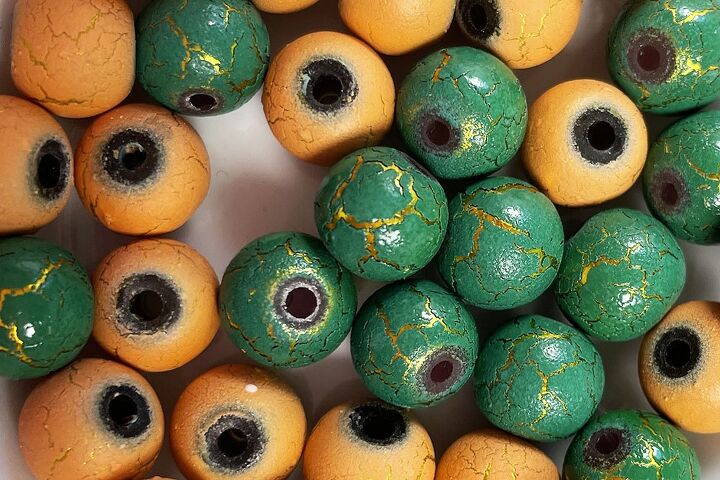
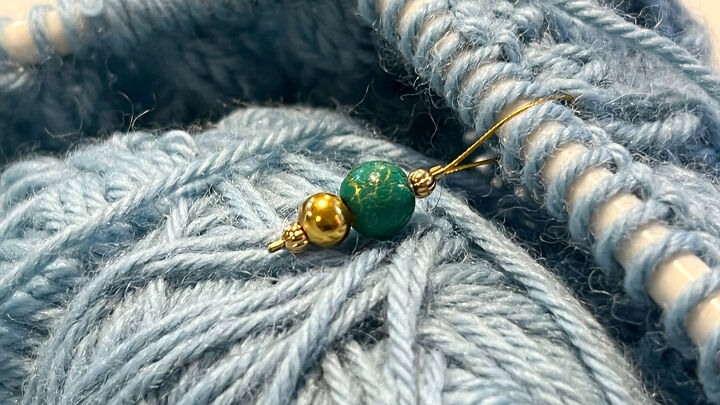
You don’t need very much to make these stitch markers. I chose these Desert Sun beads becauseI love how the underneath colour shows through the cracks. It almost looks like the coloured coating is peeling off. In fact, they look like they may have been baking in the hot desert sun all day!
Materials
Here’s what you’ll need to make these stitch markers.
- 8mm Peach (or Green) Desert Sun Bead x 1
- 5mm Gold Ball Bead x 1
- 3mm Gold Corrugated Ball Bead x 2
- 1.5mm Gold Crimps x 2
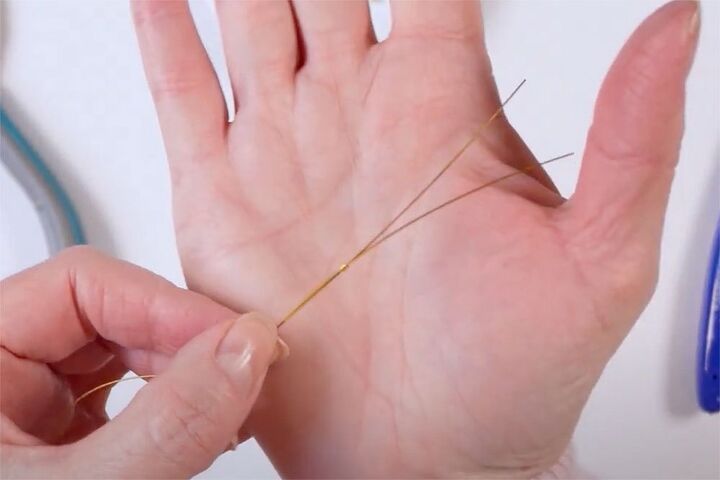
- 0.38mm Gold Tiger Tail x approximately 20cm
Tools
- Chain Nose Pliers
- Flush Cutters
Instructions
Please watch the video or read the instructions below.
Make the Loop
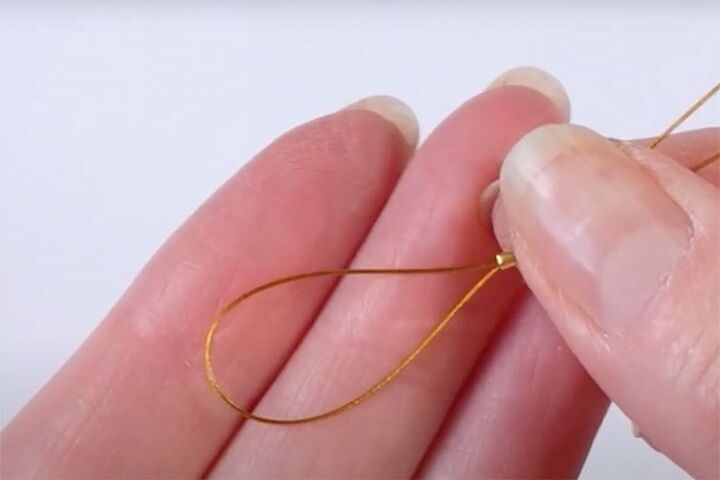
Thread on of the crimp beads onto the tiger tail, then loop the tiger tail around and thread the other end through the crimp bead as well.
Move the crimp bead up the tiger tail until the loop is the size that you want. In my case, this was approximately 2.5cm (1 inch) from the top.
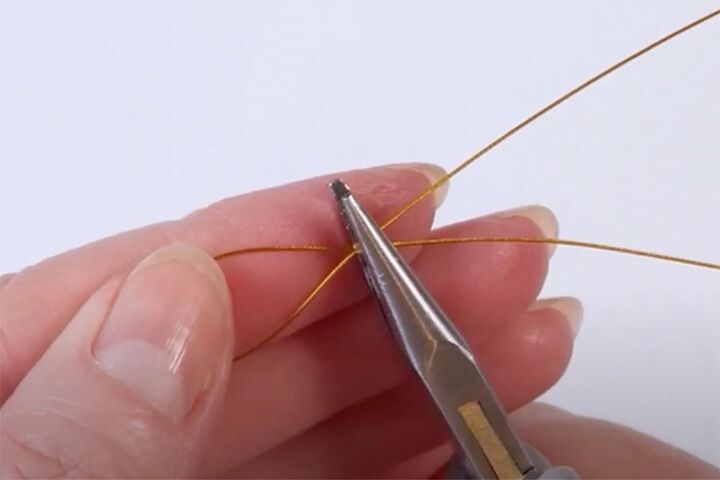
Take the chain nose pliers and squeeze the crimp bead until it’s flat.
Thread on the Beads
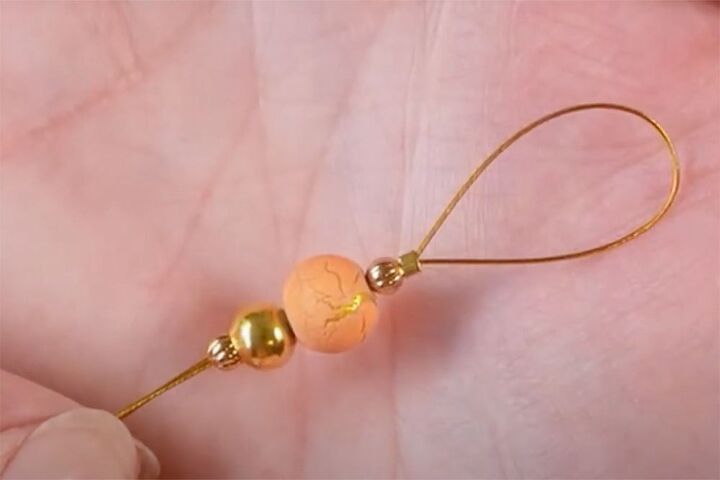
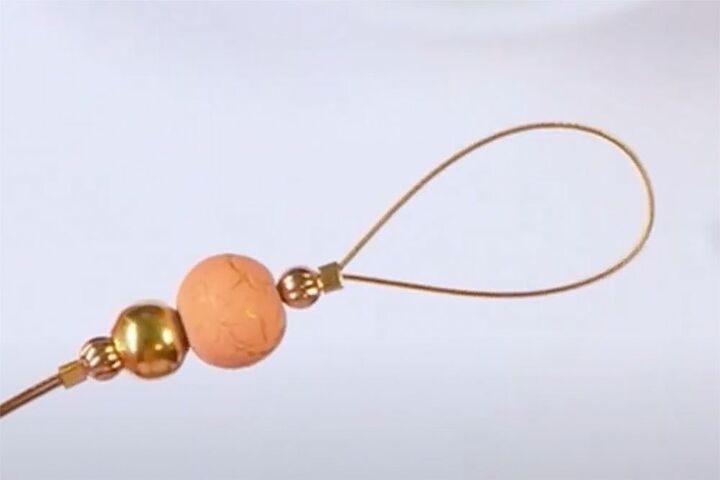
Thread the beads onto both pieces of tiger tail in the following order:
- 3mm Corrugated Bead
- 8mm Desert Sun Bead
- 5mm Gold Ball Bead
- 3mm Corrugated Bead
Crimp the End
Next, thread both ends of the tiger tail through the remaining crimp bead.
Squeeze the crimp bead really well with the chain nose pliers. If this bead fails, all the beads will fall off so make sure you give it an extra hard squeeze.
Trim the Ends
The last step in the process is to trim off the ends of tiger tail with the flush cutters.
You could really make this stitch marker with any combination of beads. You could get really carried away and make some amazing ones. This one is quite simple but still does the job. Please leave me a comment and let me know if you would use these with your knitting.
Jewellery I’m Wearing
The necklace I’m wearing in the tutorial is the Black Tears Pendant Necklace. Please take a look at the tutorial if you would like to make it. The earrings are just someI made up to go with the necklace. I’ve not done a tutorial for those but please let me know if you would like me to.

⇓ REMEMBER TO PIN THIS PROJECT FOR INSPIRATION AND SHARE WITH YOUR FRIENDS!!⇓
If you like my blog be sure to click on the RECOMMENDED button and SHARE it with your friends! It’s the best way for my blog to grow so I can continue to give you great content. I would love for you to be part of my family so sign up to receive my emails. Every time I post a blog, I will send you an update email. Also, follow me on Facebook HERE, Instagram HERE and Pinterest HERE.
Come by and say Hey!


Frequently asked questions
Have a question about this project?