


Cheap DIY Restoration Hardware Mirror Knock-off

by
Heather
Do y'all LOVE Restoration Hardware like i do? When i get their catalogs, that are more like beautiful, thick magazines...i just swoon as i go from page to page. I fell in love with a mirror from there, but not so much the price tag. Somehow, I don't think Mr. B would approve of spending $1500.00 on a mirror!
So, true to my thrifty nature, i decided i would try to make a similar mirror, but at a huge fraction of the cost. Now, i'm bringing the tutorial to y'all! Here we go!
So, true to my thrifty nature, i decided i would try to make a similar mirror, but at a huge fraction of the cost. Now, i'm bringing the tutorial to y'all! Here we go!
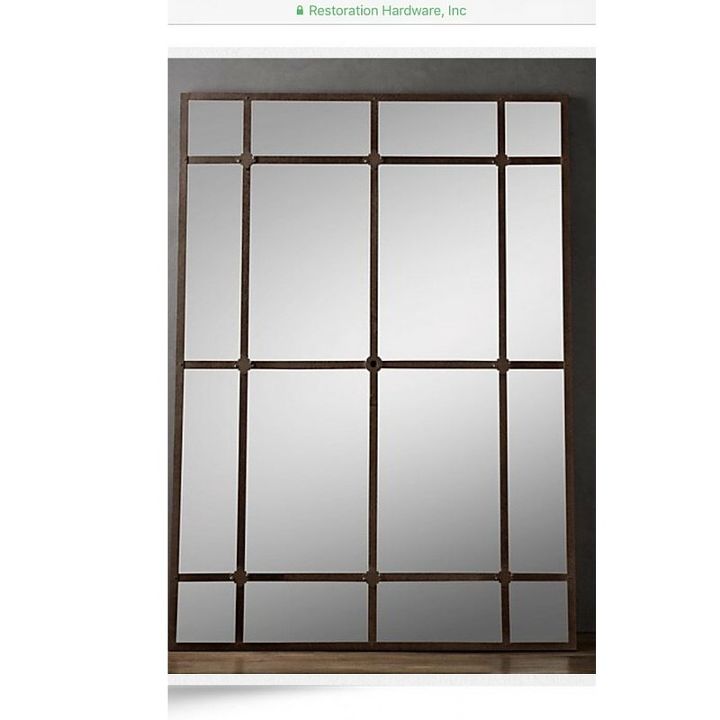
My inspiration came from this mirror:
As i did a little more searching, i found this mirror, which i also love, (but it was still $500.00 not including shipping):
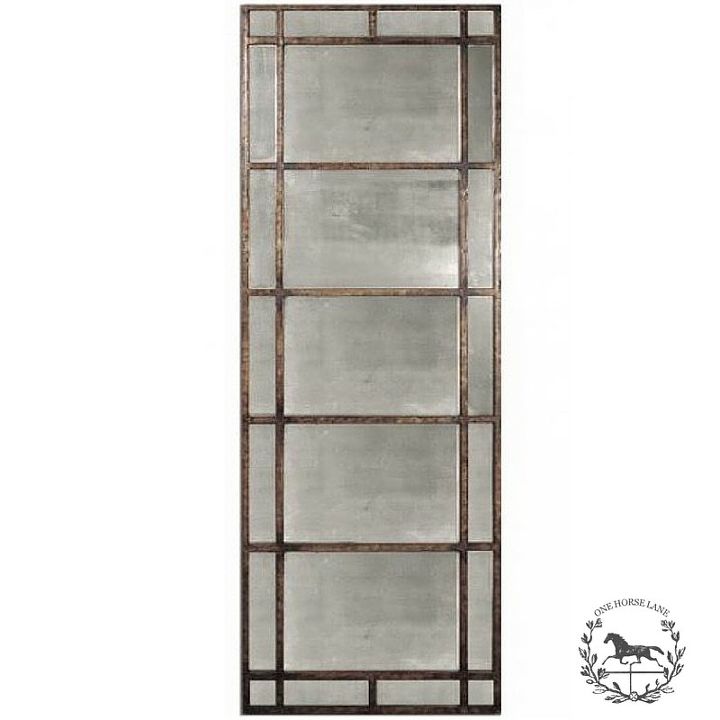
At any rate, both of these mirrors became my inspiration for my knock-off version.
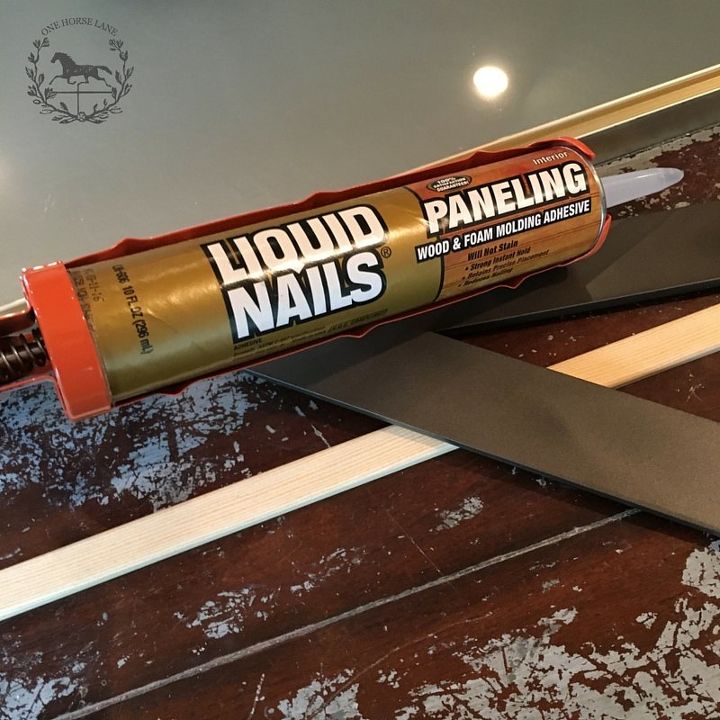
Because i wanted this to be a cheap transformation, i started looking for a material to make my "iron" like pieces out of to create a grid on my mirror. I found these pieces at Home Depot, priced perfectly:
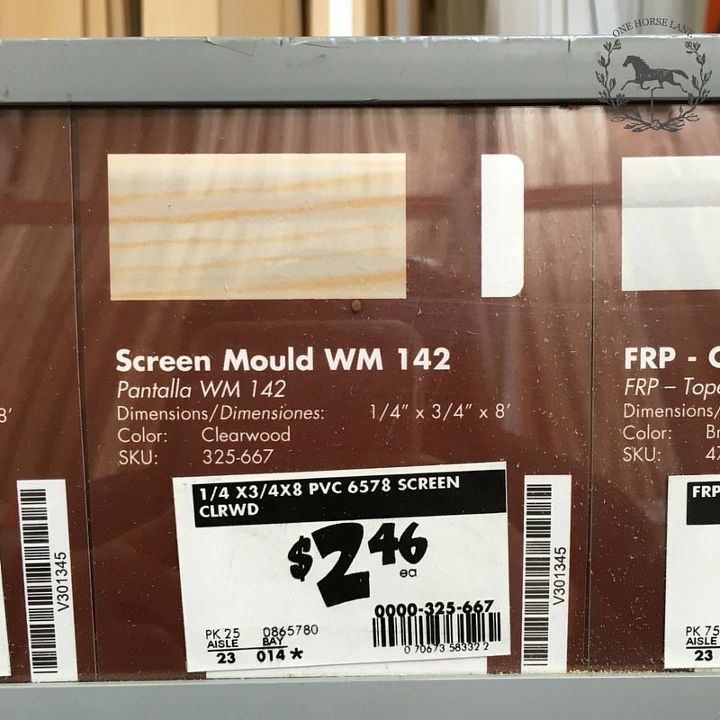
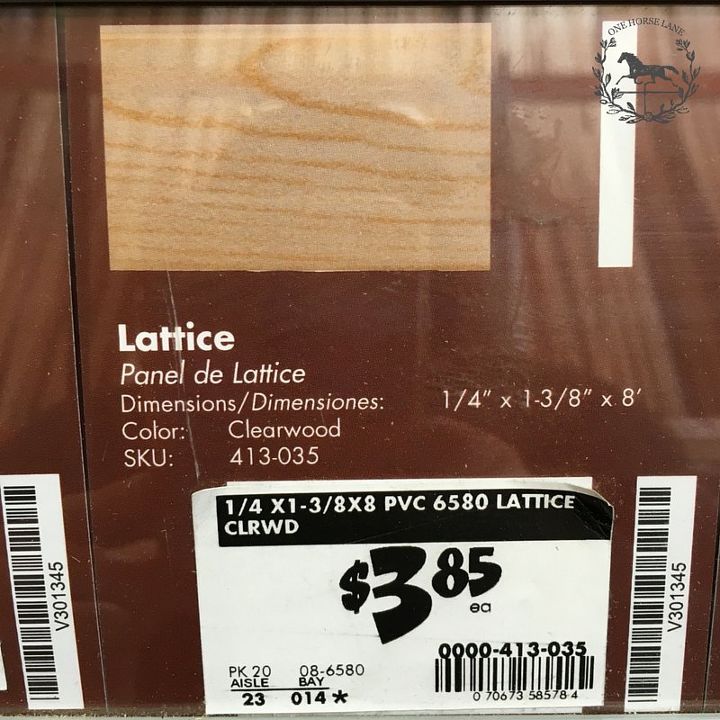
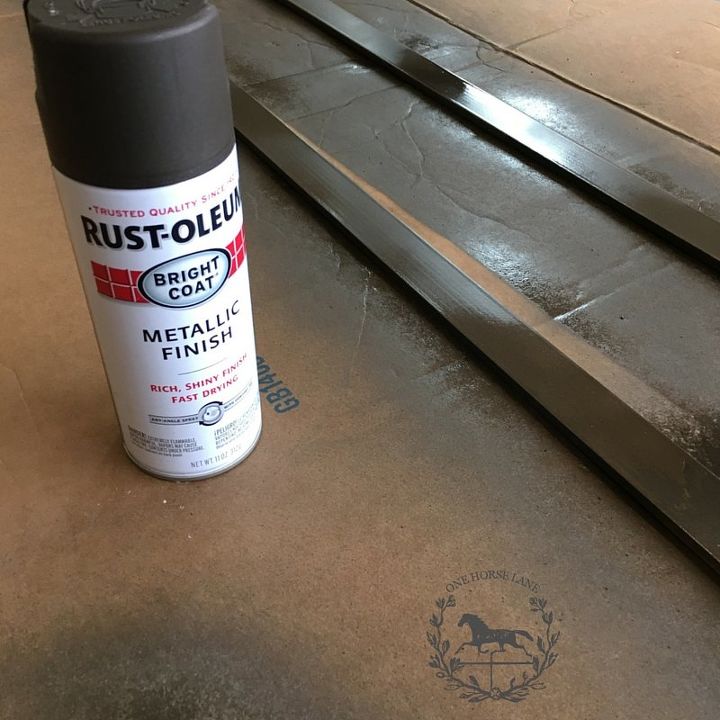
I decided i would use these pieces, cut them down to the size i needed for my mirror, and spray them with Rustoleum Metallic finish paint to get an iron look. They are made from PVC, so are super lightweight, and would easily adhere to the mirror using just liquid nails. The mirror itself is insanely heavy, and i didn't want to add extra weight to it if at all possible. This option was win-win. Cheap, lightweight, and easy to cut.

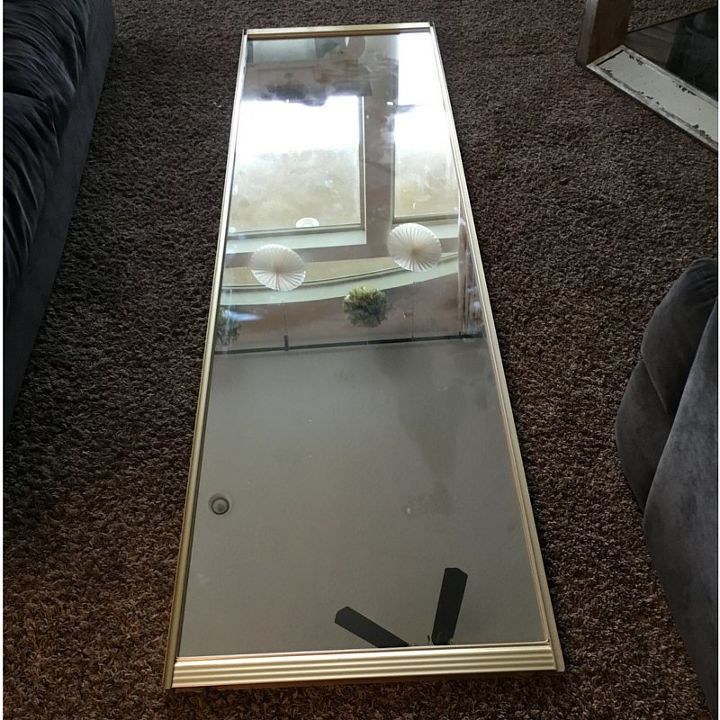
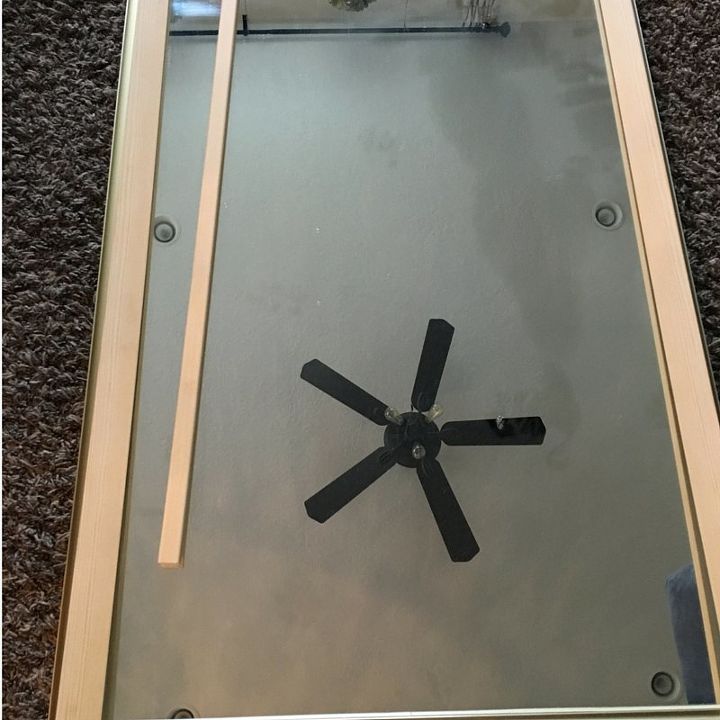
I laid my strips out on my mirror to get the correct measurements, marked them, then cut and sprayed them.
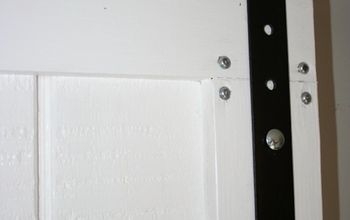
Once my paint had dried, it was time to start adhering the "metal" strips to the mirror. I used Liquid Nails to secure the pieces onto the mirror frame.
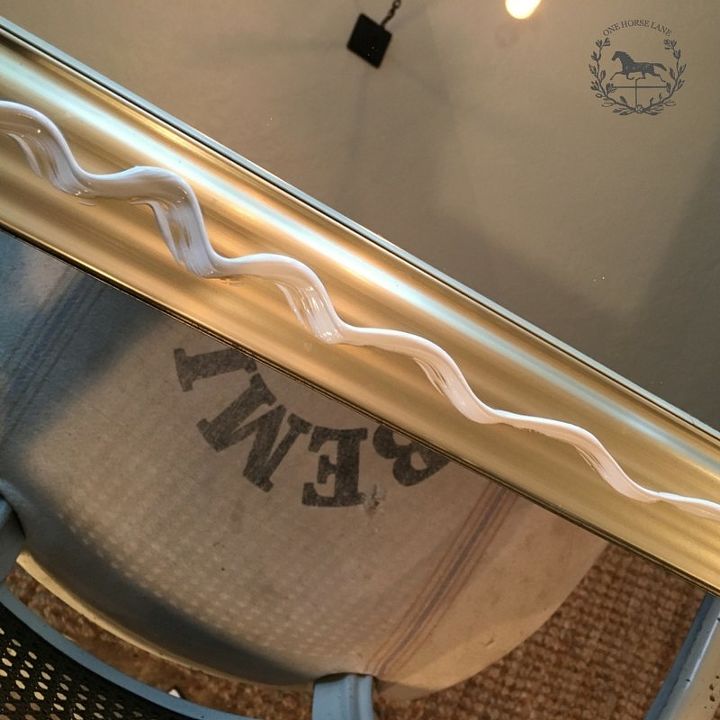
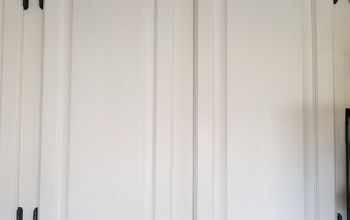
I started with the long sides first, and then moved to the top and the bottom.
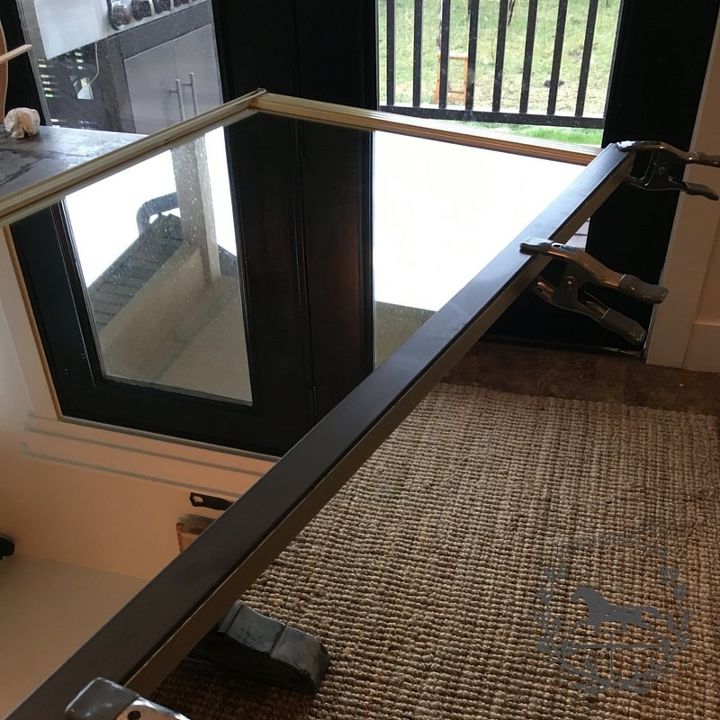
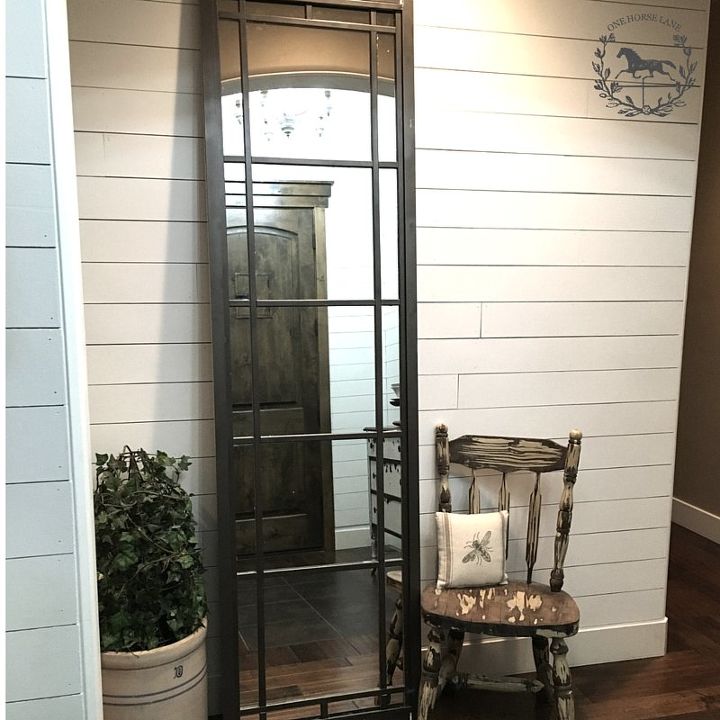
I continued to add "iron" strips to my mirror until i had the look i was going for. To see the complete tutorial of how i added each strip, you can read the entire post on my blog at One Horse Lane. Hope this has inspired y'all to make a beautiful Restoration Hardware inspired mirror on a budget!

Want more details about this and other DIY projects? Check out my blog post!
Comments
Join the conversation
3 of 9 comments
-
so beautifu! Love it!!!
-
Please show a pic of the finished project


Frequently asked questions
Have a question about this project?