


DIY Circle Mirror

$25-30
1.5 Hours
Medium
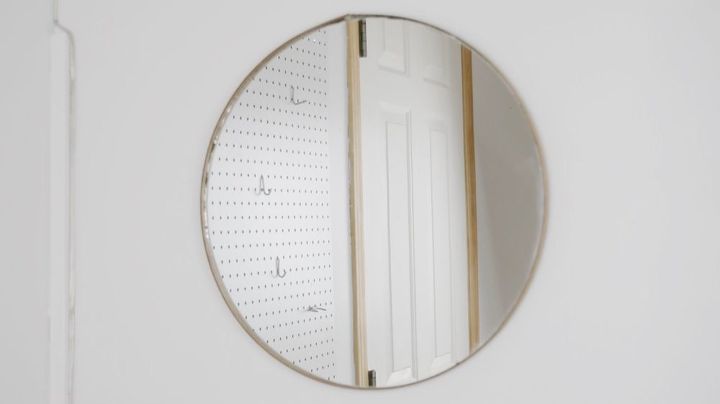
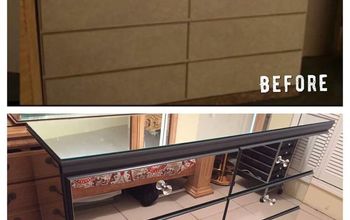
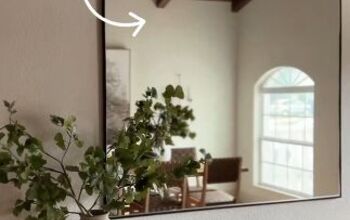
This circle mirror fits perfectly in any room of the house. It's such a staple item to have, so why not show it off a little. It has a simple and beautiful design that makes it look as if it has been bought at a store.
{
"id": "3681870",
"alt": "",
"title": "",
"video_link": "https://www.youtube.com/embed/oS1wP4ffj_4",
"youtube_video_id": "oS1wP4ffj_4"
}
{
"width": 634,
"height": 357,
"showRelated": true
}
To begin you will need to buy a large mirror. The size really depends on how big you want it to be but in my case I got a 20-inch x 24-inch mirror.
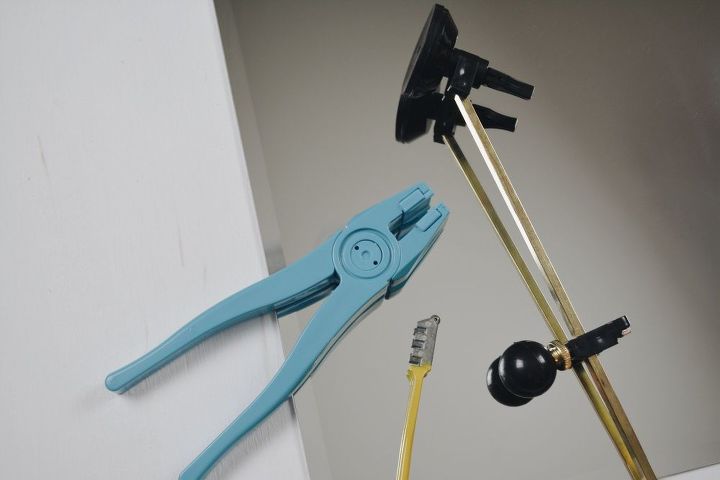
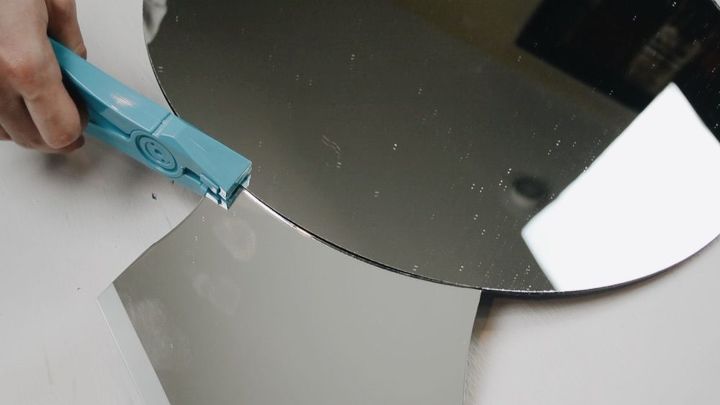
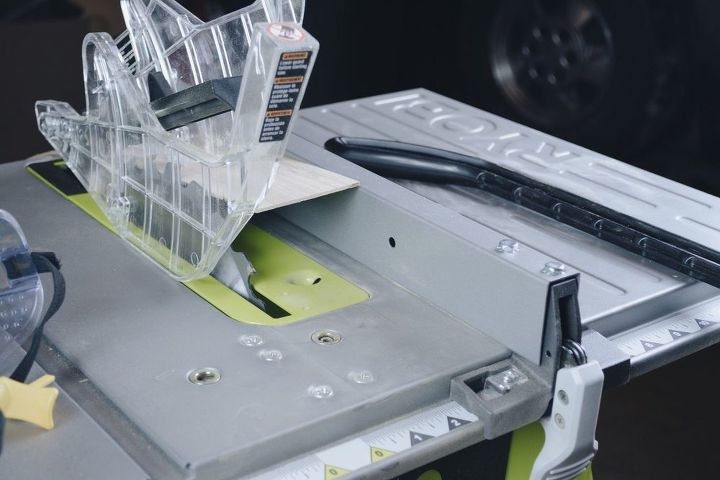
Next you will need this circle glass cutter. Start by measuring the height and width of the mirror to find the exact middle. Once you have it, push the knob down so it stays in place. Other tools pictured are a glass cutter (yellow) and a cut running pliers (has a bump on one side and is flat on the other, making the glass break easily). You will use these later on.
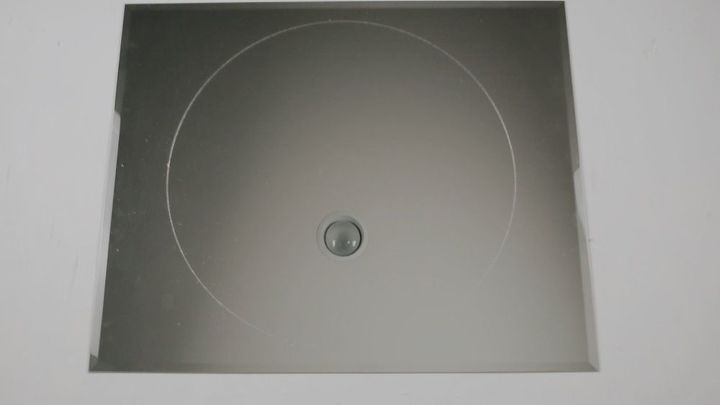
Then you will have to decide how big you want the circle to be. I made mine with a diameter of 18 inches and this can be adjusted by moving the cutter up and down on the bar.
Before you get started, remember to put on your safety goggles. (I'd rather be safe than sorry!)
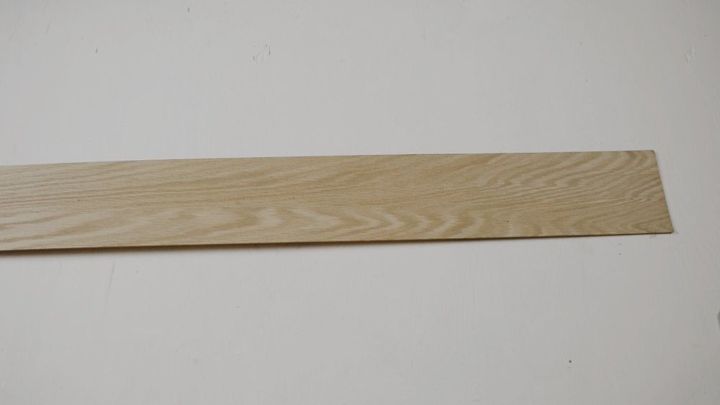
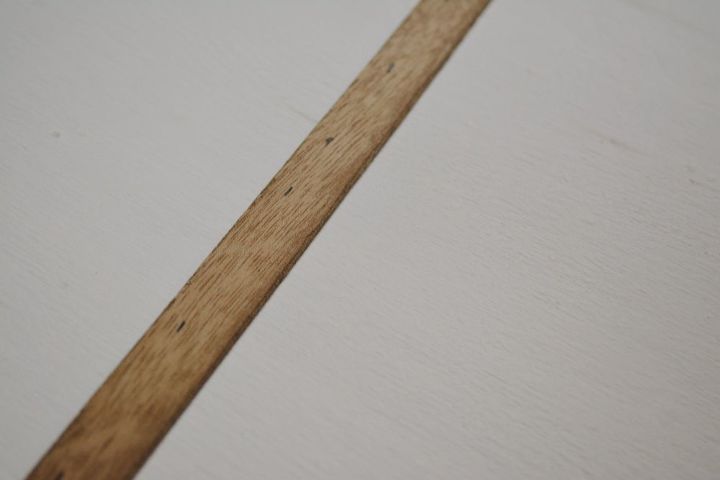
Next you will need Unfinished Oak Toe Kick. This is perfect because it’s thin and bends easily. We’ll use this for the edge of the mirror.
Then cut this width into long strips of 1.5 centimeters. Make sure the length is 56 inches if you’re making he same size. Once it’s cut, it’s time to stain. I’m using a Dark Walnut Danish Oil. Apply it to the front and back, along with the sides.
Now mark the wood, one centimeter from the edge, with a pencil. This helps so it is evenly placed onto the mirror.
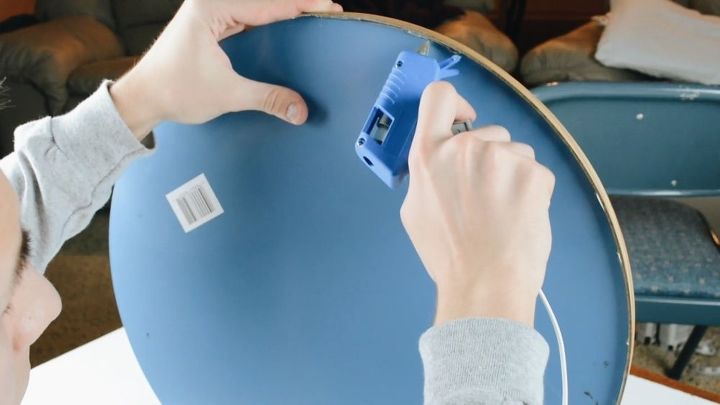
Then align the mirror onto the pencil marking and use hot glue for it attach. (Hot glue is great, because it is fast drying, but once its all dried you can go over it with a strong glue like E6000 for a stronger hold). Hold it each time you glue until it dries to keep its shape. Continue rolling the mirror onto the wood and glue it until both ends come together.
Comments
Join the conversation
3 of 4 comments
-
I wish I had the nerve to try this. I would ruin a good mirror, because mine would break. LOL
-
I have the round mirror but want to dress it up.


Frequently asked questions
Have a question about this project?