


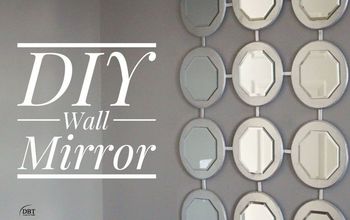
DIY Full Length Leaning Wall Mirror

$70
3 Days
Medium
Desiring a large statement piece to admire your OOTD's in but looking to stay within a budget? I have just the project for you!
Below are my step-by-step instructions for making a precious masterpiece of your own and I've also included a youtube tutorial you can follow along with as well. Shameless plug! *Don't forget to subscribe to my channel for more DIY projects & how-to's!*
Disclaimer - I by no means am taking full credit for the blood, sweat and literal tears that went into making this project a success. My amazing fiance did most of the heavy lifting and I am so grateful for his partnership. You, too, can solicit a partner as it makes the job much easier...trust me!
Let's begin, shall we?
{
"id": "4071812",
"alt": "DIY Full Length Leaning Wall Mirror",
"title": "DIY Full Length Leaning Wall Mirror",
"video_link": "https://www.youtube.com/embed/GfwFurZyNHs",
"youtube_video_id": "GfwFurZyNHs"
}
{
"width": 634,
"height": 357,
"showRelated": true
}
Materials Needed:
Frameless Rectangular Mirror
4 whitewood boards - 2 short, 2 long measured to frame the mirror purchased
Sheet of hardboard
Liquid Nails
Mirror Adhesive (optional)
Paint or Stain of choice
Gloss or finish of choice
Short nails, screws
Hammer
Flat Braces (optional)
*exact measurements for my specific mirror detailed in the video*

Step 1:
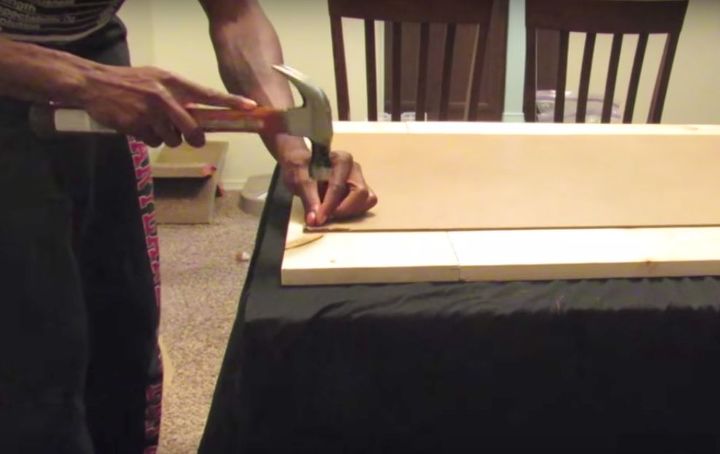
Begin by building out the frame of your leaning wall mirror. Using your liquid nails adhesive, secure your whitewood boards to one another at all 4 corners. Be certain to confirm your mirrored glass fits within the pocket of the 4 pieces of wood before securing so to avoid having to have the mirror cut down at the end. Follow up with a few staples to each area in which you've glued to ensure your boards remain flush while the glue dries. You can remove the staples right before painting/staining if you'd prefer but I kept mine in and you can't even tell they're there!
Step 2:
After the glue has dried at all 4 corners, flip the frame to lay face down on your work surface and secure your hardboard to the back of the frame. Not only will the hardboard provide a backing for the mirrored glass to adhere to, but its sturdiness will provide additional structure and strength to your frame as well. We used short nails for extra security and durability but staples may work just fine as well.
Step 3:
Flip the frame to lay face up again and fill any gaps between the hardboard and the wood frame with liquid nails. This will ensure the hardboard stays closely adhered to the wooden frame once you've placed the weight of the mirror up against it. You can never have too much security!
Step 4:
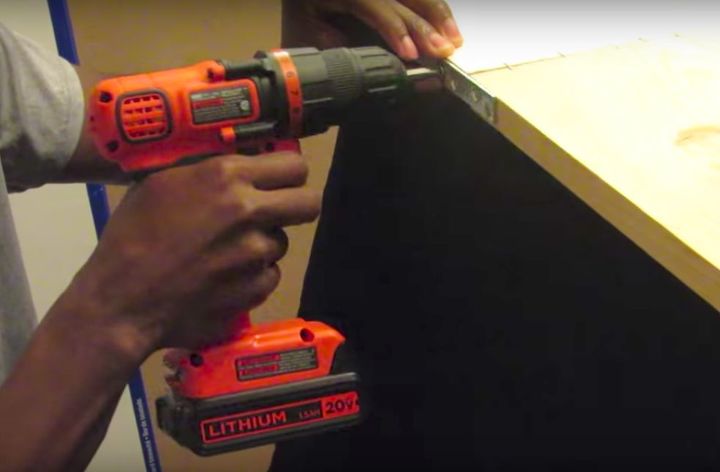
THIS STEP IS OPTIONAL! But because I'm worrisome, I wanted to add something to the frame that gave me comfort in knowing the wood wouldn't separate from each other at any point. We added flat braces to all 4 joints of the wood and secured them with screws. This baby will surely withstand moves, drops and everything in between.
Step 5:
The fun part! Painting/ Staining your project! I was going for a natural, more rustic look so I decided to stain my frame in a grey wash but you can do whatever it is that makes you most happy at this point! Decorate the frame to match your decor or add a pop of color to a room...whatever suits your fancy. Let your first coat of paint or stain dry overnight. REPEAT. Be mindful of streaks and let your second coat dry overnight as well.

Step 6:
Time to add your mirrored glass! Cover your pocket of hardboard with liquid nails or mirror adhesive and be very generous with the product. Insert your mirrored glass into the pocket and secure. Note: Consider using gloves or some other sort of hand protection when working with glass.
Step 7:
Line the mirror with a protective cloth and place heavy weights on top so that the adhesive dries super snug to the hardboard. The last thing you want to happen is for your glass to slide right out of the frame and shatter all over your floor. I honestly don't believe you want that at all!
Step 8:
While the heavy weights work their magic, apply a transparent sealant and/or gloss to your frame as a final touch! Allow drying time for both the mirror adhesive and the final coat of sealant/gloss over the next 24 hours.
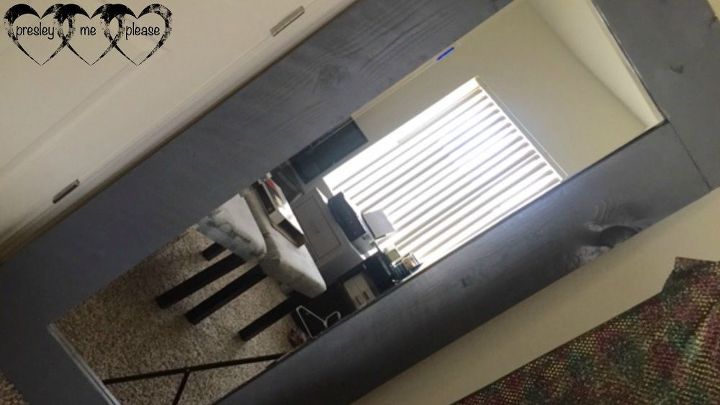
YOU DID IT! Your masterpiece is complete. Wipe your mirror down with a good glass cleaner and display in your most favorite place!
I hope this project was easy to follow along with and that you enjoy your final product! Please let me know if I can answer any questions and thank you, thank you, thank you for your support!
Time for a selfie!
~Porcsha


Frequently asked questions
Have a question about this project?