


DIY Wood Framed Mirror

This was another weekend project with materials we had on hand and laying around the garage. It was the perfect touch to our updated entryway!! Follow along for a DIY Wood Framed Mirror.
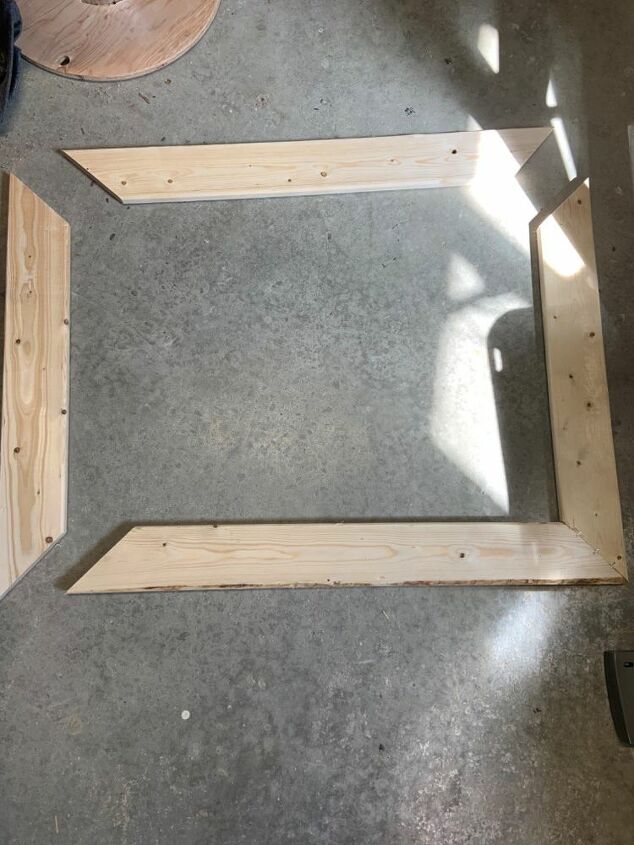
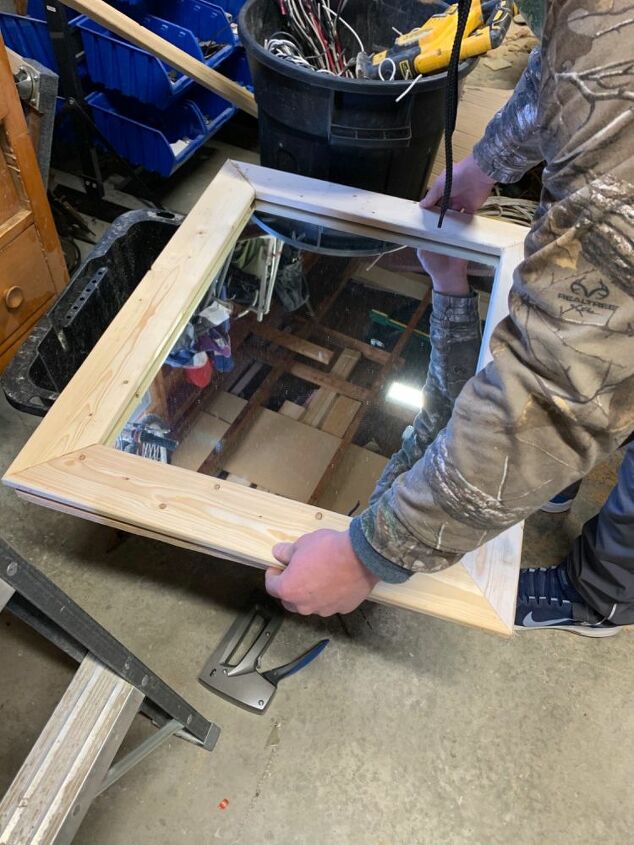
We had 1” X 3” pine wood strapping left over from previous projects. This is the wood we chose to frame out the mirror. Unfortunately I didn’t get a picture of just the mirror. We just used a second hand mirror that did not have a frame (just the mirror itself). We cut our wood at a 45 degree angle using a Mitre Saw with a finishing blade.
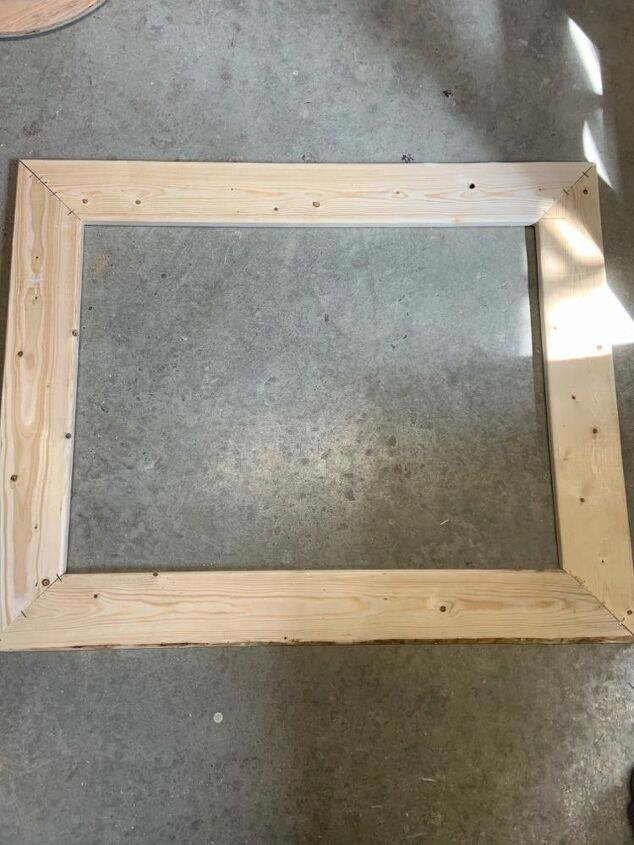
We put the frame together using a Brad Nailer with finishing nails, glue & staples. We only out the staples on the back side as you won’t see it once you adhere the backing.
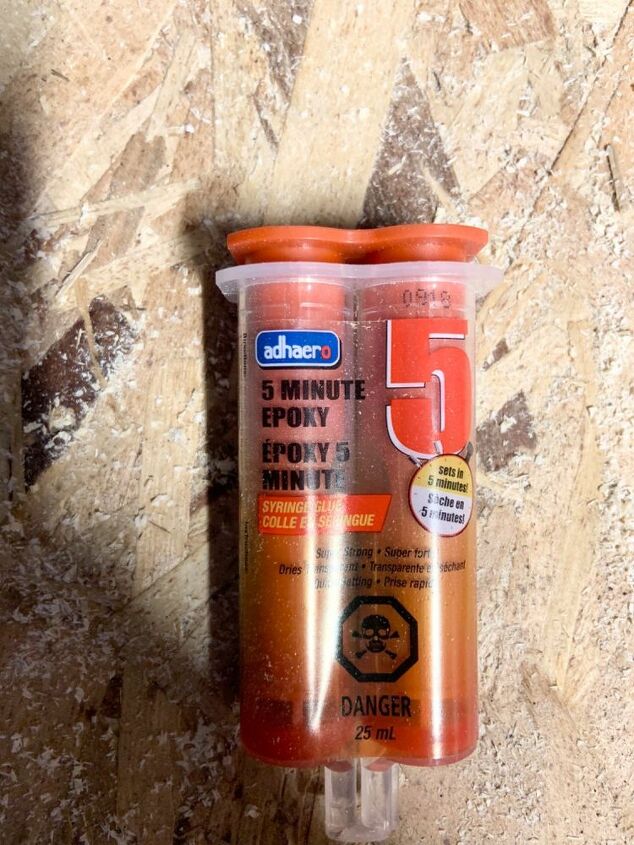
The is the Epoxy Glue we used. Be sure to use this in a well ventilated area as the smell is strong. It’s always good to use a mask if you have one on hand.
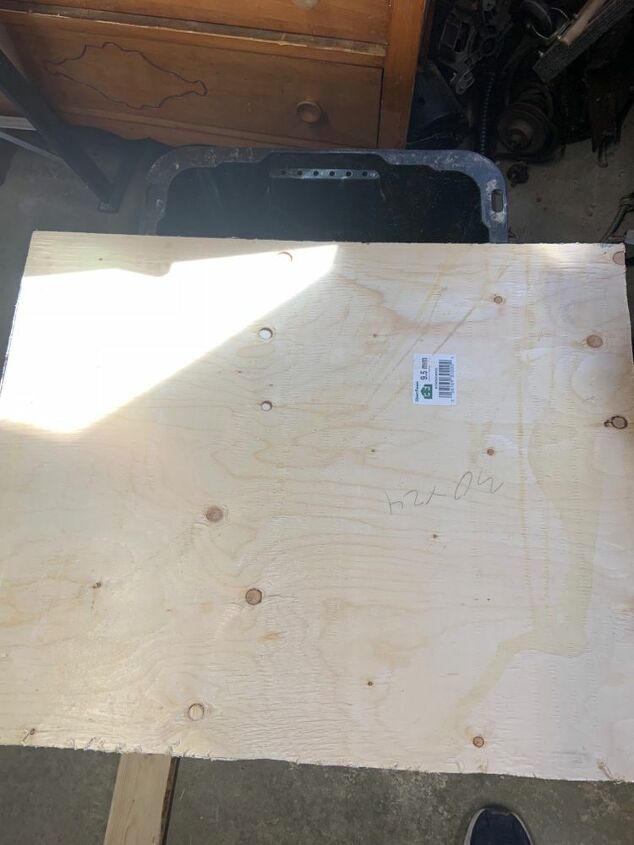
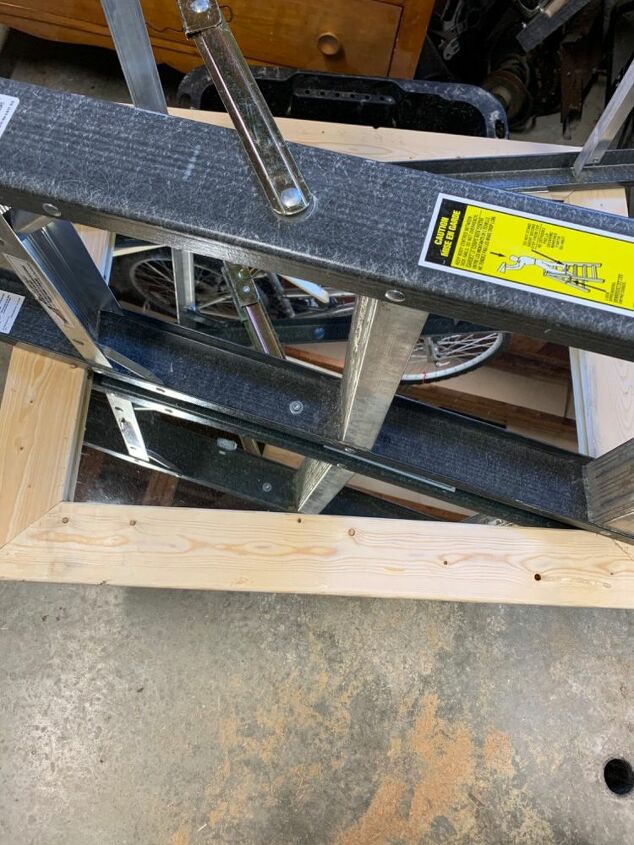
We had a scrap piece of plywood so we decided to use it for the backing of the mirror. We cut the wood roughly 1” bigger than the mirror to have additional space to nail the frame into the backing.
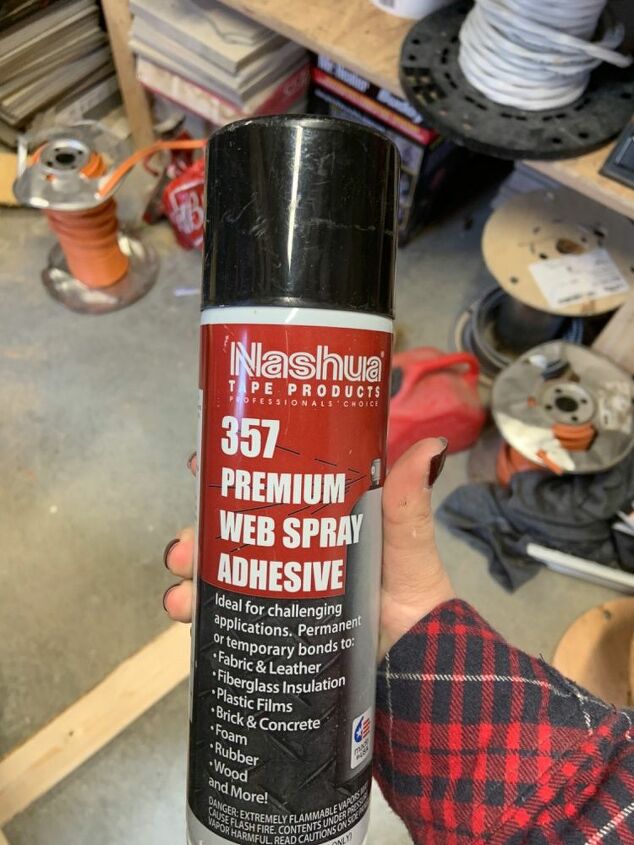
This is the adhesive we used to spray the back of the mirror, plywood & the wooden frame to help secure everything together.
Once you’ve sprayed the plywood, back of mirror and back of frame, apply the frame on top of the mirror.
Apply something with some weight to the top of the frame to help keep things together while the adhesive drys. Be sure not to apply anything too heavy as you don’t want to break the mirror.
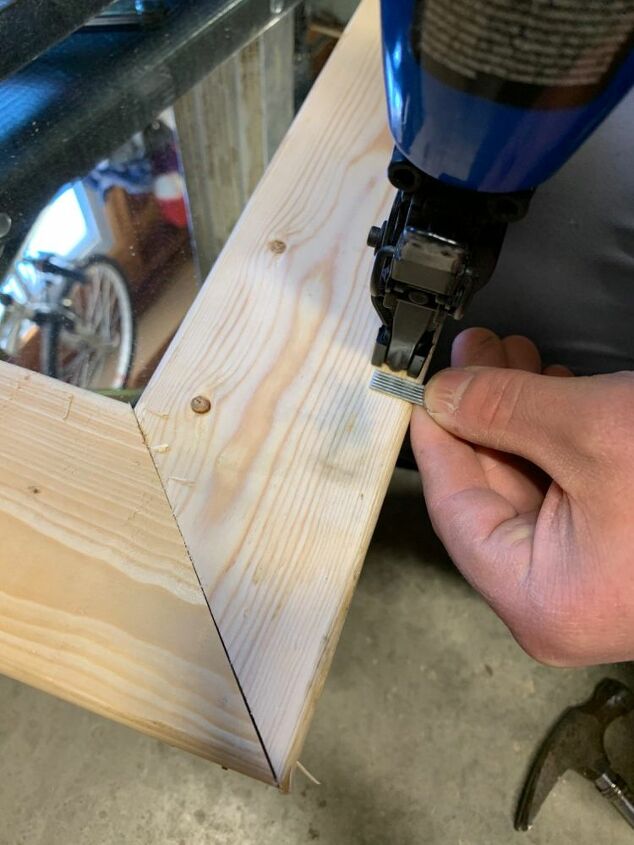
Now you can apply the finishing nails all the way around the frame, into the plywood to ensure the mirror stays secure. Be sure to measure how much space you have to nail into as you do not want to nail into the mirror. We used extra finishing nails as a guid while nailing around the frame.
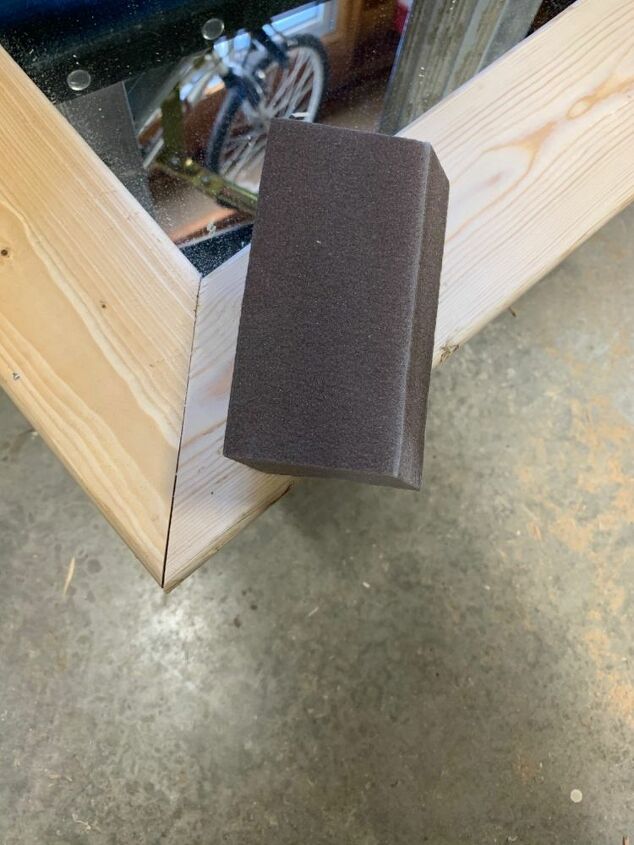
I used a sanding block to give the frame a light sanding and to remove any rough areas. Always sand with the grain of the wood not against.
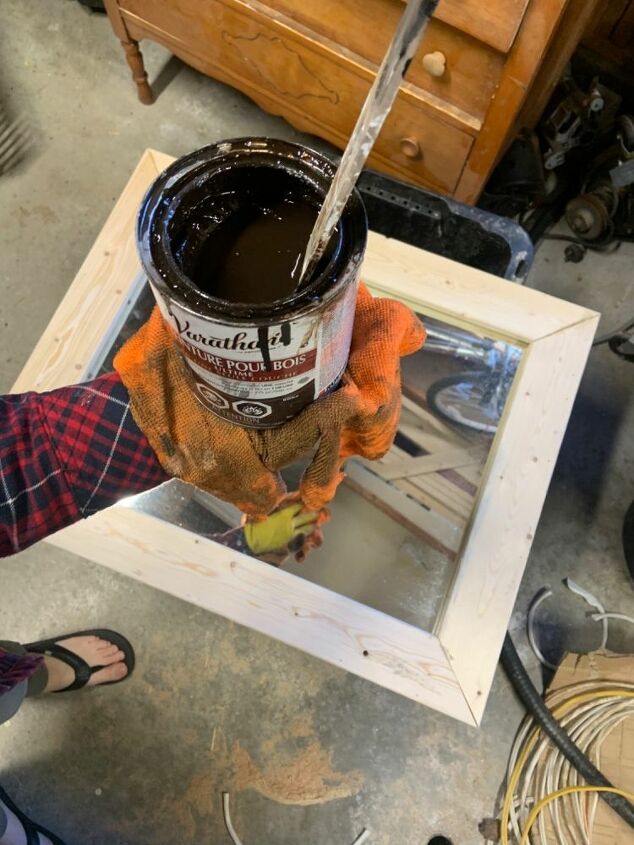
Once you’ve sanded the mirror you can pick your stain you want to use. I used Varathane Stain I had on hand in the colour Kona.

I wore gloves and used an old rag to apply the stain to the frame. Again, you should go with the grain of the wood when applying it. It’s always good to start with light coats of stain as you can always add more.
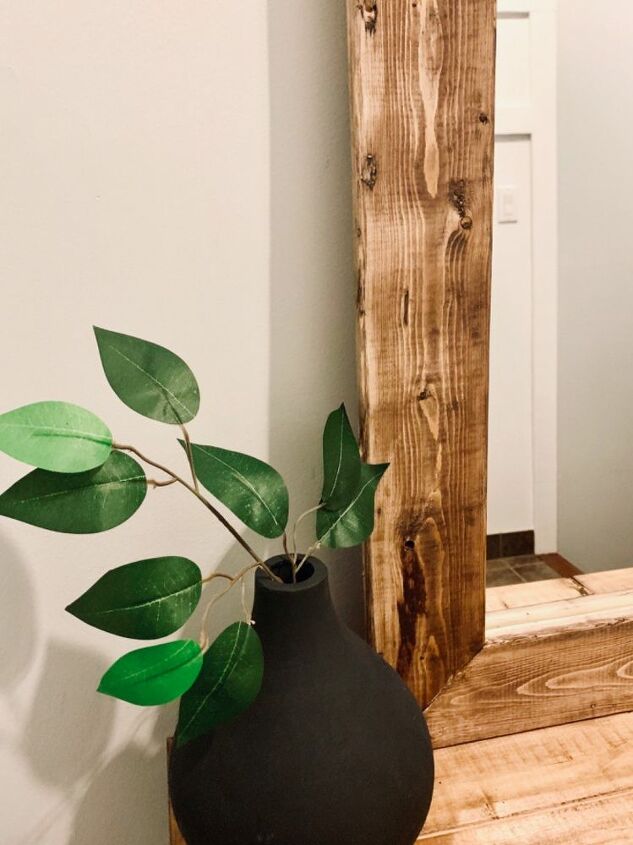
This is the finished look of the stain!
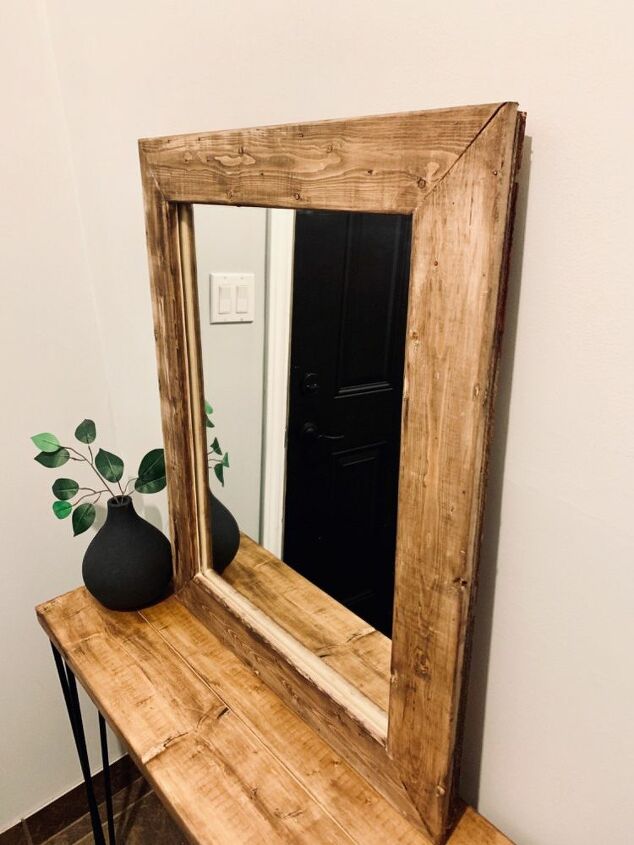
We decided to not hand our mirror and just lean it up against the wall on our entryway table.
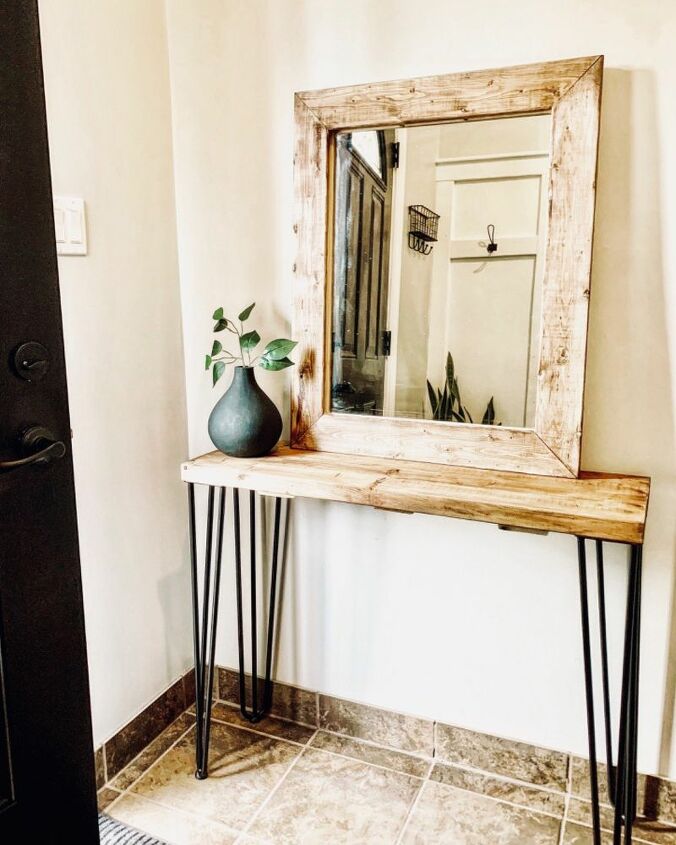
I absolutely loved how this turned out & did not cost any money to create!! Will definitely be making more framed mirrors moving forward!
Resources for this project:
See all materials


Comments
Join the conversation
-
Can't believe how simple this was to make! It looks gorgeous.
-
That looks super high-end. Well done!


Frequently asked questions
Have a question about this project?
I love this! What a great idea! I was thinking that it might be easier for me to stain first & then assemble. Is there any reason I shouldn't?