


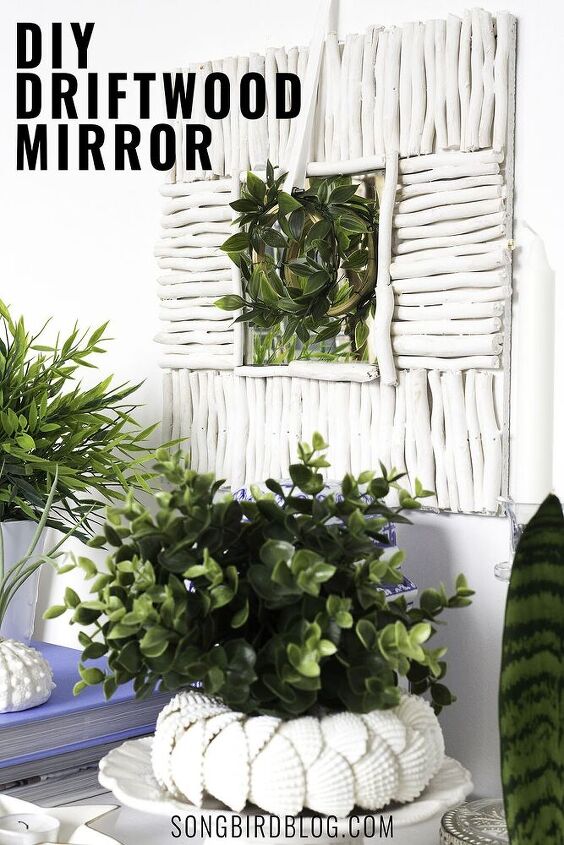
Driftwood DIY Mirror: Step by Step Tutorial
Loving the look of driftwood mirrors? Come see how to make your own driftwood mirror. It is a fun and easy craft project that doesn’t involve difficult steps or expensive tools.
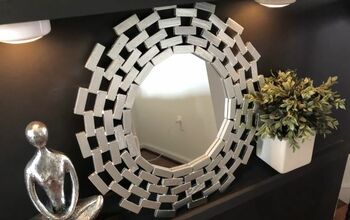
Making a driftwood mirror is surprisingly easy and only needs basic materials and tools. Use found or bought driftwood sticks to frame a mirror that is attached to a larger background. It is best to use wood glue for attaching the driftwood sticks but hot glue could work too. Choose the design you like best, like a sunburst round driftwood mirror or go for a square mirror design.
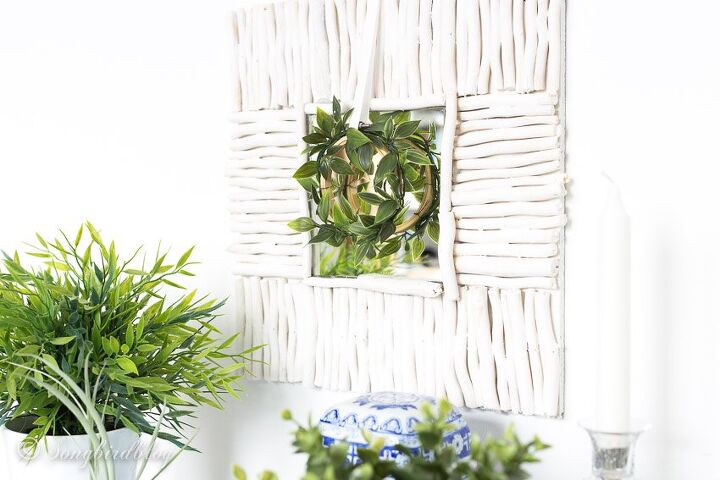
I am in love with my little driftwood mirror project. It was so fun to make and it didn’t cost my a penny because I used up all kinds of materials I had lying around and wasn’t using. Obviously I went with a square driftwood mirror design. I love the big, sunburst mirrors too, but I wanted to combine my mirror with my little side table so I thought a smaller and square design would work best.
How to make a Driftwood mirror: 9 easy steps
The start of my project was a driftwood garland I had lying/hanging around that wasn’t really serving me anymore. I got to thinking what else I could do with it, because I love the texture of painted white wood, and anything that brings a beachy vibe to my decor is a winner in my book. Since I was looking for a little statement piece of wall decoration to pair with my little sidetable, the decision to make a mirror was easy. I had an old mirror tile in my stash that had been used as a place to set a candle from time to time. So that was my starting point.
Materials:
Driftwood sticks
Mirror (tile)
Leftover hardboard (or very sturdy cardboard)
Paint (in the color of your driftwood)
Wood glue
Adhesive tape for mirrors
Hanging hooks
Instructions
- Gather your materials and play with your design until you like it
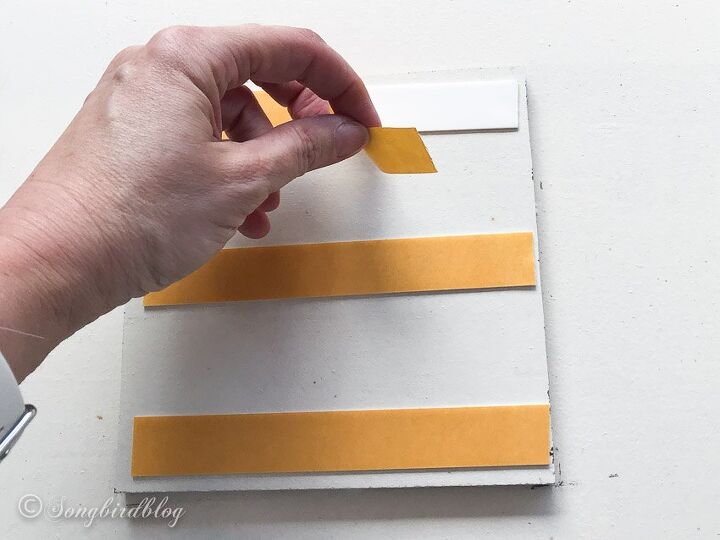
- Saw or cut your backgrounds into the proper sizes and shapes
- Glue and clamp the backgrounds together
- Add your hanging hooks
- Paint the background to match the driftwood
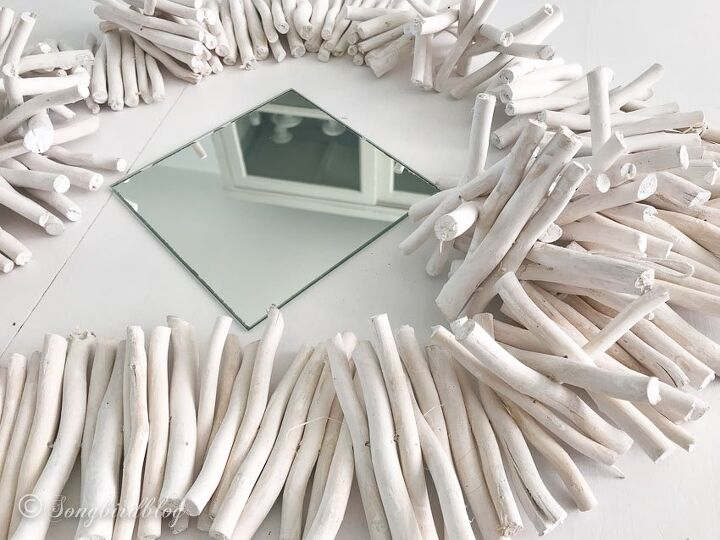
- Attach the mirror
- Glue the driftwood sticks unto the background around the mirror
- Cover any imperfections with paint (if necessary)
- Hang, decorate and enjoy your driftwood mirror!
Check my video of this project for more information about the DIY steps.
If you prefer to read about the steps, I give detailed instructions in the Driftwood Mirror DIY post on my blog.
To attach the mirror tile to the center I used adhesive tape that is suitable for mirrors. My driftwood sticks were attached with basic wood glue. Wood glue has a stronger hold than hot glue, but that could work too. Wood glue needs some drying time so I took my time in between steps to get some tea and a piece of chocolate 😋
I simply worked my way around the mirror glueing on my little sticks and trying to avoid gaps as much as possible. It was a bit like making a jigsaw puzzle. Kind of as relaxing too.
It only took about fifteen minutes drying time here, and then all my driftwood sticks were attached rock solid to the background and my driftwood mirror DIY was basically finished.
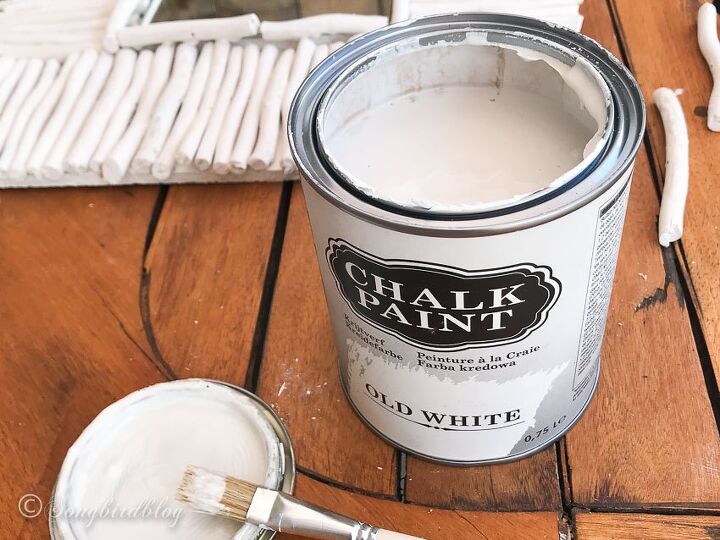
I just needed to do one more thing to perfect it. Since I had used driftwood sticks that used to be a garland, I had tiny holes showing everywhere. I simply used a bit of leftover white chalk paint to cover the holes and any scratches in the wood.
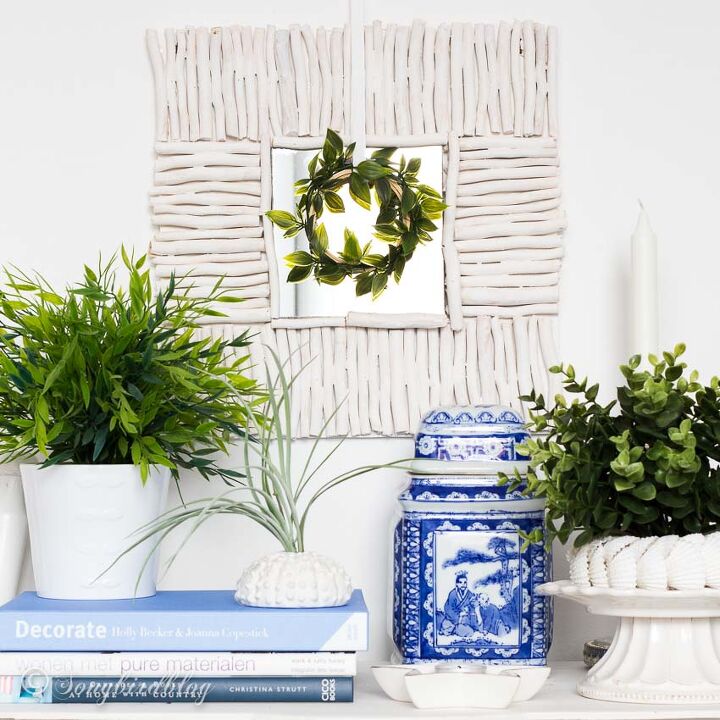
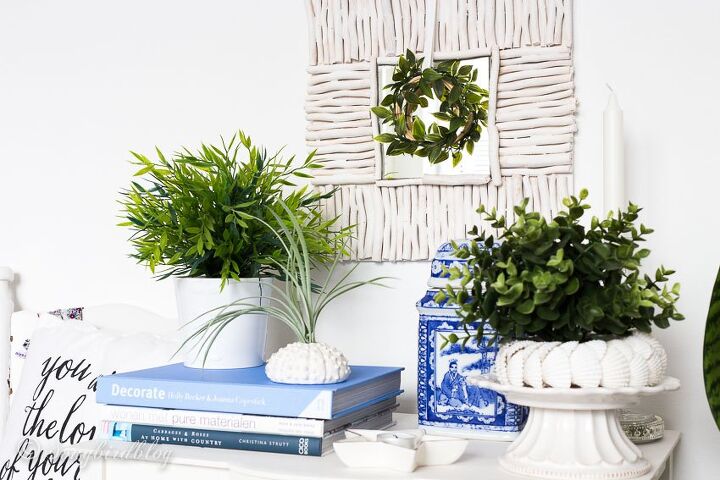
Done! Time for the final and most gratifying step of all. Decorating a little corner in my home with my new DIY driftwood mirror.
If you like this project you might like my
JUJU hat knockoff project too.


Comments
Join the conversation
-
I love the chalk paint touch-up idea!


Frequently asked questions
Have a question about this project?