


From Gold to Bold Vintage Mirror Makeover
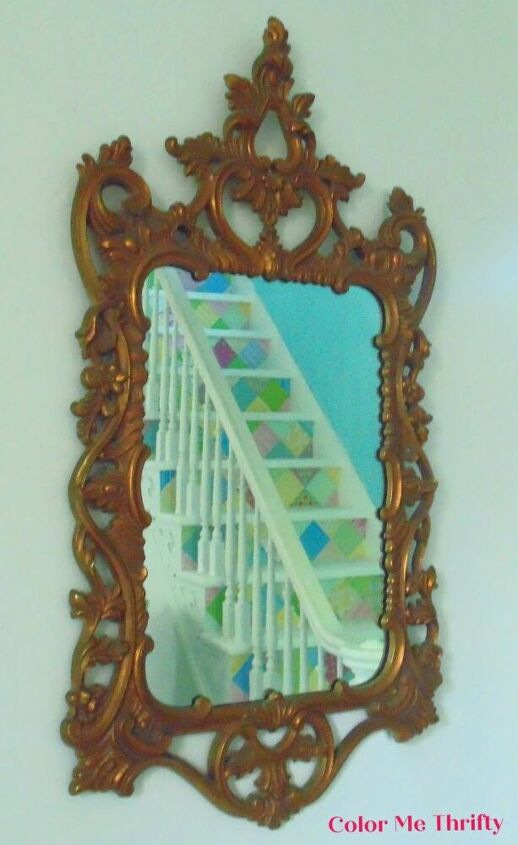
Every once in a while I find one of these amazing gold mirrors at a thrift store.
You know the ones that weigh a ton and have all that fabulous detail work. They’re made of heavy duty plastic resin, and come in many different shapes and sizes.
Some people call these mirrors Hollywood Regency, or Rococo, or Victorian.
I just call them fun.
Because even though they’re so not my style as is, like most things, it’s easy to change them so they match any style.
When I go to a thrift store and I see something interesting I never ask myself… “Is this my style?”
The question I always ask myself is… “Can I make it my style?”
And the answer for this mirror was a big absolutely yes.
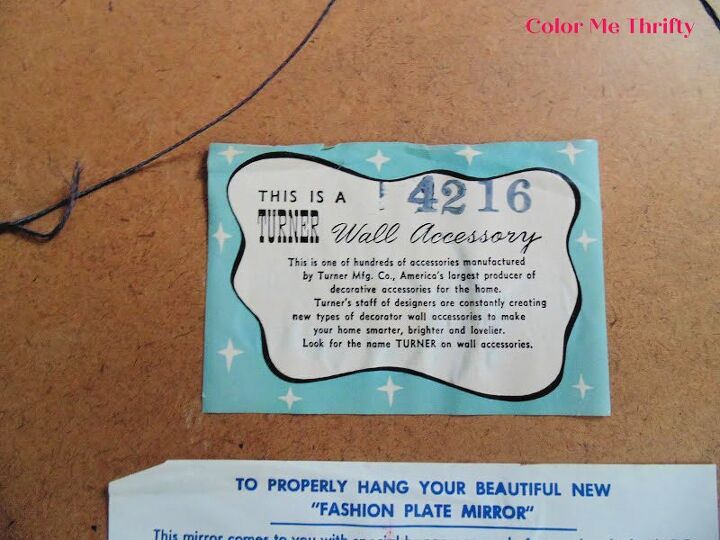
The label on the back identifies this as a Turner mirror from the 1950s.
I paid $7 for it, and you can find mirrors like this on etsy for around $100 or so, give or take a few dollars.
If you like the gold, by all means keep it as it is.
But for me, the gold has got to go. It is so not my thing.
The joy this mirror will bring me after its makeover far outweighs its potential monetary value in the original gold.
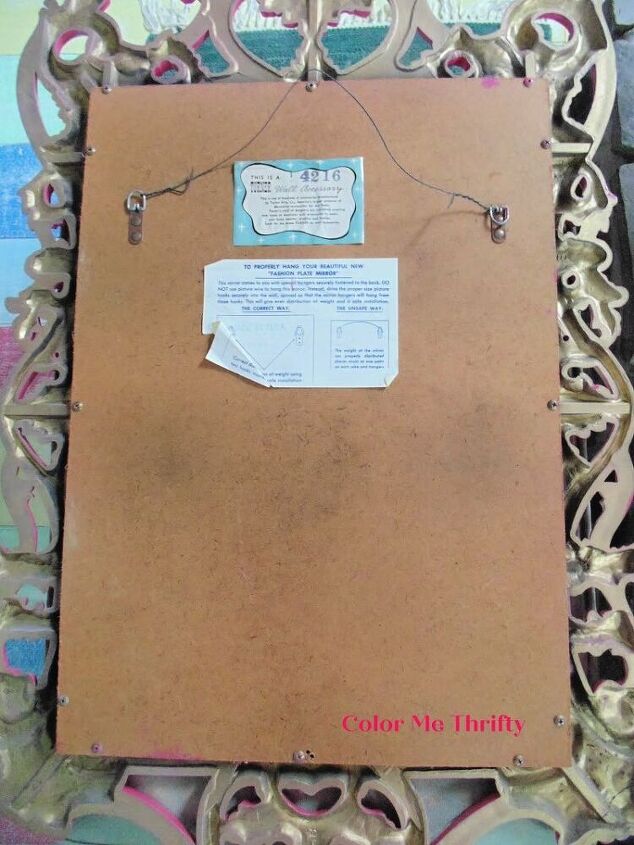
For this gold mirror makeover I’m not removing the mirror. even though it looks like it could be unscrewed from the frame.
Years ago, way before blogdom was even a thing, I did just that and I wasn’t able to reattach the mirror. By removing the screws the resin had stripped in a couple of the holes, and the screws wouldn’t sit tight any longer.
So now I play it safe and I use every painter’s best friend for projects like this.
Painter’s tape.
If you want to remove the screws and take a chance, go for it. But I also wanted to show how to tape off a mirror like this just in case you ever come across one that doesn’t even give you the screws option.
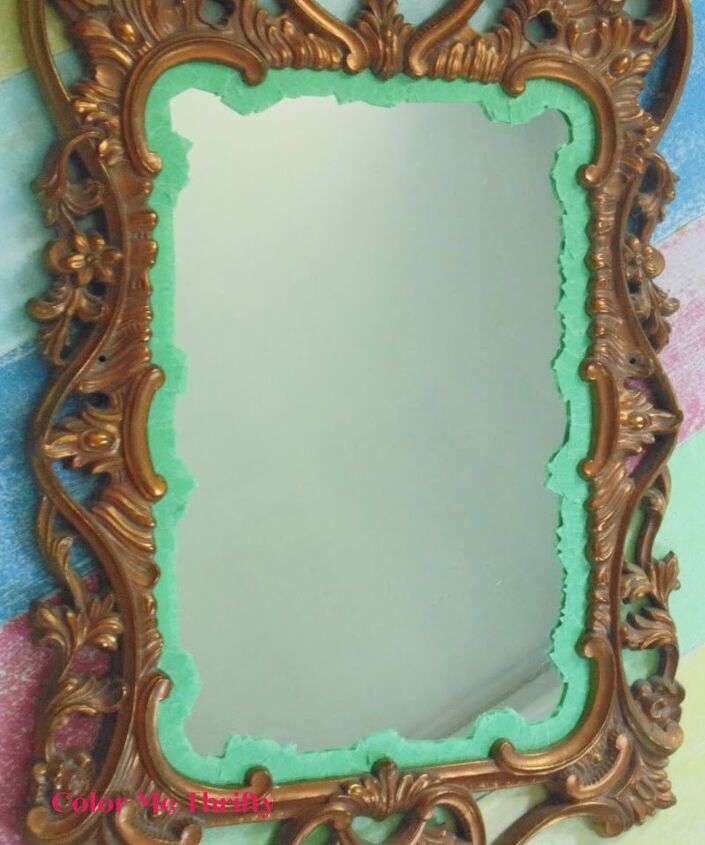
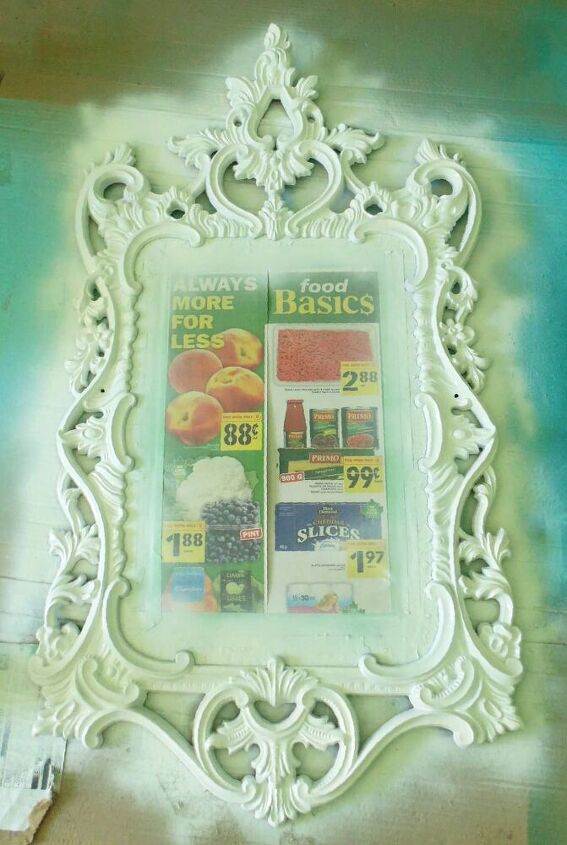
Now, this may look like a tedious job, but it only took me about 20 minutes.
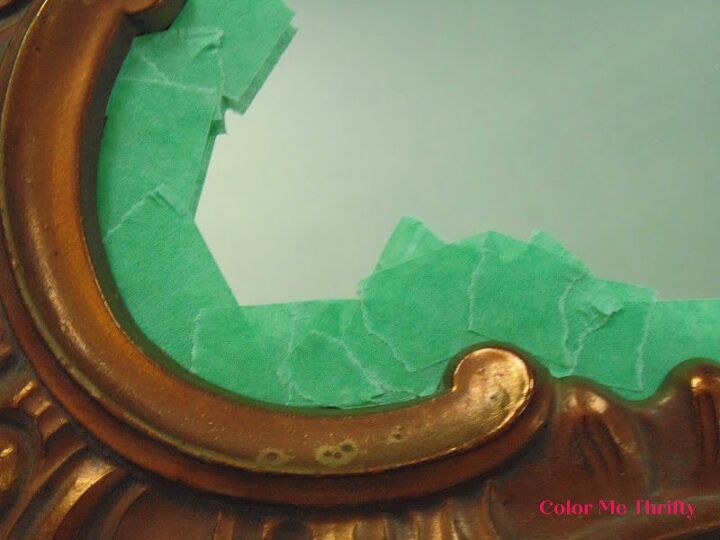
You basically use small pieces of painter’s tape to get around all the curves.
When you have the whole thing done you add long strips of tape to create nice straight edges.
Then you add some newsprint and outline with more painter’s tape.
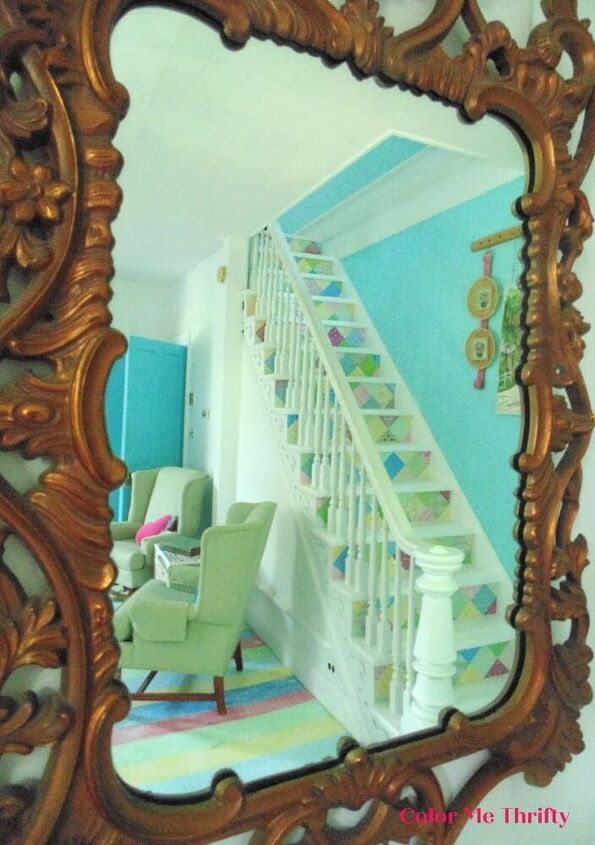
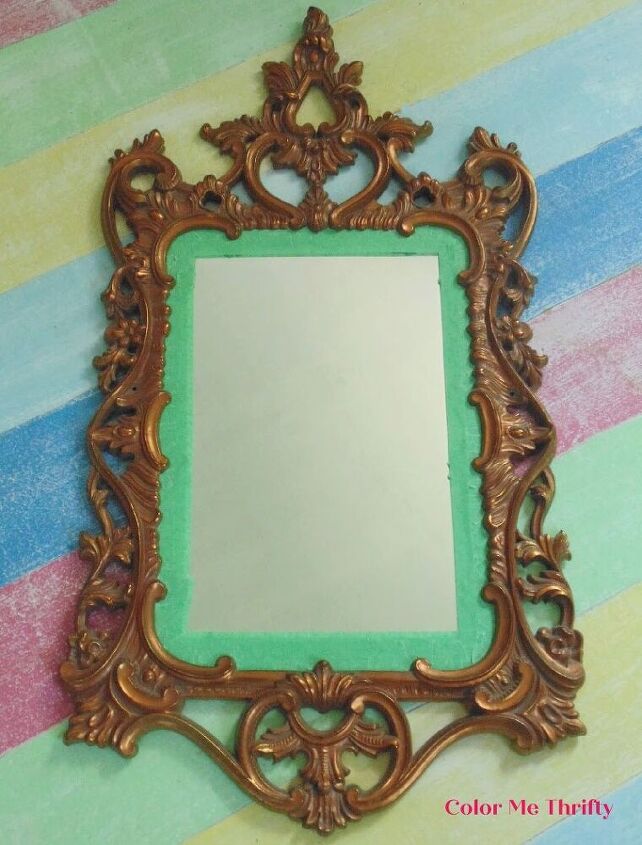
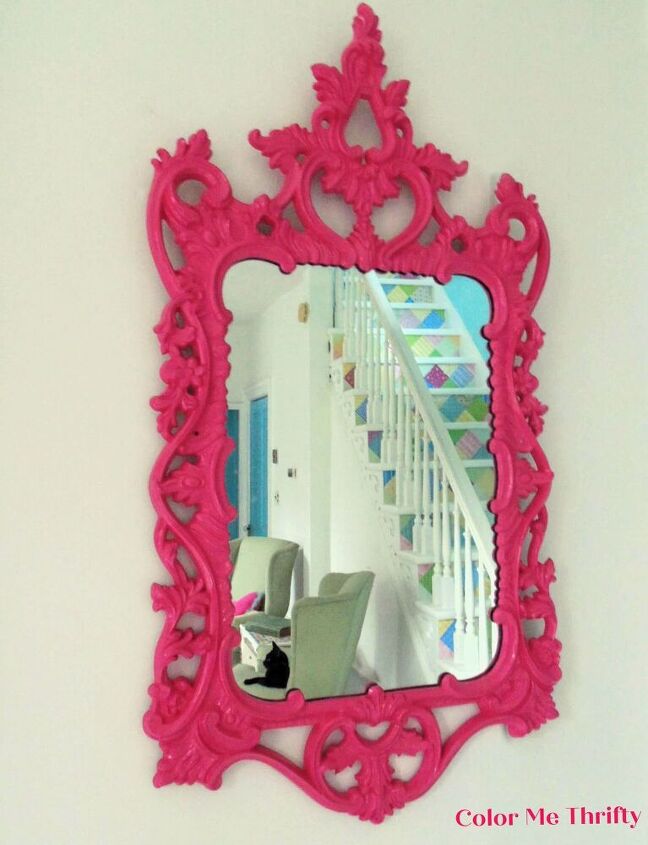
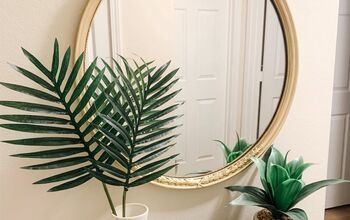
Now this vintage gold mirror is ready for some spray paint love.
I took my mirror outside and gave it two light coats of white spray paint, letting it dry thoroughly in between. I used a flat paint and primer combo.
If you have a colored wall you may want to stop with the white, which is absolutely beautiful with all the details.
But I’m doing color, and whenever I’m spray painting over a dark color I always start with a white base.
That way I get the true brightness of the final color, which in my case for this gold mirror makeover is…. surprise, surprise.
Hot Pink.
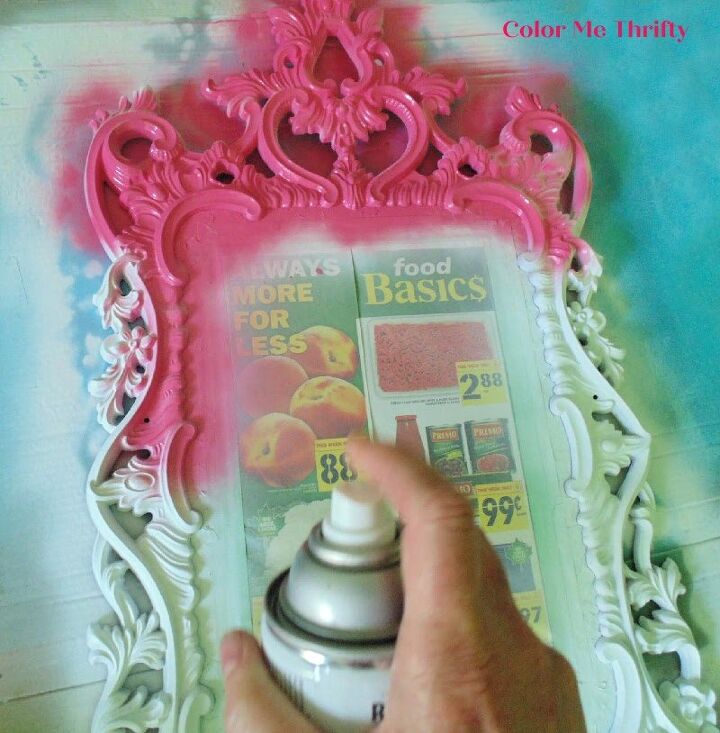
It’s actually called Berry Pink, and it’s a gloss paint and primer combo.
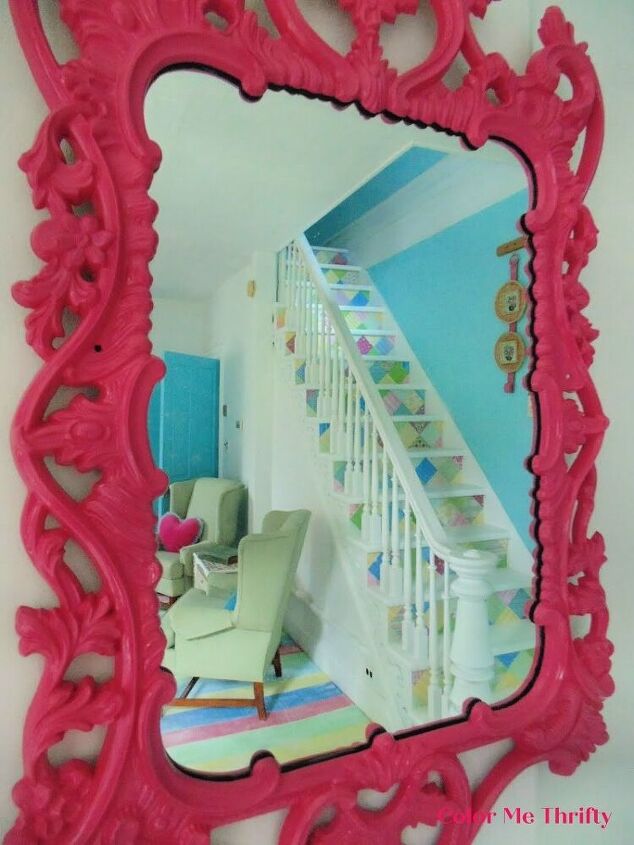
Whatever you call the color, this mirror is going from gold to bold.
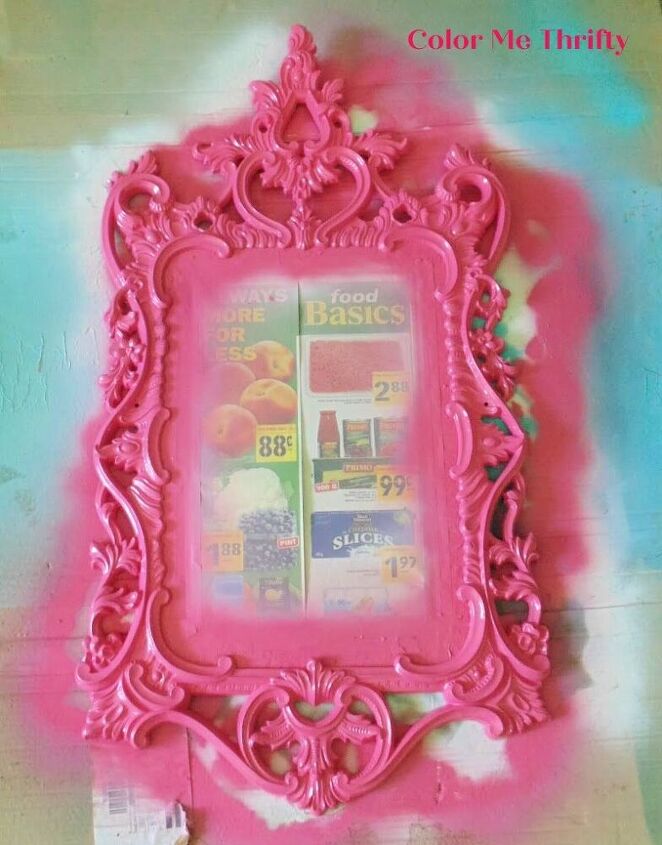
I gave it two light coats, again letting the paint dry in between.
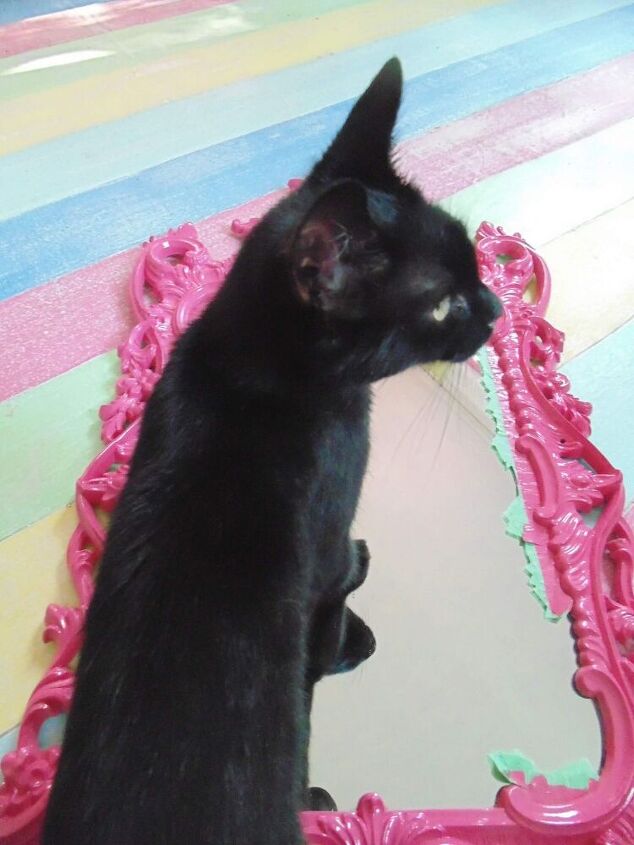
Pepper is a new addition to our family, and she felt the need to help me remove the tape from the mirror.
One day back in June I was kneeling in one of our gardens doing some weeding, and I felt something rub up against my back. Well let me tell you it really startled me because our cats were inside the house. I jumped up and when I turned around I saw this sweet little black cat. She meowed at me, and then she started purring and purring and purring as she basically crawled all over me.
Needless to say we took her in, and now she’s my newest project assistant.
There she is lounging on one of the chairs in the living room after all her hard work. lol.
So the next time you see something at a thrift store that doesn’t match your home decor style, before you pass it by ask yourself… “Can I make it my style?”
You might just surprise yourself by answering with a big absolutely yes.
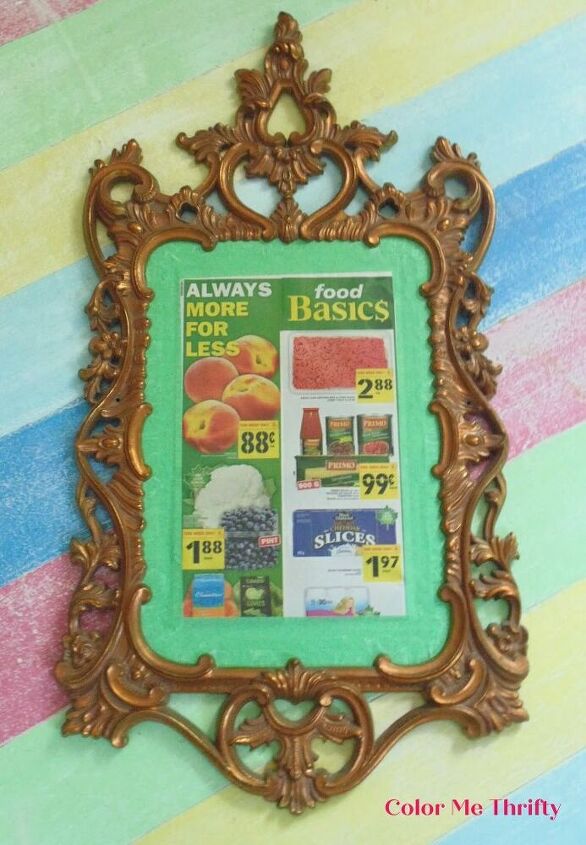
Whether you’re painting a mirror white or a fun color like mine, for me paint makes all the details pop so much better than the gold.
Spray paint is every diyer/s best friend, and it makes magical makeovers possible for everyone.
You can find more spray painting projects on my blog here.
Resources for this project:


Comments
Join the conversation
-
I gdid this with a huge, beautiful Gothic I irror my brother gave me. Went from gold to a distressed rust color. Still love it!!!
-
Nice job. It fits in with the rest of your decor perfectly. I have redone mirrors in my lifetime and have always taken the mirror out of the frame first. It saves a heck of a lot of time and work. It's much less time-consuming than all of those little pieces of masking tape. I do admire your patience though.


Frequently asked questions
Have a question about this project?
Nice mirror. I have a big heavy square curved mirror. It’s actually a smaller frame within the large frame and all the ornate gold detail is between them. I’m afraid to take the mirror out to paint the frame. I can’t possibly tape off all mirror behind all the gold decorative border. Do you think I could just spray over that whole border which includes mirror spaces? I read in the comments about slipping cards under the frame to cover the mirror parts. Do you think that would work for me? (I hope that makes sense to you).