Frame a Mirror With Moulding and Tiles

by
Erika
(IC: homeowner)
10 Materials
$50
2 Days
Easy
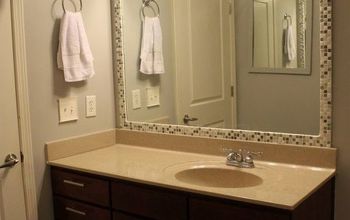
I made a colorful frame for a builder-grade mirror with wood moulding pieces, glass and stone mosaic tiles, and a bit of improvisation.
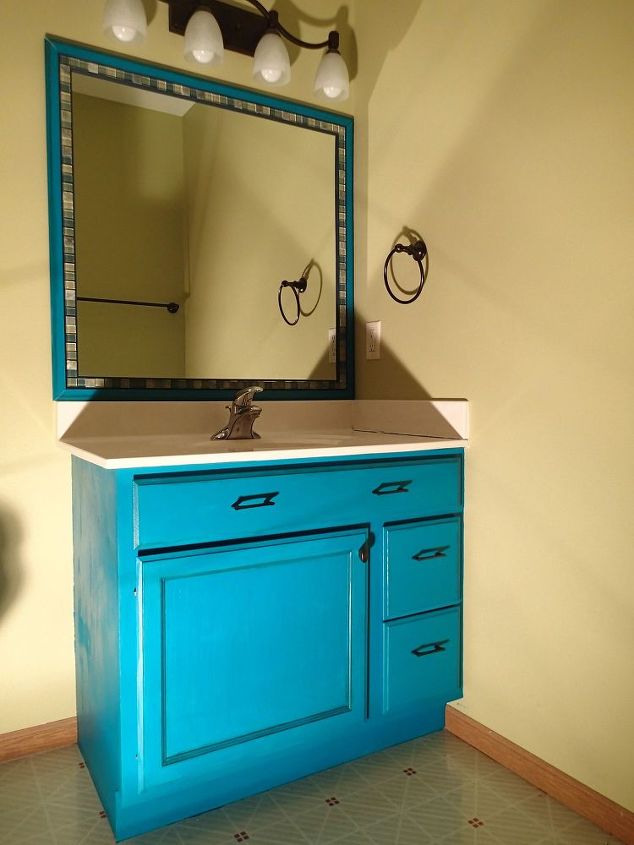
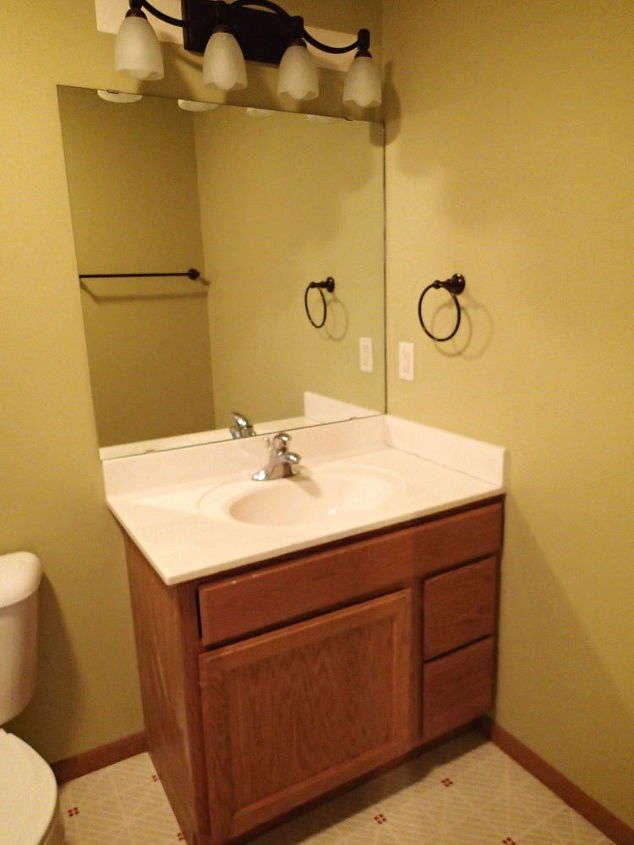
I recently painted a builder-grade oak vanity using Waverly Chalk Paint in Peacock and wanted to make a frame for the mirror to match. Initially, I planned to do a frame out of tiles like the beautiful one by Kelli@KSKraftShack. I like Kelli's tutorial because it has the tiles glued directly to the mirror, flush with each other, and no grout. This seemed simplest to me, as I've never worked with tile before.
I thought tiles in blues and greens would help tie together the blue vanity and the greenish hued walls (Sherwin Lemongrass). I found a good deal on Amazon on a glass and stone tile mosaic, on closeout for $3.99 for a 12x12 sheet. I ordered three sheets but only ended up using one sheet and a couple rows from another (I'm sure I'll find a use someplace for the extra). The tiles come evenly spaced on a net backing, but since I wasn't planning on grouting, I peeled them off the backing.
While trying to figure out how to get the tiles to work with the metal clips holding the mirror to the wall, I came across a tutorial (http://createandbabble.com/how-to-frame-mirror-clips-five-easy-steps) for framing a clipped mirror with wood moulding. You just have to cut some notches in the back with a utility knife to get the wood to lay flat over the clips. Perfect! But I still wanted to use the tiles, so I decided to somehow do both.
At this point, I decided to add quarter-round pieces to the inside of the tile too to try to give it a nice finished edge. I think this makes it look more like the the tiles are part of the frame. For the kitchen floor demo, I just played around with some scrap pieces in a corner, deciding that I would take a final measurement for these inside pieces after getting the rest of it attached to the mirror.
The next step was painting. Since the wood had never been finished with anything, first I used Kilz primer to seal it. I'm not totally sure this was necessary, but I had the primer on hand, so I used it.
Somewhere in the midst of painting, I used the instructions from the above tutorial to cut the grooves. Rest the wood piece in place on the mirror to mark where the cuts need to go, then use a utility knife to carefully make incisions. I used a kitchen paring knife to help chip off the rectangles, whatever works. And I should admit, I did screw up in this part by cutting through to the other side on one place, causing a chunk to fall out of the other side of the moulding. After a brief panic, I was able to glue the little wood pieces back in place, re-paint over it, and it's not noticeable now unless you're looking for it. I could have replaced the whole piece, but laziness.
Finally, time to put the frame on the mirror. I used two kinds of Loctite, a construction adhesive found near the caulk in home improvement stores. I used the PL 530, which is specifically designed for mirrors, for the larger wooden pieces because it seemed heftier. It requires a caulk gun, which looks a little scary but is easy to use--just open it, load it into the gun, and use the lever to push the adhesive out. This held the wood pieces to the mirror almost immediately, but I applied some painter's tape to hold it in place and let it dry for a bit before adding the next layer of the frame. I was a little alarmed that I could see the reflection of the adhesive and it wasn't pretty, but after everything else was on, I could no longer see the reflection of the backs of these first pieces.
And here's how it turned out! Not quite what I envisioned when I first got started, but I love it, and it was a great project for a beginner DIYer like myself.
Enjoyed the project?
Suggested materials:
- 1 3/4 inch pine moulding (Home Depot)
- 1/4 inch quarter round pine moulding (Menard's)
- Loctite PL530 for Marble, Mirror, and Granite (Home Depot)
- Caulk gun (on hand)
- Loctite Power Grab All Purpose (Home Depot)
- Waverly Chalk Paint in Peacock and Ocean (Wal-mart)
- Rustoleum brown glaze and topcoat (on hand)
- Kilz primer (on hand)
- Miter box, handsaw, measuring tape (on hand)
- Glass and stone mosaic tiles (Amazon.com)
Published April 29th, 2016 5:06 PM
Comments
Join the conversation
3 of 58 comments












Frequently asked questions
Have a question about this project?
Did you remove the mirror from the wall? I see the same mounts are used for your mirror that holds mine up. I was wondering how to remove them and the mirror with minimal damage.
Can I just put two rows of the tile and no wood on the mirror with
the Power Grab glue ?
I love this it’s beautiful what a great idea! Did you use Peacock chalk paint on your bathroom cabinet too ?