


Gold Vintage Mirror Upcycle

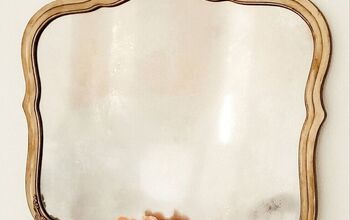
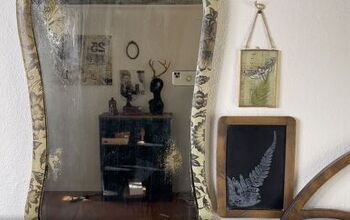
I don't know about you, but I love me a beautiful & unique round mirror. I found this one on Marketplace for only $30, with a wooden frame and vintage patina that I thought was really beautiful, but also a little bit *too* worn down for my taste. I wanted to give it a new life in my apartment, so with a little bit of spray paint, I transformed it into a beautiful piece for my entry way!
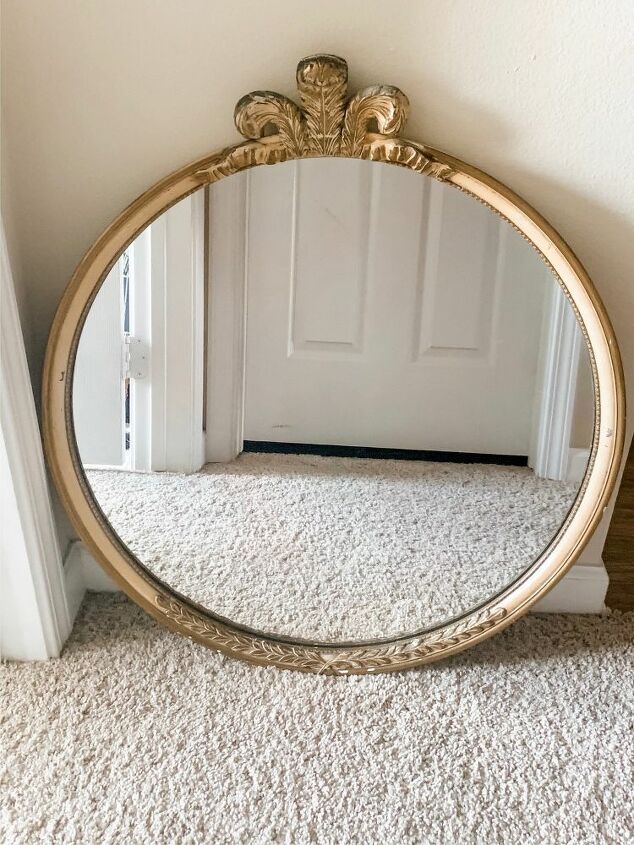
When I saw this on marketplace, I hopped on it so quick! I've been looking for a mirror to replace the one I have in my entry way and this was the perfect size and felt really unique. The lady who sold it to me said it had been in her household for years, and it was time to give it a new life. I thought, "alright, I can do that!" In this DIY I decided I would spray paint it gold to give it a cleaner and bolder look.

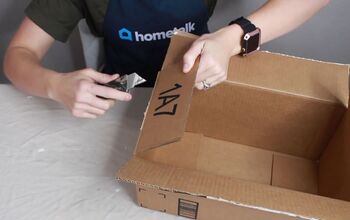
I gathered up all my supplies -- my spray paint (I used Krylon Premium metallic 18KT Gold), some scissors, painters tape, 120 grit sand paper (not pictured), a drop cloth and some brown craft paper.

I cut out a general rough circle shape and trimmed it down as needed to cover the mirror before I painted, it didn't really need to be a perfect circle. I rolled down the edges of the paper and made sure I put my tape on a small piece of the mirror to ensure it stays in place.
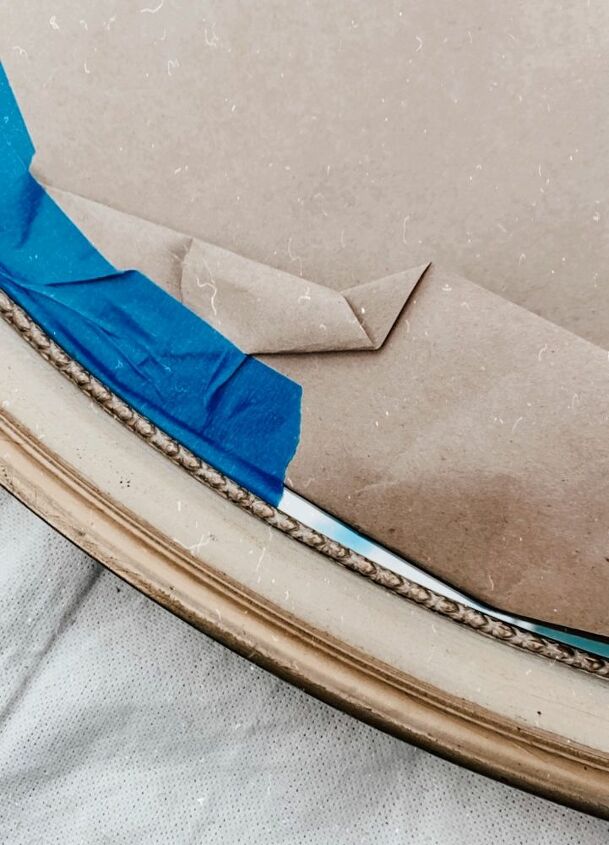
Taping to just a small amount of mirror like that was enough to hold it down. This process was generally easy, but would have been a lot easier if it were a straight edge!
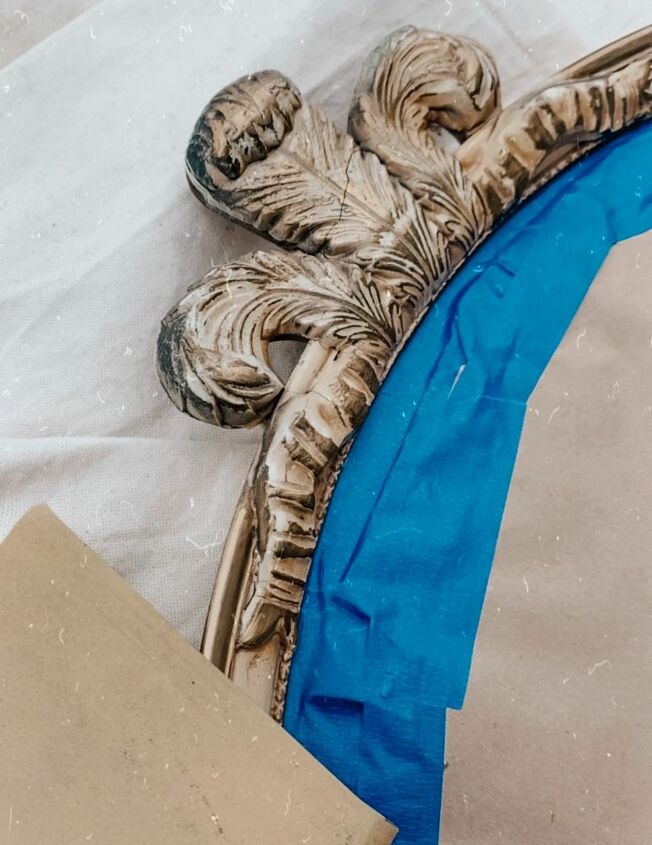
Once the craft paper was taped on, I went and lightly sanded the wooden frame with 120 grit sandpaper and then cleaned and dried the mirror before spray painting. In this picture you can see the details and age of the mirror. Maybe for some people they really like it and shows character, for me, I think it just looked a little bit dirty. Nothing some gold spray paint can't hide!
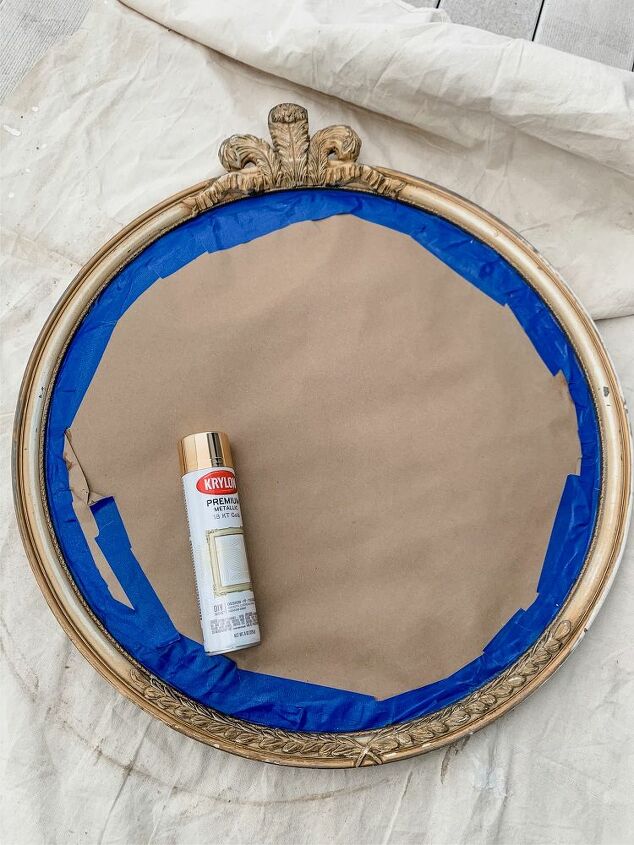
After taping, sanding, and cleaning, it's ready for some paint! Make sure you are outside or in a well ventilated space before doing so.
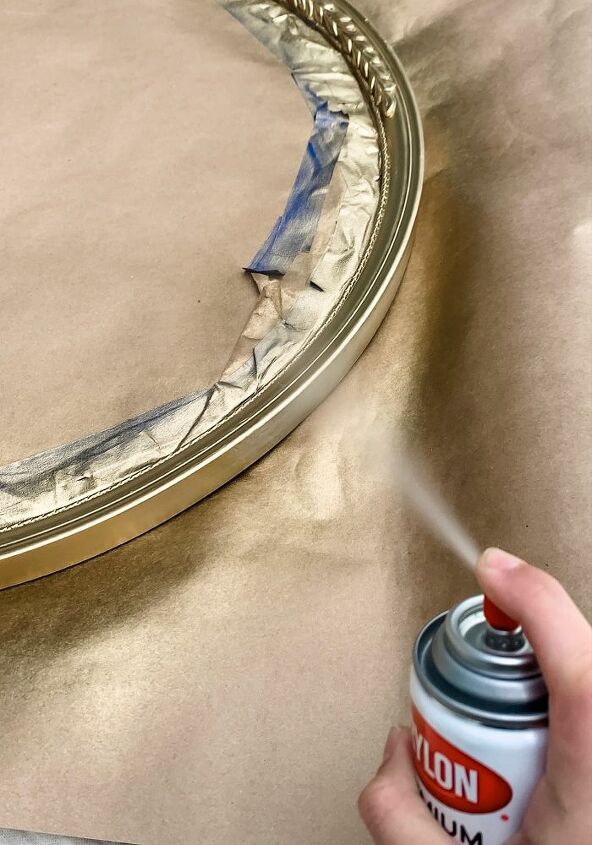
It's always so satisfying to see it come together. It really only needed one coat surprisingly, that stuff has good coverage!
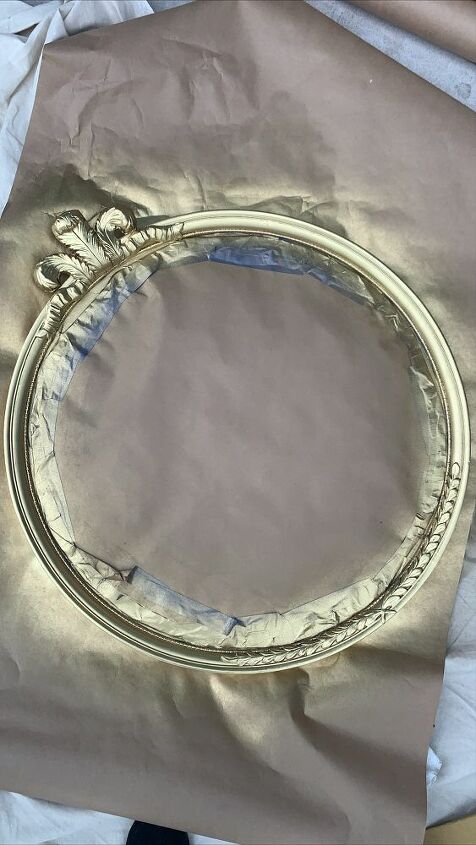
I let it sit and dry for about 20 minutes and it was a little bit windy outside anyways so I'm sure that helped-- it was thoroughly dry when I checked on it. Time for my favorite part, removing the tape. Now that is satisfying (assuming it's all clean lines lol)
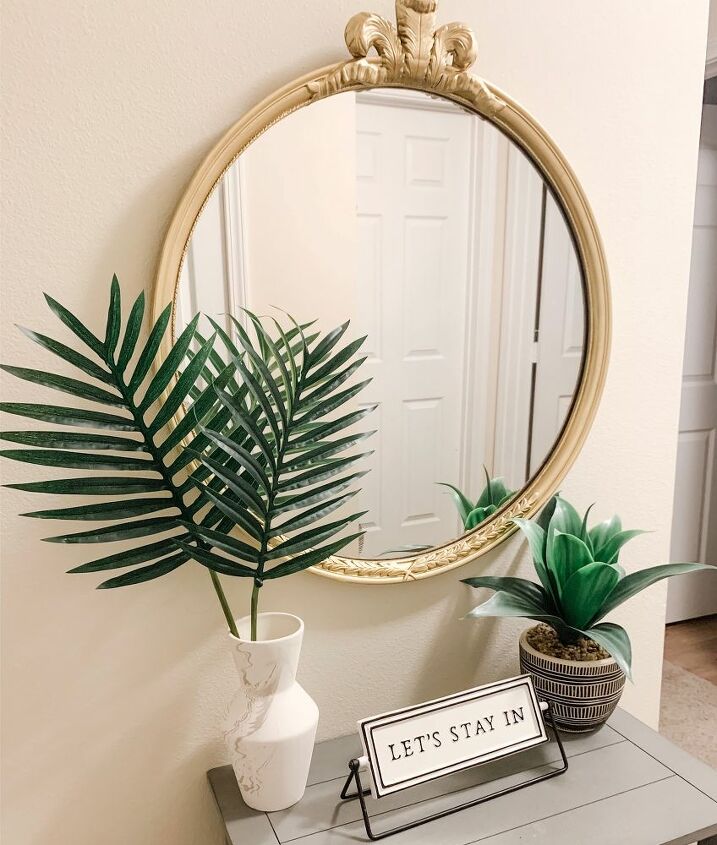
Ta-da, what a beaut! Once that was all done, I took it back inside and was so excited to place it on the wall. I plan on doing an entry way makeover this weekend so the décor will change, but I think it is so much better than what was there prior. And it was so easy. Amazing what a little bit of spray paint can do to give a piece of furniture or décor new life.
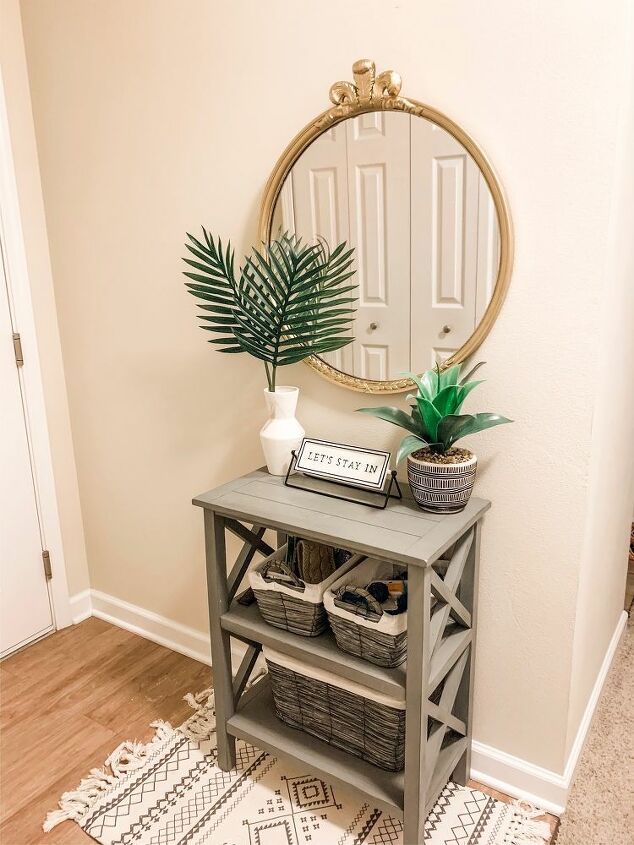
Hope you guys enjoyed this quick DIY. If you have any spare mirrors (or gems found thrifting or on marketplace) that need a face lift, give this a try! I think this is going to look even better once I paint my accent wall I've been planning. Have a great day!


Frequently asked questions
Have a question about this project?