


Hanging Mirror Mosaics
A broken mirror is completely transformed into something lovely and charming to reflect the summer sun and leaves. Don’t worry about any bad luck with this project!
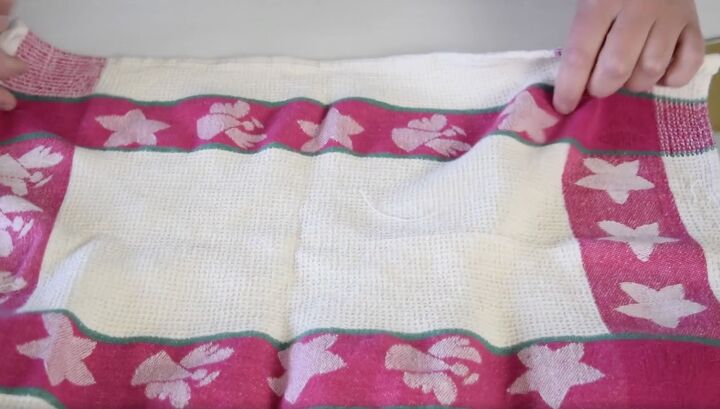
To start this project you need to break up a mirror if you don’t already have one that is broken. Be sure to lay down a towel to protect your surface.
Next, lay down a piece of wax or parchment paper so that you can easily collect the pieces when you are done breaking the mirror up.
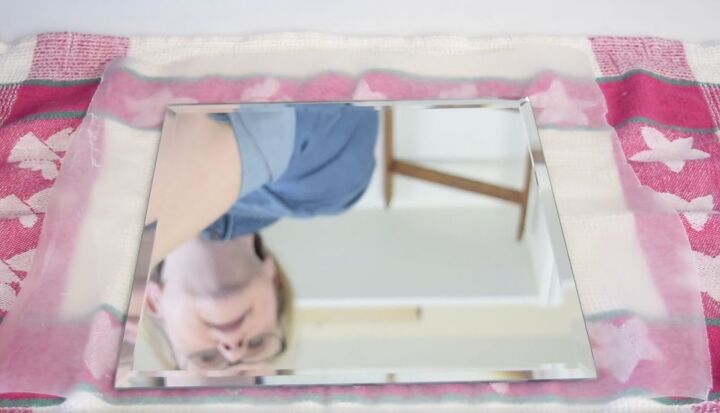
Lay the mirror on top of the towel and wax paper.
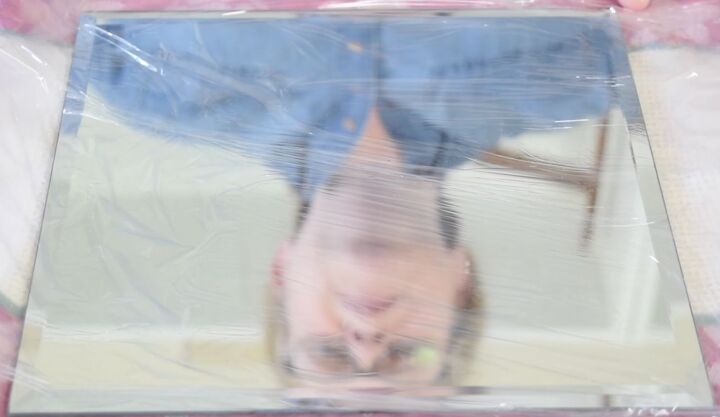
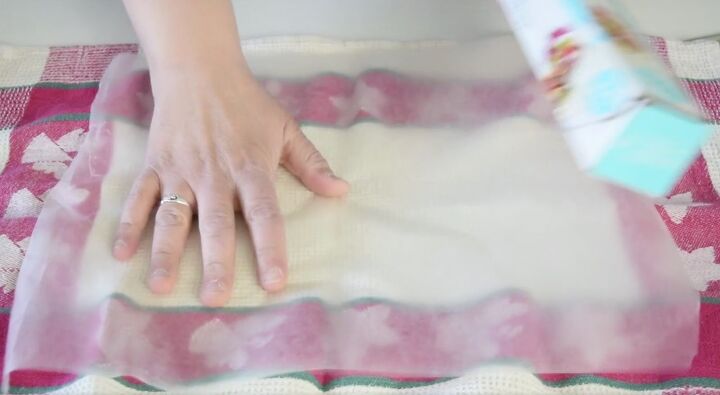
Then lay a piece of Saran Wrap over the mirror to hold the mirror pieces in place.
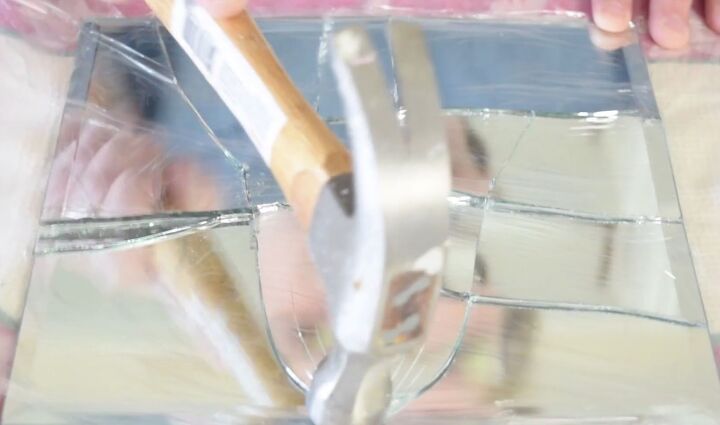
Now it's time to break the mirror. Use a heavy-duty hammer and start cracking.
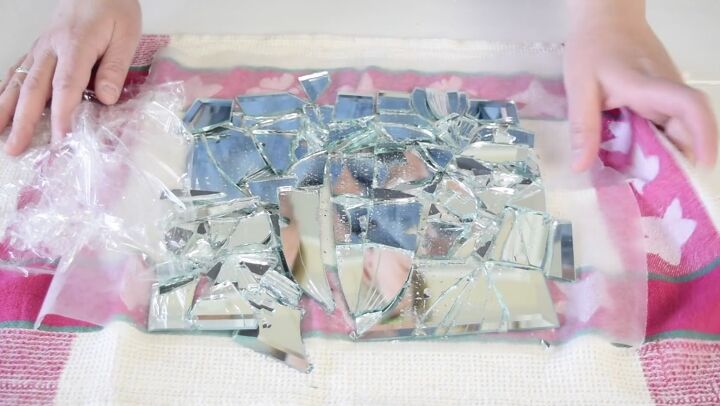
Once the mirror is all broken it is time to start making the mosaic.
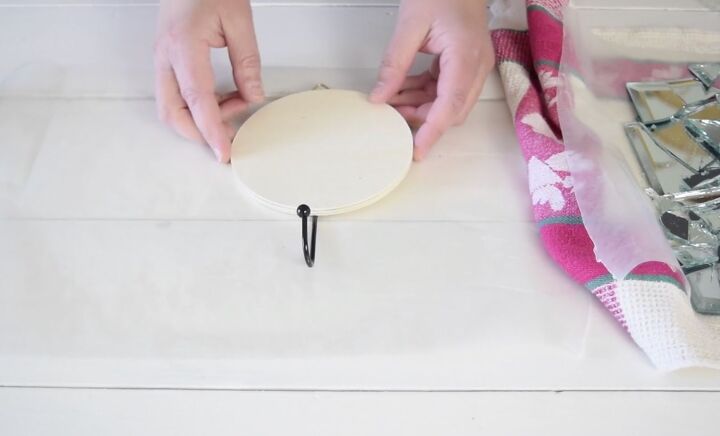
To start, slip off the Saran Wrap and grab a wood round. I found these at the Dollar Store and they have hooks on them which is very handy.
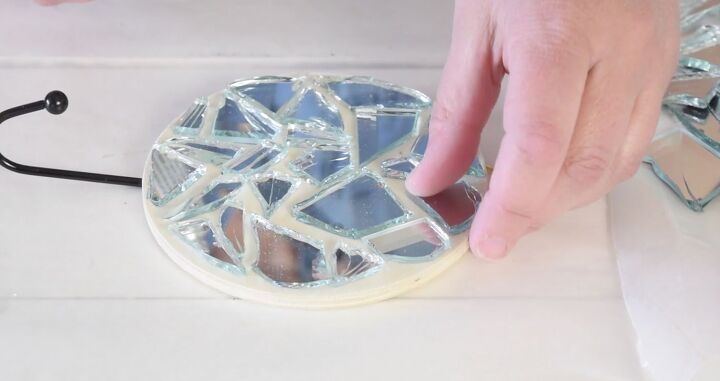
To build the mosaic, you want to start laying pieces of the mirror around the circle until you have it filled. Be sure to leave enough space between the pieces for the grout.
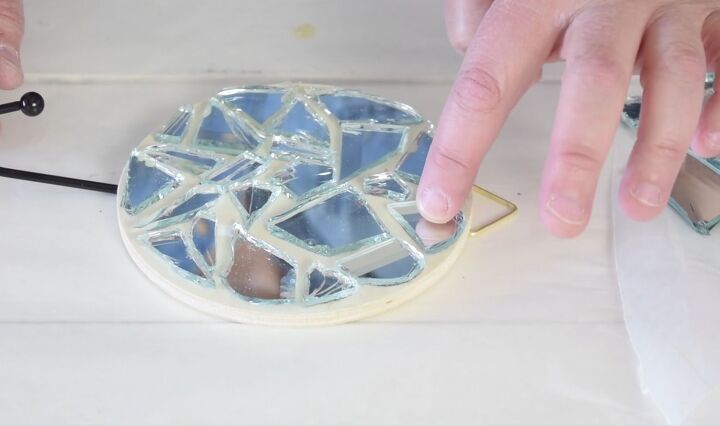
Once you have the pieces place how you would like them, pick up each one and add a dab of hot glue or contact cement. Leave your glue to dry until everything is completely hard.
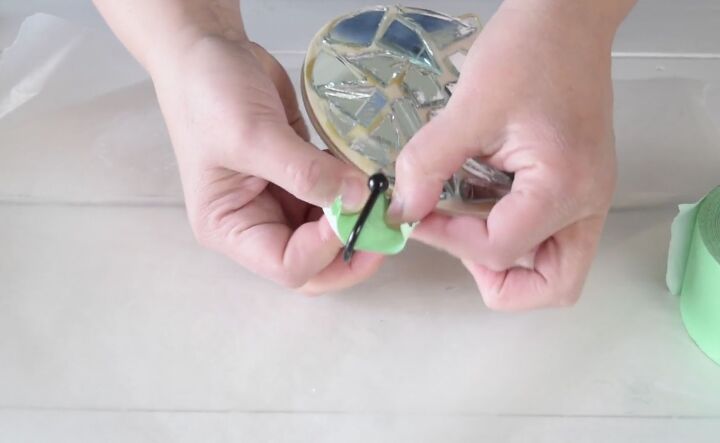
With the mirror pieces all stuck into place, it's time to grout everything. Before I applied the grout, I used painter's tape to wrap the hooks to avoid getting any grout on them.
To mix the grout, use non-sanded grout and follow the directions on the package.
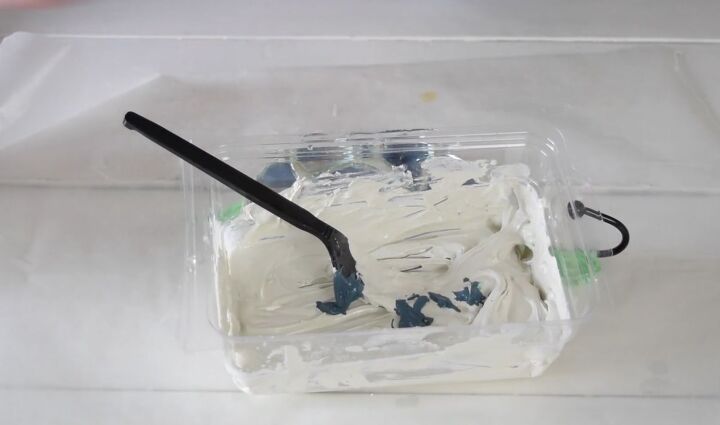
I added a little bit of paint to my grout to give it a hint of colour.
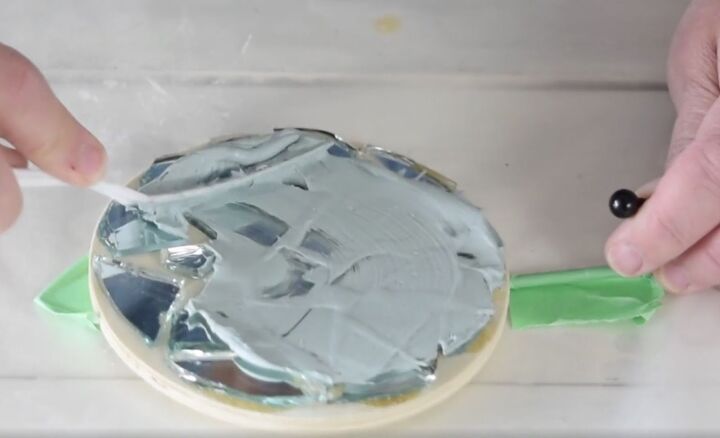
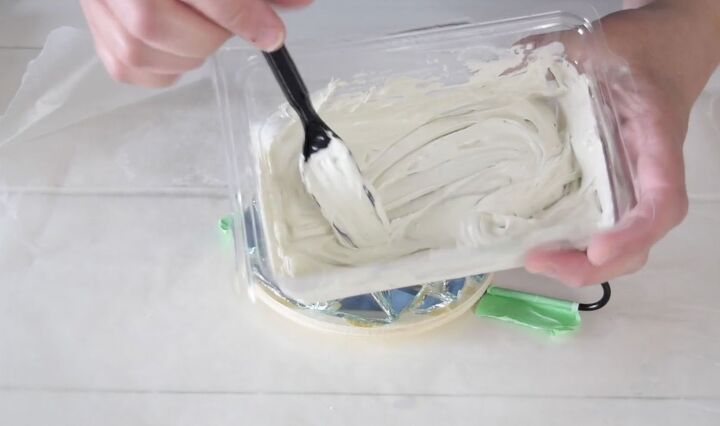
Once the grout is ready, begin spreading it with a spatula or small trowel all over the piece. Make sure to get it down into the little spaces between the mirror pieces. You can go right over the mirror pieces. Be very careful of the sharp edges.
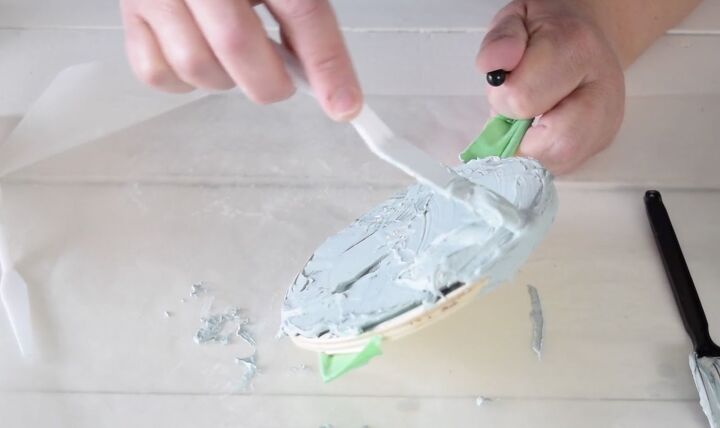
I applied my grout right around the edges as well so that none of the wood was showing.
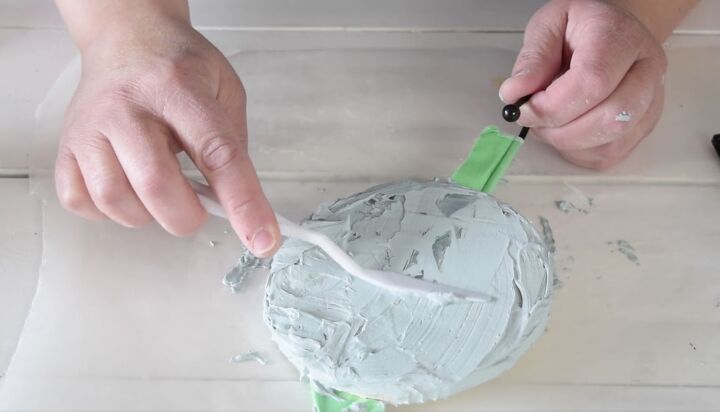
When you have the grout applied all over, gently drag the trowel across the top of the mirror pieces to remove some of the excess.
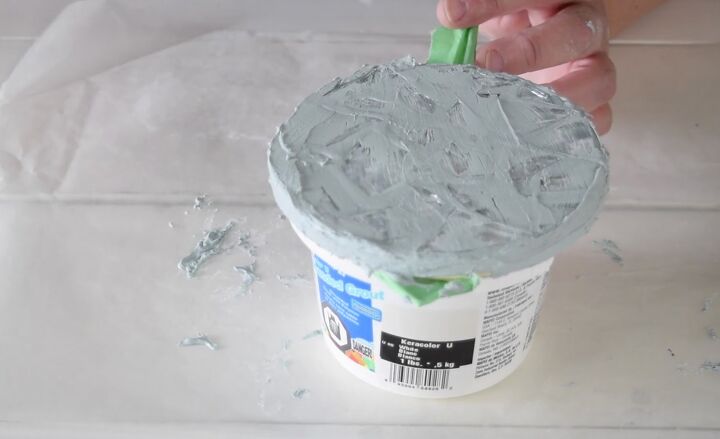
Allow the grout to start drying after you have filled everything in. You want to leave it for about 15 to 20 minutes.
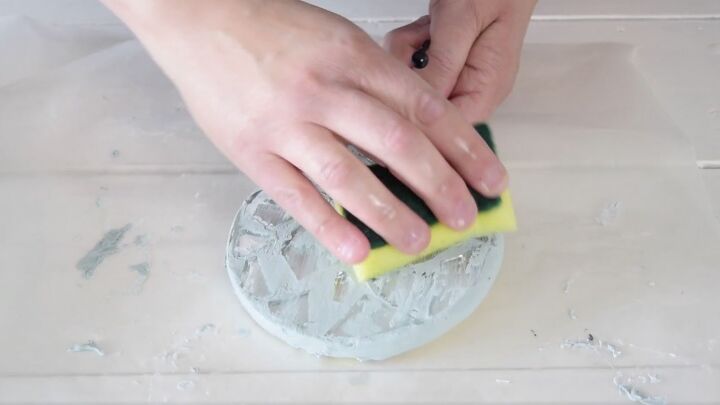
After it has started to set, you want to take a damp sponge and wipe some off the excess. You also want to smooth out any rough areas while the grout is at this stage.
With everything nice and smooth, leave the piece to allow the grout to finish drying. Depending on the type of grout you use, it will typically take about 24 hours to completely dry.
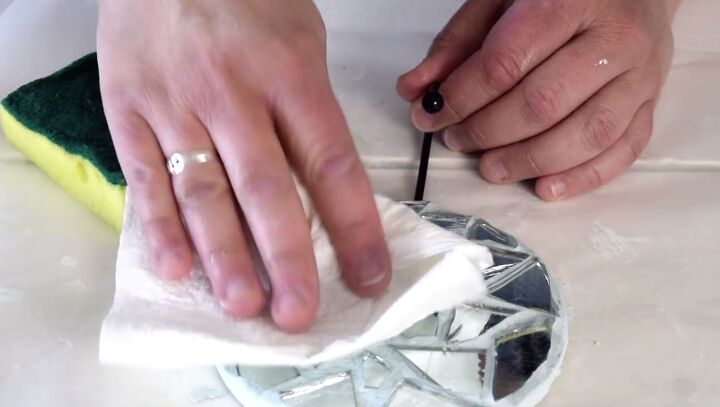
When the grout is completely dry, you want to carefully wipe off any film from the mirror pieces. You can use a damp sponge or paper towel.
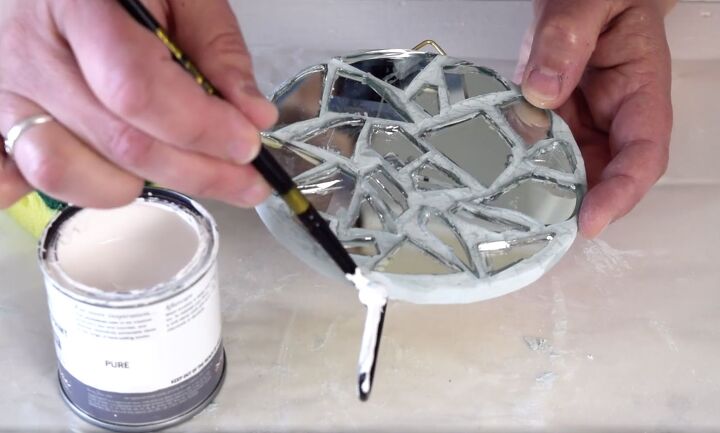
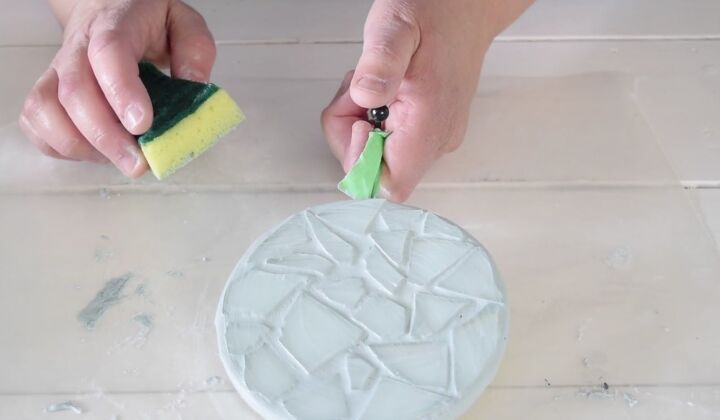
The last thing I did to finish my mirror mosaic was to paint the little hook and hardware. I just really didn't like the contrast between the black and the pretty blue so wanted to lighten them up.
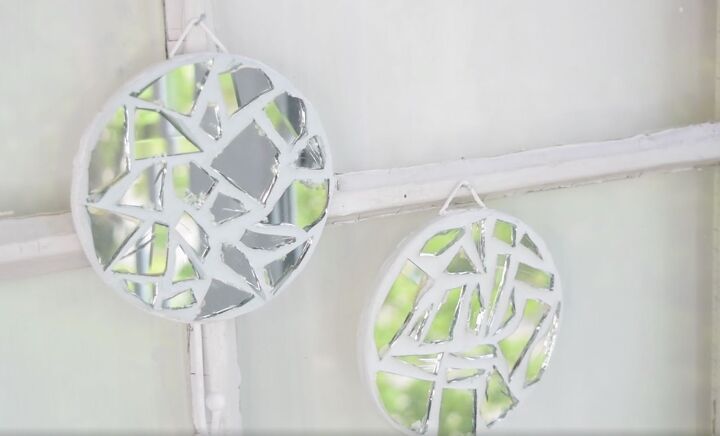
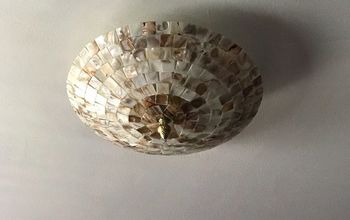
I love how pretty these mirror mosaics are. They turned out even better than I could have hoped. They look perfect hanging by a window where they can reflect the beautiful spring and summer trees outside.
Resources for this project:
See all materials


Comments
Join the conversation
-
Your instructions are wonderful! Thank you for sharing with us.
-
Thank You for sharing, this just gave me another idea for my house numbers...I was trying to decide what to do with them and this is the perfect idea.


Frequently asked questions
Have a question about this project?