


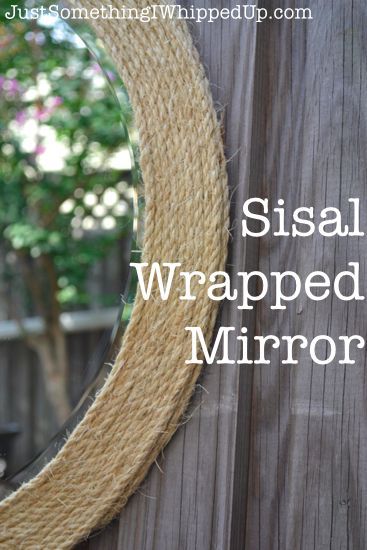
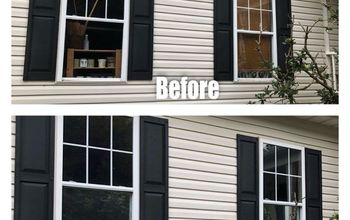
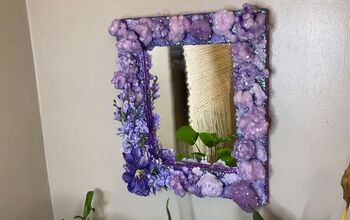
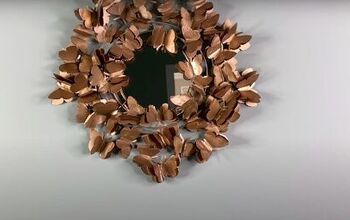
Sisal Wrapped Mirror

by
Julia Fabens
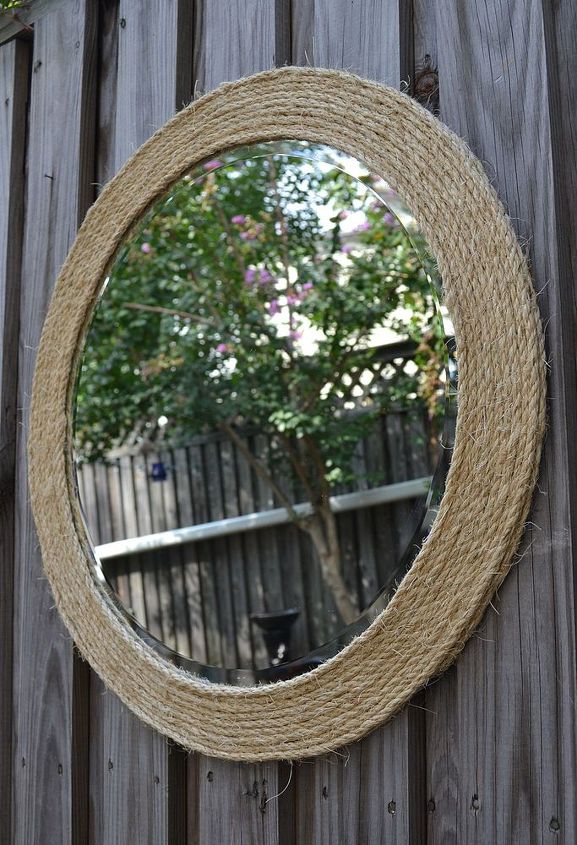
Give a plain round mirror a sisal border to jazz it up. I have been toting a plain, round Target mirror from residence to residence since I got it for my first high school dorm room. We have had a good run, but on Friday I decided it was time for her to blossom. I really liked the idea of a sisal wrapped mirror in the bathroom and figured that transforming my old buddy who was already in there would be pretty simple.
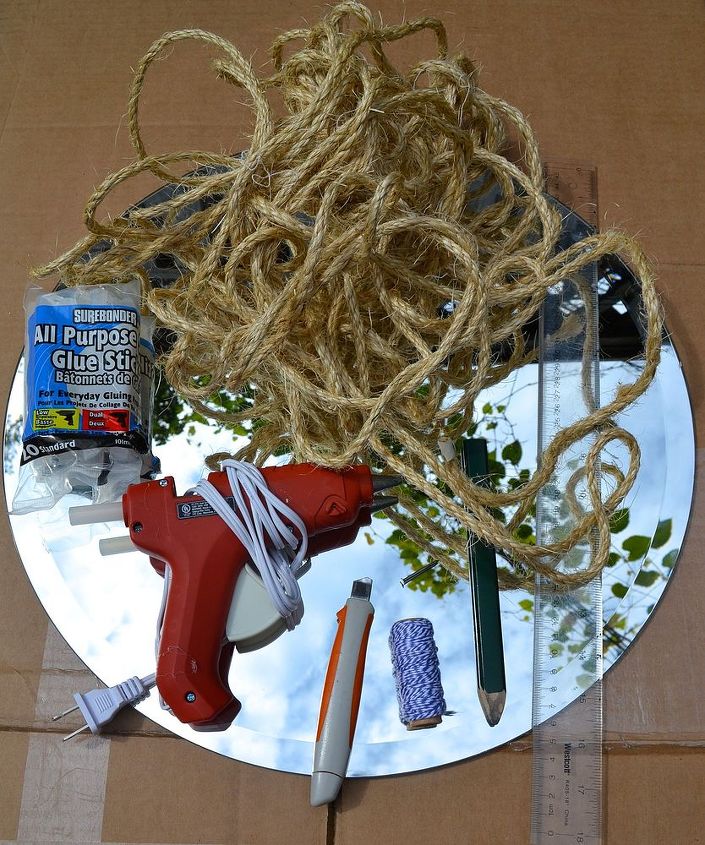
Materials
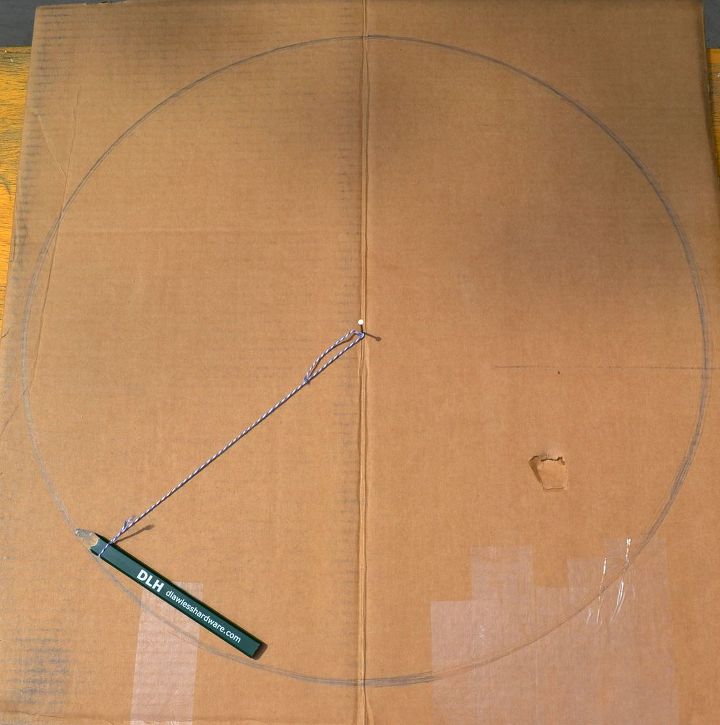
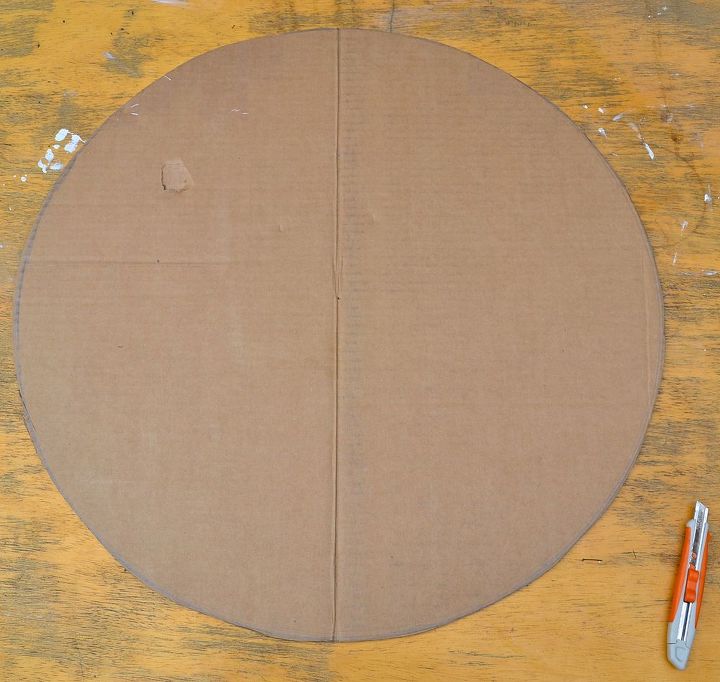
I cut the circle out with the utility knife, following the darkest pencil marks. I wanted to use the same hanging method, so I also pressed the mirror down onto the cardboard to transfer the position of the hardware so that I could cut out around that too. You can see the indents (not the big rip, slightly below and to the right of that) in the picture below.
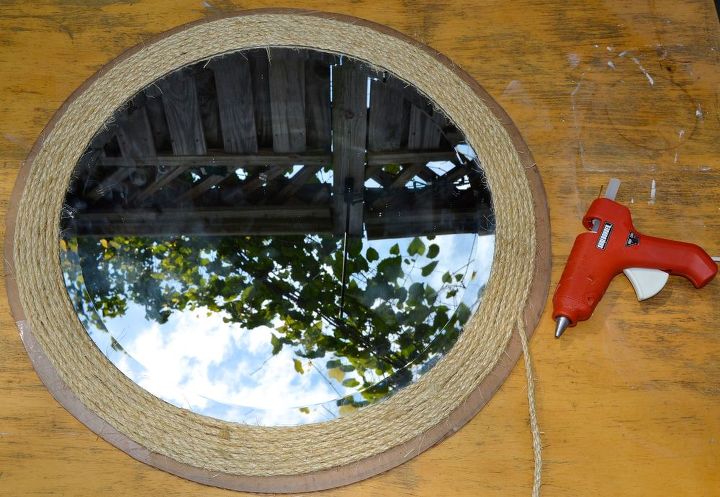
I glued the mirror to the center of the cardboard with E6000. I thought hot glue might dry too quickly and it is a pretty big surface. There isn’t much load on the cardboard since I cut a hole in it to use the existing hanging mechanism, but I did use enough glue to make sure there were not gaps around the edges.
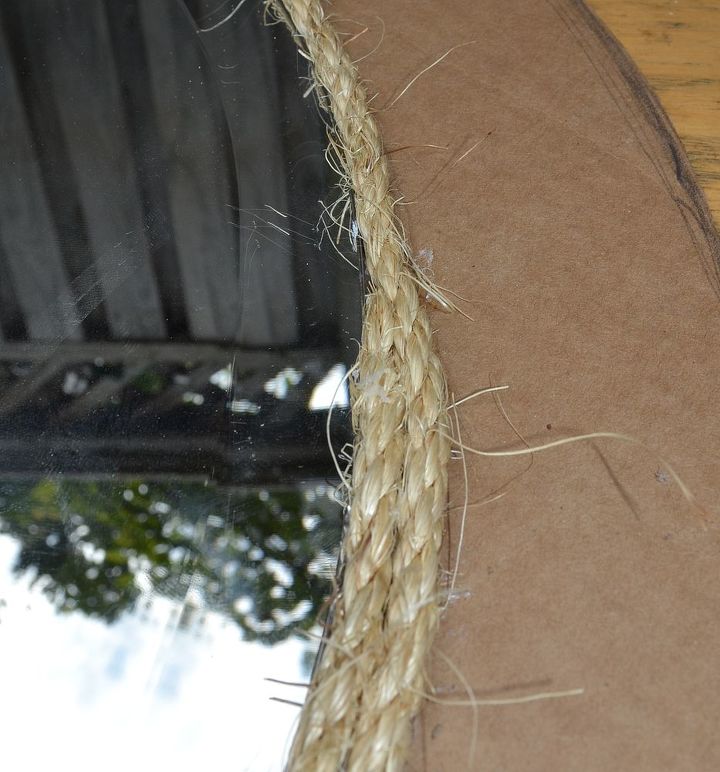
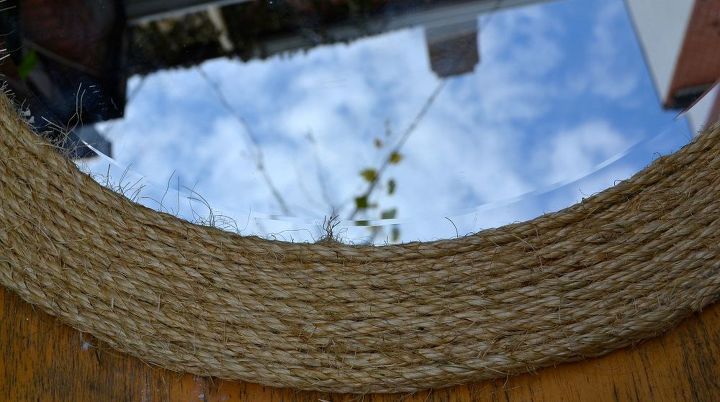
Second, on the first row around the edge of the mirror, I found that laying the bead of glue next to the mirror but not touching it – not “caulking” it was how I thought of it – prevents glue from seeping onto the mirror itself.
After I trimmed the cardboard, I but a row around the outside, concealing the cardboard. The edge still looked messy so I added one more row on top of the one I just did, sort of filling in the gap.
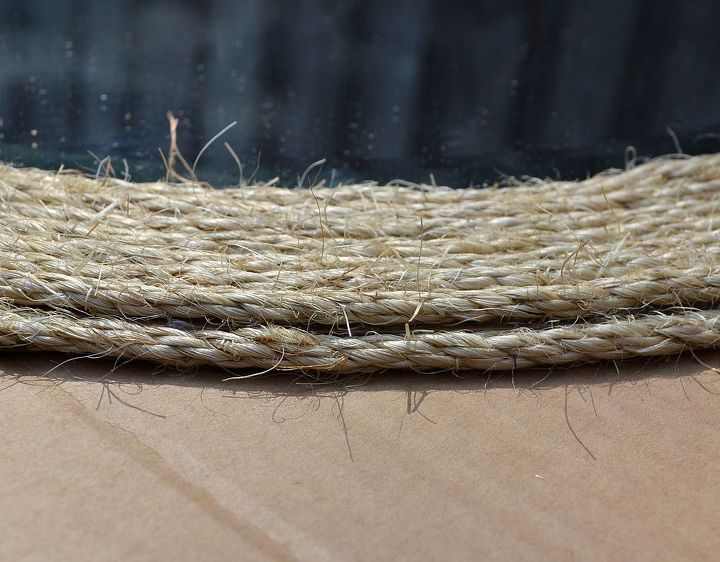
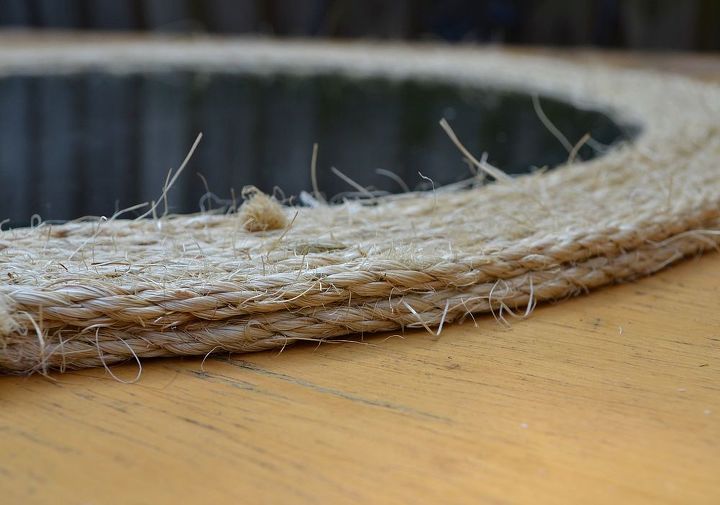
I thought I was done, but realized that the edge of the mirror was visible, so I added a row on the very inside. It would have been really hard to start with the sisal on the mirror itself, so even though it wasn’t on purpose, I would still not do that row first.
Et voila!
Want more details about this and other DIY projects? Check out my blog post!
Comments
Join the conversation
2 of 16 comments
-
Beautiful....but how are you hanging it? What did you attached to the cardboard backing for wall mounting?
-
Could you use Tacky glue instead of hot glue???


Frequently asked questions
Have a question about this project?
I have a large mirror so is there a reason I couldn't just glue the rope to the mirror? Will the hot glue break the mirror?