


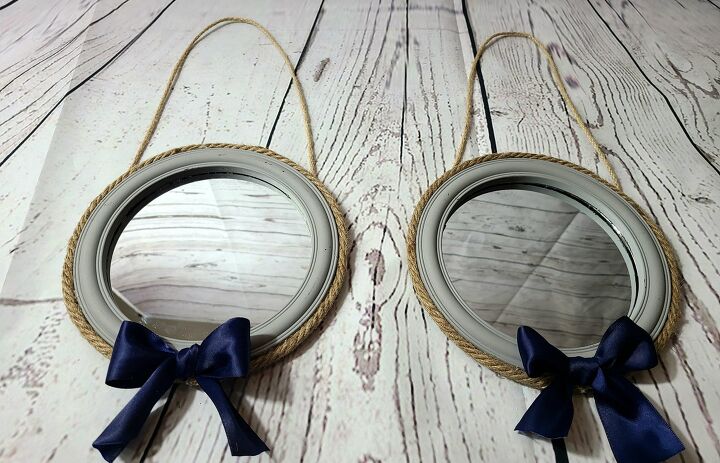
Nautical Mirrors
Today I am going to share with you a tutorial for making nautical mirrors. I’ve been working on my beach-y decor for this summer, right along with the blogger A to Z Challenge. Today we are working on letter M. A few months ago, I found some small round mirrors at Dollar Tree, so I thought they would be perfect for “m!”
I saw some porthole-like mirrors in a Pier 1 photo and another on Wayfair. Pier 1 was no longer selling theirs, but all of the mirrors I found went anywhere from $89 to $495! No, not happening! I can make my own for a whole lot less. I had been holding on to those mirrors from Dollar Tree for a while, so when I decided to do a beach-y theme for my home this summer, I knew this was the perfect time to use them.
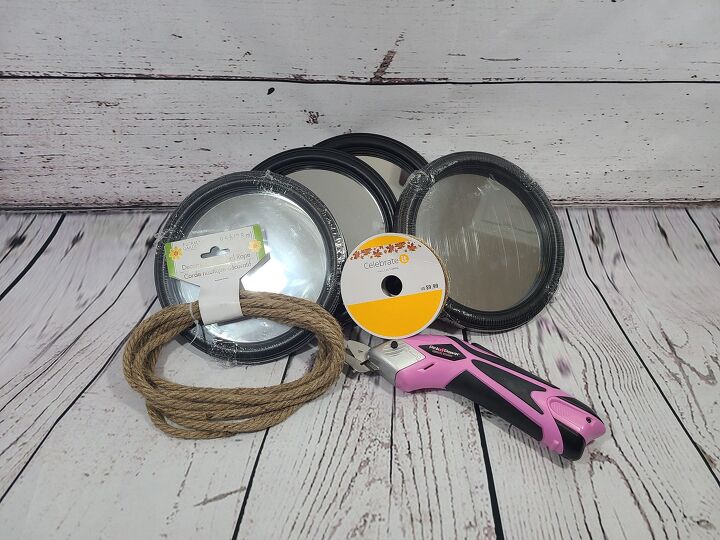
To make your own port-hole mirrors you will need:
- black round mirrors
- gray chalk paint and paint brush
- nautical rope
- jute ribbon
- hot glue gun and glue
Prep the Mirrors
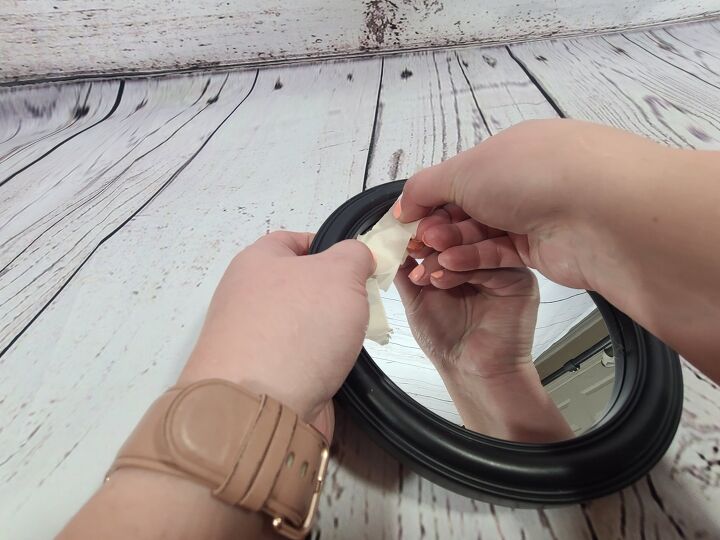
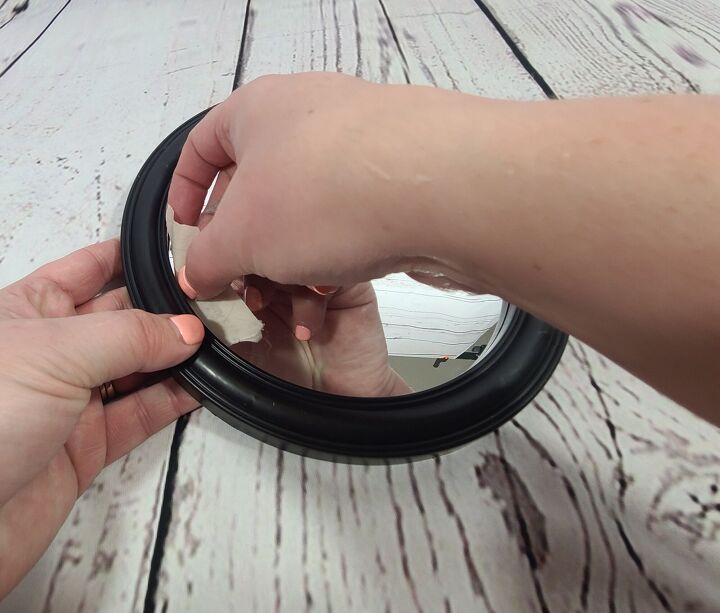
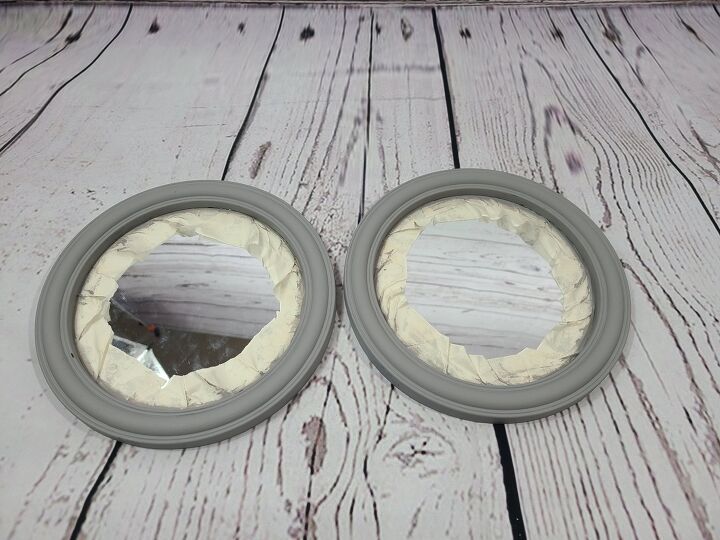
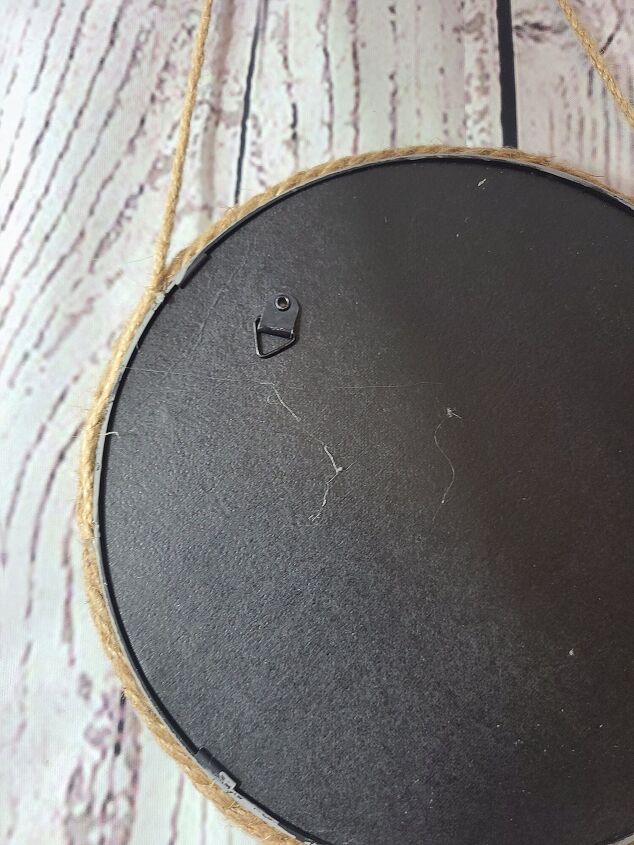
First clean the mirrors. The ones I bought came wrapped in plastic. When it was removed the surface was smudged. If yours is too, clean it off with a cloth and Windex.
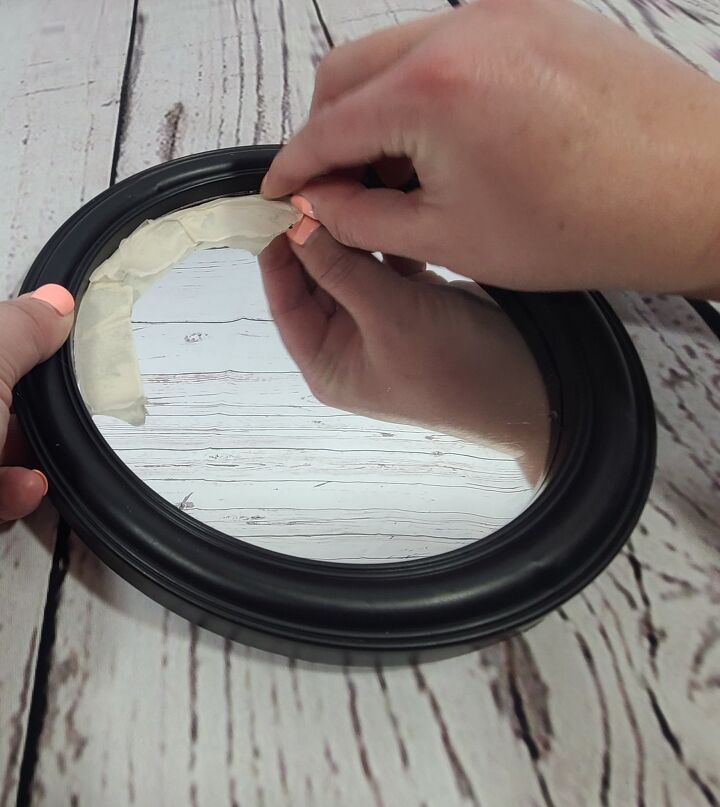
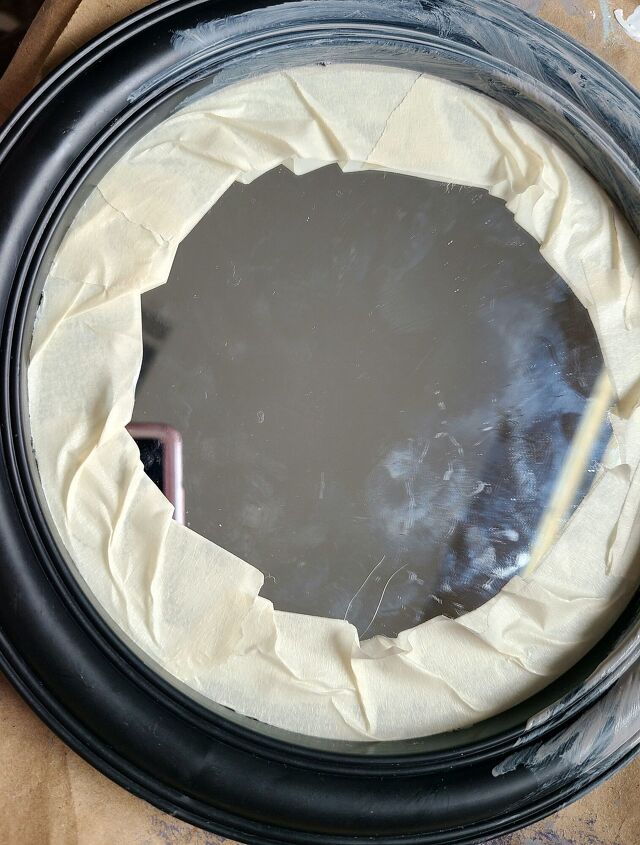
Next cover the section of the mirror that meets the plastic. You can use painters’ or masking tape. I had masking tape around, so that’s what I used. Tear off pieces of tape, put it at the base of the mirror, and press then push the tape into a circular pattern. This will help you fit the circular shape.
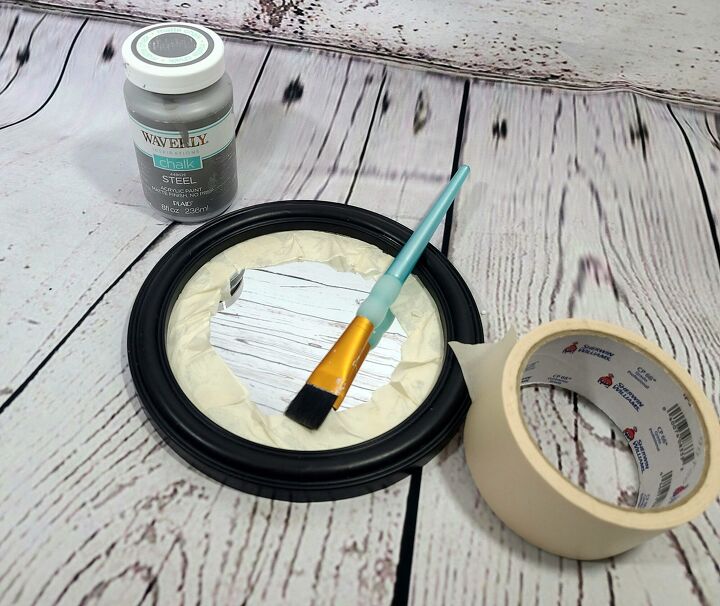
Paint the nautical mirrors
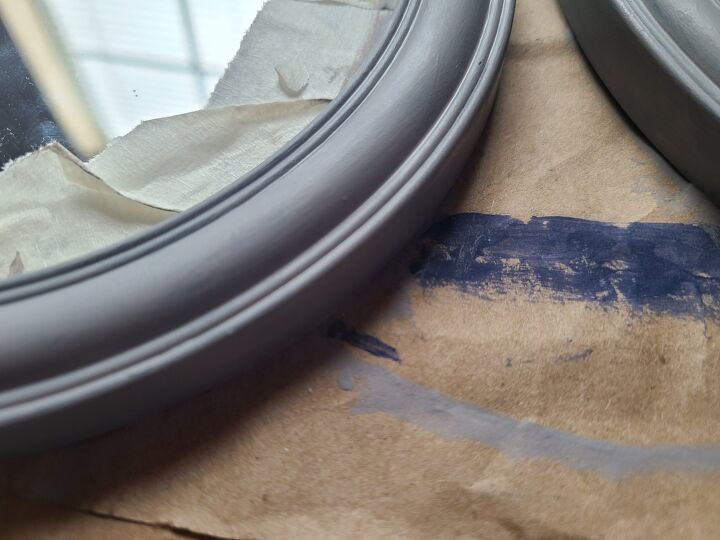
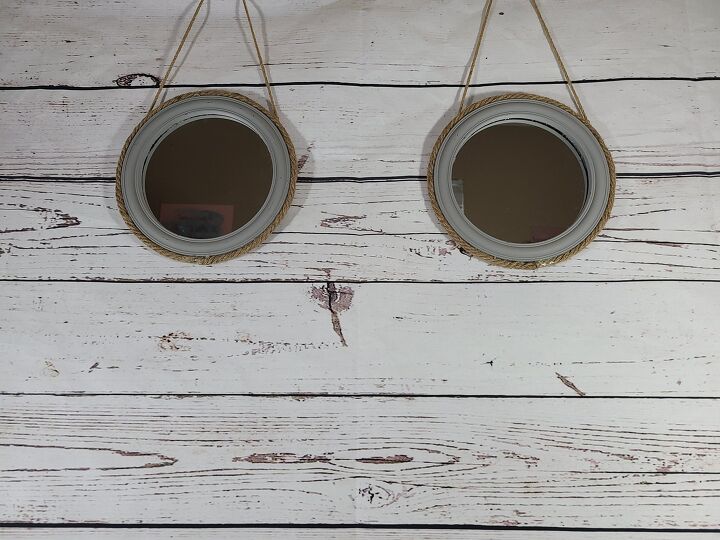
I used Waverly chalk paint in steel. I’ve been using it in my decor for a few months, so the nautical mirrors will fit right in. Make sure the tape is covering the mirror where you will be painting. Paint the black rims of the mirrors. Let the paint dry in between coats. I used three coats. I could’ve gotten away with two, so if you’re in a hurry two will do.
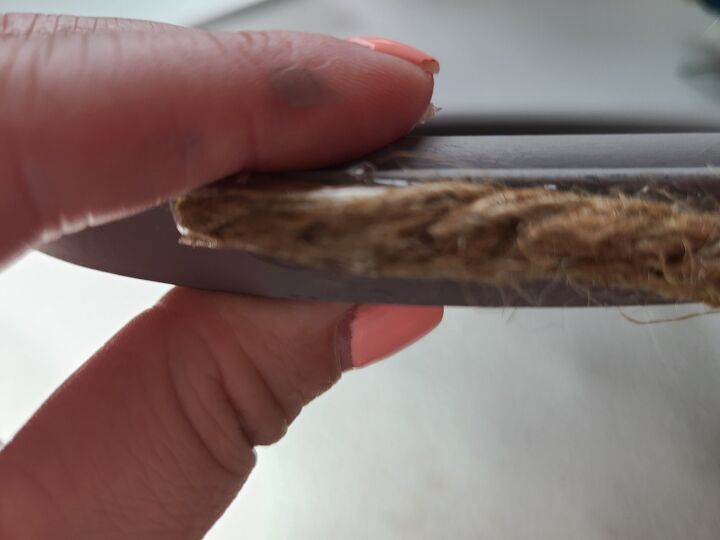
Attach the Rope
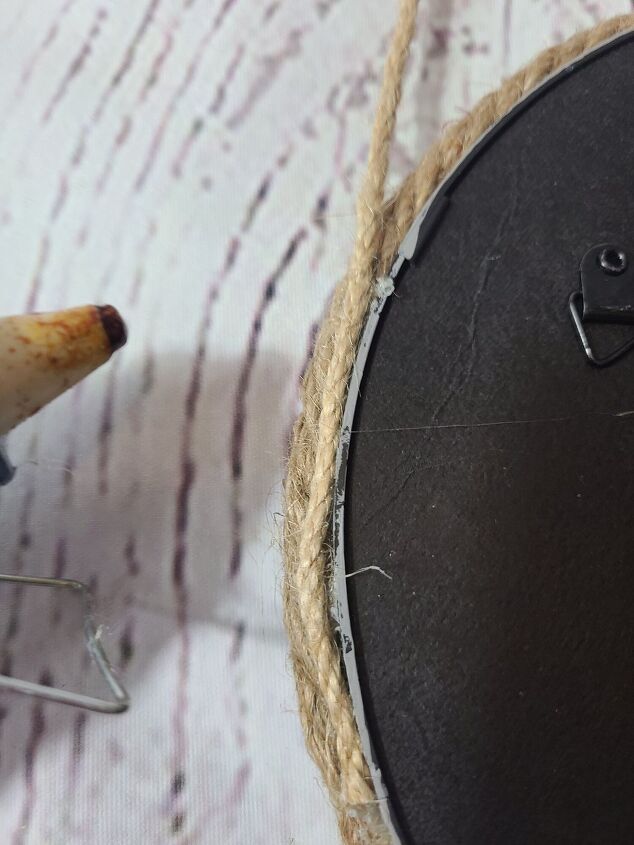
Use the nautical rope to wrap around the outside of the mirror. Place a strip of hot glue down the middle of the plastic part and lay the rope over the glue. Continue gluing until you’re back where you started. Put hot glue on the end of the rope that you have to cut, and twist the rope to keep the rope from completely unraveling. Now glue the end of the rope touching the beginning of the rope.
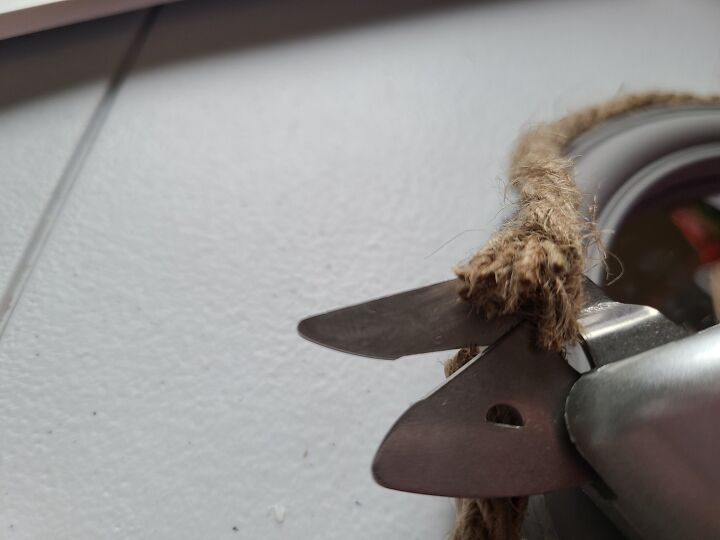
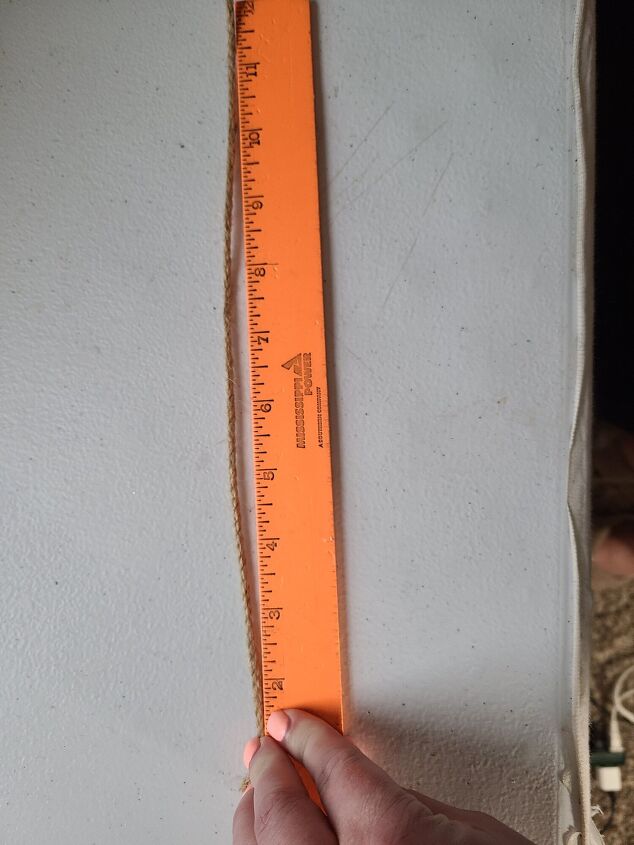
Next you can attach the rope that the nautical mirrors will hang on. That rope should be a little thinner jute ribbon. You can get them from Michael’s or any craft store. Cut off 24″ of jute rope, then cut another 24″ piece if you’re making two mirrors like I did.
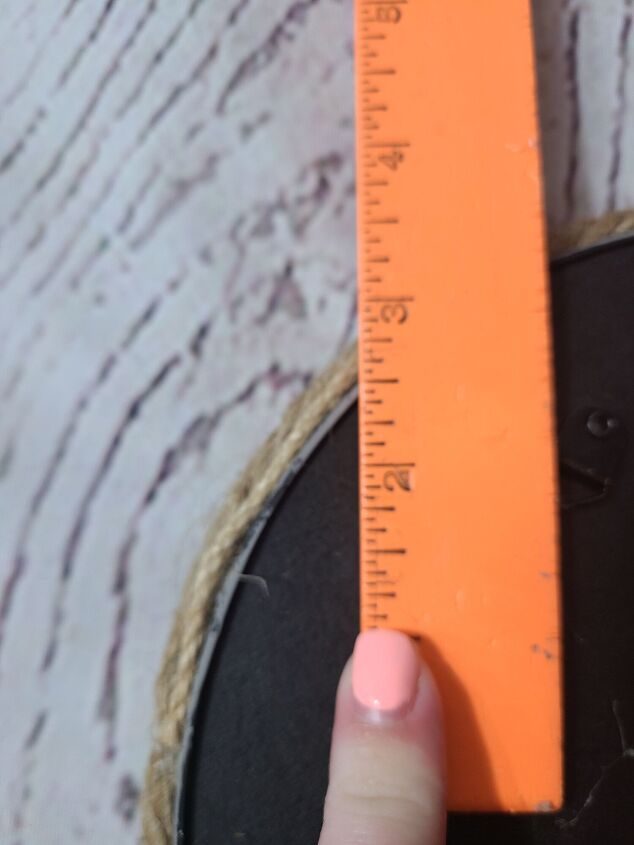
Center the section that you glued together at the bottom center. This will help you glue the hanging piece at the same place on every mirror. At both 90 degree angles glue 3″ of rope going up and around the mirror. The will bend in with the mirror for about 2.”
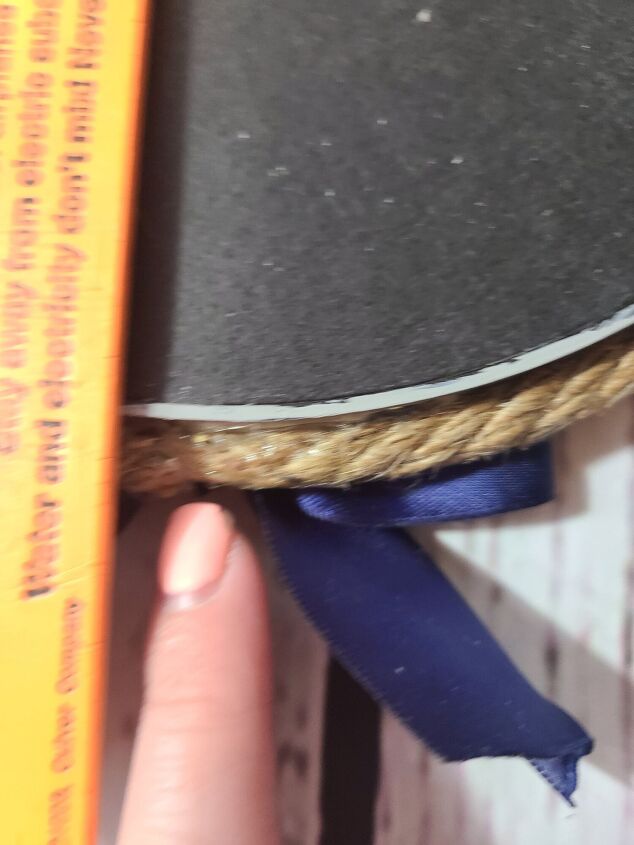
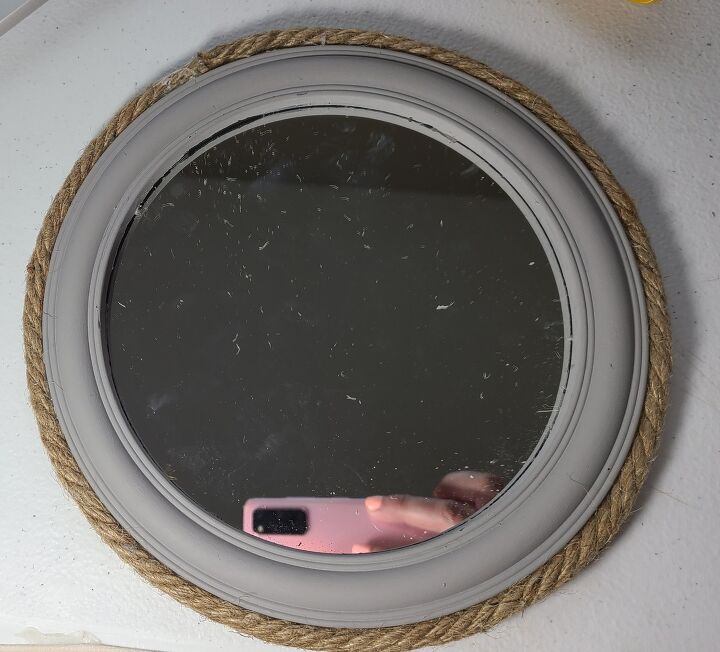
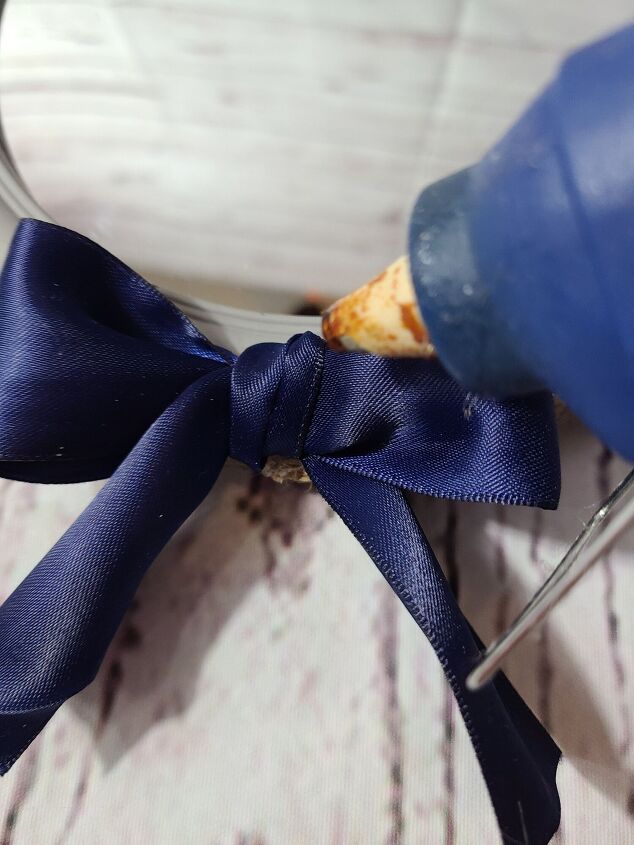
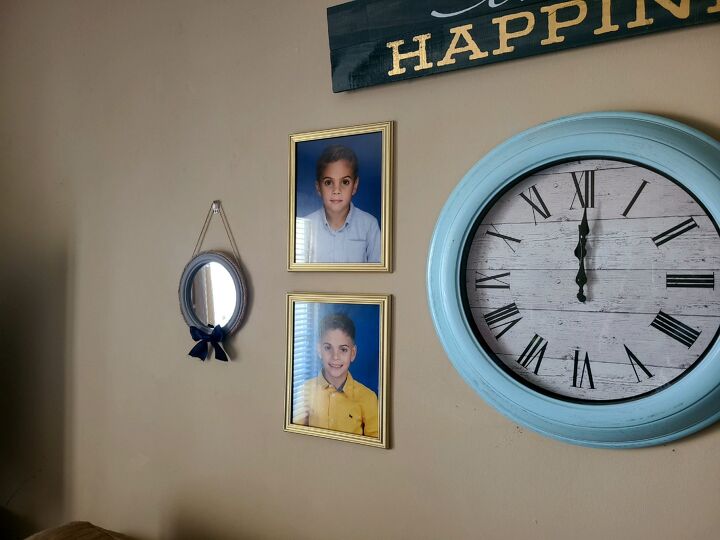
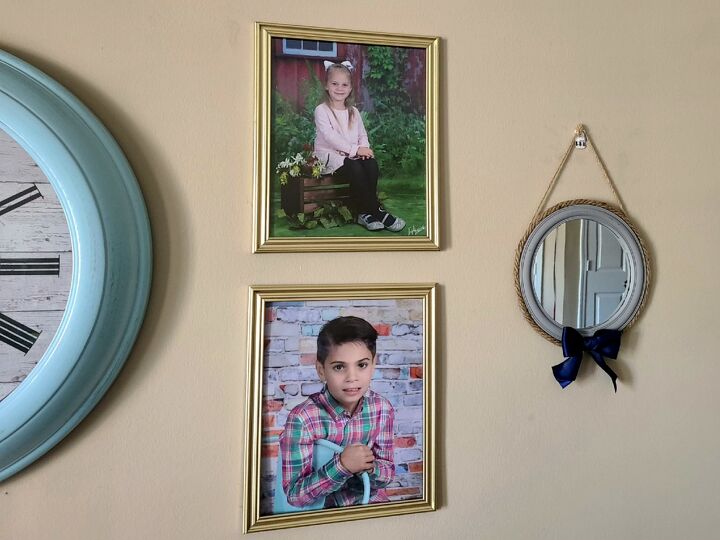
Embellish or not to embellish?
I started off just using the mirror and ropes, but I decided to place a navy satin bow at the bottom. You can choose to do this, leave it blank, or maybe even run the smaller rope around the inside of the mirror lip.
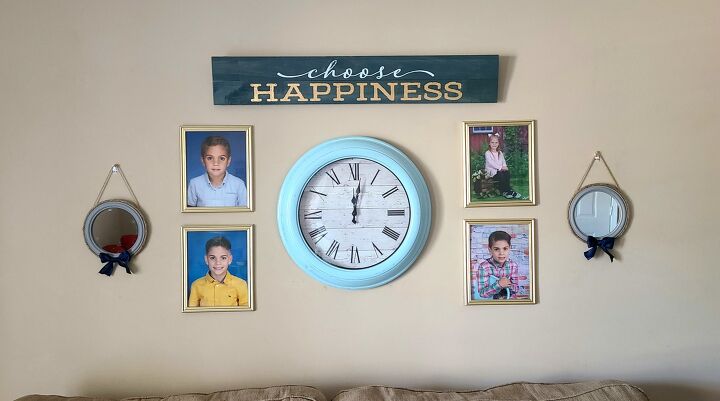
I’ve run out of daylight here, so I will upload better pictures in the morning! Thank you for stopping by today to see my nautical mirrors!
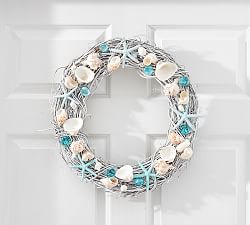
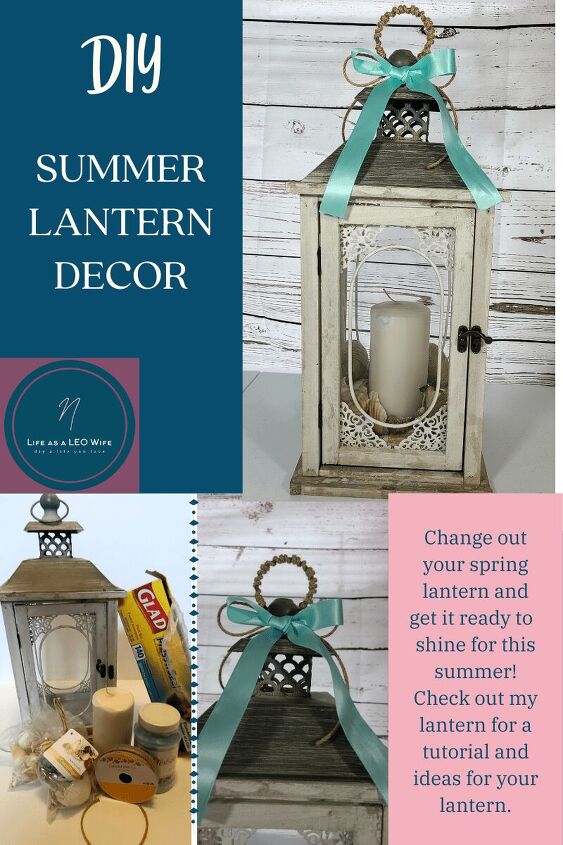
There’s plenty more nautical decor on LifeasaLEOWife.com, heck, there’s decor for all tastes, so head over and search for DIYs until your heart’s content or if you're looking for something specific use the search box in the sidebar. You may enjoy these tutorials:
Head over and check out the decor that I created for the other letters in the 2021 bloggers’ A to Z Challenge. They are all going to be part of my summer home decor. Follow me on social media (my handles are usually @lifeasaleowife) to keep up with what’s going on over on the blog. Remember to share or pin this post so you can get back to it when you’re ready to make your own mirrors. Check out my Pinterest board for summer decor (pinterest.com/lifeasaleowife/summer-decor-ideas).
If you'd like to be alerted to new posts (DIYs, free printables, & more) head over to the blog and enter your email address in the sidebar. You will get an email each time I upload a new post. Thanks everyone! Hope to see you soon!
Resources for this project:
See all materials


Comments
Join the conversation
-
The nautical mirrors are at my skill level and would look great in our house, will give it a try. Thanks so much for posting.


Frequently asked questions
Have a question about this project?