


Nautical Growth Chart, Oh so Red, White and Blue!

This is perfect for that little sailor in your family. Or perhaps a most unique baby shower gift.
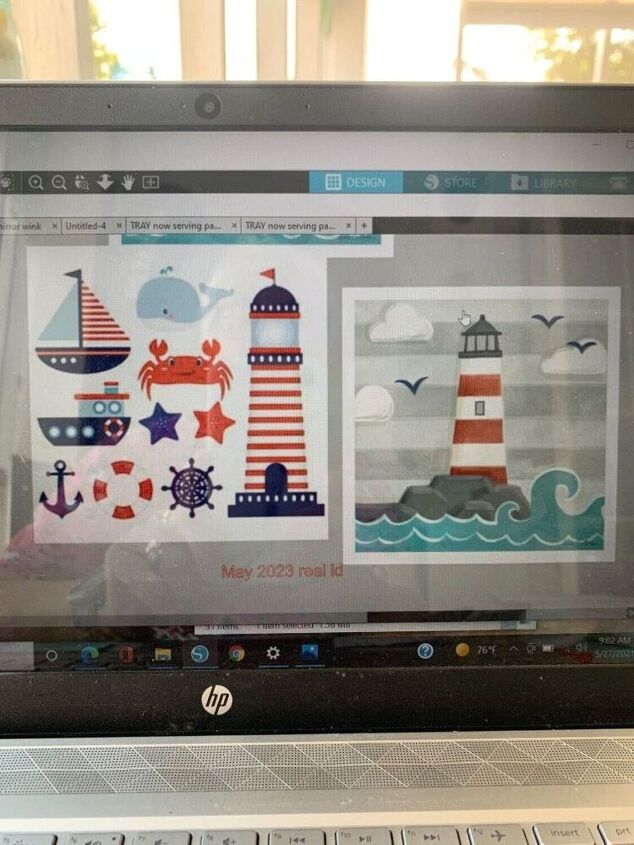
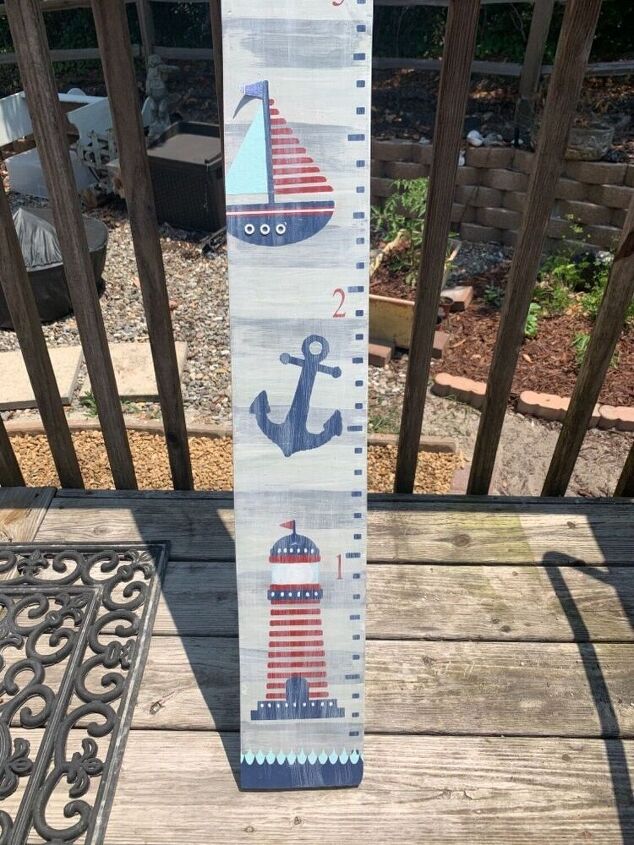
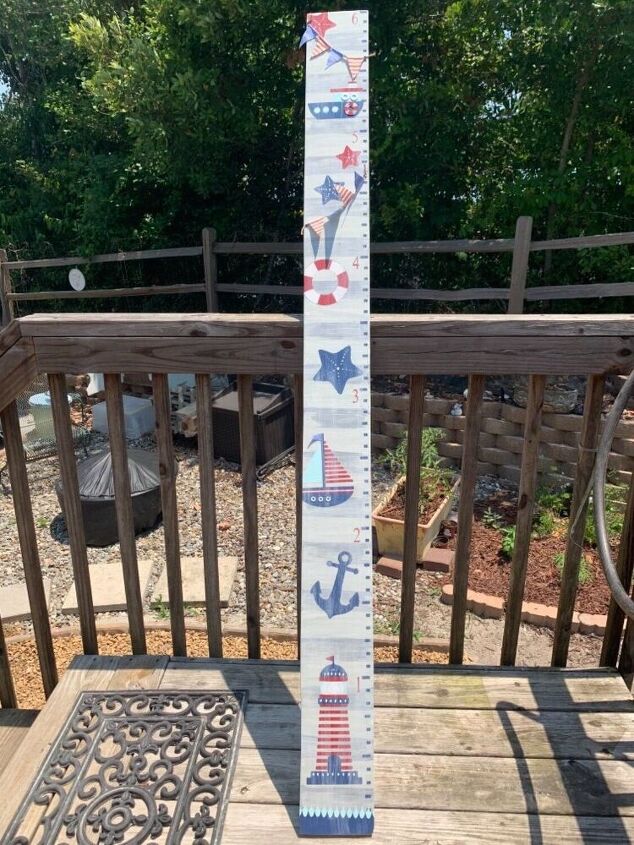
These two images are the inspiration for this piece. I love the pictures on the left but plan to add some kind of ocean water to the bottom and grey/white stripes like the pic on the right. See how these images enter my head, swirl around a bit and end up on a large piece of wood. Let’s get started!
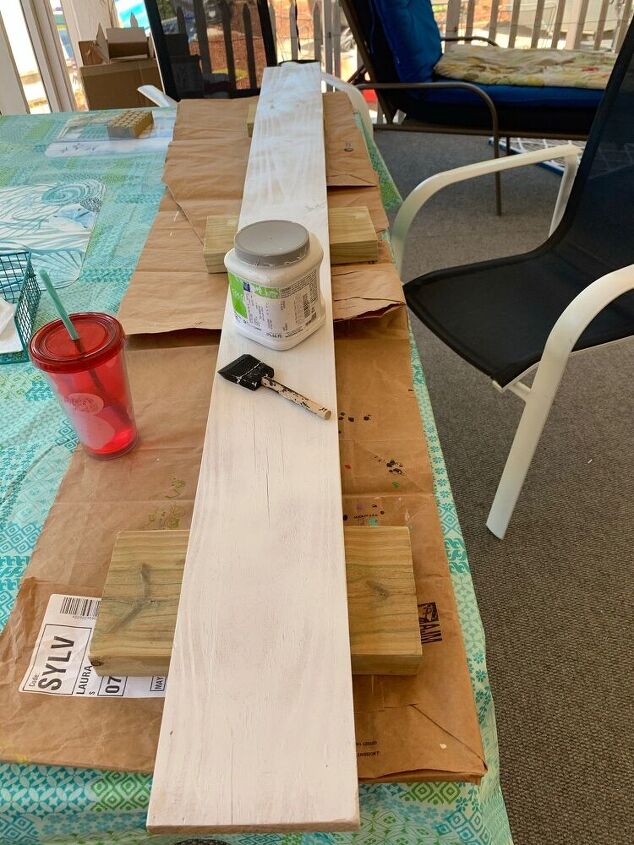
The wood is 6 ft tall. I decided to go this large so the piece can simply sit on the floor. (Some are made on a 5 ft piece and hung on the wall 12” off the floor). We start with a base paint of white.
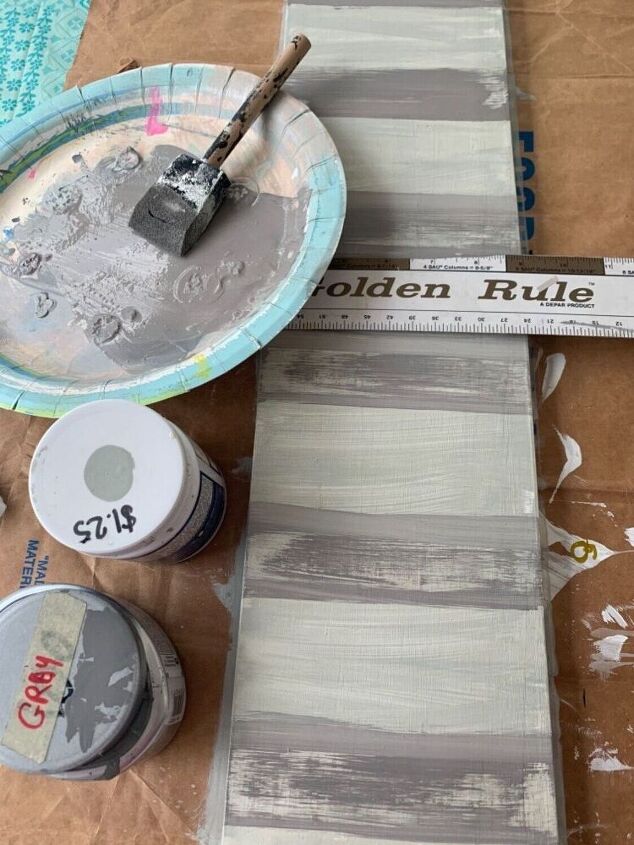
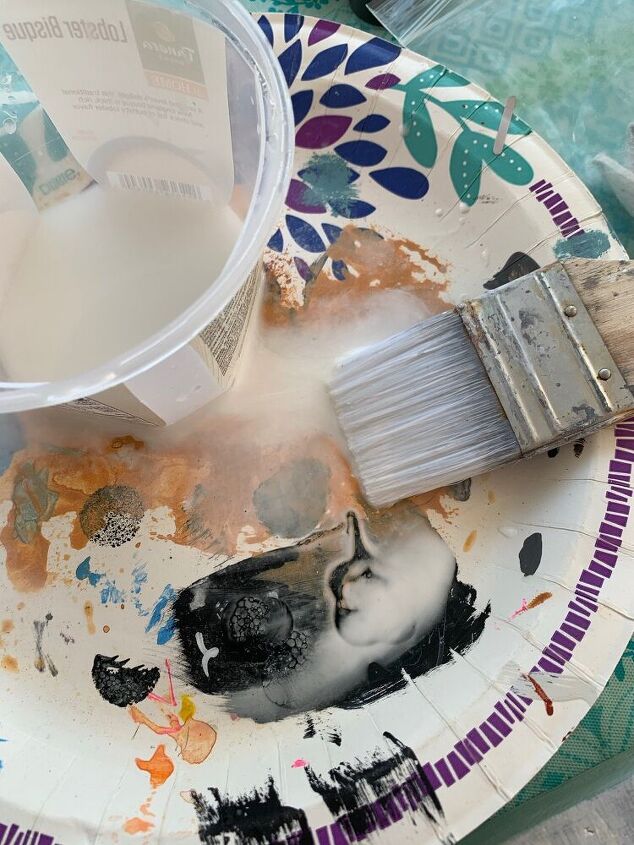
I used two shades of grey paint for the stripes. The plan is not to go for perfection. No painters tape used to make the stripes. I just used the width of the ruler to guide and my place the first darker grey stripes. I then went back and added the lighter grey as a wash. (watered down on a paper plate). I’m careful not to add too much of the wash by offloading some of the paint first onto the paper plate or a piece of paper towel.

Here is how it looks with the background finished.
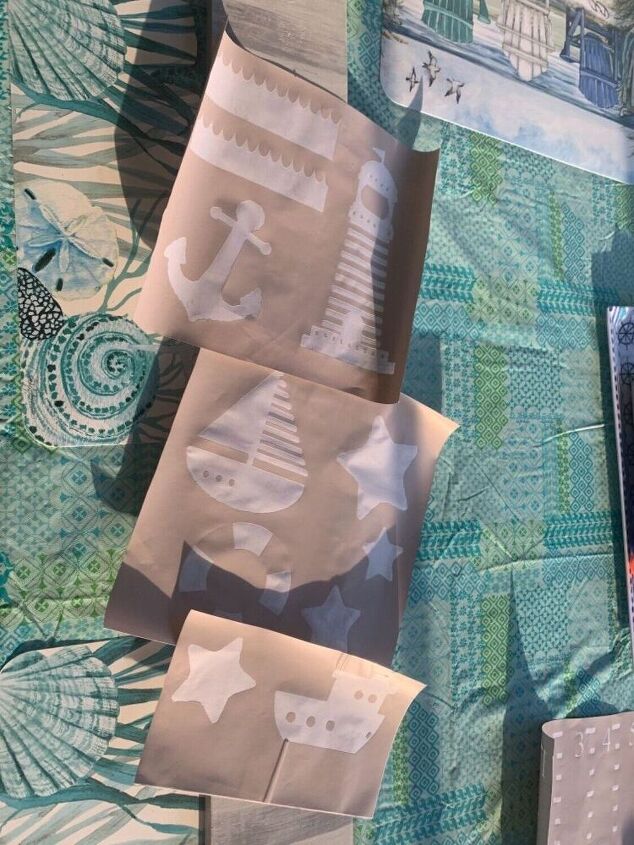
I love designing and using stencils. I have a silhouette cutting machine and it’s software on my computer. I make the design on my computer and then cut the stencil on the machine. I use very inexpensive shelf liner as my stencil material. I measured everything out on my software program to make sure the images will fit the piece of wood.
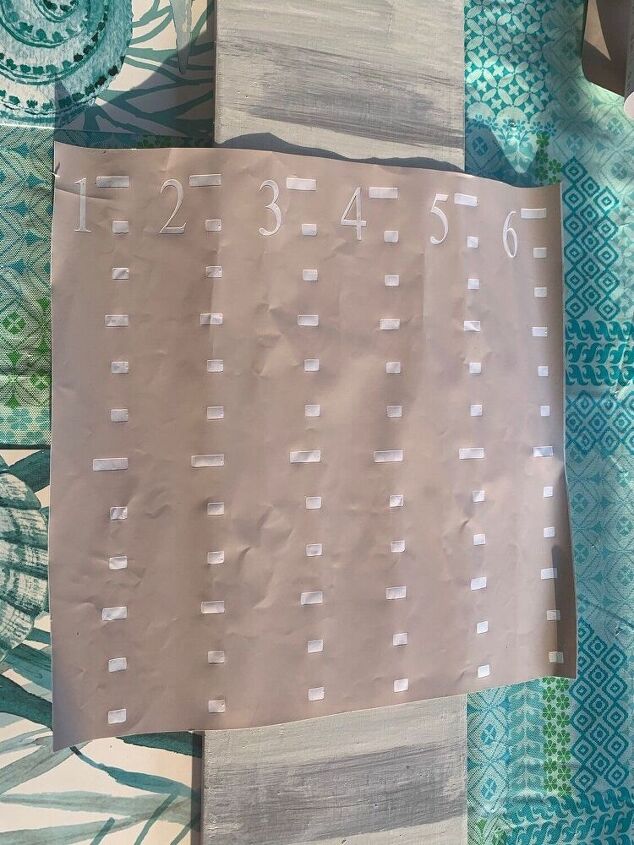
This part was a little tricky but very doable. I googled to get an image of the measurements. Then that image was pulled into the silhouette software program on my computer. You need to do a process which is called trace and cut. The tricky part was just to make sure that an inch actually measured an inch.
I decided to put the measurements on first. I used a ruler to make sure that I was placing the measurements properly. I peel the backing off the stencil material a little bit at a time.
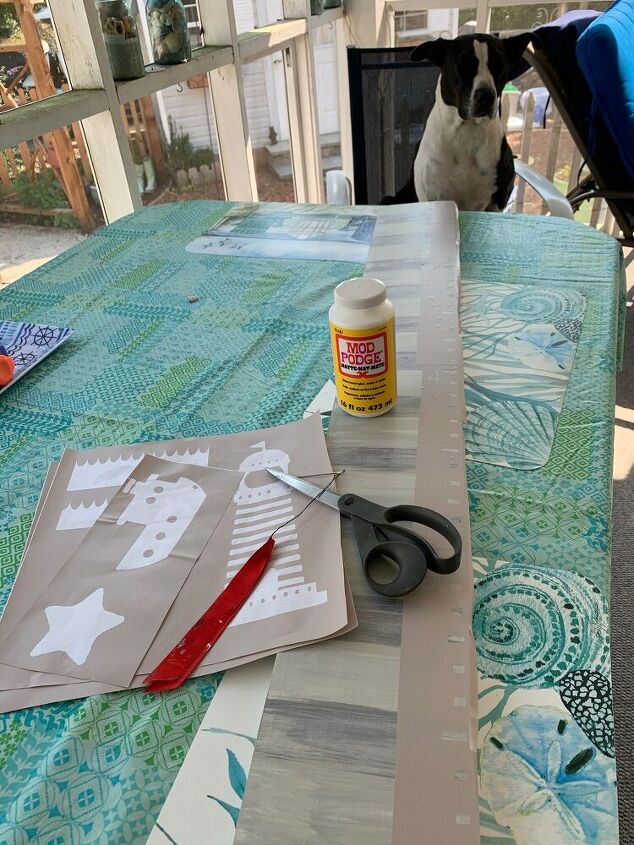
Abby my sidekick is looking on with approval. I use a soft artist brush to apply Mod podge and then let it dry. This will stop the paint from seeping underneath the stencil.
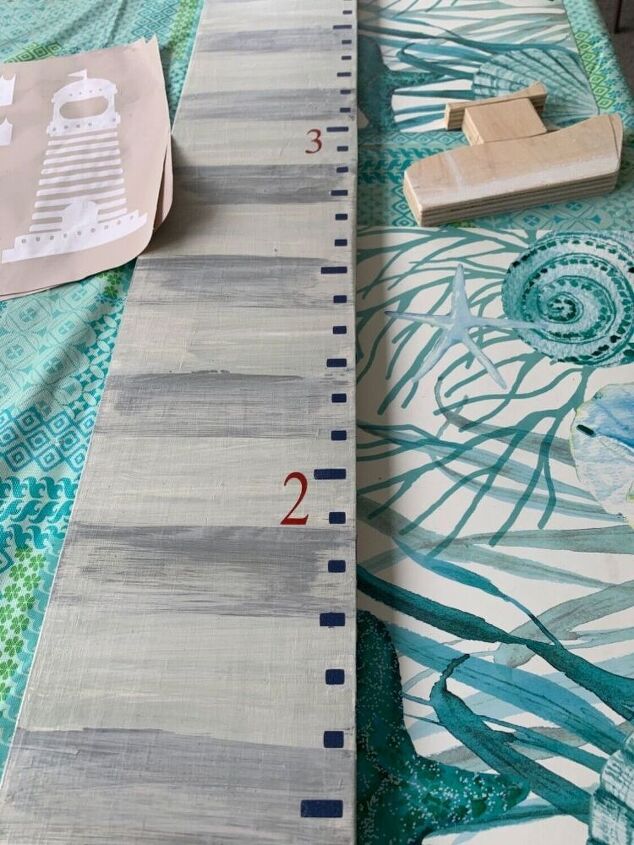
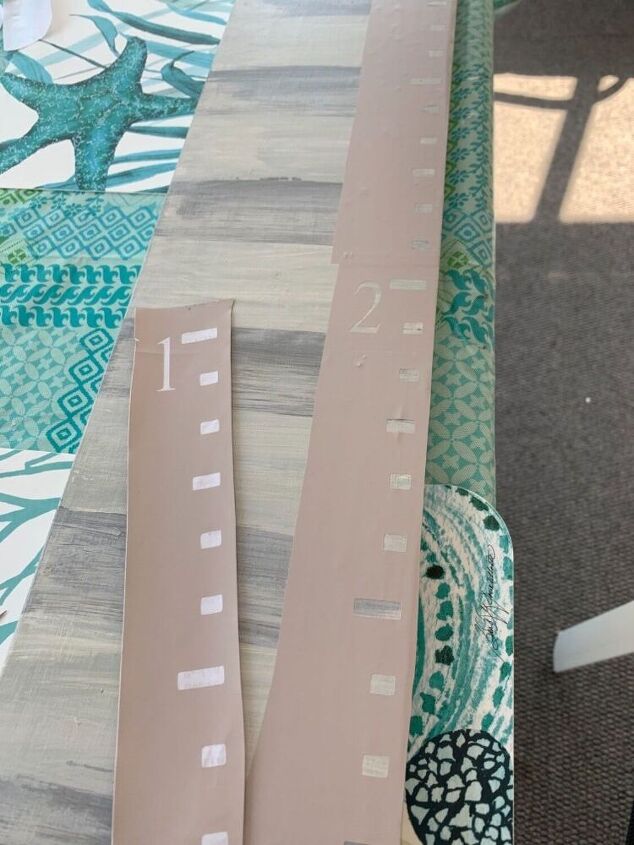
I painted the numbers red and the dashes are navy blue.
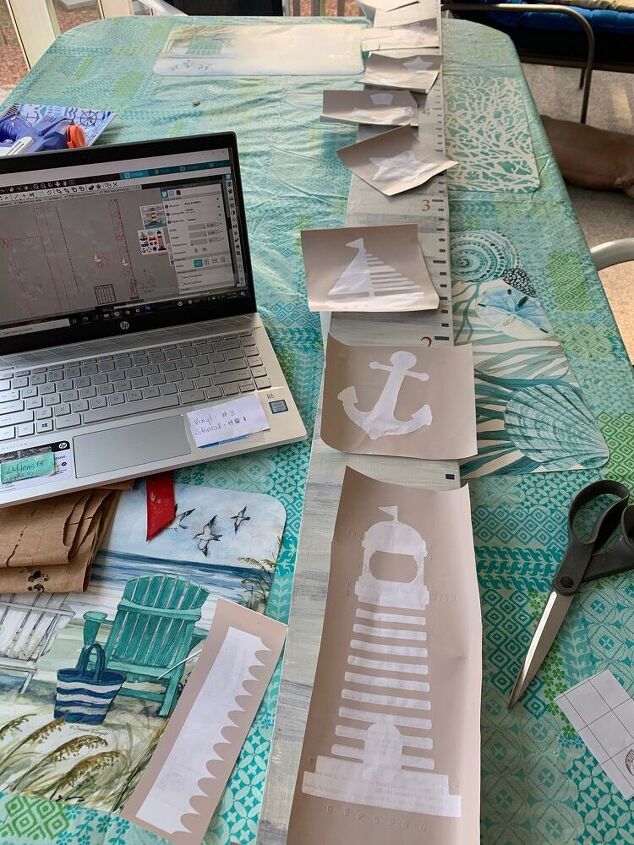
This project is actually a big job because of how many stencils I plan to use. Looking at the design on the computer I am figuring out where to place each stencil.

The stencil material that I use has backing. Once I position it where I want the stencil to be, I hold the stencil in place and peel off the backing a little bit at a time. If you peel off the entire backing all at once and then try to place the stencil you will most likely end up with a hot mess
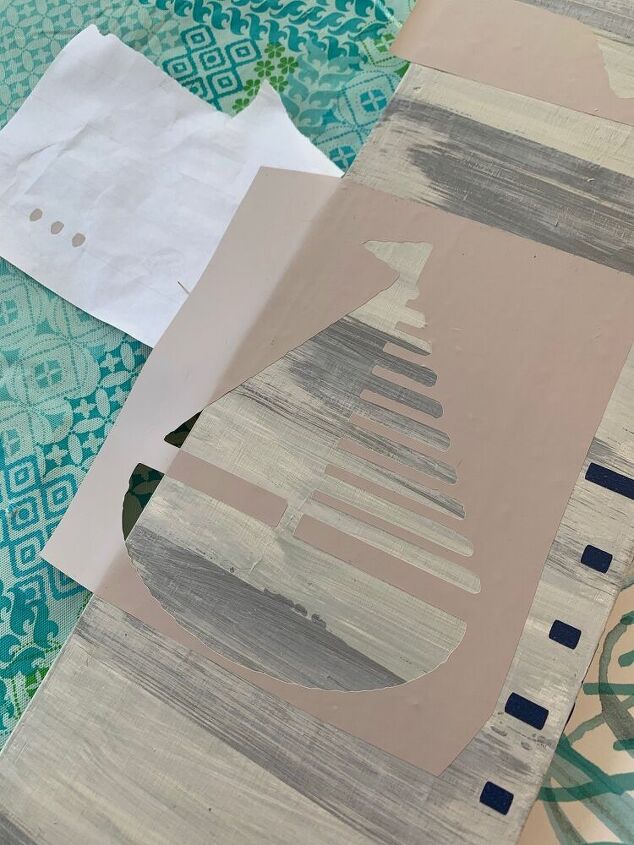
I purposely placed this stencil so the edge of the sailboat goes off the end. A little bit of extra interest for the project piece.
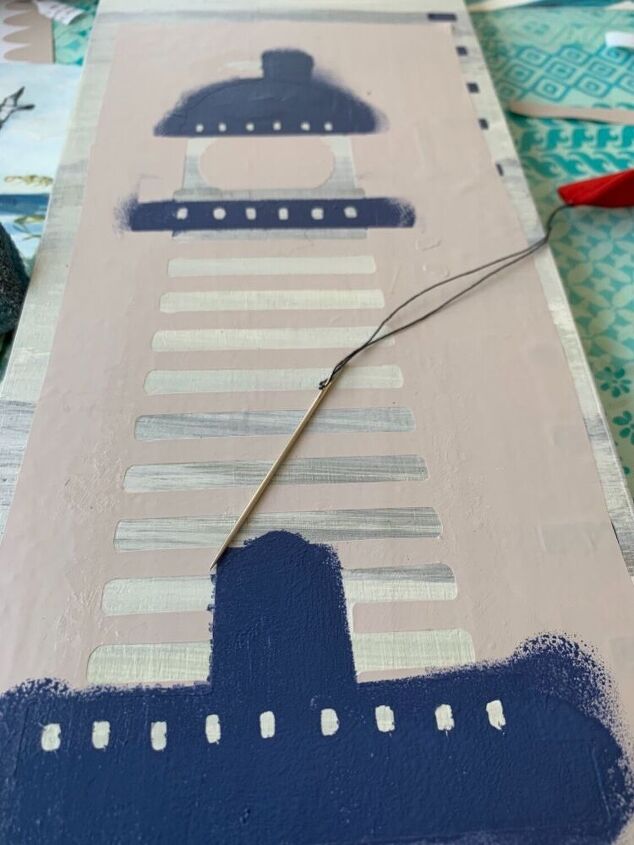
Each individual stencil may have more than one color. So you need to be very careful when applying each color. Sometimes you need to add some extra stencil material or painters tape in certain places temporarily so one color does not end up where a second color belongs.
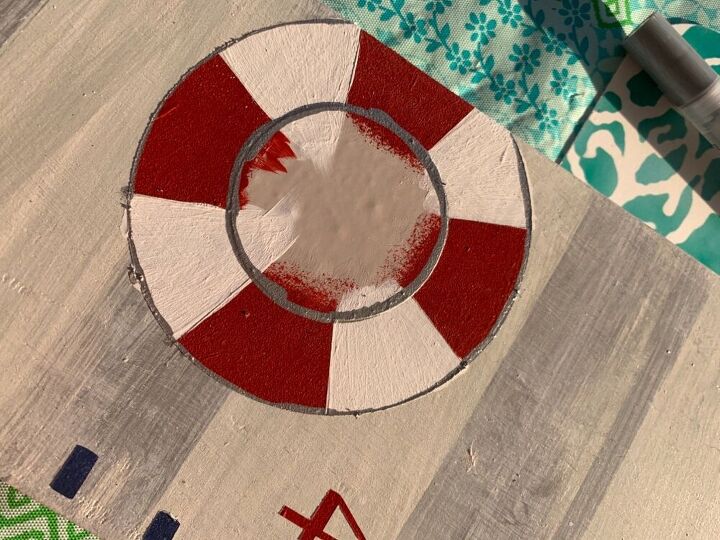
I decided to trim this life preserver with gray paint. The center of the stencil is still in place but will look very nice once it’s picked up and removed.
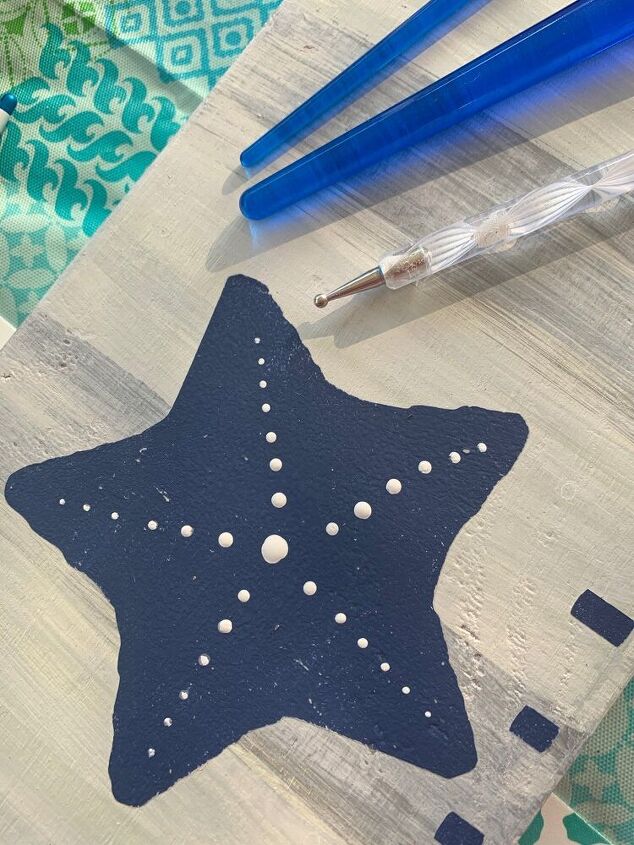
I used a dotting tool to add the white dots onto the blue star fish.
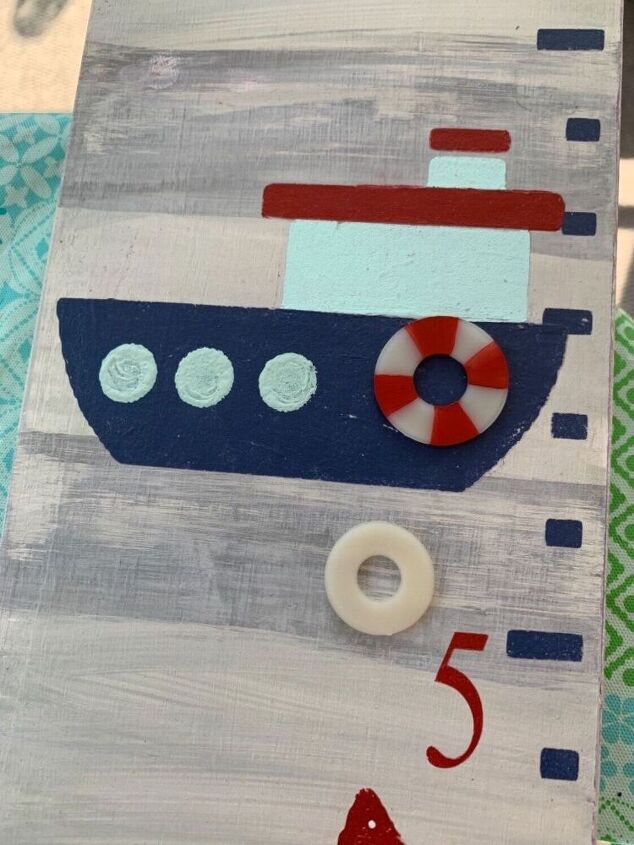
I love using items from the hardware store when I can. This is a white plastic washer that I added the red paint to. Easy preezy lemon squeezy life preserver!
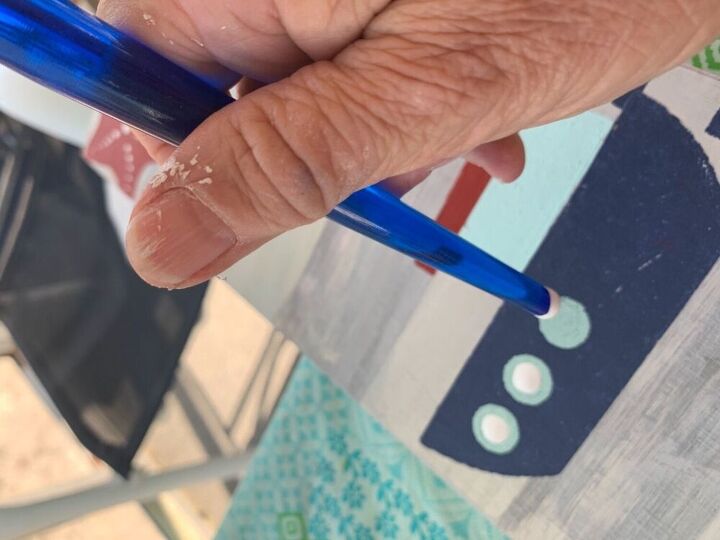
After I painted this boat I used a round sponge bouncer for the blue port holes. Then I went back with the tip of a paintbrush handle to add the white circles on top of the blue.
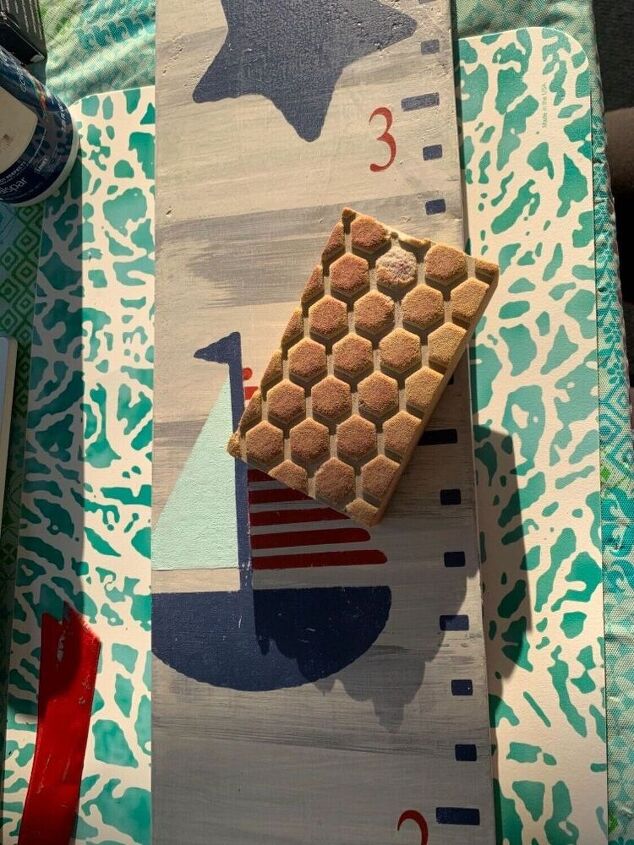
I always like to give my projects a quick light sanding. I used a sanding block with light pressure. It knocks off some of the edges formed by the stencils.
I used a nylon brush and watered down white paint to give the entire project a white washed look. You need to be careful that your brush is not too wet.
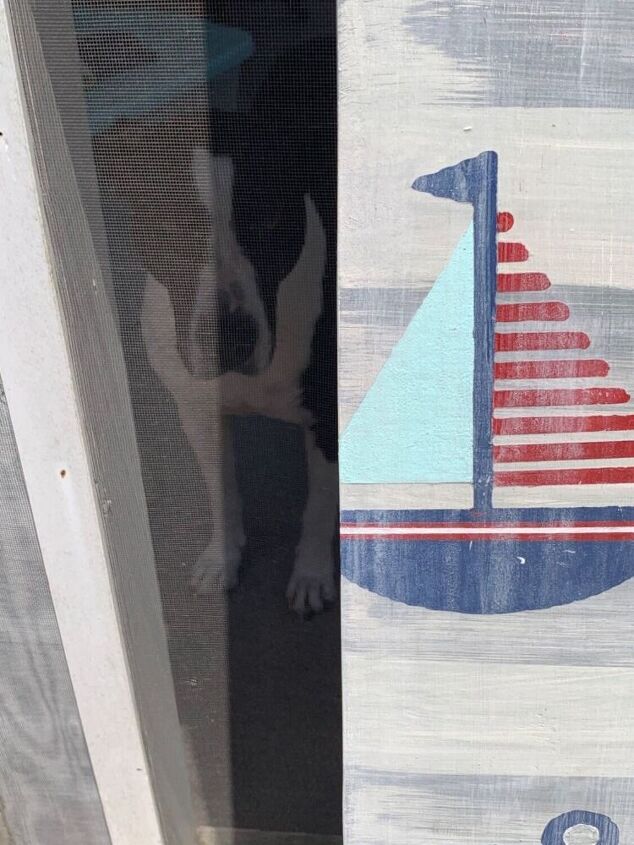
Do you see Abby? Once it dried I used polycrylic to seal the entire project.
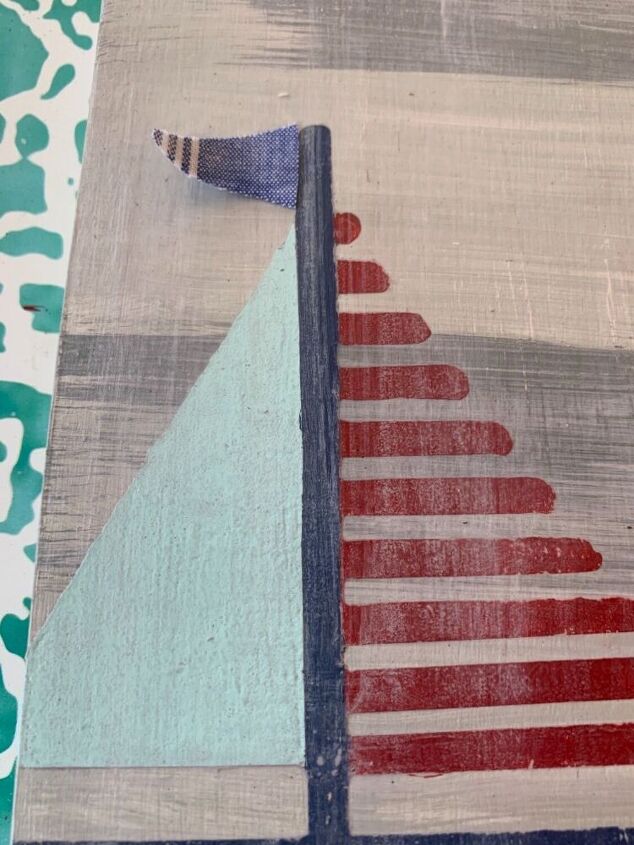
It’s pretty neat when you can add a little bits of fabric to your project. Here is a little flag on top of the sailboat.
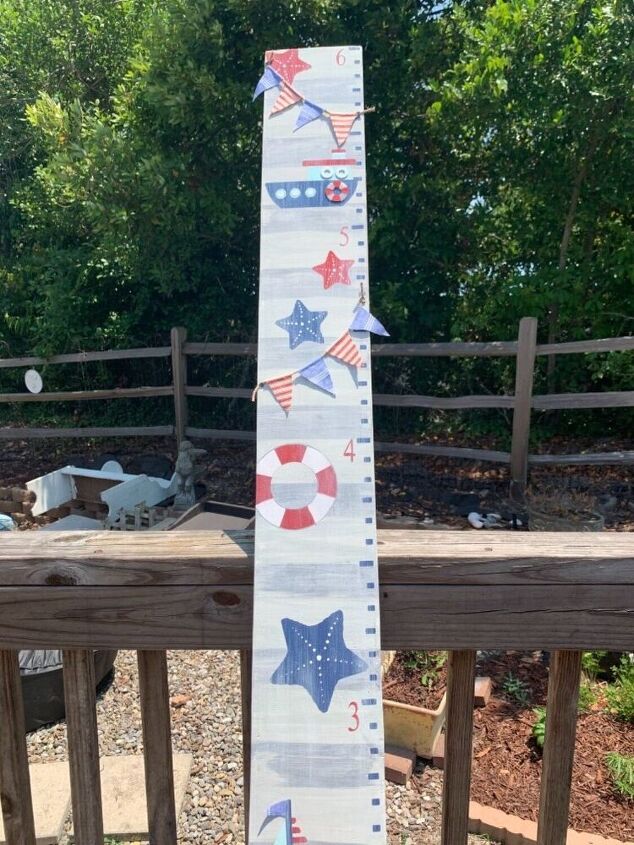
I used twine and more fabric to add bunting flags to the top!
Another close-up!
I hope this project inspires you to make a growth chart for your little ones or as a gift. What a great keepsake!
ENJOY!


Comments
Join the conversation
-
This is just adorable!! I may have to steal your idea for my grandkids. 😁
-
S.U.P.E.R. CUTE!!! I love ocean theme decor! Thanks for sharing!


Frequently asked questions
Have a question about this project?
What or where did you apply the Mod Podge to? How does it stop paint from leaking under stencil? Thx!
An adorable project!