


A Pretty Summer Throw Pillow DIY
Are you ready for a splash of color this summer? This hand-painted summer throw pillow DIY will add the perfect summer color!
Follow along for a fun pillow DIY for the coolest summer throw pillows!
Are you a fabric nerd like me? I love fabrics, and I love throw pillows, so I just may happen to have a stash of fabric that I’ve accumulated for just the right pillow project.
(This post contains affiliate links, so I may earn a small commission when you make a purchase through links on my site at no additional cost to you.)

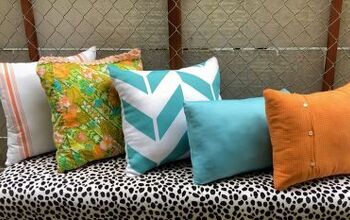
I’ve had this pretty floral fabric onhand ever since I purchased it for next to nothing when my favorite local fabric store shopped carrying bolts of fabric – which is a sad story in and of itself …
However, I’ve been holding onto this pretty floral for a while and just decided to add these to our summer pillow mix.
But, I couldn’t stop there.
I had a couple of plain off-white pillow covers lying around that were just begging me to paint them!
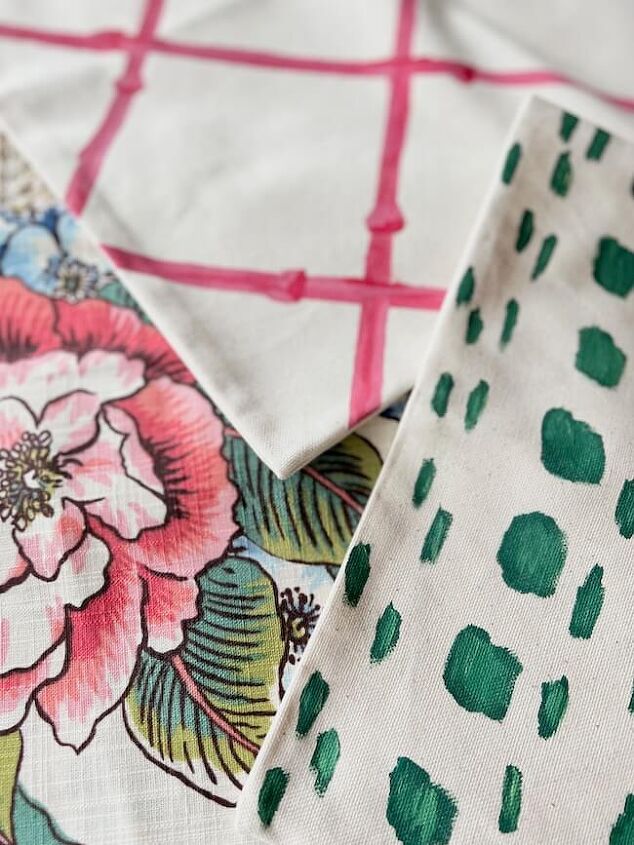
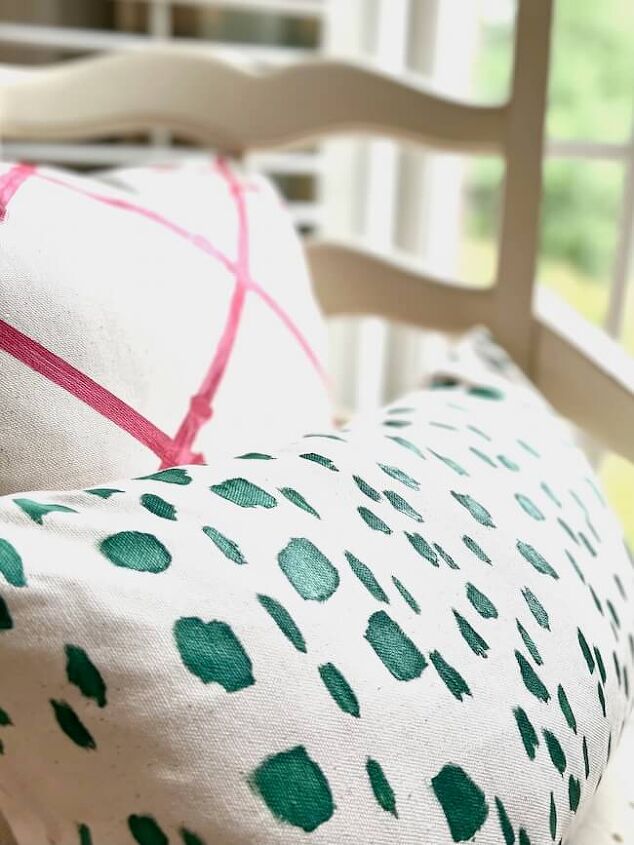
I thought it would be pretty to do a pink one in a fun bamboo trellis design.
I wanted to make one with a green spotted design similar to this Brunschwig Fils Les Touches pillow.
So on this rainy day, I whipped out the fabric paint, gathered some brushes, and got to work!
I started with the pink bamboo trellis pillow.
How to Paint a Pink Trellis Summer Throw Pillow:
I used an 18 x 18 inch pillow cover, because it’s what was available.
Normally, on my sofa I like to use 20 x 20 inch pillows, but the 18 x 18 inch would suffice.
I ironed the pillow cover first.

The next step was to mark off the lines for the trellis. I used a brown paper bag as a guide for how far apart I wanted the lines. I marked them in both directions.
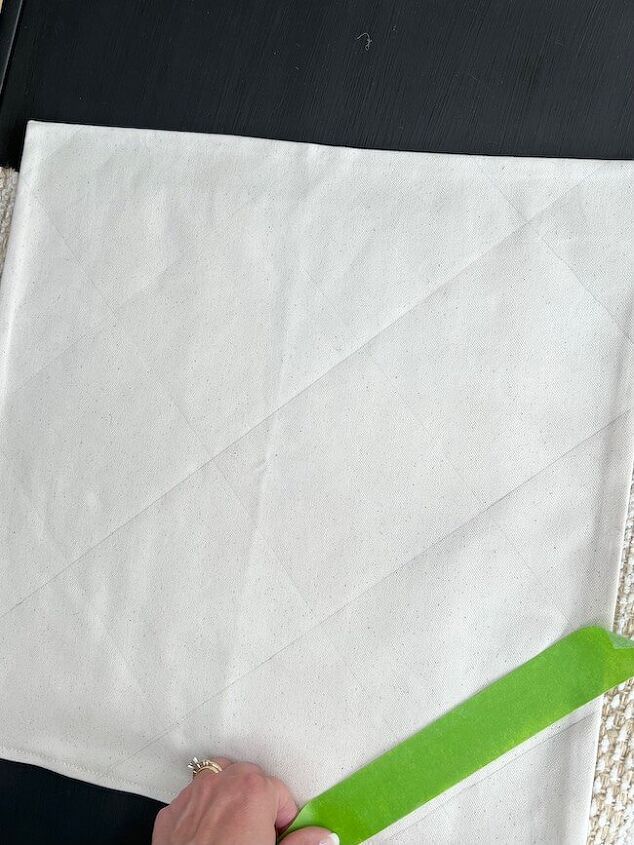
Next, use Frog Tape to tape off the lines in the first direction for a clean look. (I later decided I wanted the lines to feel a little more hand-painted than crisp, but I’ll get to that later.)
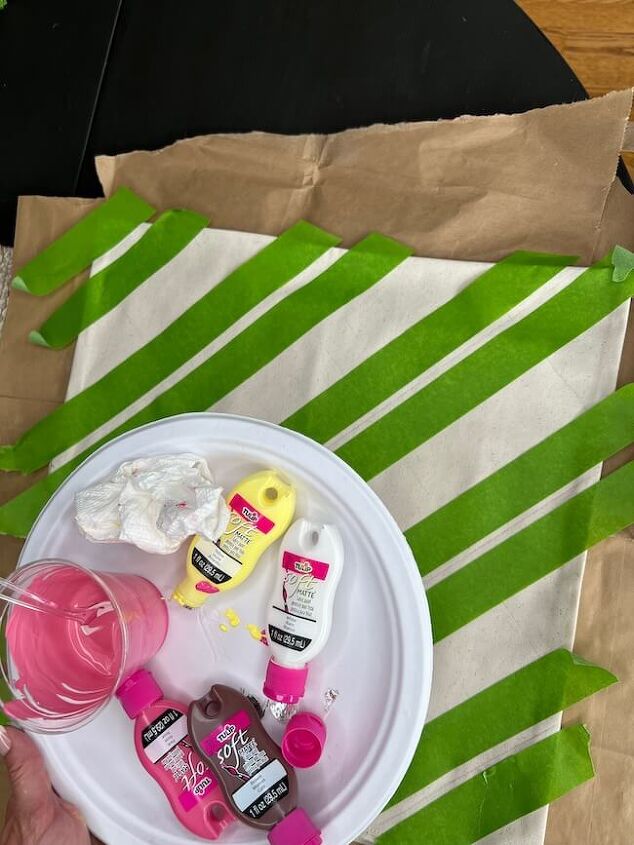
I mixed pink, red, white, yellow, and little brown fabric paint together to achieve the color I wanted.
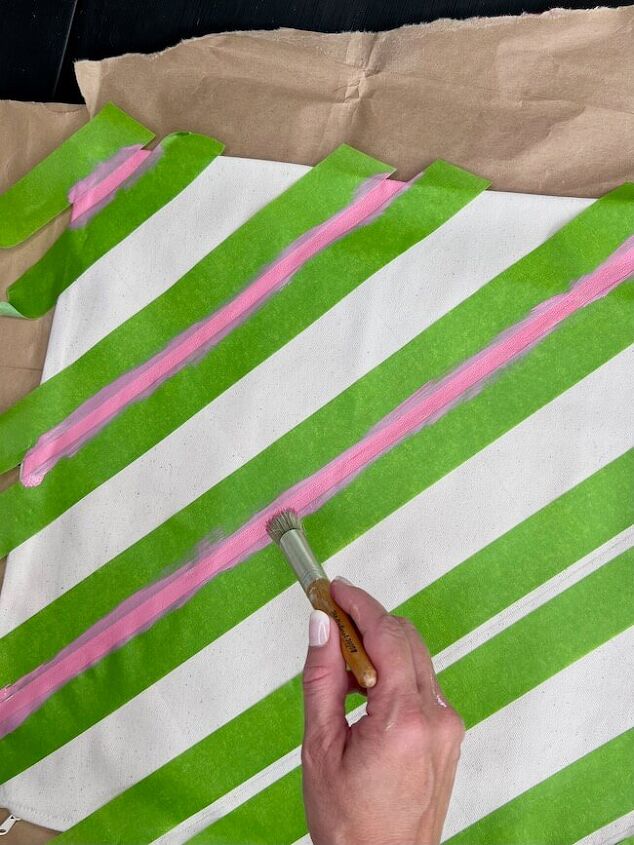
Paint the lines with a stiff paint brush. I used a stencil brush for this, but used brush strokes along the tape lines instead of the dabbing stencil technique. The paint covered very well and went on quickly, so I didn’t use much of it.
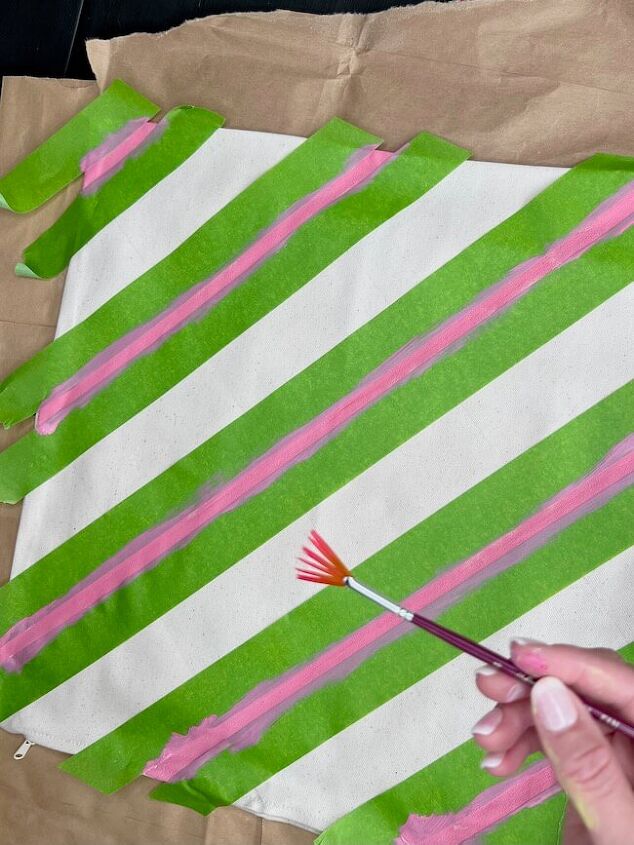
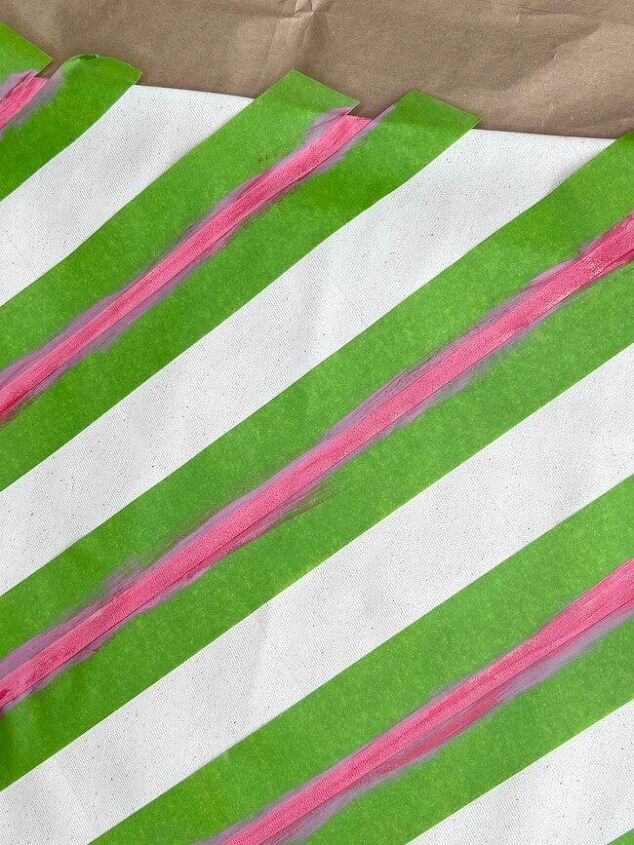
I used a fan brush and some red paint to add some detailing and dimension to the lines. I removed the tape and let the paint dry for a few minutes.
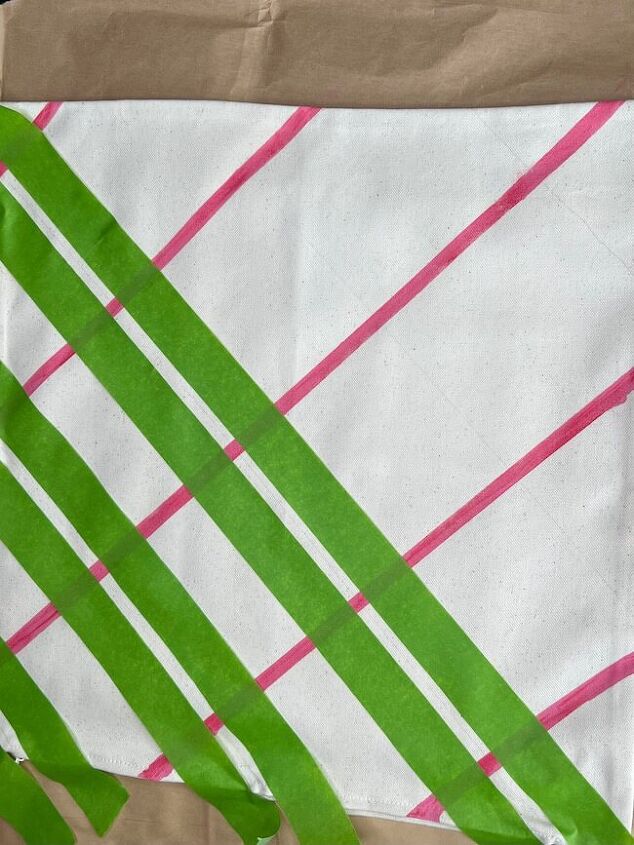
Next, I taped off the lines in the opposite direction, and repeated the painting process above.
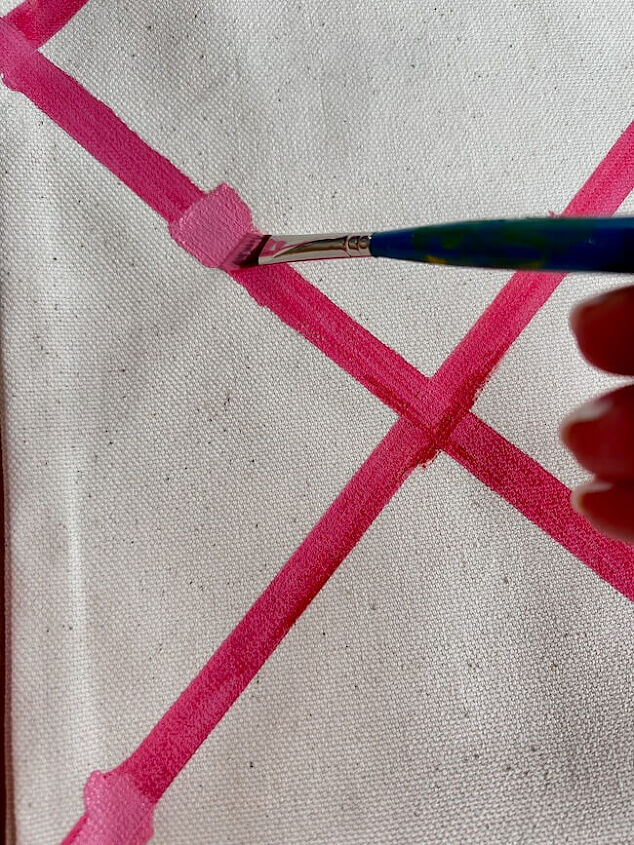
After removing all of the tape. I used the red paint to add in some details to create the look of bamboo. I also mixed the red in with the pink and brushed along the lines to add some dimension to them.
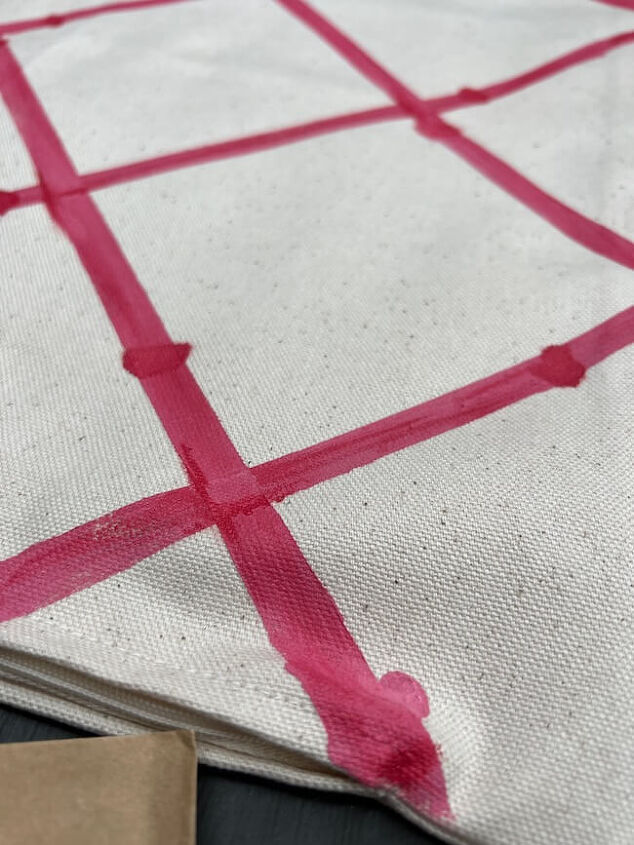
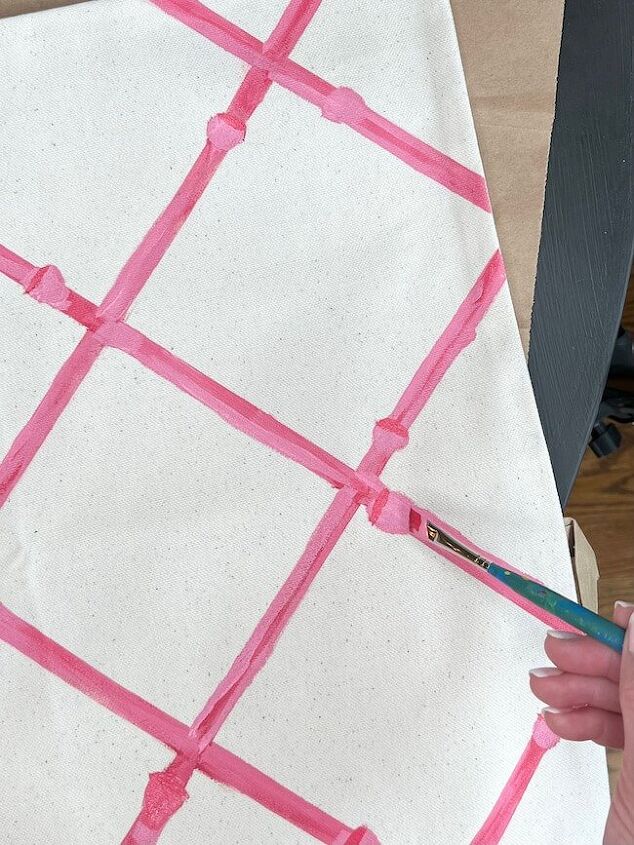
I decided I wanted a more hand-painted look so I brushed along the edges of all the lines so they didn’t look quite so clean and crisp.
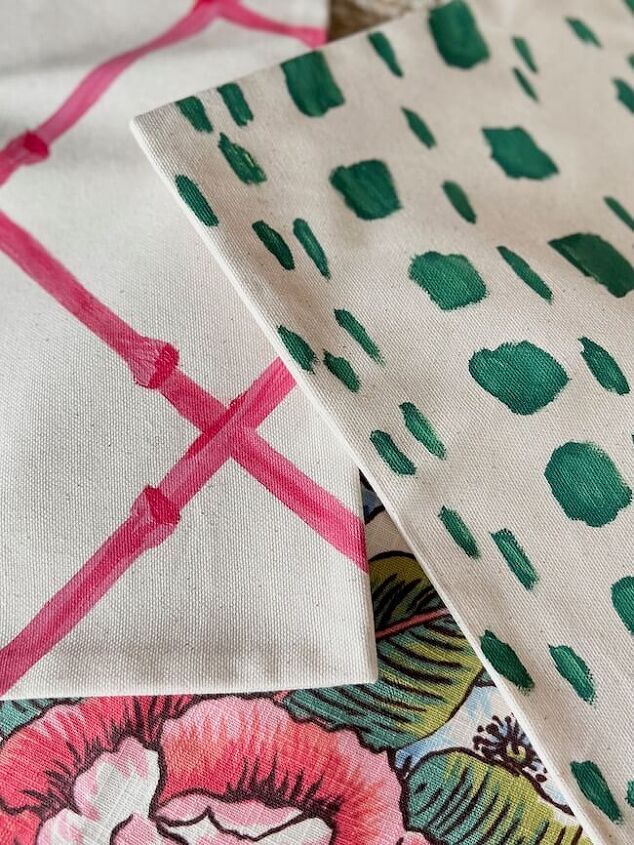
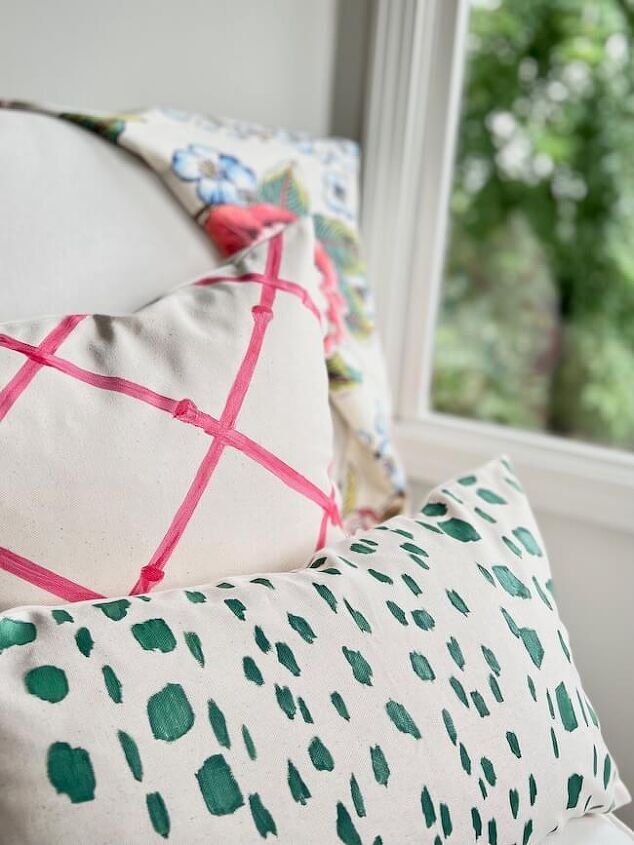
I love the result! The pink bamboo trellis is such a pretty look paired with the floral print.
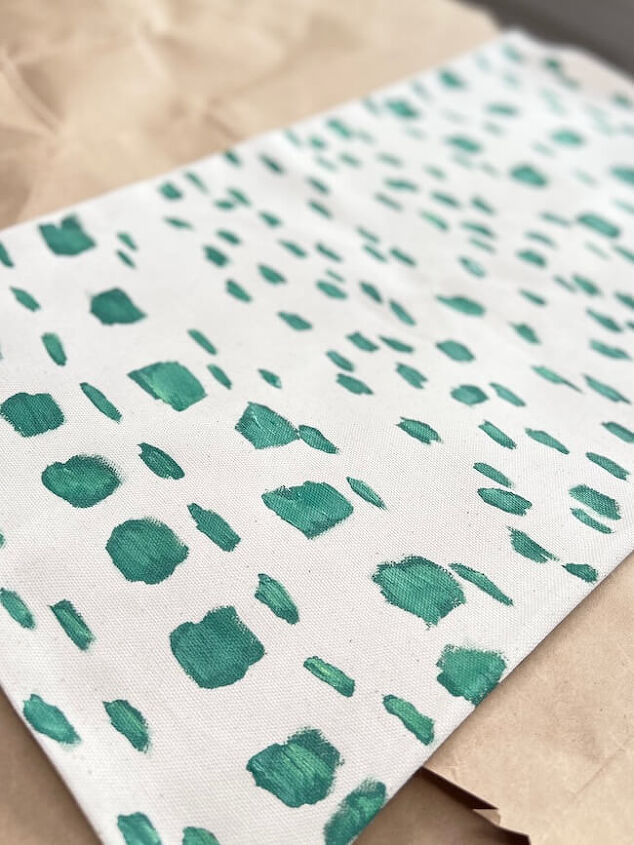
How to Paint a Green Spotted Throw Pillow:
I wanted to add a little more green to my sofa pillow-scape this summer, so decided to mimic the look of a designer fabric pattern on a blank pillow cover.
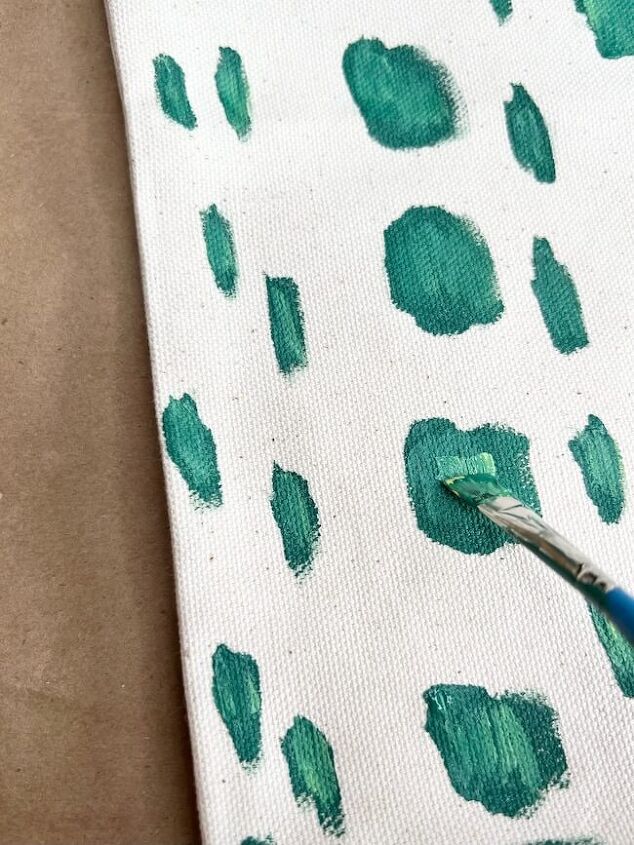
I used a combination of green, red, brown, yellow, and white to achieve this color. I found that using a small stiff slanted paintbrush allowed me to easily create different sizes of “spots” on the pillow cover.

I started in the middle and made some smaller strokes.
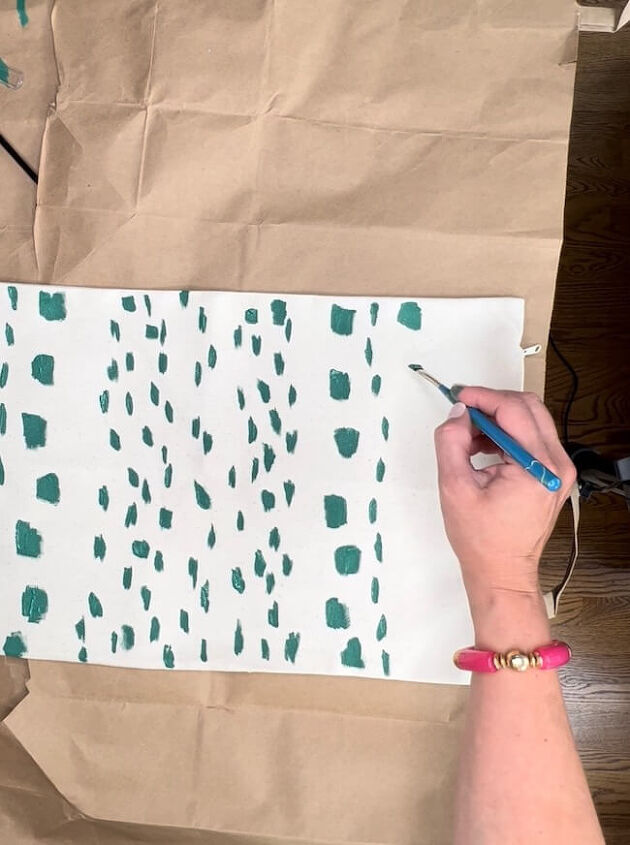
Then, I moved out toward the edges and added in some lines of larger spots. I then added in a few more spots here and there to achieve the look I wanted.
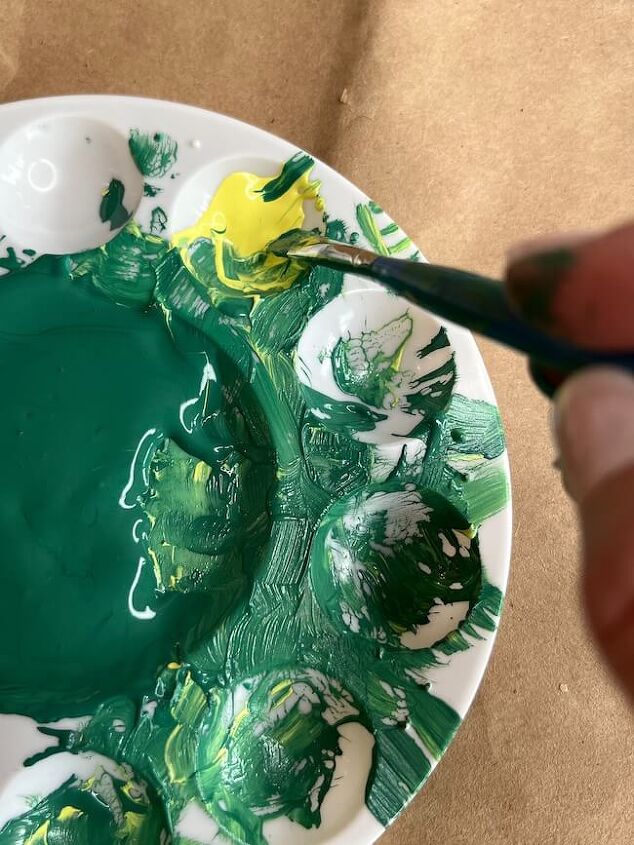
As with the pink trellis pillow above, I blended in some yellow with the green to overlay some additional color to create some dimension in the spots.
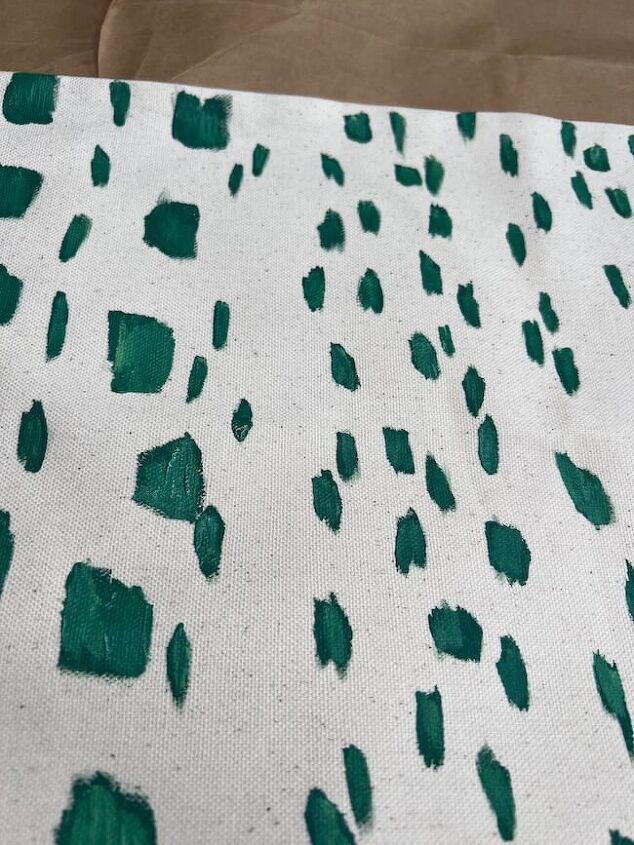
I love the look of the green painted pillow!
Not too bad for a quick summer project on a rainy day!!
I love how the hand-painted summer throw pillows turned out! It’s fun to try out something new, and I hope this inspires you to create something fun on a rainy day this summer!
Happy Summer!

Comments
Join the conversation
-
These are just beautiful! The green spotted is so fun!


Frequently asked questions
Have a question about this project?