


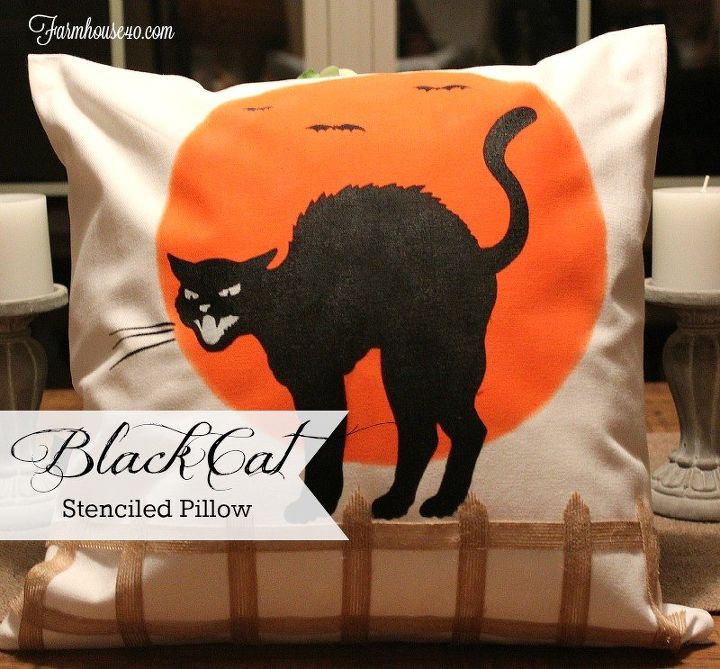
DIY Black Cat Pillow - Create And Share
Hi Friends......I have a really fun project for you today. The Create and Share DIY Challenge is a monthly blogger challenge where Stephanie @casa watkins invites her blogging friends to create a new project using the same item. This month, Cutting Edge Stencils has partnered in the challenge.
And that is not all......Three lucky readers will win their choice of a stencil kit from Cutting Edge Stencils! Be sure to enter the giveaway at the end of the post.
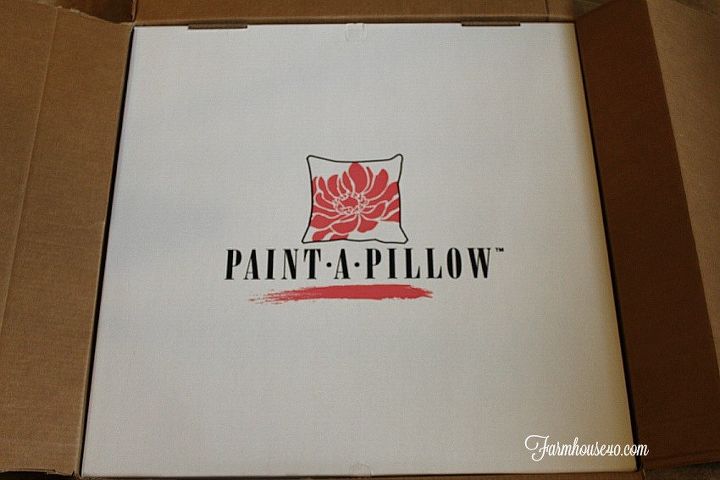
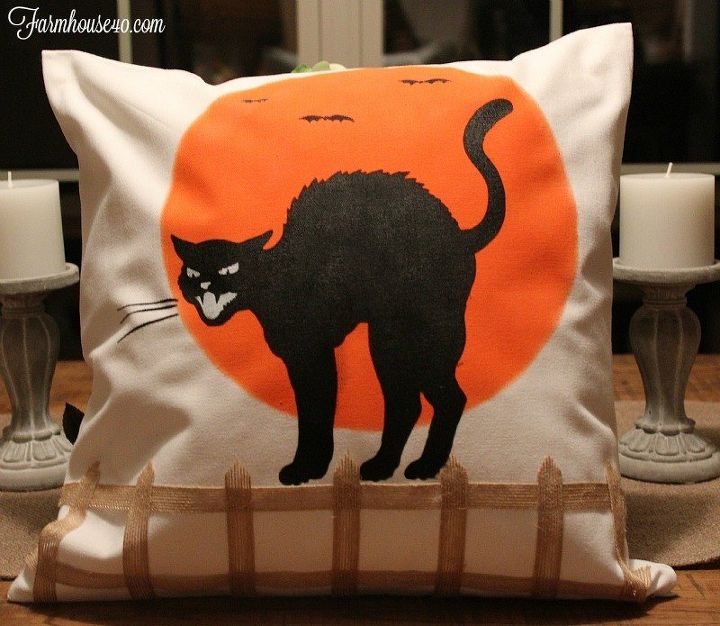
This DIY Designer Pillow from Cutting Edge Stencils comes assembled and ready to paint.
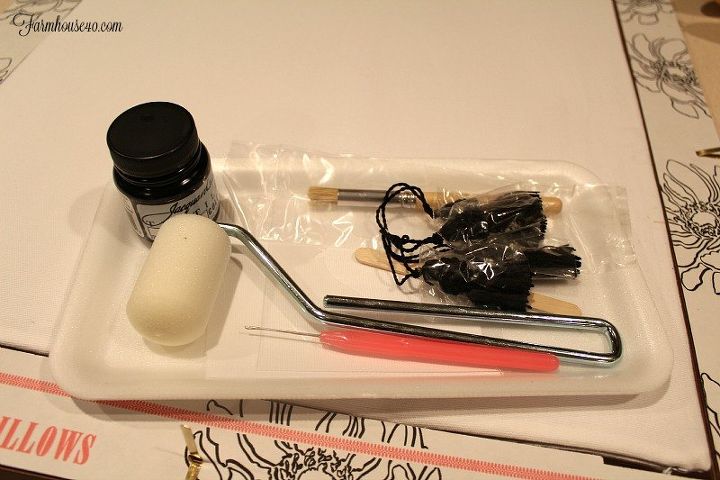
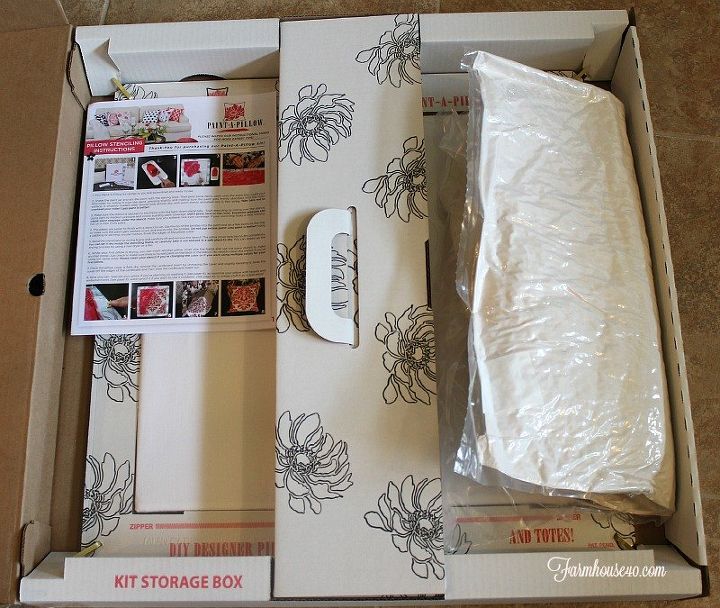
The kit contains a paint roller, fabric paint, stencil brush, paint tray and accessories.
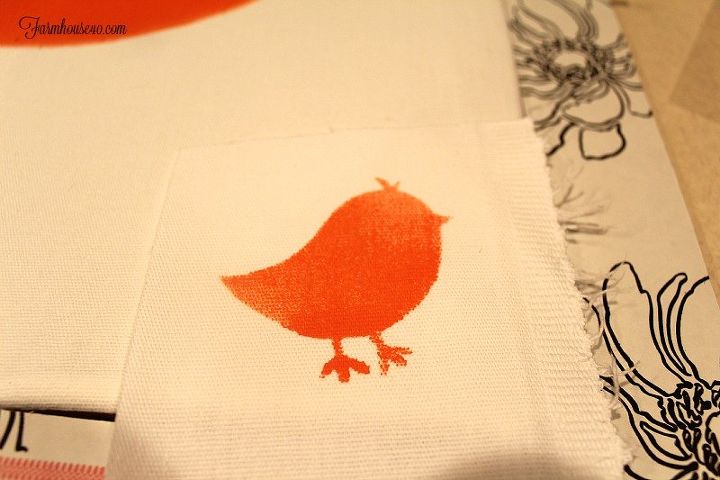
Also included in the kit is a sample piece of fabric and a small stencil so you can practice before you begin painting.
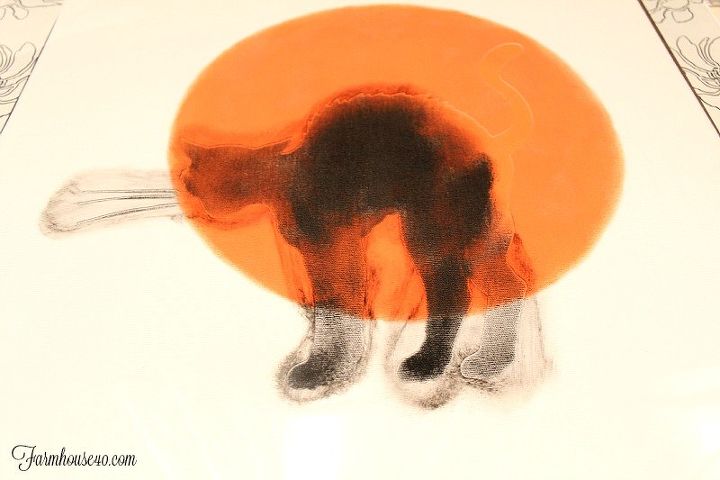
I started with just a little paint on the roller. A drier roller or brush works best. Just keep adding additional layers
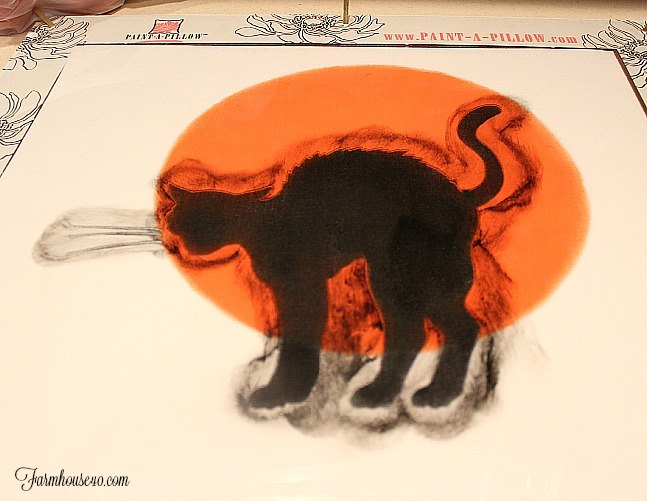
Let the paint dry completely. Once the black paint was dry I then stenciled the eyes and mouth of the cat.

I decided to use brown burlap type ribbon to make a fence. I cut strips to the correct length and pinned in place
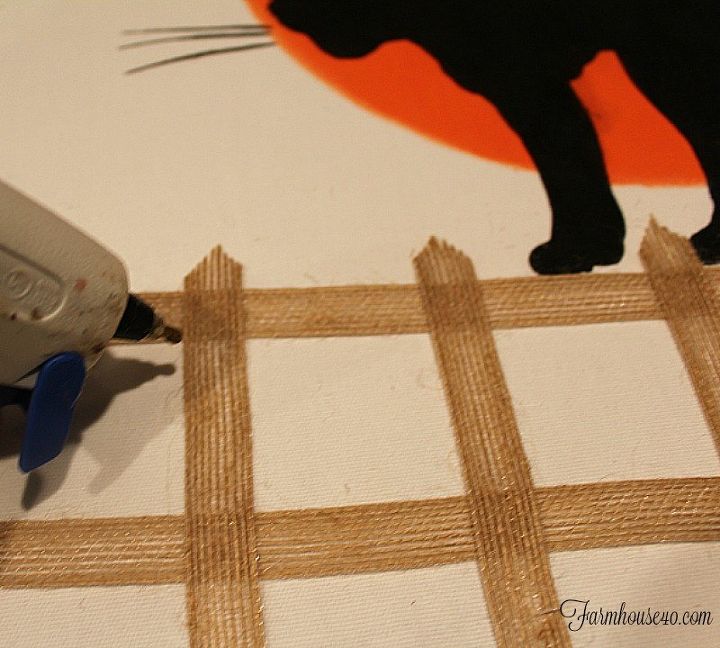
Secure the fence with hot glue.
After you have completed your pillow you remove from frame and the middle cardboard section folds and you can remove the pillow cover. Open the pillow insert that is included in the kit and insert into the pillow. I love the quality of the pillow insert also.

Want more details about this and other DIY projects? Check out my blog post!
Comments
Join the conversation
2 of 3 comments
-
Thank you appreciate your comments.
-
Just now cam across this project. LOVE it!!! will add this to my "to do " list.


Frequently asked questions
Have a question about this project?
How were you able to remove the outer black paint lines from around the cat? I haven't worked with Fabric paint before, but this pillow is so adorable I just have to give it a shot before Halloween.