


EASIEST Way to Make Throw Pillows — From A Table Runner
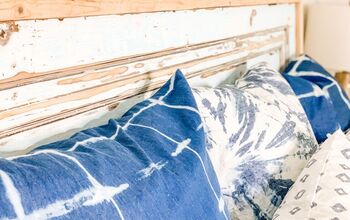
THE easiest, quickest way to make throw pillow covers. Darn-near-no-sew. One table runner = 4 lumbar throw pillows! Plus. they look great.
I just don’t think making pillow covers can get much easier than these!
Most of the cutting has been done for us. For my four pillows, I had to make 3 cuts — TOTAL!
For two of the pillows I just had to close one end, the other two required an additional straight seam — That’s It!
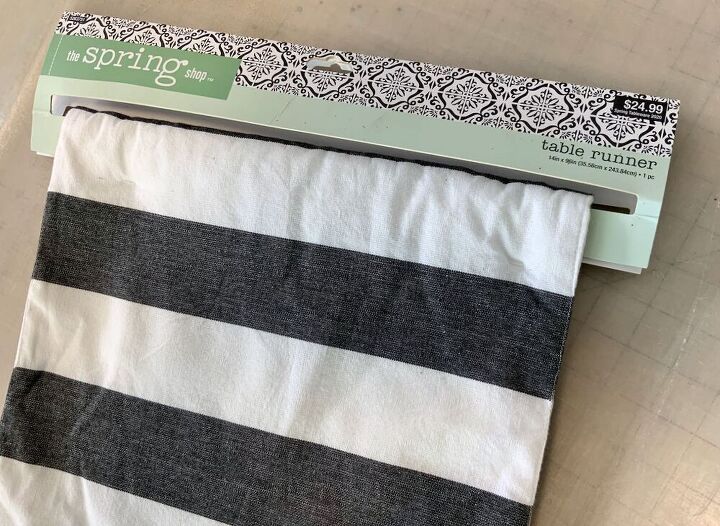
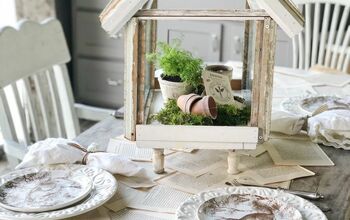
I scored this table runner for $5 at Hobby Lobby when they were clearing out last Summer's merch.
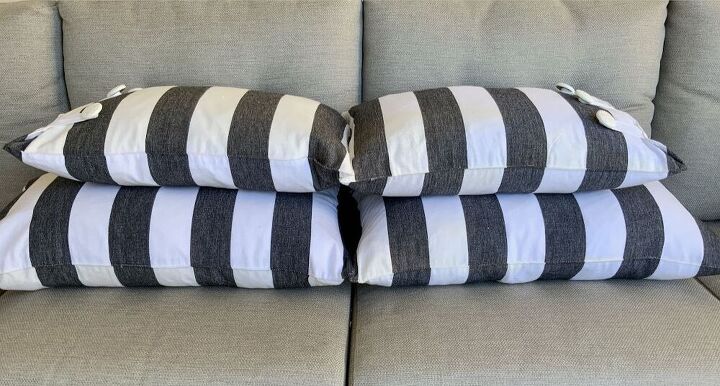
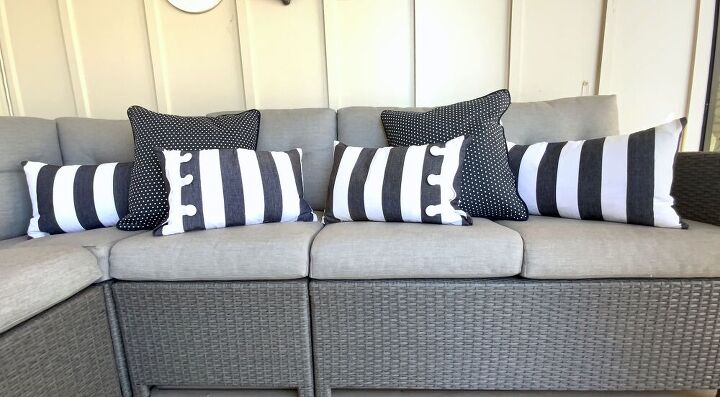
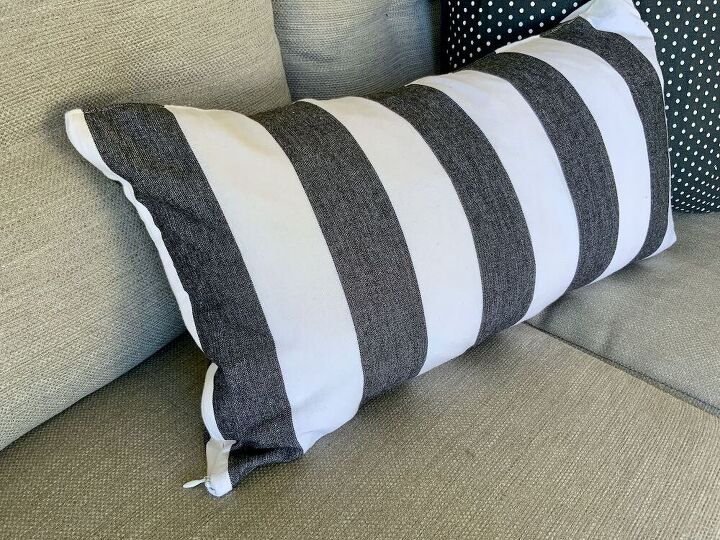
That ONE runner became these FOUR “darn-near-no-sew” throw pillow covers.
Aren’t they great?
Here’s How You Can Make Four Throw Pillow Covers From a Table Runner:
You will need:
- A Two-sided Table Runner – and the two layers are NOT fused together
- Lumbar Pillow Forms or Fillers
- Your Choice of:
- Invisible zippers, sewing machine
- Buttons, ribbon and sewing machine
- Needle and thread — no machine
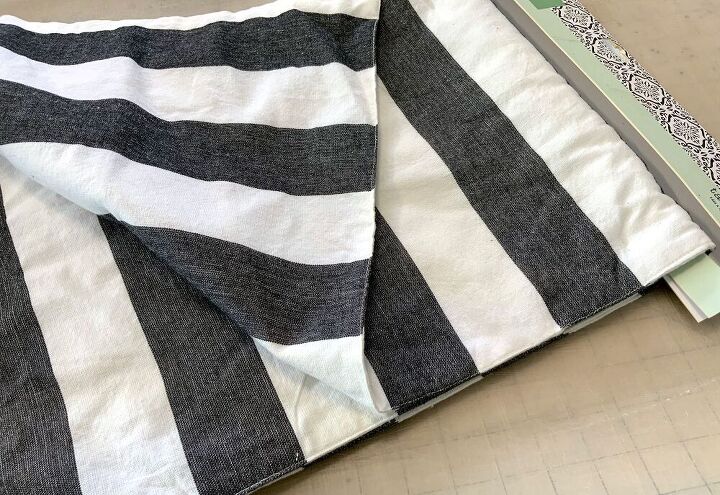
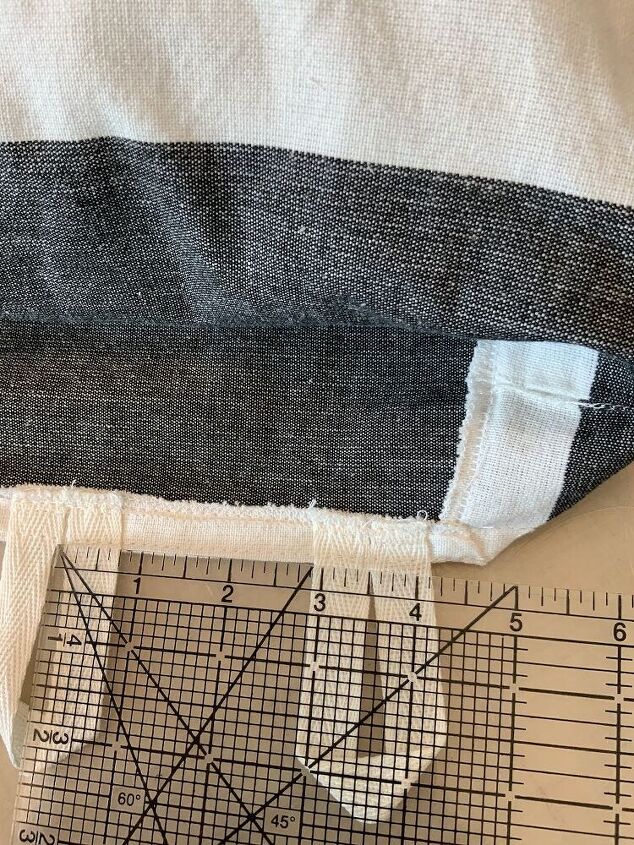
STEP 1) Measure & Measure Again, Then Cut
Do NOT believe what the packaging tells you. My runner actually measured 13 X 94-inches, not the 14 x 96-inches the packaging said.
1-inch, isn’t a big deal, right?
Oh, but it can be.
I started by cutting my runner down the center.
Then each half I cut into two pieces: one 22 1/2-inches long and the other 24 1/2-inches.
STEP 2) Finish the Open Edges of Your Pillows
Option 1) With Invisible Zipper FootI
nvisible zippers are the absolute easiest and quickest zippers to put in a pillow.
Usually, you would stitch the zipper along the edge of the front and the back of the pillow and then stitch the remaining sides closed. So this is just a tad bit more awkward, but still quite simple to do. You just need an invisible zipper longer than your opening.
Here is a video showing you how I put the invisible zipper in WITHOUT an invisible zipper foot. Yes, the zipper foot makes it a bit easier for a novice sewer, but it is not a must have item.
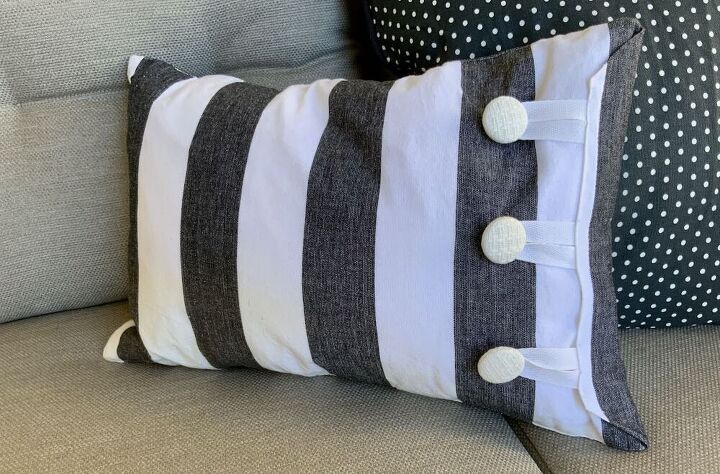
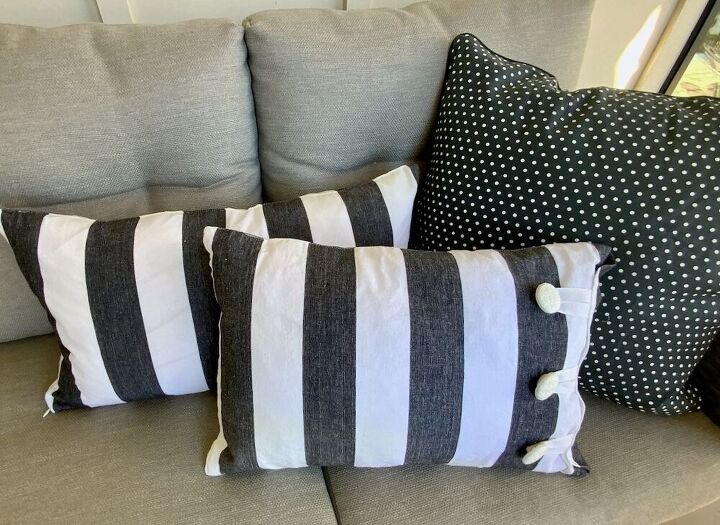
Option 2) Button Flap Closing
I made my button closed pillows from the two end sections so they have three sides already done.
I serged the raw edges of the open end. If you don’t have a serger or zig zag option to overedge, then consider using some Fray Check or similar product. It’s a squirt bottle of clear liquid you apply along raw woven edges and when it dries, your fabric will not fray (much).
Stuff the pillow with your filler or insert so you can figure how much your flap will overlap, your button placement and how long the ribbons will need to be.
Cut your three ribbons to the same length.
Fold the front down and under the end of the insert.
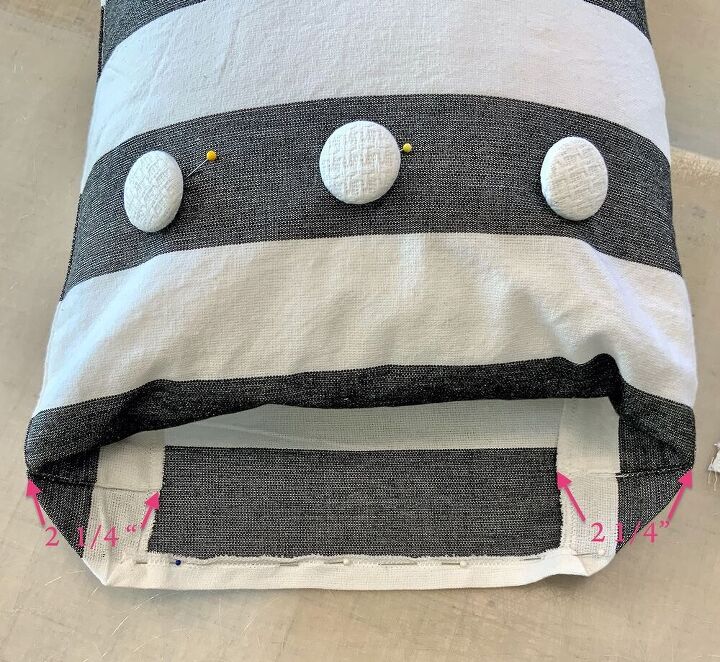
Fold in the two sides, kind of like when you are gift wrapping a package. Make sure the corners fold in the same distance from the side and the front fabric edge. You want them to mirror each other.
Turn up the raw edge and pin in place.
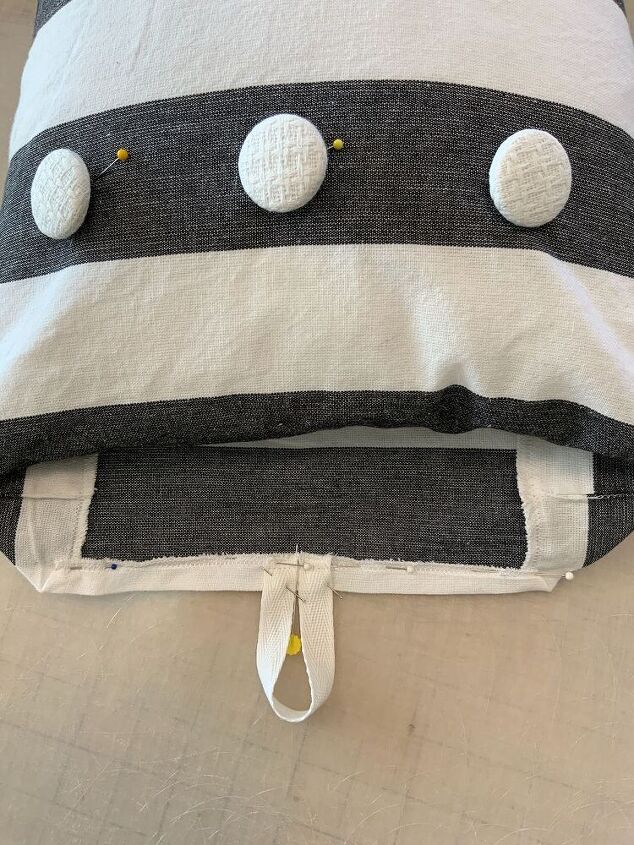
Determine the center point of the flap and pin the ends of a ribbon on each side of the centerpoint.
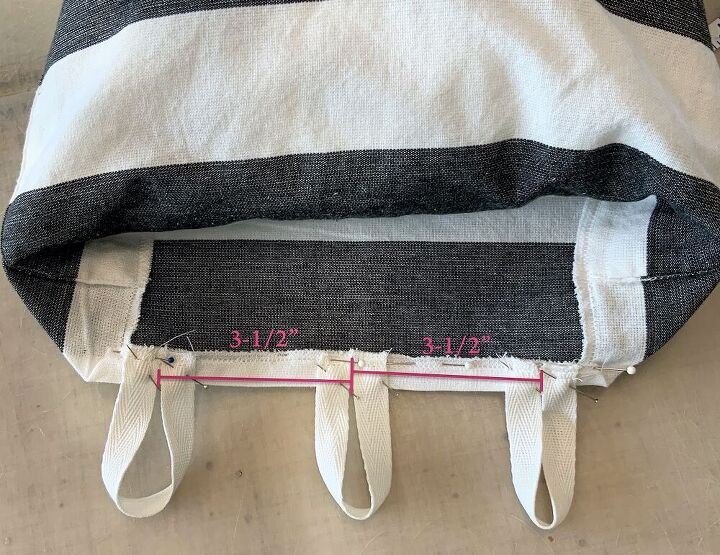
Pin the ends of each of the other ribbons just inside the outside corners of the flap.
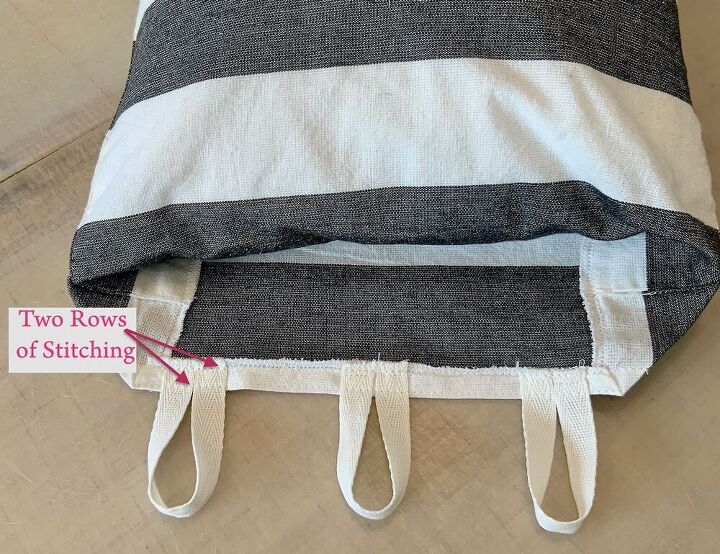
Stitch two rows of stitching. Be sure to catch all ends of ribbons securely.
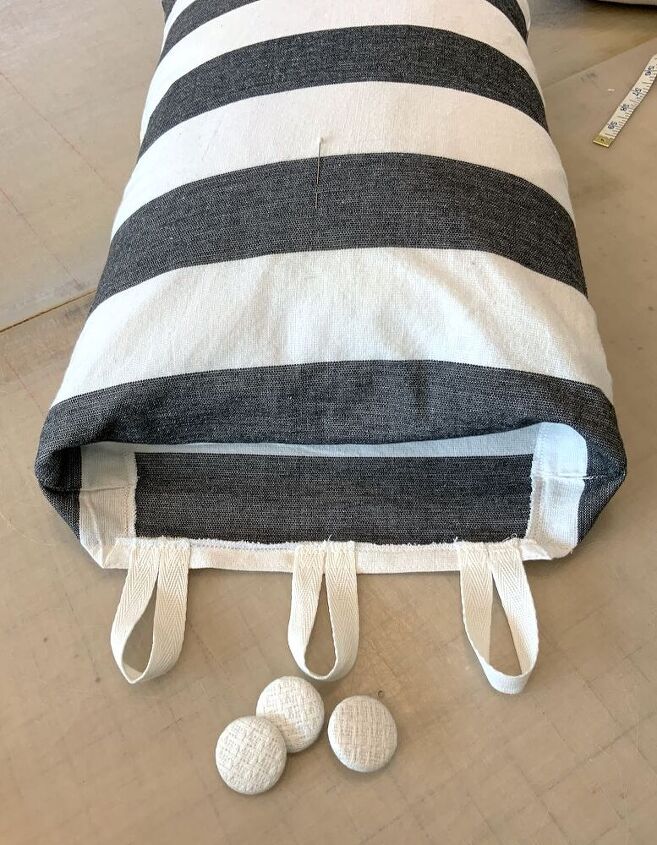
Find and mark the center of the front panel for the center button placement.
Measure distance between loops.

Match the distance between loops with the distance between buttons and mark the placement of the two outside buttons.
Sew on the three buttons.
Close up your pillow wrapping the ribbon loops around each button.
Option 3) Needle and Thread
I will be using my pillows outside, so I knew I needed to be able to wash the covers.
But if you don’t need to, and prefer not to add either zipper or buttons, feel free to insert the pillow filler, fold the raw edges in, pin in place and then do a quick slipstitch to close up the opening.
That's it! So easy.
And I think they look great! Wait until you see how I’ll be using them this Summer.
If you enjoy home projects but have no sewing skills:
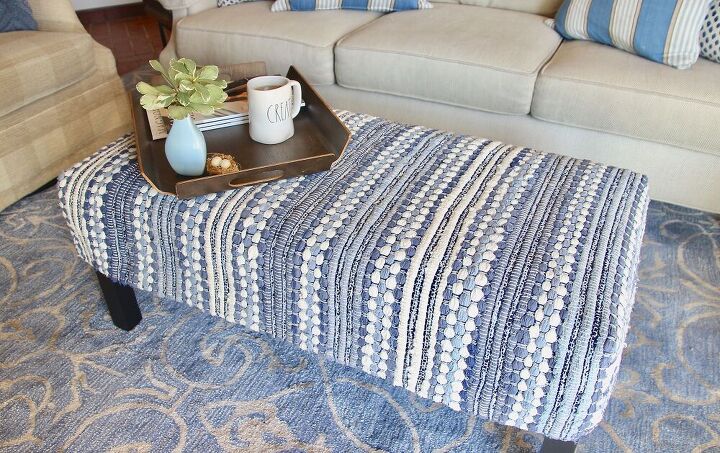
If you have never sewn before, here's the project for the you! An ottoman slipcover from a throw rug. The perfect project to dip your toe into the world of sewing!
And while you're sprucing up, perhaps getting ready for the outdoor season, here's how to hang outdoor sheers WITHOUT expansive (and expensive) rods. BONUS: they stay put even in the wind!

Resources for this project:
See all materials


Comments
Join the conversation
-
Love this ❤
-
Great idea, yours look so nice. Thanks for sharing an easy idea for those of us who don't sew, or like me, don't sew very well at all. 😂


Frequently asked questions
Have a question about this project?