


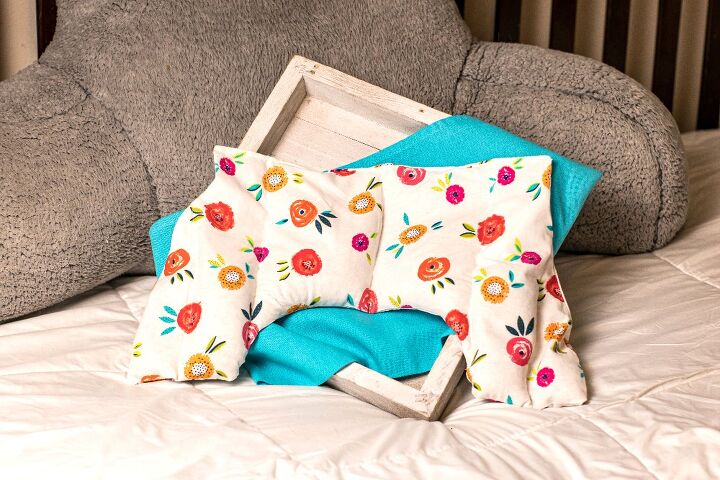
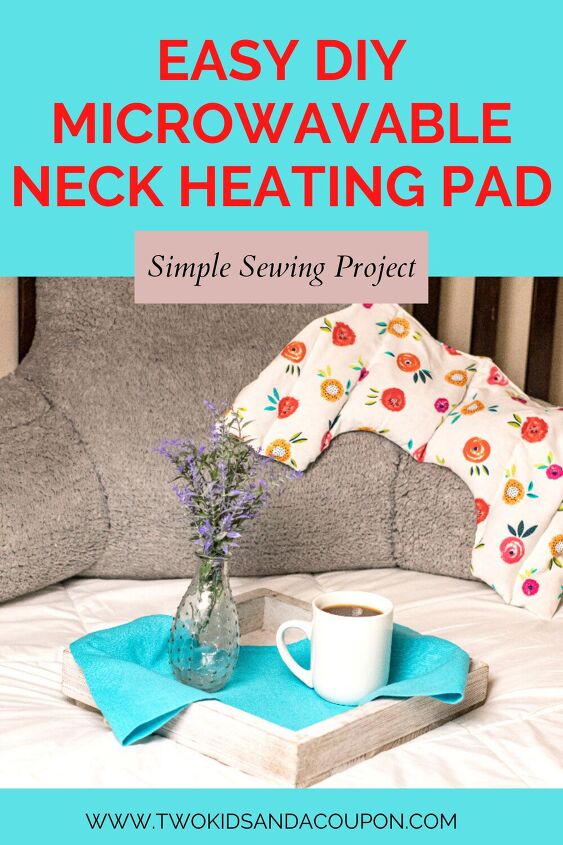
Easy DIY Microwavable Neck Heating Pad
This easy DIY microwavable neck heating pad is an easy project to provide comfort when you need it most. Here’s how to make it!
I think muscle aches and pains came along with being a parent. From lifting babies and toddlers, to teaching kids how to ride bikes to running errands and keeping up with active teens and tweens. My back and neck have hurt pretty much since I started on the path of parenthood.
One thing that has always made my back and neck feel better is a heating pad. I love the heating pads filled with lavender and rice that can be microwaved. If you’ve ever wanted one of these for yourself, here’s how to make one!
For this project you will need basic sewing skills including using a sewing machine. This DIY microwavable neck wrap takes about 30-45 minutes to complete and costs about $4 to make.
Supplies:
- ½ yard of cotton or fabric
- 2 ½ cups long grain rice (not instant)
- 1 cup dried lavender
- Sewing Machine
- Matching thread
- Fabric marking pen
- Sewing pins or clips
- Scissors
- Turning tool
- Cutting mat and ruler, measuring tape or ruler
- 1 wide mouth funnel
- PDF Neck Wrap Patterns – Find them at these links Neck Wrap Pattern 1 & Neck Wrap Pattern 2
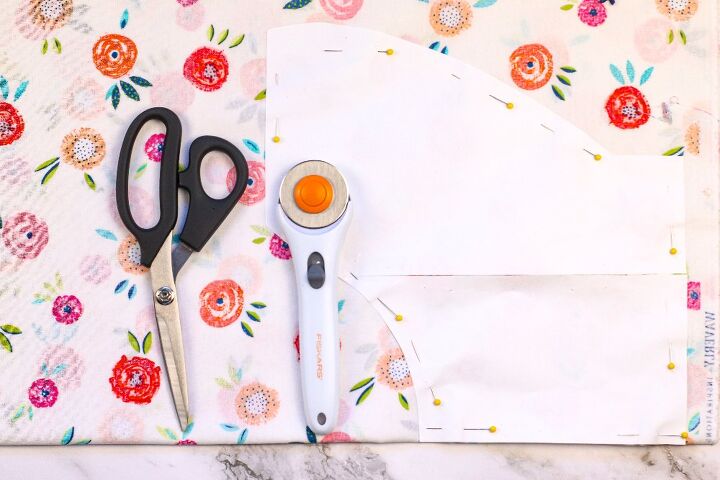
To get started, you’ll want to print and cut out the two PDF patterns for this project. You’ll need our free printable patters Neck Wrap Pattern 1 and Neck Wrap Pattern 2 and to tape them together.
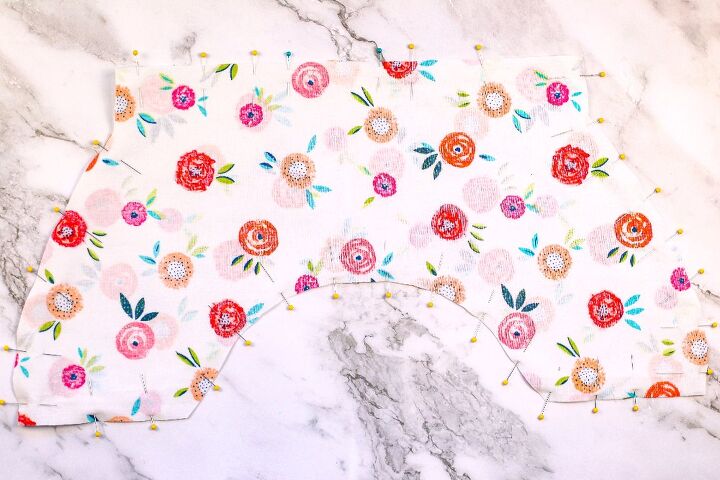
Once they are cut out, place the patterns on the fabric, paying attention to the directional pattern of your fabric. Cut two pieces, one for each side of the neck heating wrap With right sides together, pin or clip the pieces together, leaving a 3.5” gap for turning it right side out.
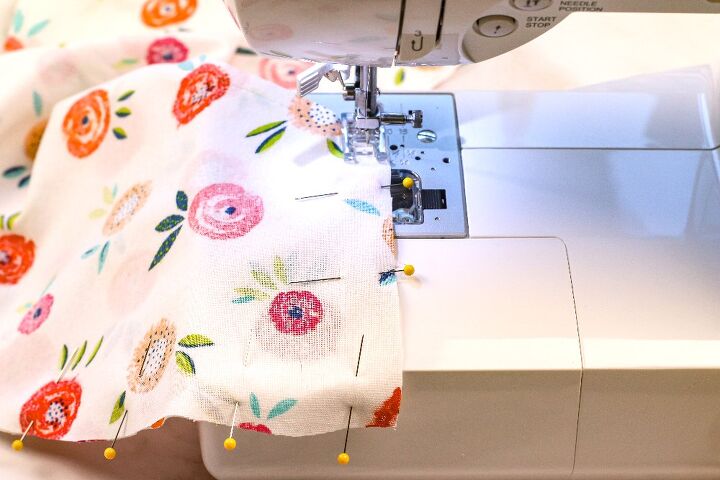
Using a 1/2 “seam allowance, sew all the way around, leaving open the 3.5” gap for turning.
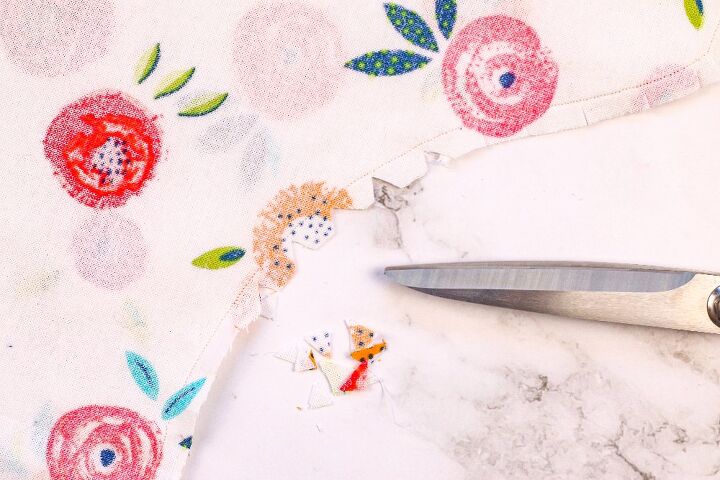
Cut off the corners and clip the curves.
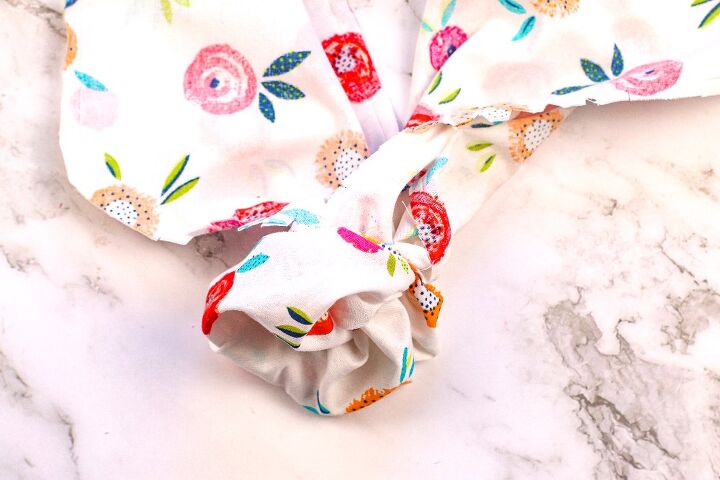
Using a turning tool, turn the neck heating pad right side out and push out the corners. This will help you turn the wrap right side out and get it ready to be stuffed.
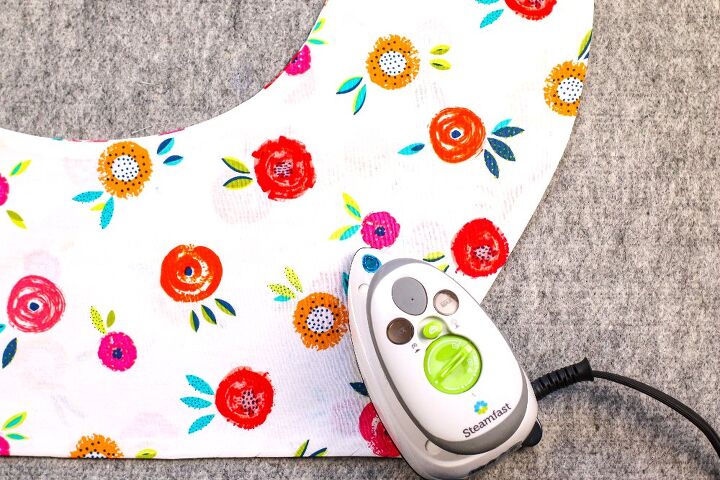
To remove any wrinkles, press the fabric with a warm iron or steamer. This will smooth out the fabric.
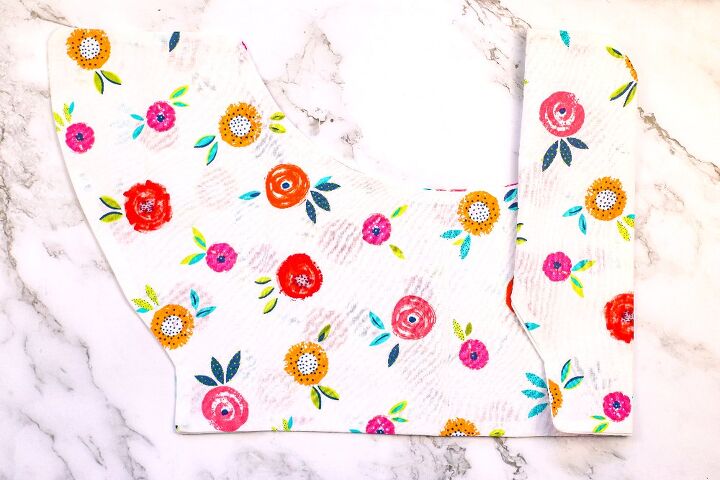
Using a ruler and fabric marker, make 4 vertical lines, evenly spaced apart on your fabric. This creates different sections on the heating pad.
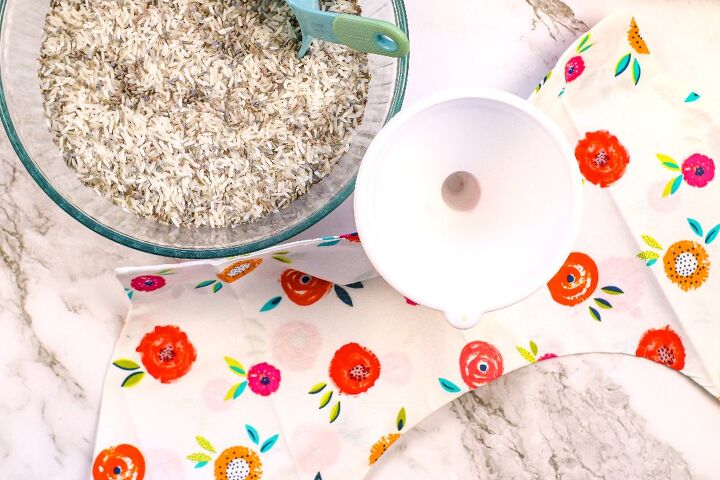
To add the filling to your neck heating pad, mix the rice and lavender together in a bowl. Using a funnel, fill the first section ¾ full of the rice and lavender.
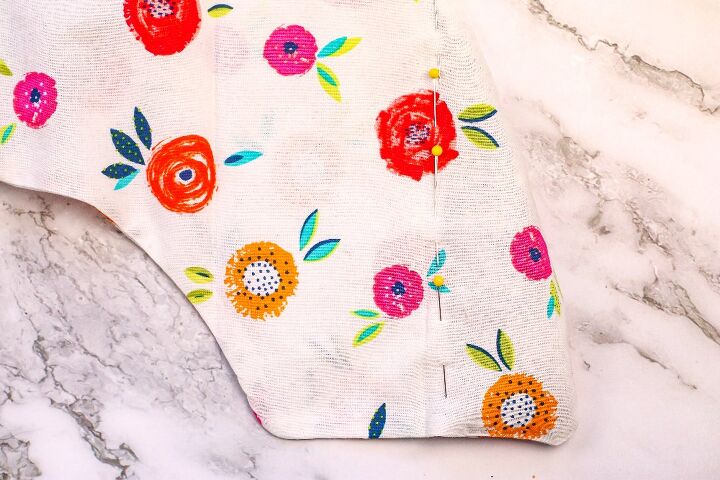
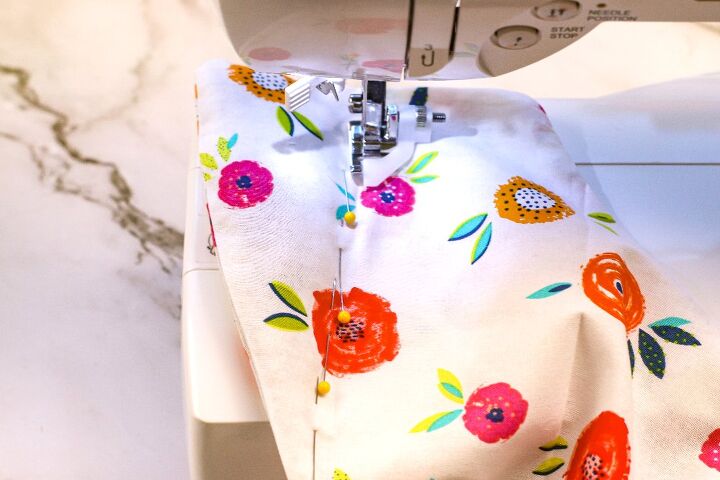
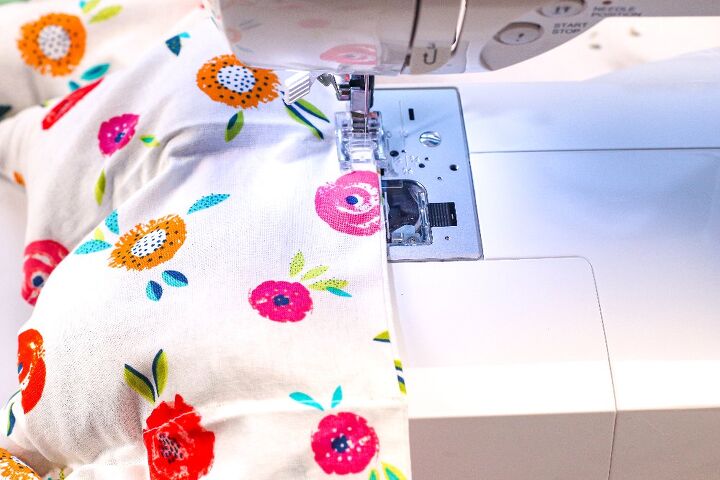
Pin just to the right of the line, keeping the filling out of the way. Using your sewing machine, sew a straight stitch along the first line. Be sure to reinforce at the beginning and end.
Repeat until all sections are full. (We used sewing clips to keep the opening closed, preventing the filling from coming out, until we were ready to sew it shut)
Using a ¼ “seam allowance, either use your machine or hand sew the opening closed. If hand sewing the neck heating pad closed, make sure the opening is closed very securely so the filling will not come out during use. (I used my machine and stitched two lines to keep it secure)

To use your heated neck wrap, place in the microwave for 45-60 seconds. Re-heat as needed. For a moist heat, spritz with water before placing in the microwave.
Want to save this project for later? Pin this craft to Pinterest using the image above or print it out using the printable instruction card below.
-
½ yard of cotton or fabric -
2 ½ cups long grain rice (not instant) -
1 cup dried lavender -
Matching thread
-
Sewing Machine -
Fabric marking pen -
Sewing pins or clips -
Scissors -
Turning tool -
Cutting mat and ruler, measuring tape or ruler -
1 wide mouth funnel -
PDF Neck Wrap Patterns
- Cut out the two PDF patterns and tape them together as directed. Place on the fabric, paying attention to the directional pattern of your fabric, and cut two pieces as directed.
- With right sides together, pin or clip the pieces together, leaving a 3.5” gap for turning.
- Using a 1/2 “seam allowance, sew all the way around, leaving open the 3.5” gap for turning. Cut off the corners and clip the curves.
- Using a turning tool, turn the neck wrap right side out and push out the corners. Press with a warm iron.
- Using a ruler and fabric marker, make 4 vertical lines, evenly spaced apart.
- Mix the rice and lavender together in a bowl. Using a funnel, fill the first section ¾ full of the rice and lavender.
- Pin just to the right of the line, keeping the filling out of the way. Using your sewing machine, sew a straight stitch along the first line. Be sure to reinforce at the beginning and end.
- Repeat until all sections are full. (I used sewing clips to keep the opening closed, preventing the filling to come out, until I was ready to sew it shut)
- Using a ¼ “seam allowance, either use your machine or hand sew the opening closed. If hand sewing, make sure the opening is closed very securely so the filling will not come out during use. (I used my machine and stitched two lines to keep it secure)
- To use, place in the microwave for 45-60 seconds. Re-heat as needed. For a moist heat, spritz with water before placing in the microwave.
Disclosure: This post may contain referral or affiliate links that help support this site at no cost to you. As an Amazon Associate, I earn from qualifying purchases. Shop recommended items in our Amazon store at www.amazon.com/shop/2kidsandacoupon. All opinions and love of saving money are completely and totally our own

Comments
Join the conversation
-
You could add a oil that will also eases pain maybe peppermint, as this acts as a anti inflammatory mixed with lavender they will act as a antibacterial . Staying fresher for longer.
I made one with a cotton sock on here a while ago now.. yours looks better :)
There good for any little niggley pain you suffer. Happy home talking


Frequently asked questions
Have a question about this project?