


Easy Pillow Cover Tutorial
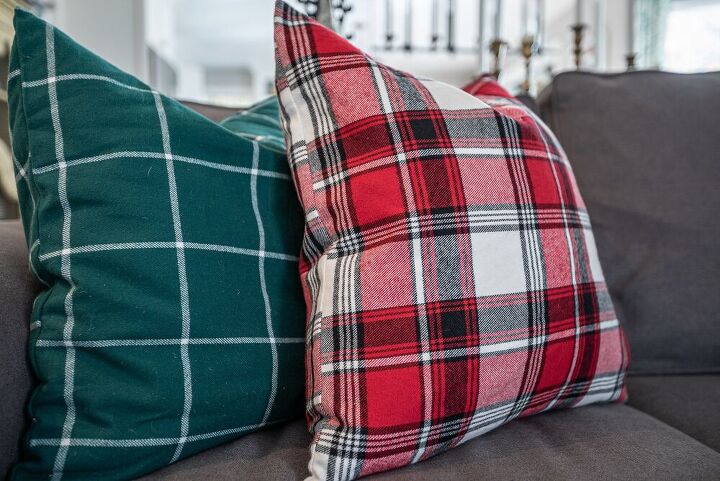
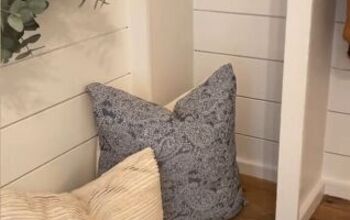
Throw pillows are a home decor must have! Adding them to a room is the easiest way to bring in accent colors. They can brighten up any room and change the mood for any season.
Although they are great to have, chances are you don’t have a lot of storage space for several different pillows.
Hence, having a supply of pillow covers is a great alternative to incorporate the use of throw pillows around the home for any occasion, while providing a space saving option. Not to mention, by making your own pillow covers you’ll be able to customize them specific to your style.
Learn how you can easily make your own pillow cover for any occasion with this tutorial. We’ll also share how to easily attach an invisible zipper providing easy access for swapping out pillow covers.
(Trust me, if I can do this, so can you! See our video tutorial below. You’ll see first hand how I sewed an invisible zipper for my first time! It’s not as bad as you might think.)
(TO SEE EVEN MORE DETAILED IMAGES TAP HERE TO SEE THE ORIGINAL POST ON OUR SITE)
Tap to play the video tutorial above. Sometimes it's just easier to see things in action.
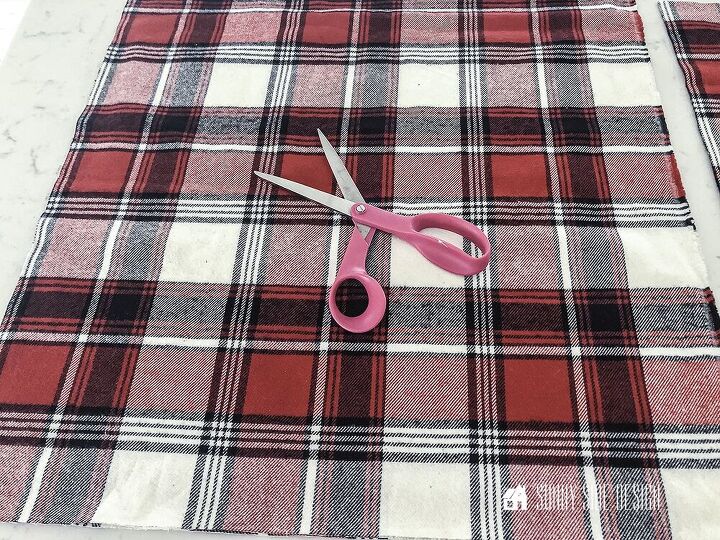
Step 1:
To determine the correct size for your pillow cover, measure the pillow form from seam to seam. Our pillow forms are 20″. To allow for a 1/2″ seem allowance around the pillow cover, add an additional inch. Thus we cut our fabric to a 21″ square.
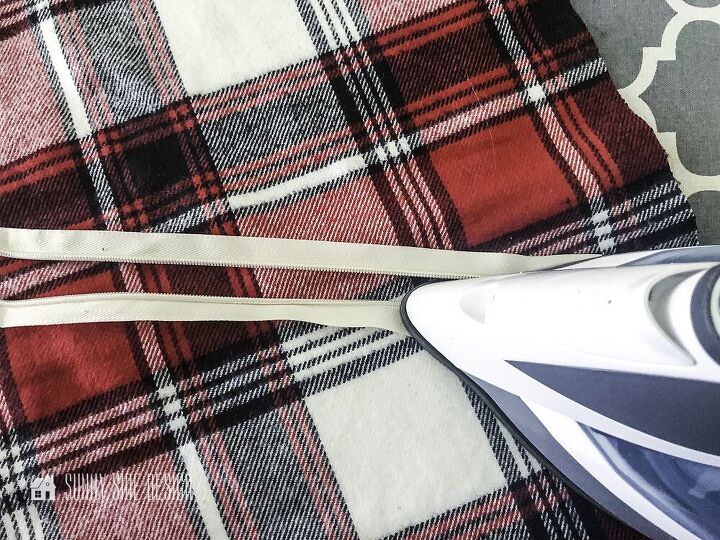
Step 2: Attaching the zipper
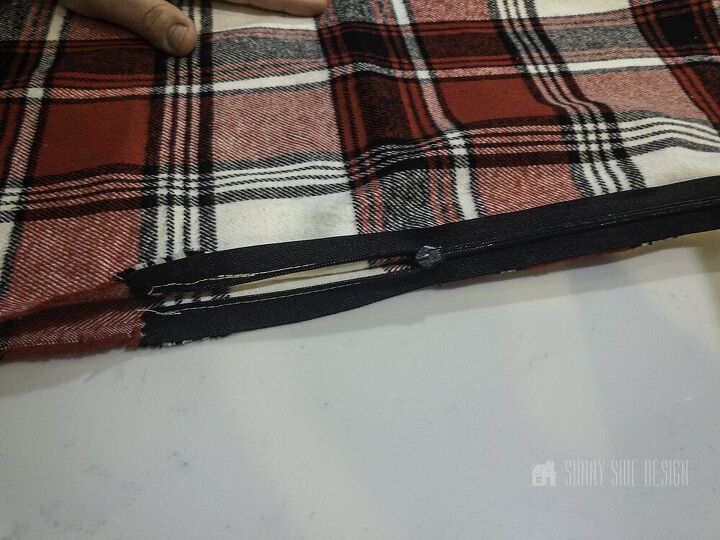
Beginning with the invisible zipper closed, you’ll notice that the front surface is flat.
Upon opening the zipper and turning it over to the back side, you will now notice the teeth of the zipper, curved upward over the edge.
Flatten the edge of the zipper teeth with a hot iron.
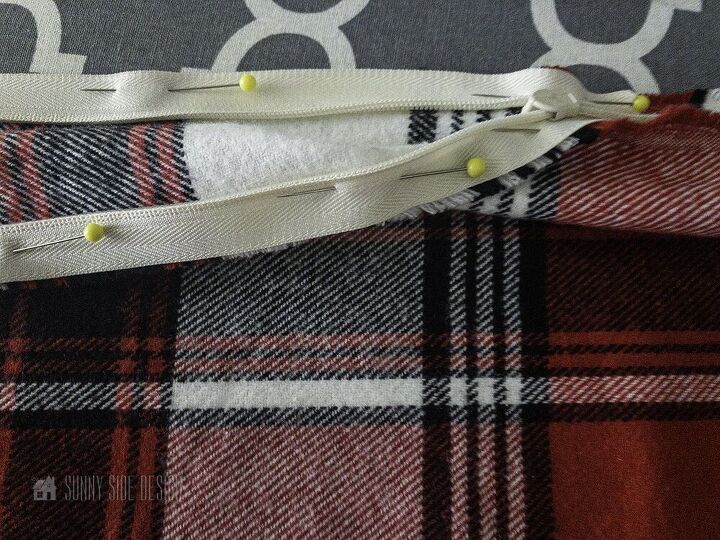
Line the fabric pieces up, right sides together and fold the top piece back about an inch.
Then place the zipper along the edge of the pillow cover. Align the front (or right side) of the zipper with the right side of the fabric and pin into place.
Repeat with the other side of the zipper.
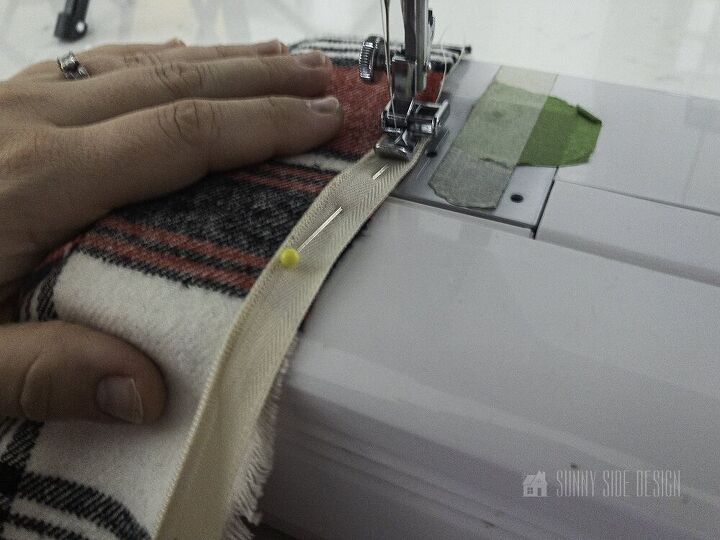
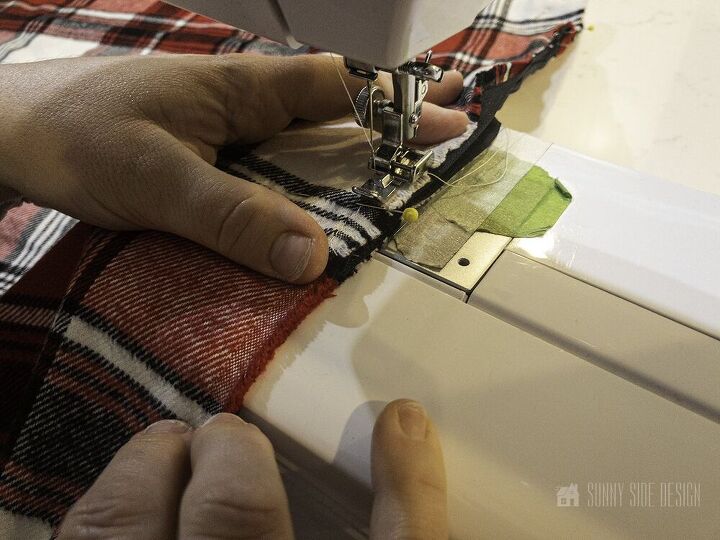
Before sewing the zipper, make sure your have the zipper foot attachment on your sewing machine.
To sew the invisible zipper onto the pillow cover, align the teeth edge of the zipper about 1/8″ away from the edge of the zipper foot.
The zipper foot will allow you to sew close enough to the zipper teeth, however if you sew too close it will be hard to get the zipper to close once sewn into place. Allowing an 1/8″ space should avoid this issue.
NOTE: To stitch the opposite side of the zipper, begin by sewing from the bottom of the zipper to the top. This way you can avoid changing the zipper foot which will save a lot of time, especially if you’re sewing multiple at a time.
Step 3: Stitch pillow cover edges
Once the zipper has been sewn into place, zip it mostly closed, allowing a couple inch opening.
Pin the pillow cover together with a pin in each corner and one along each edge.
Along the edge with the zipper, place a pin at the top of the zipper where the teeth begin, and another at the bottom of the zipper.
Align the pillow cover at the 1/2″ mark on the machine. Begin stitching the pillow cover closed at the top edge of the zipper.
Stitch a straight line to each corner leaving 1/2″ fabric from the end. Place the needle into the fabric, lift up the pressure foot and pivot the fabric to align the next edge with the 1/2″ mark. Repeat on all sides.
Pivot and stitch the remaining length to the bottom of the zipper and knot.
NOTE: To create nice crisp and pointed corners, trim each corner on an angle about 1/8″ away from the stitch mark. Open the zipper, turn the pillow cover right side out and press all four edges before stuffing with the pillow form.
Turns out sewing an invisible zipper is easier than I thought! Makes me wonder why I haven’t learned sooner. Now I want to run out and buy myself some fabric and spruce our home up for Christmas!
(In all, I made 6 pillow covers for my parents home in just an afternoon! In less than 30 minutes each, and fabric about $4/yd, this is definitely an affordable option!)
Thanks for spending some time with us today!
And as always here at Sunny Side Design
WE HOPE TO BRING YOUR HOME TO THE SUNNY SIDE OF THE STREET!


Frequently asked questions
Have a question about this project?