


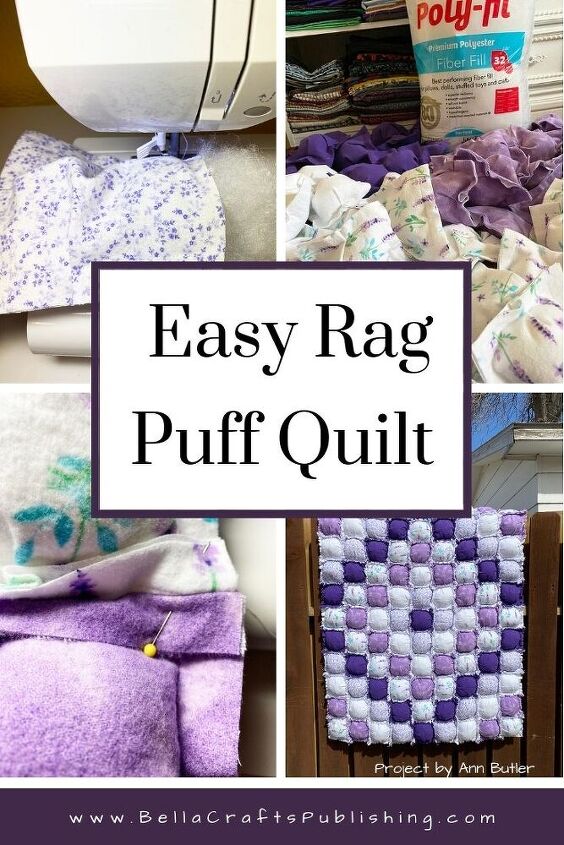
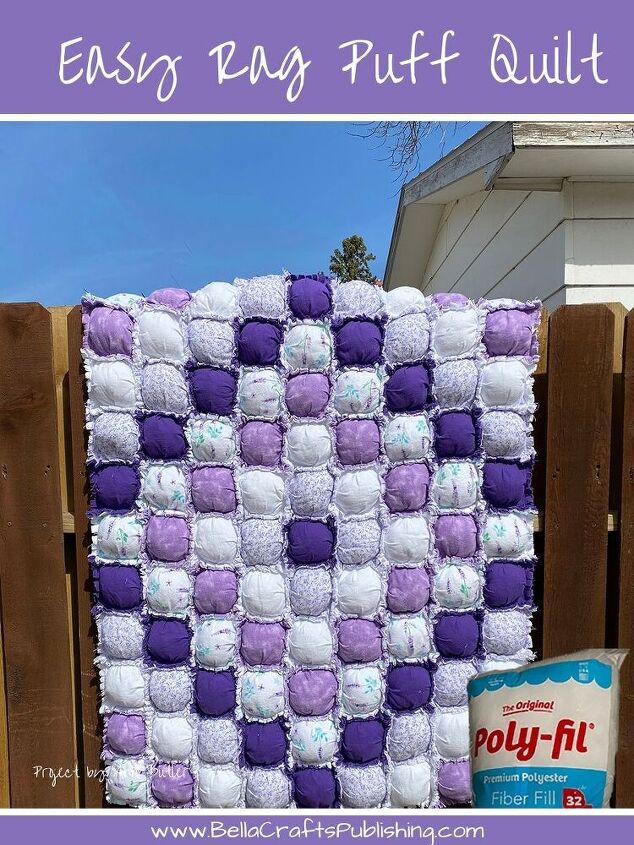
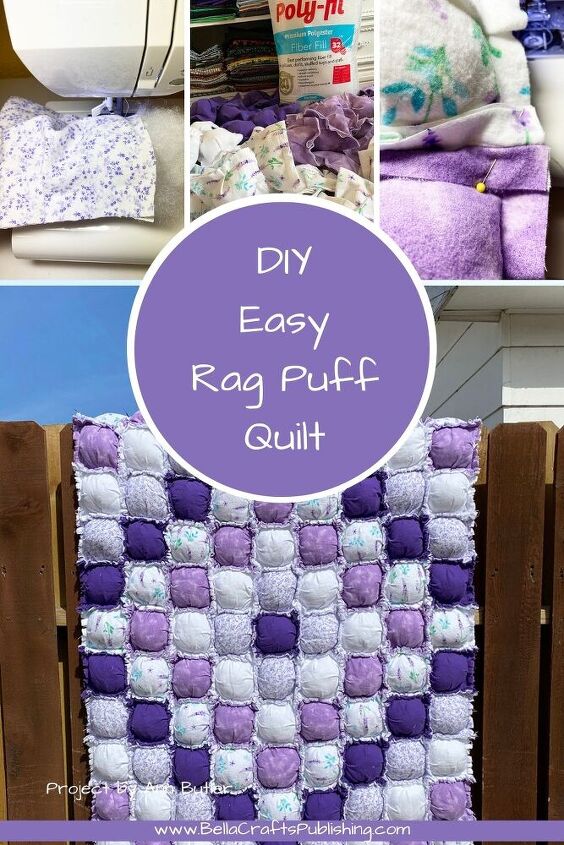
Easy Rag Puff Quilt in a Weekend
Make this Easy Rag Puff Quilt in a weekend! You create the puffs as you sew making it oh so easy!
I made a Puff Quilt for my oldest daughter over 30 years ago and loved how it turned out. She still has it and used it for both of her daughters!
I thought it was time to make another one and update it a bit…so, I came up with this Easy Rag Puff Quilt version!
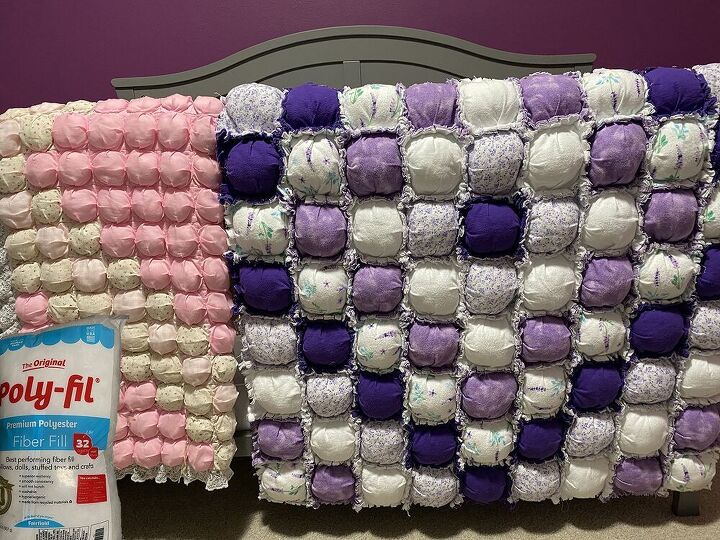
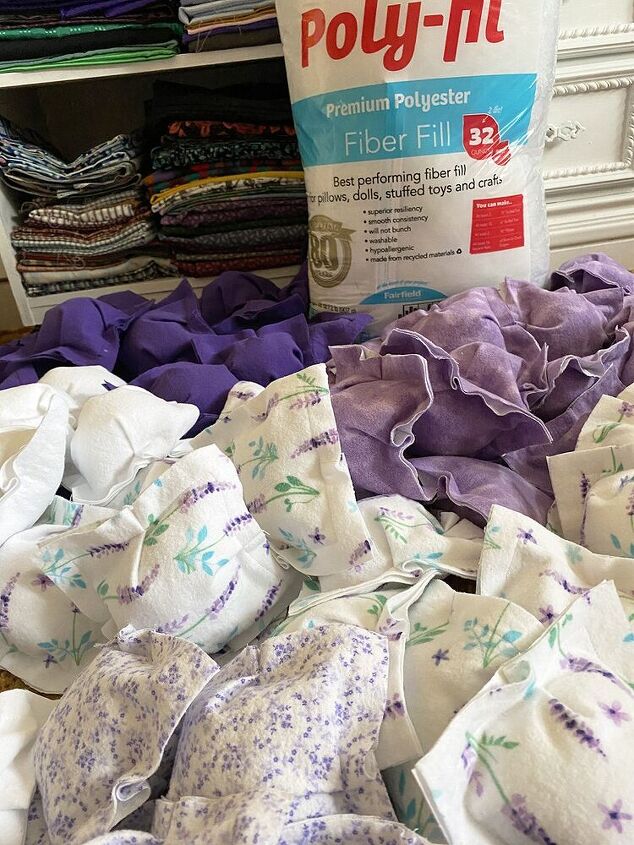
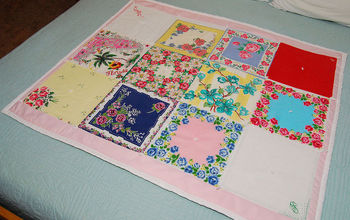
I love how both of them turned out…they are so fun! The pink one has 247 puffs and the purple one has 99 puffs…both filled with Poly-fil while the puffs were sewn together.
The main difference between them, besides the smaller puffs for the pink one, is that the pink one was sewn with right sides together and the purple one was sewn with wrong sides together.
So the pink one had to have a backing and the purple one was finshed on the back side when it was sewn together.

Then, the raw edges on the front are clipped to create this Easy Rag Puff Quilt…oh sew easy!
Here’ how to make it…
Choose five fabrics in assorted color values, prints and solids. Pre-wash and dry your fabrics and then, iron.
Cut the twenty 6″ squares from the four lightest colored fabrics and nineteen 6″ squares from the darkest fabric.
Cut the twenty 7″ squares from the four lightest colored fabrics and nineteen 7″ squares from the darkest fabric.
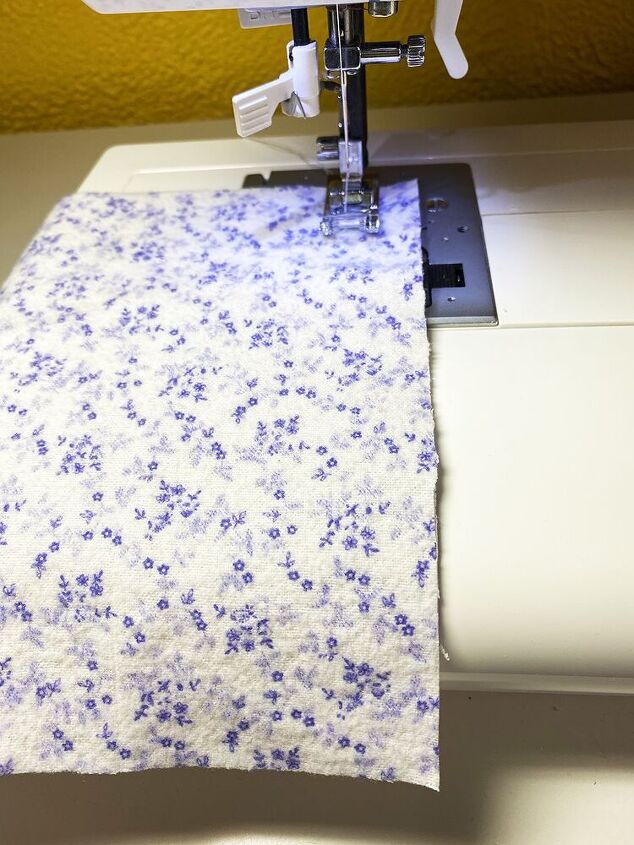
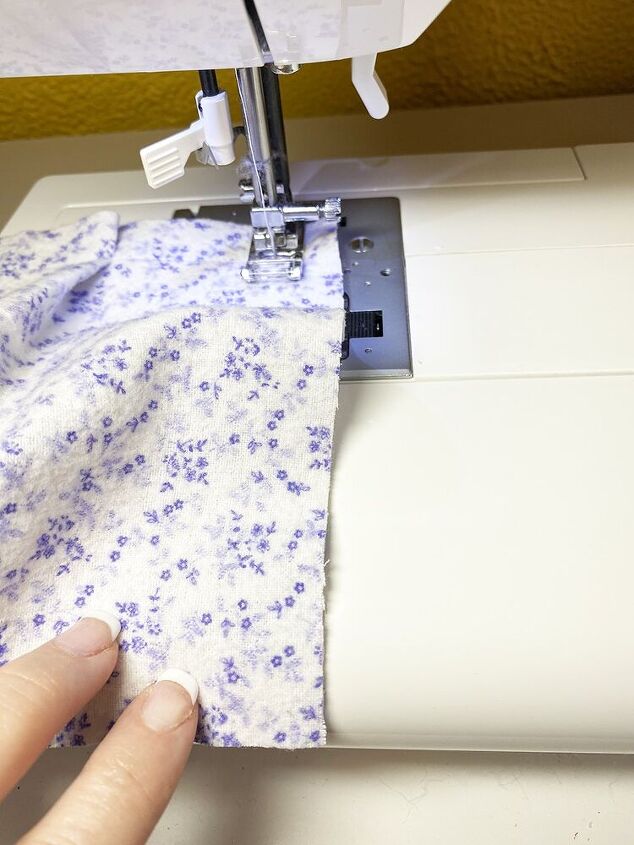
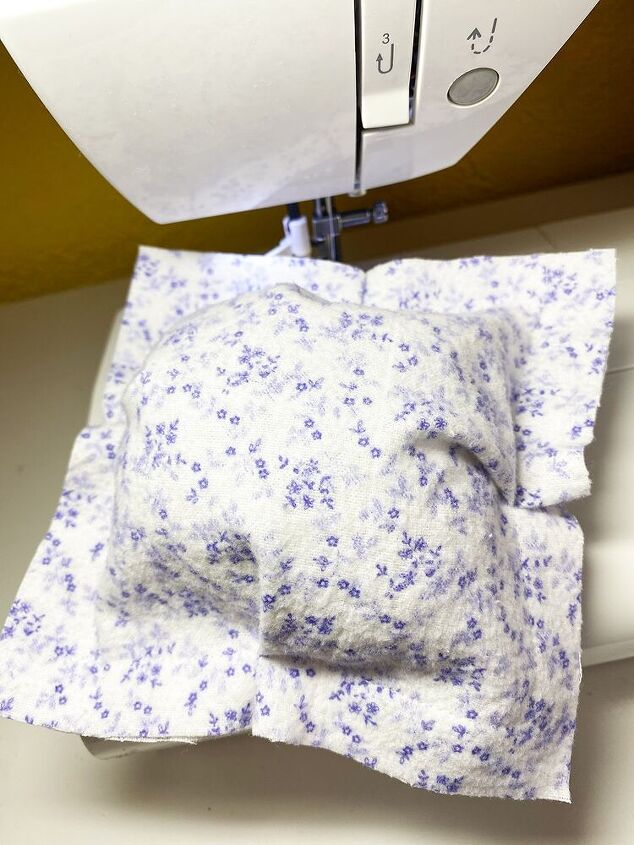
Place the wrong sides together of a 6" and 7" square (same pattern) lining up the edges on two sides.
Bring the corner edges together on the bottom edge as shown.
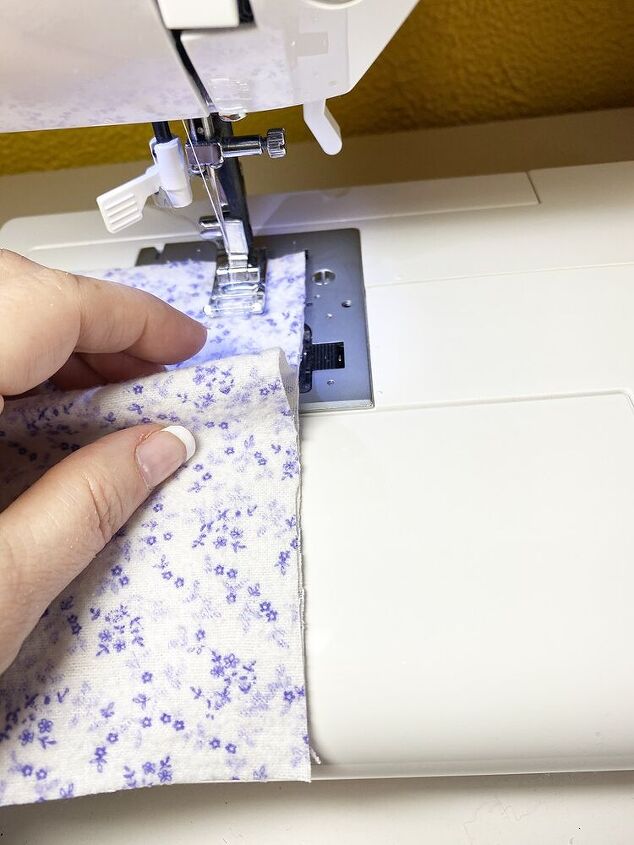
There will be excess fabric.
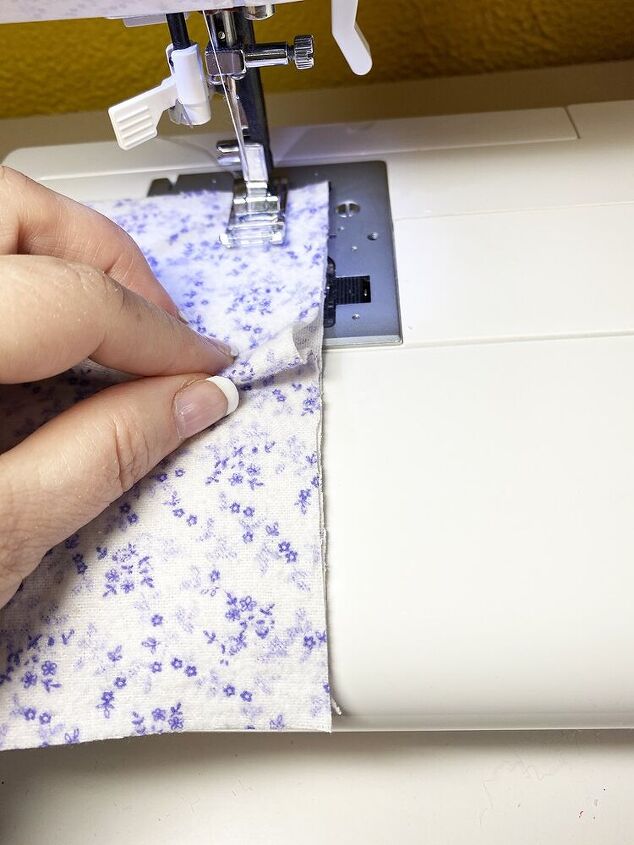
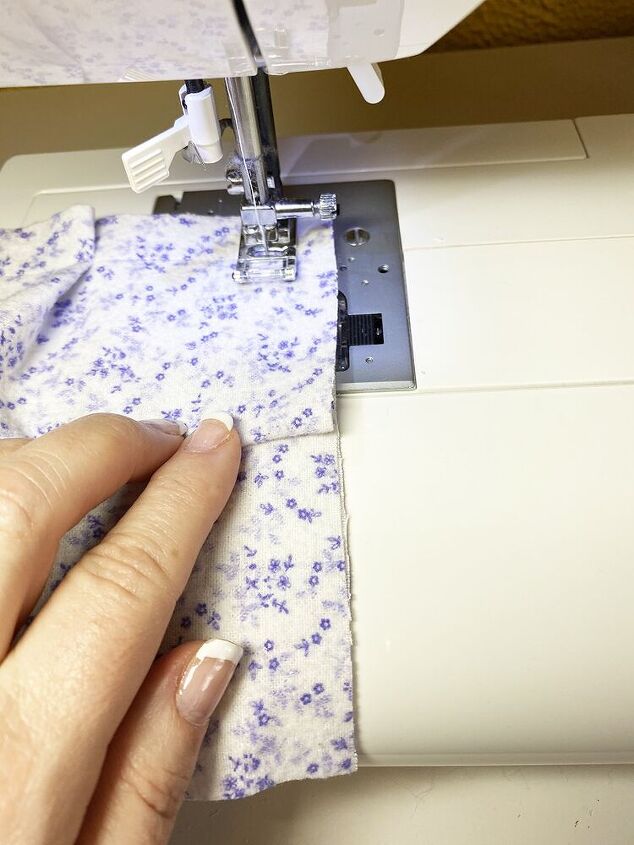
Make a pleat in the middle of the square.
Fold the pleat down.
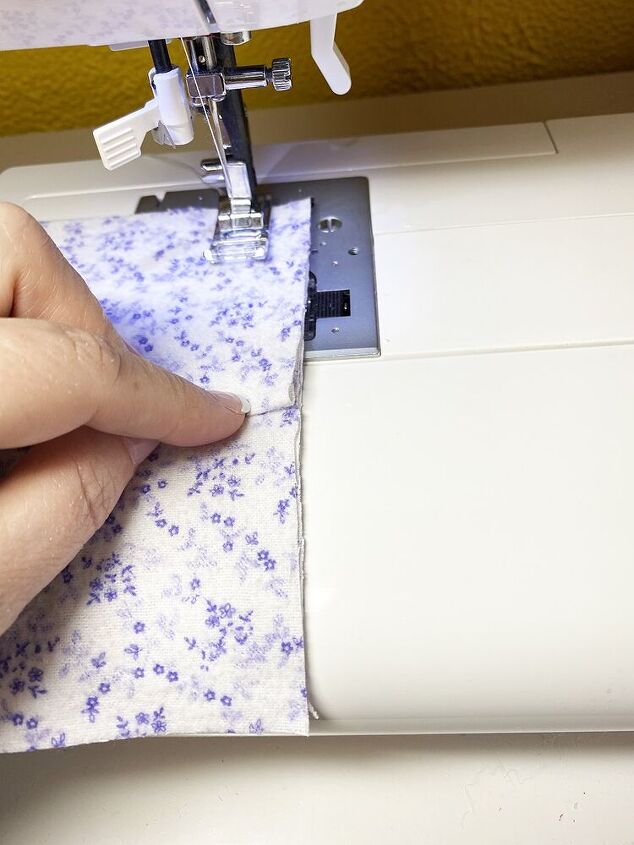
Stitch the edge and over the pleat at a scant 3/4″ to within 3/4″ from the bottom edge.

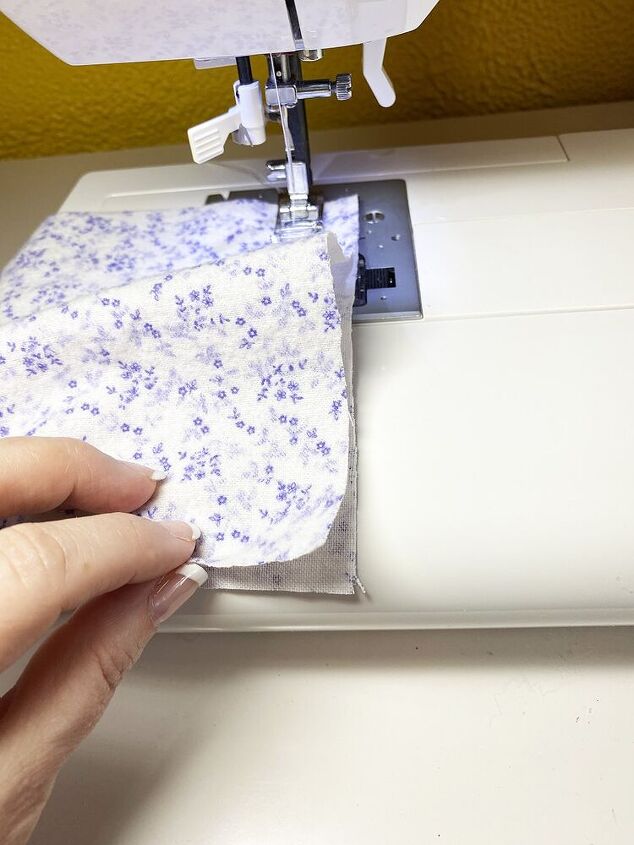
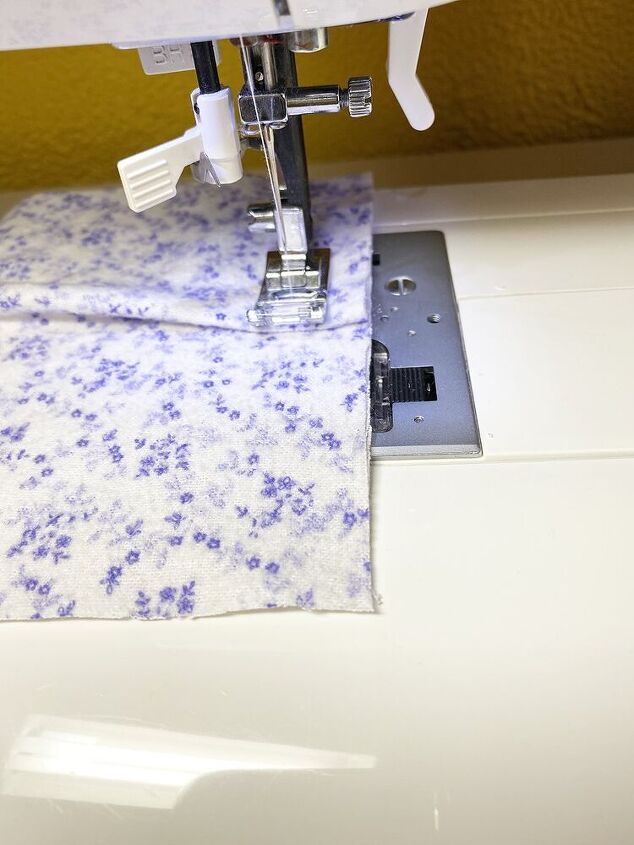
Leave the needle in and turn the squares.
Match the bottom corners.
Form the pleat and stitch, as the previous side.
Repeat for the third side. Then, leave the needle in and turn the squares.
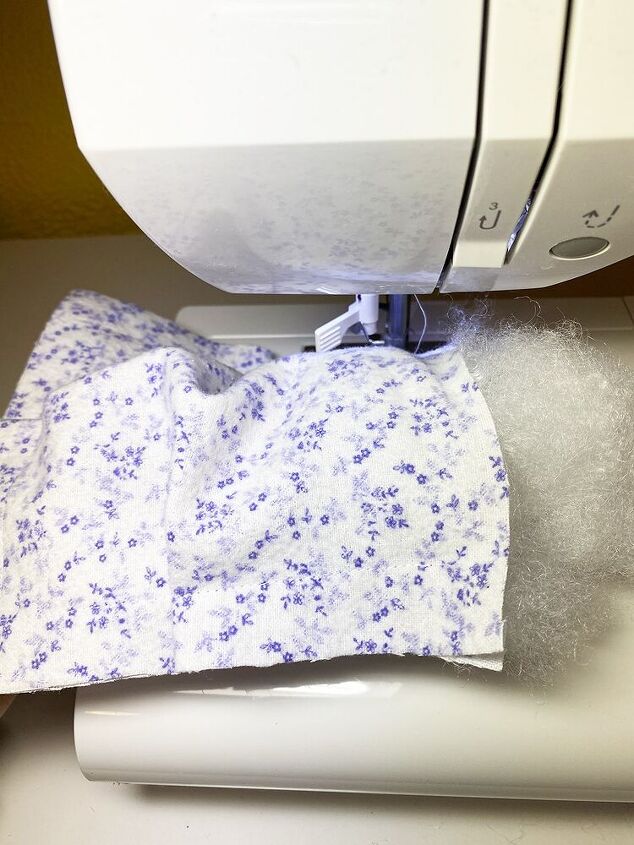
Stuff the opening with Poly-fil, so it is fluffy and light not packed.
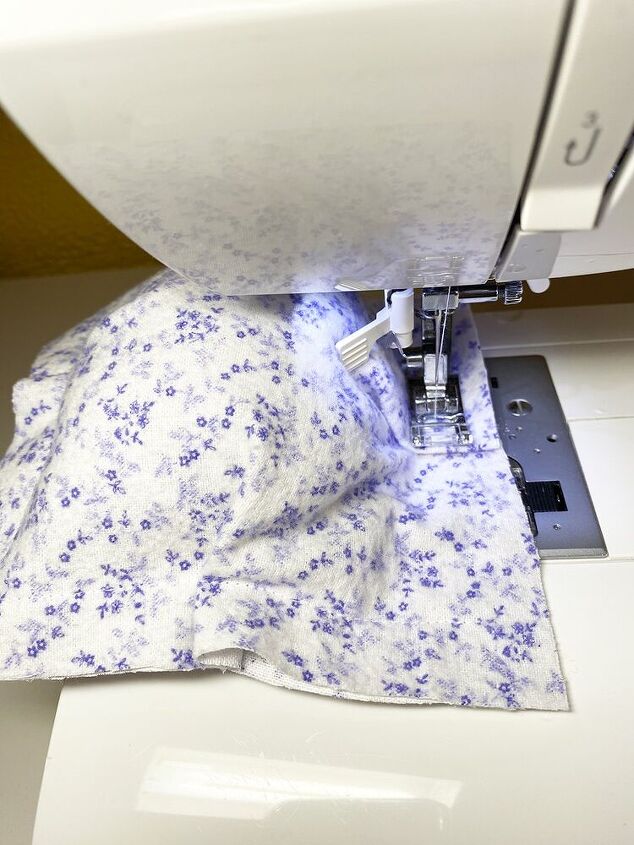
Form the pleat and stitch as the previous three sides.
One PUFF is completed.
Repeat for the other ninety-eight sets of squres…
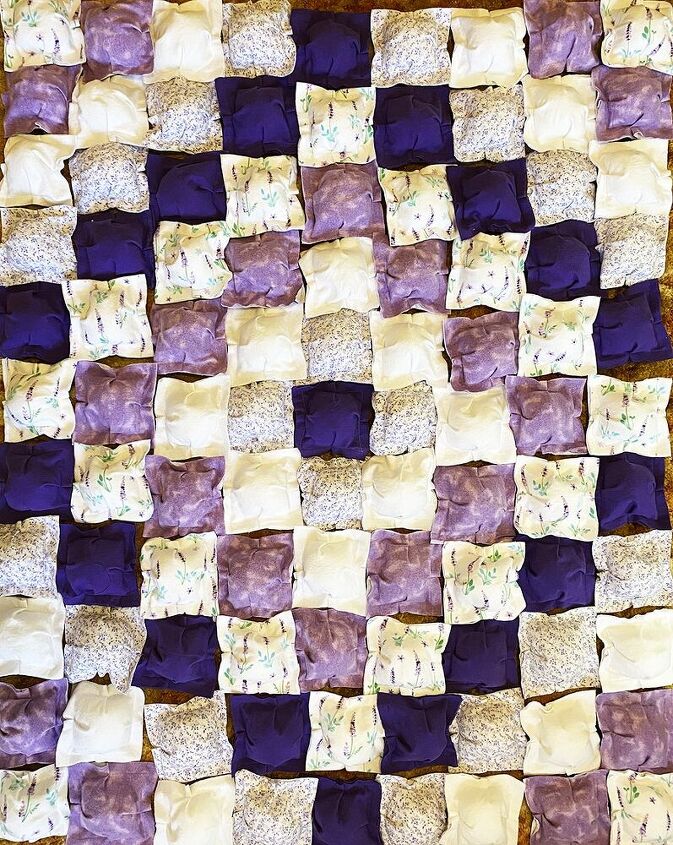
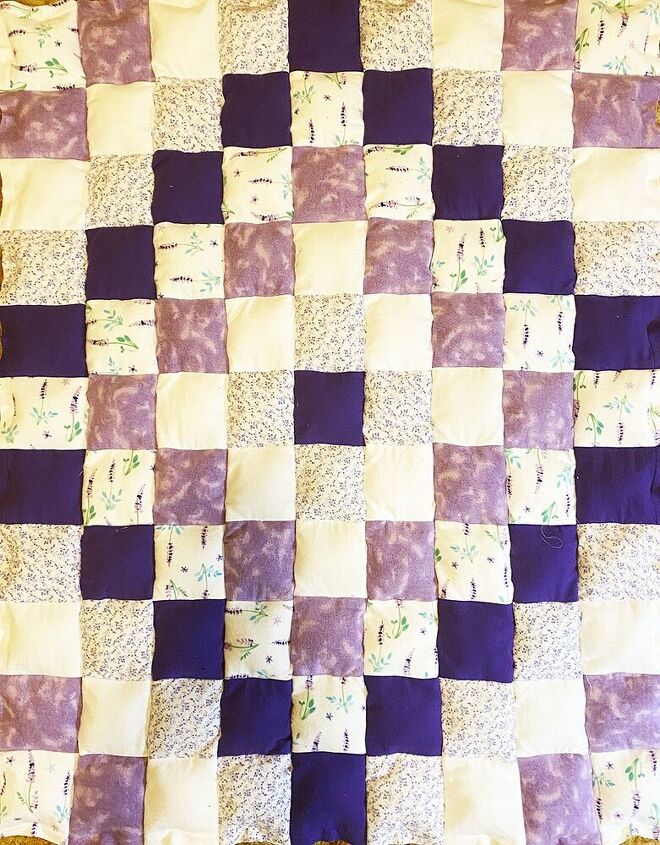
Lay all of the puffs out as shown, or create your own design.
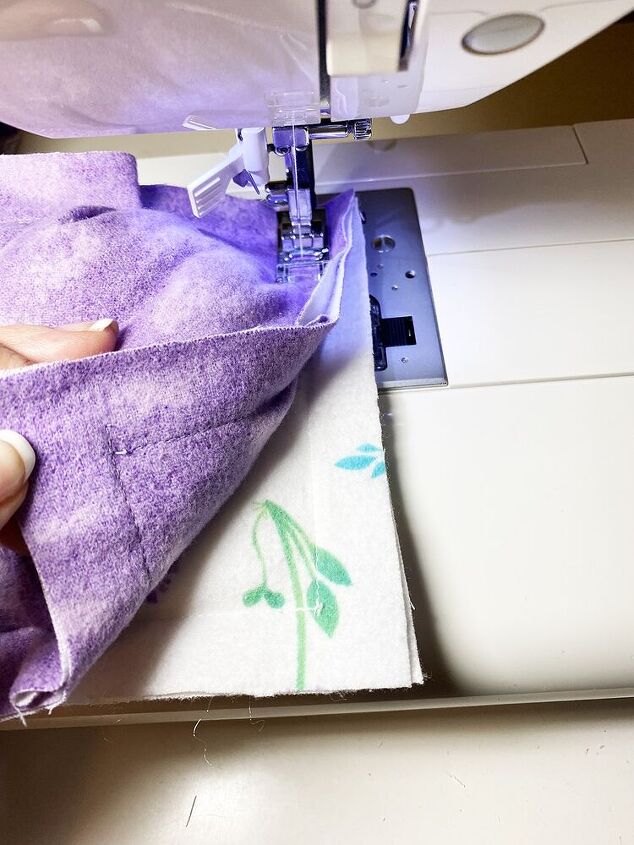
Beginning with the first row, place the puffs wrong sides together and stitch with a generous 3/4″ seam.
Continue until all the puffs are are sewn together in the row. Repeat for the rest of the rows.
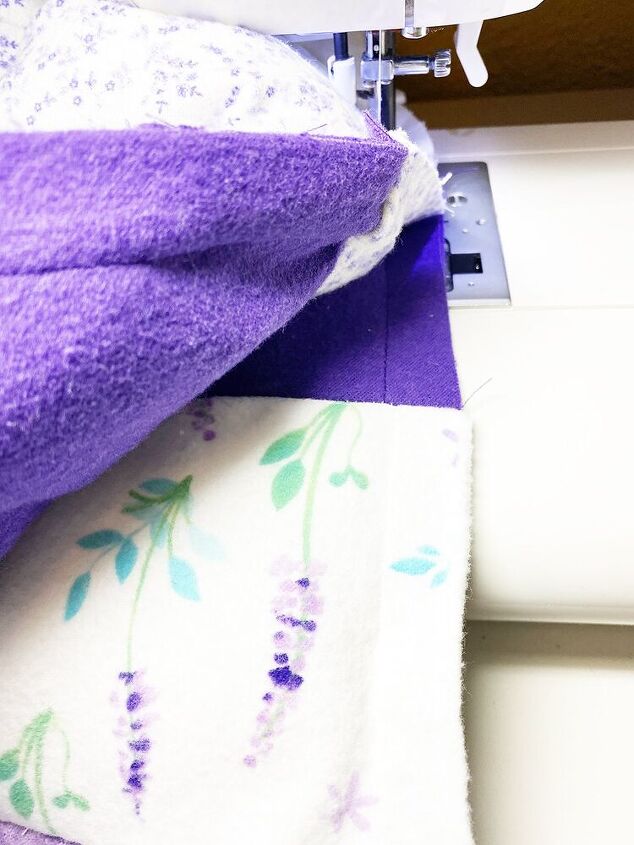
Place the first and second rows wrong sides together, being sure to match up the seams and stitch in place.
Continue stitching rows in order until complete.
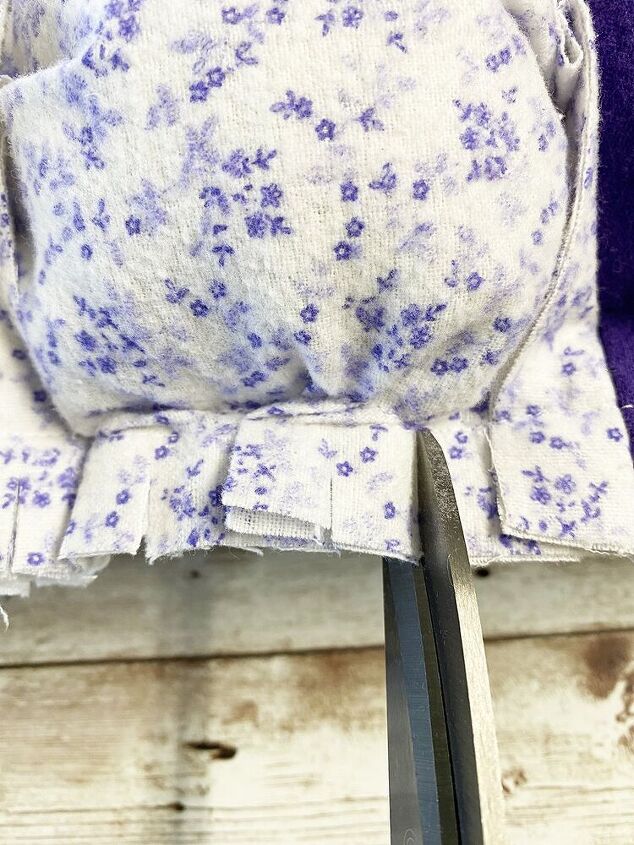
On the front side, clip the raw edges, being sure not to clip through the stitching.
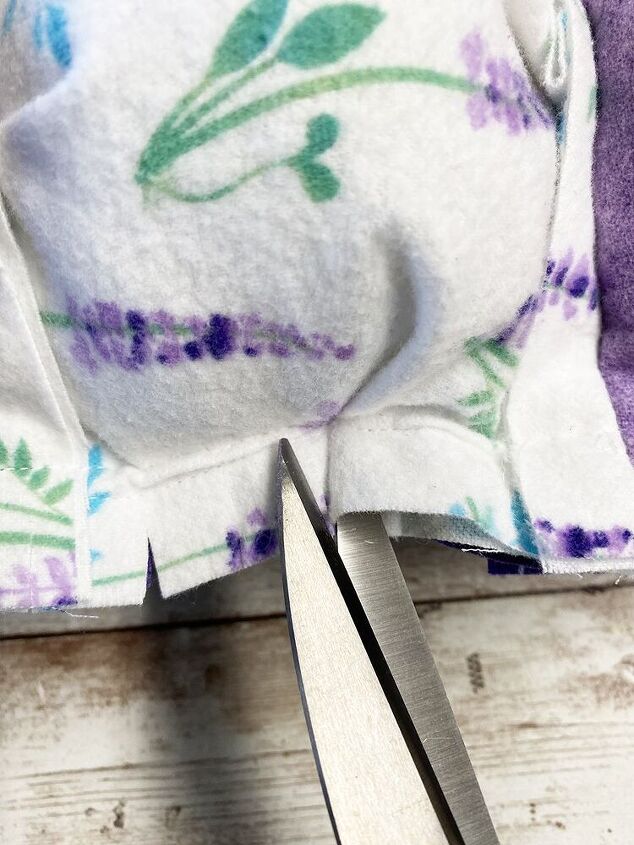
Clip the folded part of the pleats both on the top side and bottom.
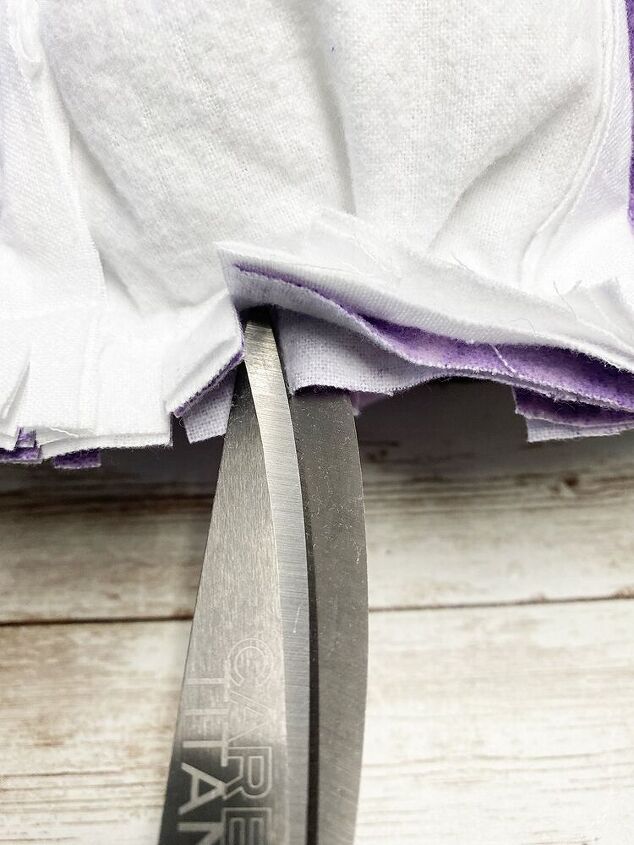
Repeat until the raw edges are done, including the outside edge.
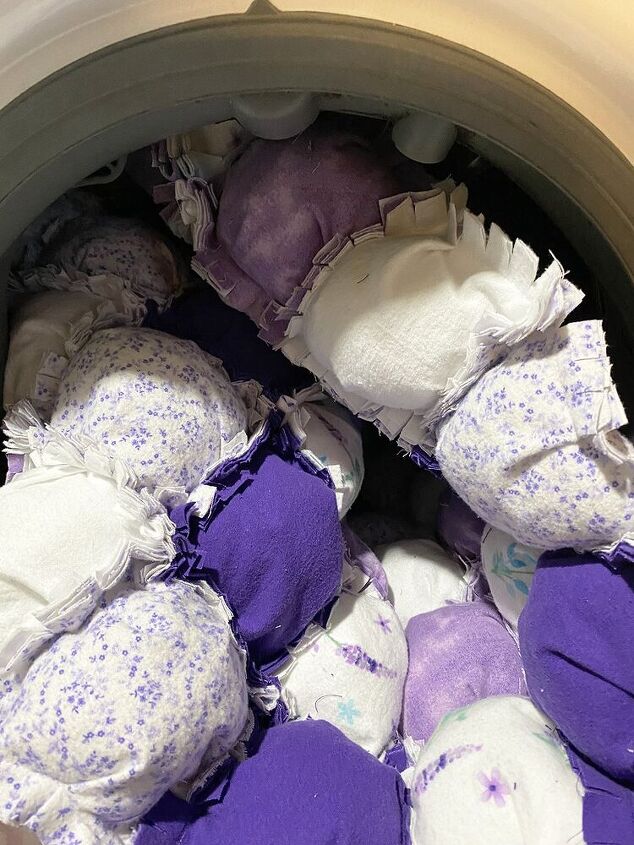
Place into the washing machine, wash and then, dry. This fluffs up the rag seams.
Supplies for the Easy Rag Puff Quilt in a Weekend:
- Poly-fil® from Fairfield World, 32 0unces
- Flannel Fabric, 2 yards, 5 assorted shades
- Sewing Machine
- Ruler
- Pins
- Iron
- Rotary Cutter (optional)
- Cutting Mat
- Scissors
- Washing Machine
- Dryer
Designer Tips for completing your Easy Rag Puff Quilt:
- Pre-wash all of your fabric.
- Iron all of your fabric before cutting.
- Use 100% cottons instead of flannel.
- For a fuller rag look, take a one inch seam and add an extra layer of backing fabric.
- You can change up the design if you want, experiment and have fun!
- Use more or less colors as desired.
- This would be great with scraps for a scrappy rag puff quilt.


Comments
Join the conversation
-
Thank you so much!
-
I’ve made rag quilts, but never puff rag quilts. Thanks for the great instructions 😻


Frequently asked questions
Have a question about this project?
Could you do this with fleece? Or would it be too bulky?
What is the finished size of this project. It appears in your pics to be more of a throw then a quilt size. I also wanted to say that back in the early 60's my grandmother made both myself and my younger brother beautiful full size quilts. She bought a silky nylon type material with a beautiful floral print on it for the tops and a solid color for the undersides. Mine was in a pink floral and my brothers was in a blue floral. I helped her make both quilts and I want to give you a tip on how she made them. She used nylon stocking legs to stuff ours because she had access to flawed stockings from a factory but poly fiber fill will work just as well. She marked her vertical and horizonal lines first on the top fabric on the print side then pinned the back fabric solid color to the back side of the top print. Then she pinned in the field just enough to keep the fabric from slipping causing wrinkles. Once she had it all pinned she sewed lengthwise down all of her vertical lines removing pins as she went. Once you have all your vertical lines sewed you will want to sew one end of them closed. Then remove any other pins in the whole quilt. To stuff you just take a small amount of filling, and using a yardstick fold your filling over the end of it then you just push it down the tunnel until you get it positioned within the markings for you first box and place a pin or two on your horizonal line effectively closing the box. Continue this until you have all your boxes filled and pinned in place.
Once you get one or a few vertical lines completely filled then you can sew them up and remove the pins before doing more lines. As you get further into your quilt it helps to have an extra set of hands to help hold your quilt in place as you sew the boxes closed. It gets bulky the further in you get. Once you get all your boxes filled and sewn closed all you have left to do is put your backing material on the right side of your printed boxes, pin in place and sew around your material leaving one end open wide enough to be able to turn your quilt inside out then hand stitch that opening closed and you done. It's a big project and sometimes not so easy to wrestle around while sewing but it makes a beautiful heirloom quilt and perfect to give as a wedding present or special child that they will cherish for many years to come. My brother still had his special quilt that grandma made him until the day that he died. I on the other hand loved mine so much I used my quilt many years until I finally wore it out. Now I wish I had put it away so I could pass it on. By the way I ran mine in the washer and dryer just fine. They came out fluffy and looking brand new. They also very warm and pretty light weight given their size and the nylon material they were completely composed of but they did tend to want to slide around on your bed more then quilts made of cotton material. I'm sure our quilts were much more durable then cotton ones would have been. By the way you find this method to much to handle you can cut your fabric into squares then stuff each square, sew it closed and later connect each square forming your quilt but you run the risk of all your squares not being exactly inline with each other if your not careful. Also you can omit the last backing material and just cover you edges in edge binding since you already have your squares backed. This will cost you less in materials and quite a bit of time.
i absolutely love these quilts. May I ask how do you clean them? Could I throw it in the washer then dryer or do you suggest dry cleaning.
id also say your skill level is far above easy. I’m almost scared to try but I’d dearly love to give it a go.