


Fabulous Fabric Facelift

4 Materials
$25
3 Days
Medium
When I moved into this house, it needed to be totally repainted. I took that as an opportunity to update my decor, but I didn't want to buy all new things. I had pored over countless decorating magazines and websites, and knew that I had to choose colors that I loved. However, I didn't want to go crazy with my paint and other finishes, or get wildly colored furniture that I could tire of before it wore out. I decided to stick to basics (bland) for the furniture and main fabrics, like my drapes and bedding, and add pops of color with small things, like pillows, vases, pictures, etc.
(I really would like to paint my whole house in violets, blues, and shades of pink and red, but was afraid of how it would turn out!)
Since I loved the colors in my bedroom rug and pictures that I put above the couch, I used those for inspiration.
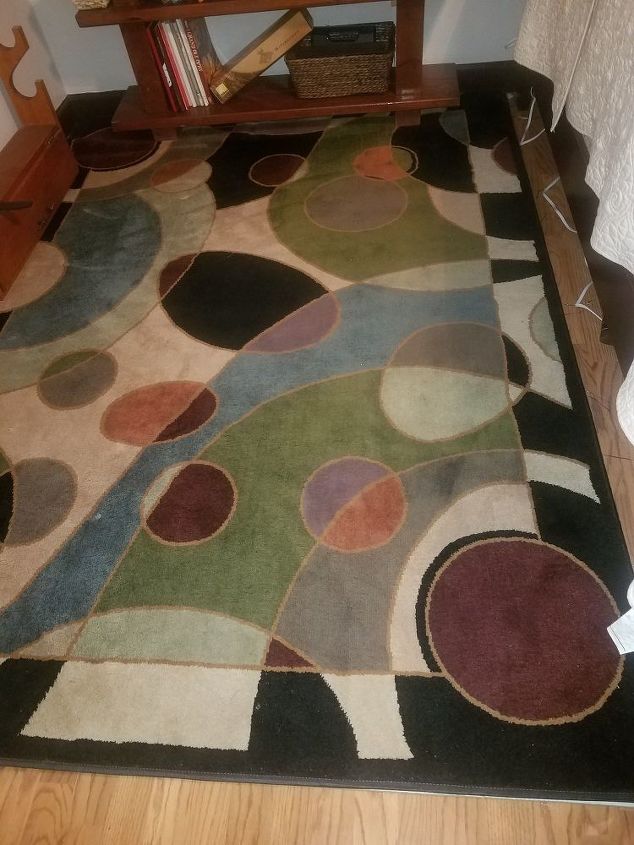
Inspiring colors
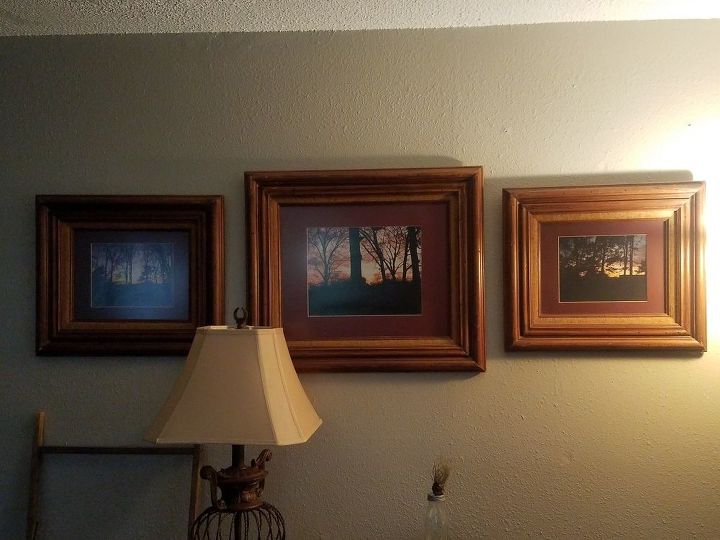
My favorite sunset pictures.
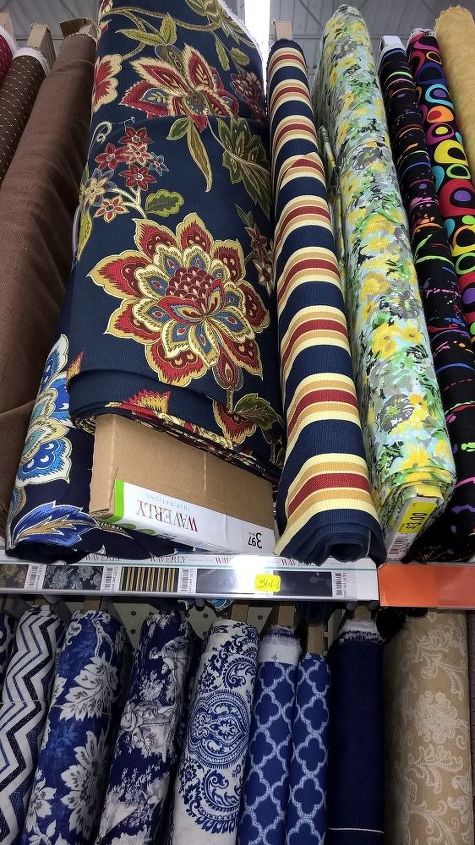
After deciding on which accent colors I wanted, I went fabric shopping. Every time I went to a store that had fabric, I checked it out. I took pictures, moved the bolts of cloth around, and carried swatches with me in the store. I finally chose my champagne colored quilt for my bedroom as the base color. From there, I selected colors and patterns to coordinate with it.
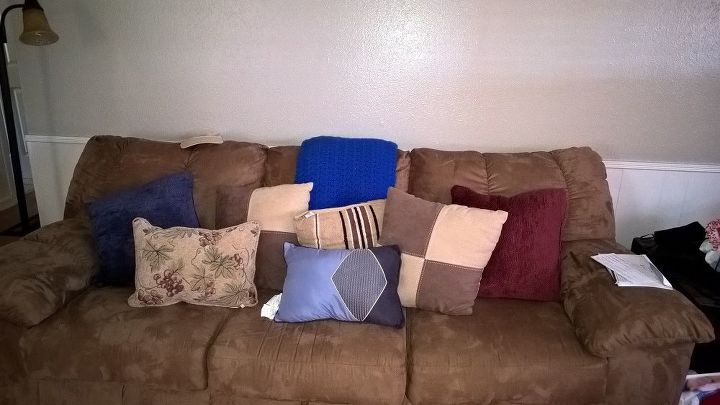
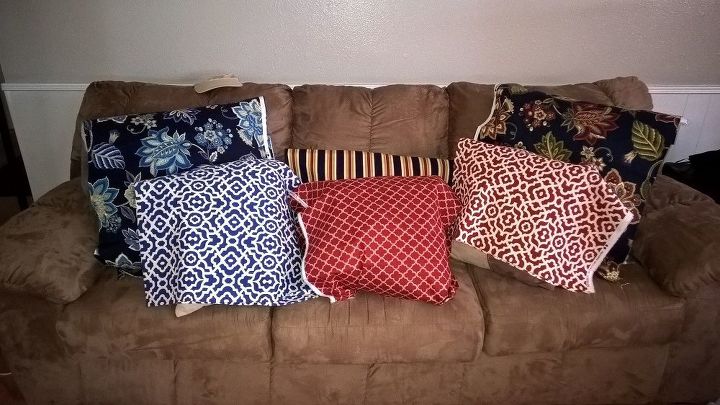
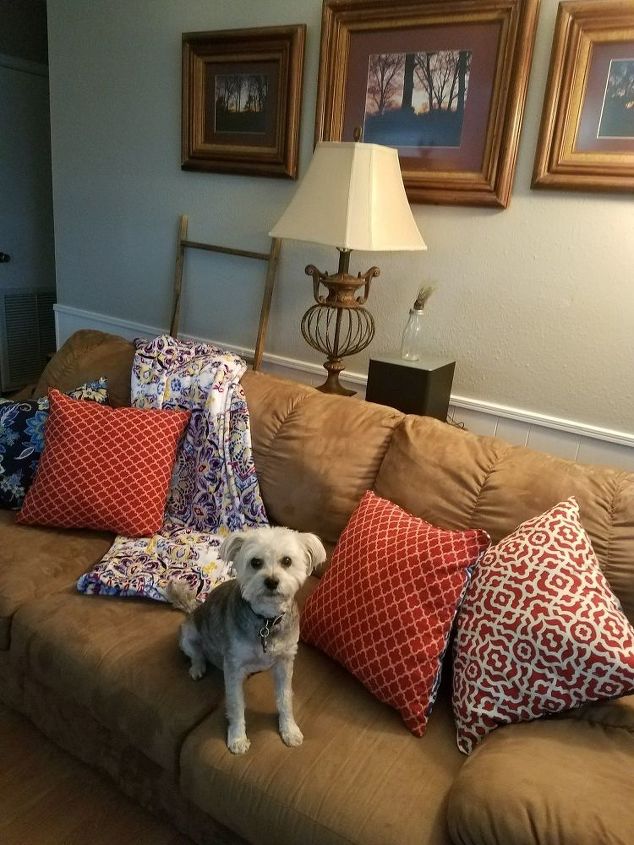
Some pillows to re-cover.
This is my nothing special brown microfiber sofa before. The two brown and tan pillows (squares) came with it. I made the brown striped one. The others I pocked up at Goodwill and sanitized and washed.
Trying out my colors.
I purchased a yard or so of my favorite contenders and placed them around my home.
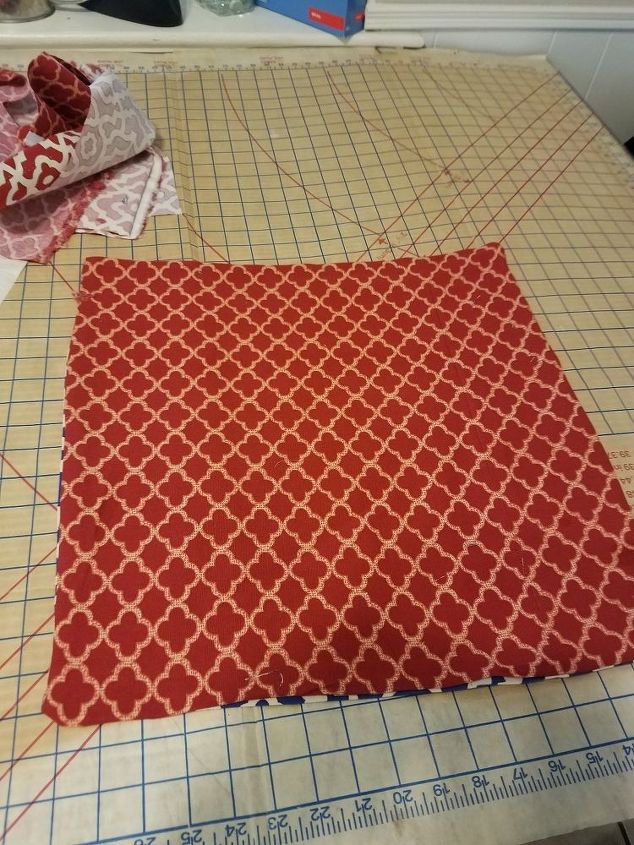
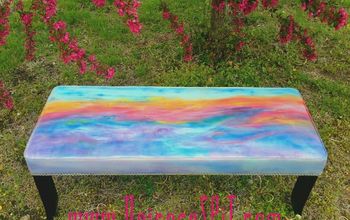
First one done!
Once I picked my favorite fabrics, I decided that I wanted at least 2 - 24" pillows and 4 -18" ones, which would be reversible, and 2 - small ones, about the size of that multi-colored blue one in the before picture. I also wanted to cover a vanity chair and two accent chairs. The accent chairs would go with my kitchen table, if needed (They're still in the attic - another project for another day.)
I got out paper and pencil and figured how much fabric I would need. It's 42/44" Waverly fabric. You don't have to buy whole yards at a time. I realized that I would be wasting fabric if I didn't make at least 1 more large pillow, because I was cutting single sides. It was a little like a puzzle with a lot of math.
Basically, I needed 1 1/6 yards for 2 panels each of the 18" and 24" pillows, without any seam allowances. I went with those measurements, because I was using loose stuffing, not pillow forms. I wanted four colors for the pillows, and then I chose the stripes for my accent chairs, so I bought two yards of that.
For my vanity chair, I decided to use the dark blue and red flowered fabric. See it here: http://www.hometalk.com/diy/paint/furniture/t.... I bought a yard of that, too. I purchased the fabric in fits and starts, as I had the money. I also purchased more than I needed and some coordinating colors just in case I wanted to add something else in the future. I didn't want to go back and find that they had discontinued my favorites.
After I had chosen the fabric for the pillows, I washed and ironed it. This is an important step, because it prevents uneven shrinkage, and ironing makes it easier to cut.
I didn't make a pattern, just cut it freehand. Since I would be stuffing the pillows, they didn't need to be an exact size. Please note: If you are using pillow forms or re-covering another pillow, please leave a 5/8" seam allowance! Otherwise, they won't fit.
Once the panels were cut, I pinned them together, right sides facing in, and sewed three sides and most of the fourth side together, leaving a big enough space to fit my hand full of pillow stuffing inside. Then I cut across the corners and ironed the seams flat. I turned them right side out and ironed the seams flat again, making sure the corners were turned out, as well.
Seams ironed flat.
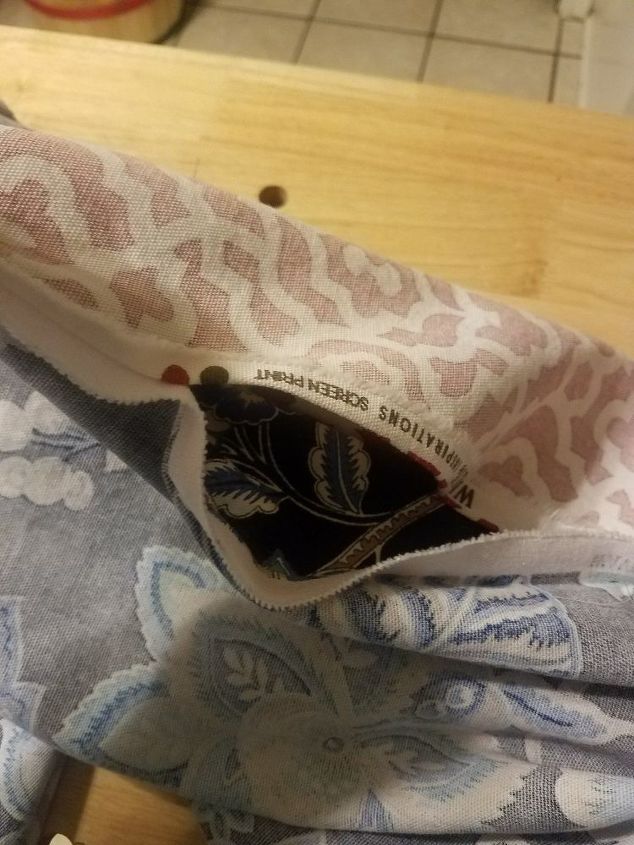
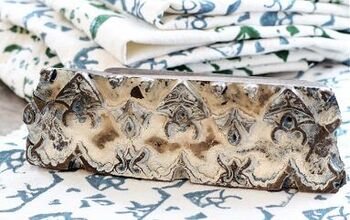
Side note: I love how Waverly prints have color dots in the verge. It lets you color match paints, thread, and other fabric.
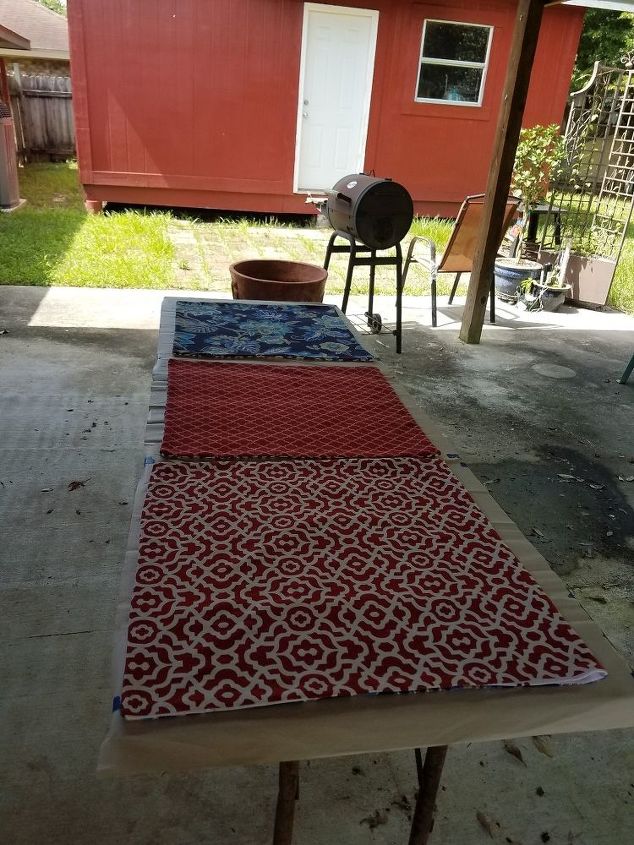
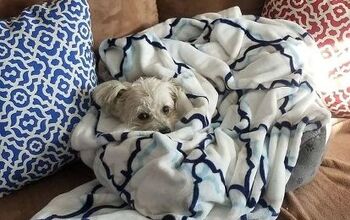
Scotchguard has to dry.
After all the pillow covers were ironed flat, I covered a table on my patio and sprayed them generously with Scotch guard. It protects from stains, and my daughter's dog thinks he owns the couch.
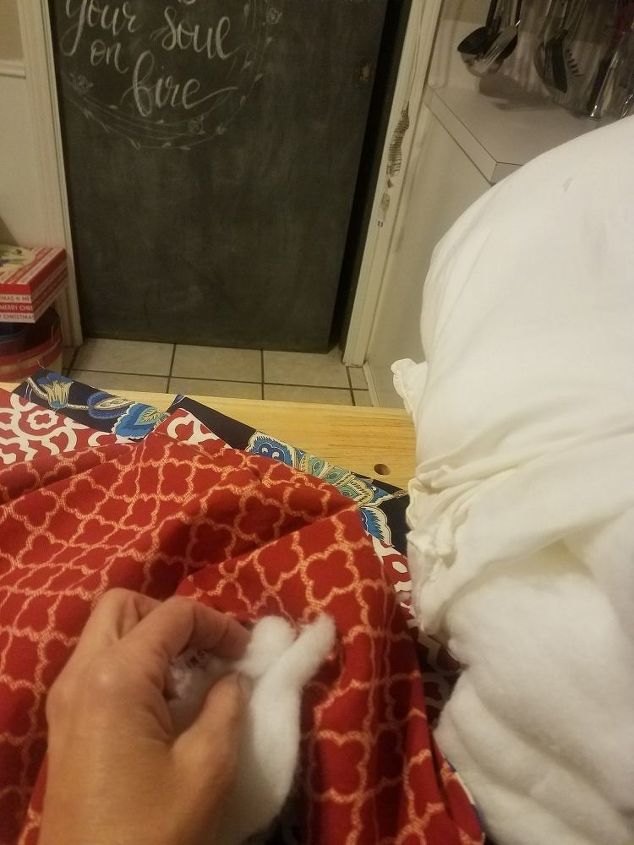
Adding stuffing.
Once the Scotch guard was dry, I just had to stuff the pillows and then sew the openings closed. I reused some old bed pillows that I wasn't using any more. I had washed and dried them previously, and then I cut the seams and pulled the stuffing out. In old pillows, the outside of the stuffing may be rough and flat. I just cut that part off and use the inside, which is nice and fluffy. I also used my old sofa accent pillows and some that I had purchased at Goodwill, after washing them in Lysol, cutting out the stuffing, putting it in old pillow cases, pinning them shut, and then washing with bleach and detergent. As long as they are rinsed well and dried, I have never had a problem reusing pillows like this.
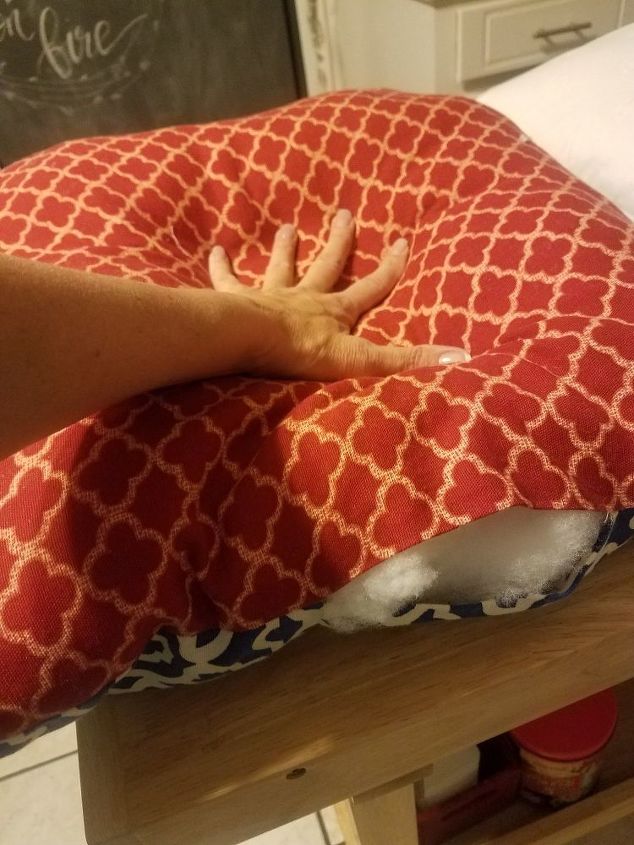
Stuffed!
I made sure that there would be enough room to sew the opening shut after stuffing the pillows. When they were all full enough, I pinned them closed, then sewed the seams on the sewing machine. At one time, I would have made invisible seams by hand sewing them, but I have looked at "professional" accent pillows, and some of them are machine sewn, as well.
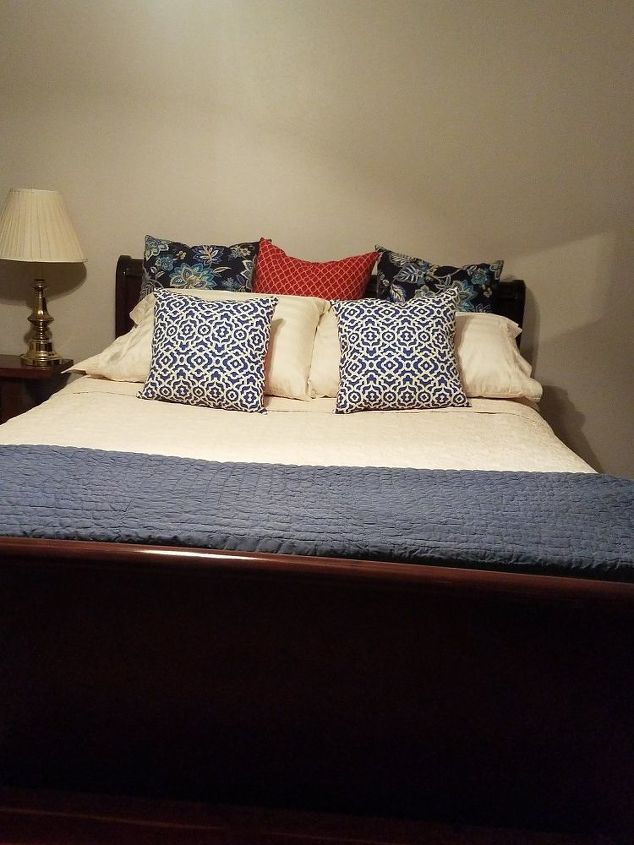
A few different looks.
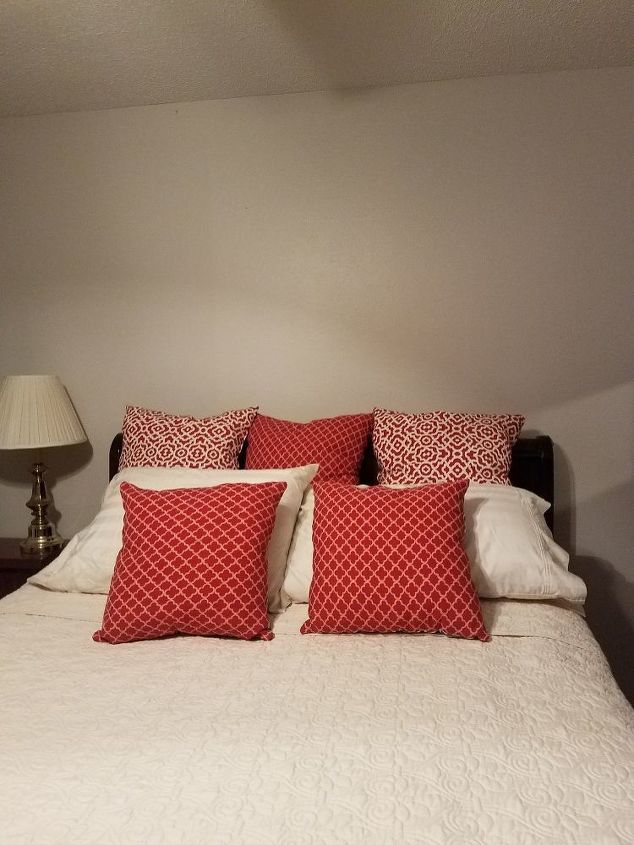
Now for the fun part: Arranging them! Since they all have two different colors and designs, there are a lot of possibilities!
The dog approves!
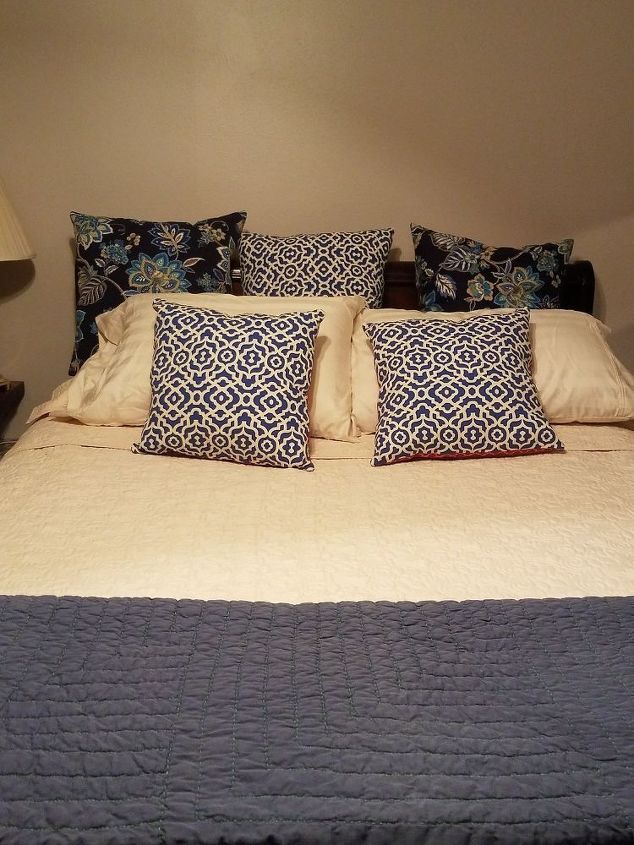
Because I chose colors that would work with the rug and the pictures, as well as each other, and most of my furniture is some shade of brown, I can swap them out as I please.
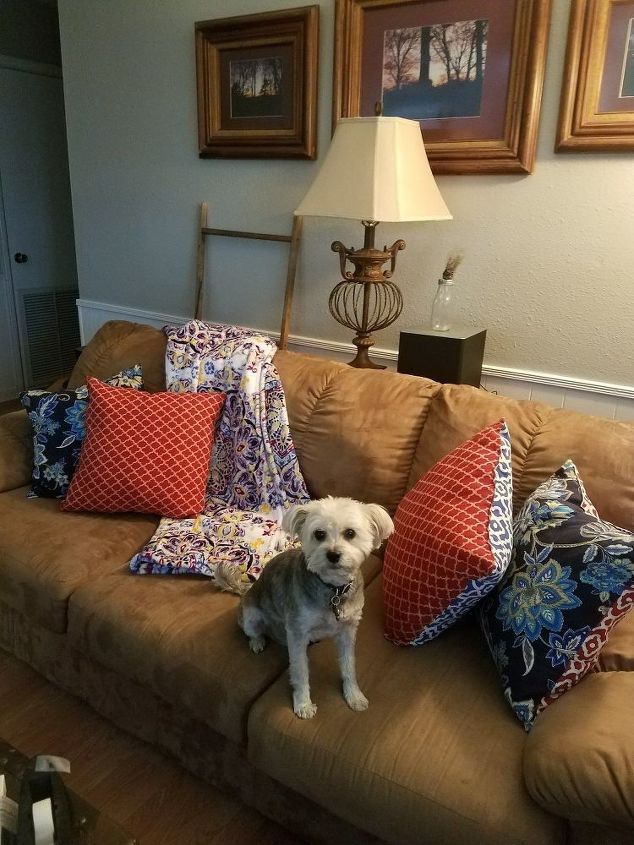
You can see both sides in this picture.
That's all there is to it. Of course, this will be a very individualized process, as everyone has their own color schemes. Pillow forms can be quite expensive, so I chose to upcycle old pillows. Another way to save money is to purchase new pillows ($4 at the dollar store or even Penney's, if you hit a sale) rather than the pillow forms. You could follow virtually the same steps to make or cover outdoor cushions, just purchase outdoor fabric.
It probably took a little over an hour per pillow, but I made nine, so I am putting the time as 2-3 days. Besides, reusing old pillows makes it necessary to wash and dry them. That adds to the time, as does washing and ironing the fabric and using Scotch Guard and waiting for it to dry. You could thrift or reuse other fabric, so yours may not be as expensive as mine, either. Hope you found this inspiring and useful!


Any price and availability information displayed on [relevant Amazon Site(s), as applicable] at the time of purchase will apply to the purchase of this product.
Hometalk may collect a small share of sales from the links on this page.More info
Comments
Join the conversation
3 of 25 comments
-
Awwwwww.........I love the wittle doggy......so sweet......OH!! that's right we were commenting on the pillows???? lol. They are gorgeous and I do the same thing. It's great having a machine!!

-
Nice job, enjoy!


Frequently asked questions
Have a question about this project?
How do you wash and sanitize pillows? I often look at pillows, comforters, curtains from our second hand stores, but worry thoughts cleanliness.
Love the colors and fabrics.