


How to Make 4 Throw Pillows From a Tablecloth and 2 King Size Pillows

I'd been looking for material to match the couch in our living room. It needed a little something, so I decided to make some throw pillows for it.
My husband and I went to Joann's Fabric and looked around, but didn't really find anything. Afterwards we stopped in Target, and there it was. It was a tablecloth, but with the right colors in a nice plaid, so in the cart it went!
I already had the 2 king size bed pillows at home to do this project. (I like to save money if I can, and found this to be a better deal than buying pillow forms.) I'd also bought some zippers so that the covers could be laundered.
I'll show you how I made the pillows step-by-step, and I'm also including the YouTube video if you'd rather watch that.
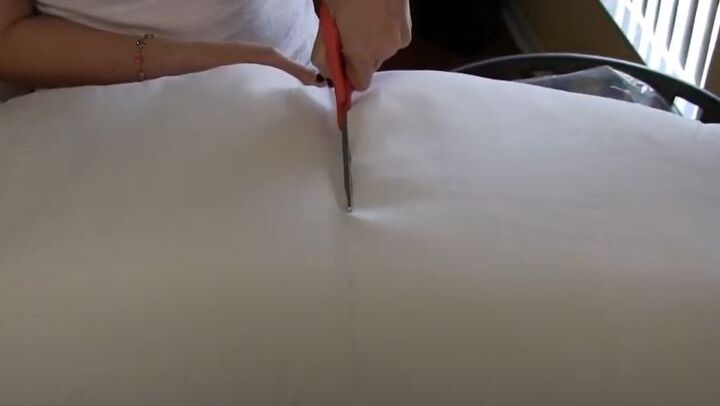
Step 1:
Draw a line down the center of the pillow on both sides. I've already done that here (although it's hard to see.) With scissors, I am cutting right on that line. Flip the pillow over, and cut down the line on the opposite side.
Step 2:
Separate the 2 halves of the pillow.
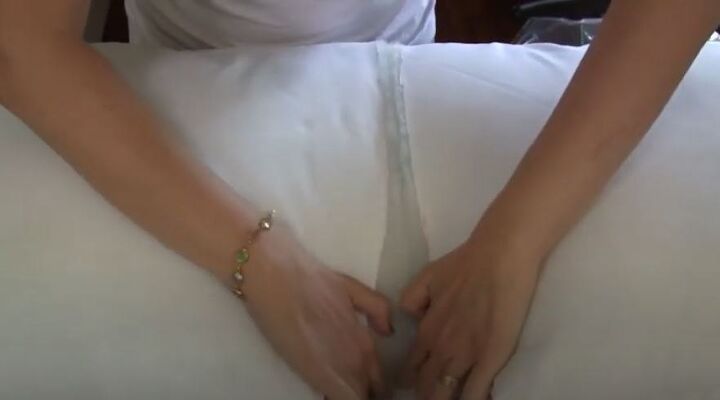
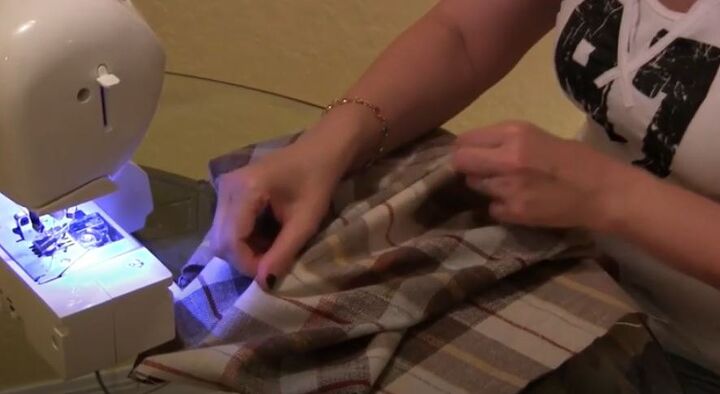
Step 3:
Now I'm using safety pins to hold back the stuffing. This will make it easier to sew without the stuffing getting in the way!
Step 4:
Now I'm sewing the pillow closed. Once I stitched it up, I took the pins out and fluffed it. I also cut the other king size pillow in half, and sewed the other pillows in the same way.
Step 5:
I unfolded the tablecloth and cut the hem off of it.
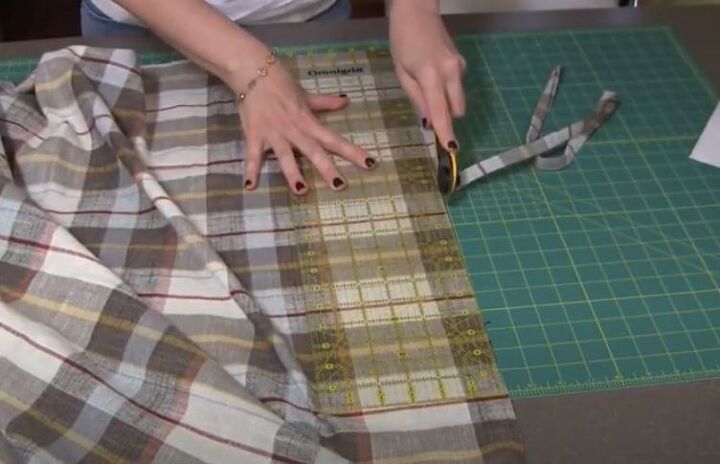
Step 6:
I cut the tablecloth down to smaller, more manageable pieces to make it easier to work with.
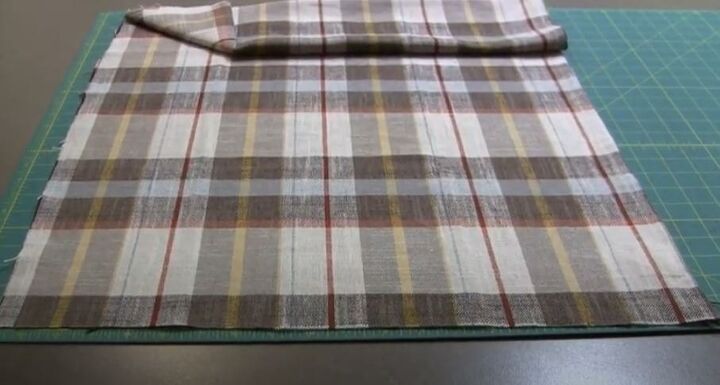
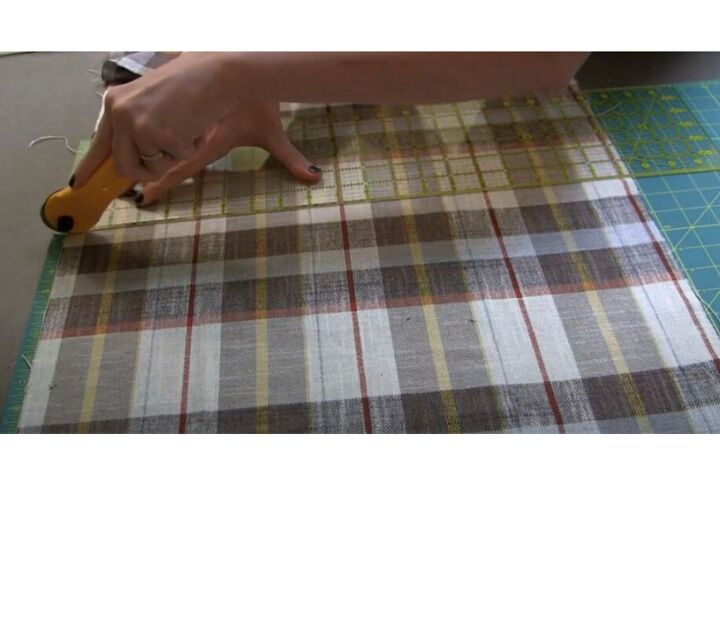
Step 7:
Next, I cut out the first piece. I decided to cut them at 18" x 19". Then I cut 7 more pieces of that size to make the 4 pillows.
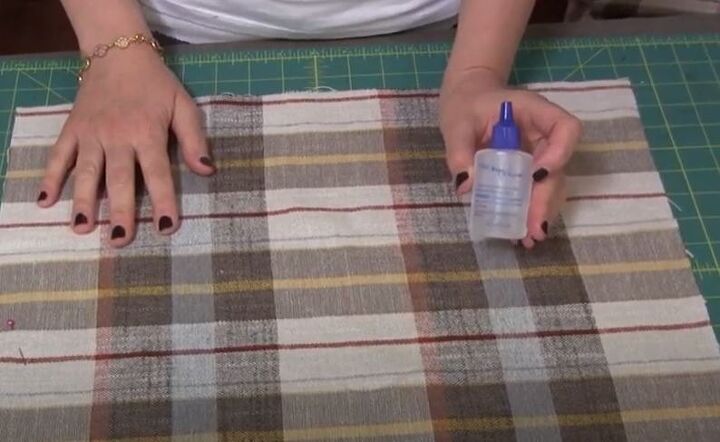
Step 8:
Once the pieces were cut, I applied Fray Check to the edges. This will keep the material from unraveling. You can also do a zig-zag stitch.
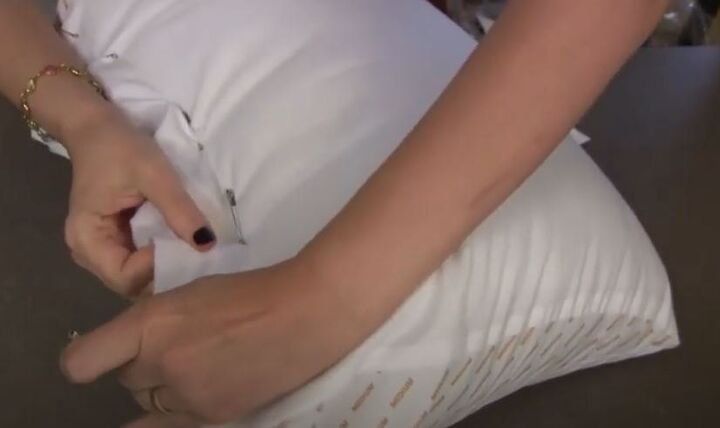
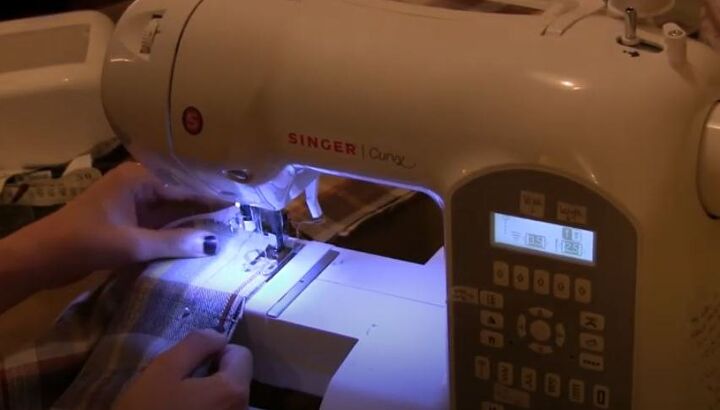
Step 9:
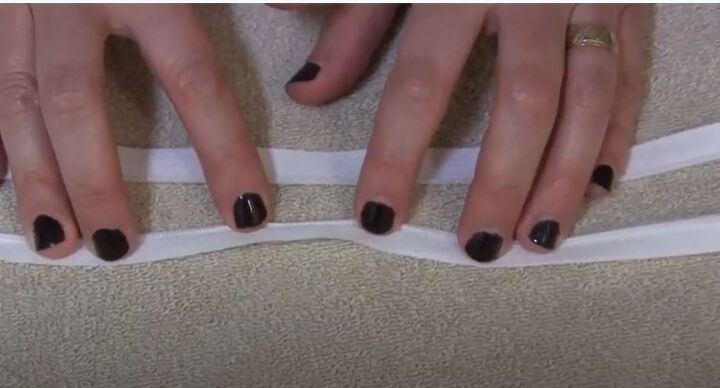
Next, I moved on to installing the zipper. When you take the zipper out of the package, the teeth are curled up. I took an iron and pressed the teeth down, flattening them to make it easier to work with.
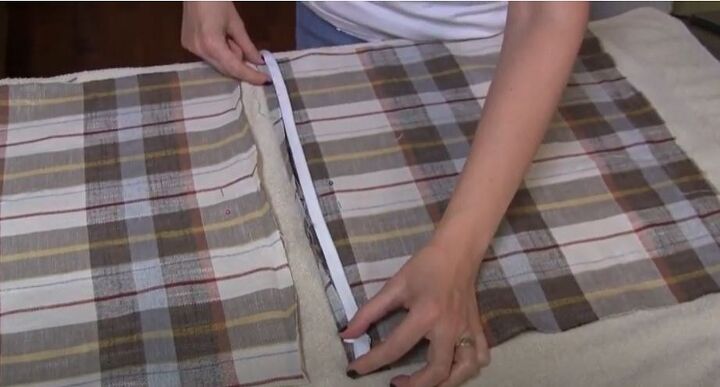
Step 10:
I've folded over a half inch of fabric on each piece and then pressed with the iron. This will be the seam allowance. Now I'm positioning the zipper on the fabric. I'm not taking the zipper all the way to the end. Instead, I'm leaving about an inch-and-a-half free on either side.
(I had to improvise a bit on this step since the store didn't have the right size zipper that I needed, and so I had to shorten them. If you're interested in this, I show it in the video.)
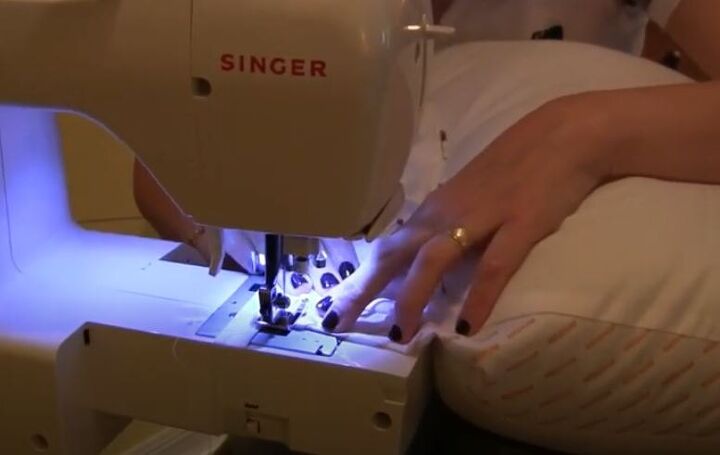
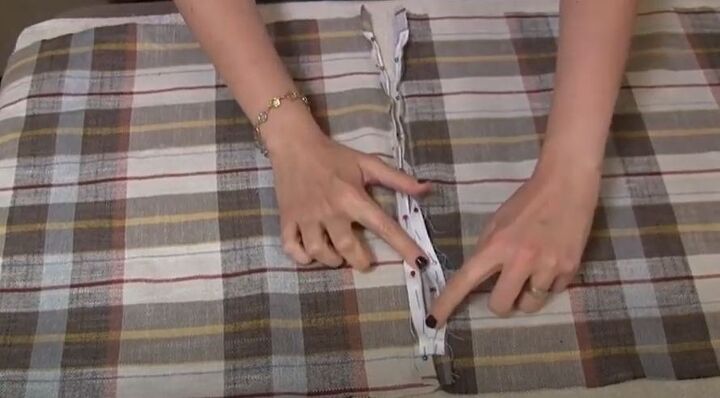
Step 11:
Next, I pinned the zipper to the seam allowance (the back of the zipper is facing up).
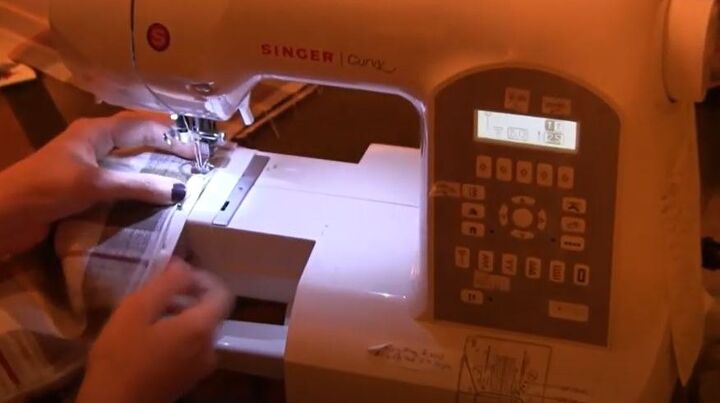
Step 12:
I'm sewing the zipper on using an invisible zipper foot.
Step 13:
When I pulled it off the machine, I zipped it closed to make it easier to work with.
Step 14:
Then I pinned the remaining sides of the pillow case and sewed them with a half inch seam allowance.
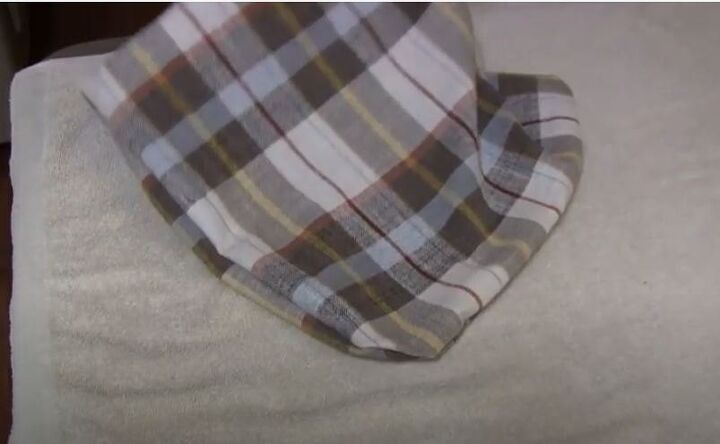
Step 15:
After that, the pillow case was ready to be turned inside out. From the inside, I used my finger to push the corner points out.
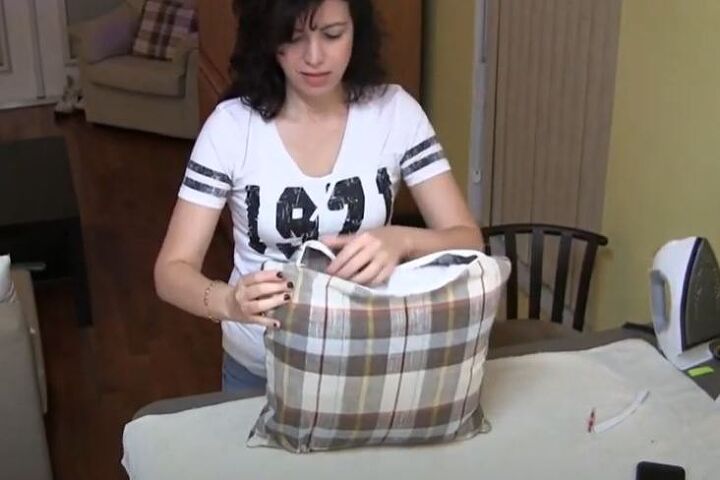
Step 16:
I grabbed a pillow form, stuffed the case and zipped it up. I sewed the other 3 pillow cases and was done!
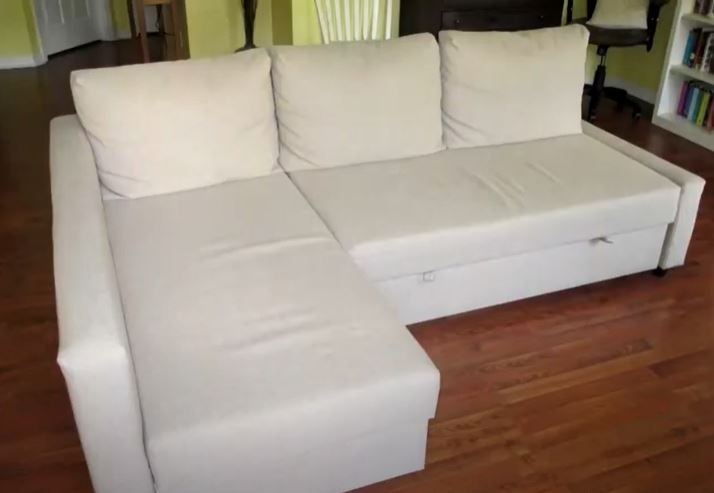
Here are a couple of "before" and "after" shots. Here is the couch without pillows:
....and after (a little cozier!):
Hope you enjoyed this, and good luck with your own sewing projects!
Comments
Join the conversation
-
I’ve been thinking about making throw pillows but thought the forms were too expensive. This is a great idea!
-
Thanks Kathleen! I love finding ways to save money and be creative at the same time :)


Frequently asked questions
Have a question about this project?