


How to Make an Envelope Pillow Cover
Pillows are one of the easiest ways to update your decor for any season. I enjoy designing and sewing quick pillow covers especially these easy envelope pillow covers. Learning how to make a throw pillow cover is a breeze following this easy pillow cover tutorial. You can learn how to sew envelope pillow covers without a zipper in minutes so let’s get started.
Quick Pillow Covers
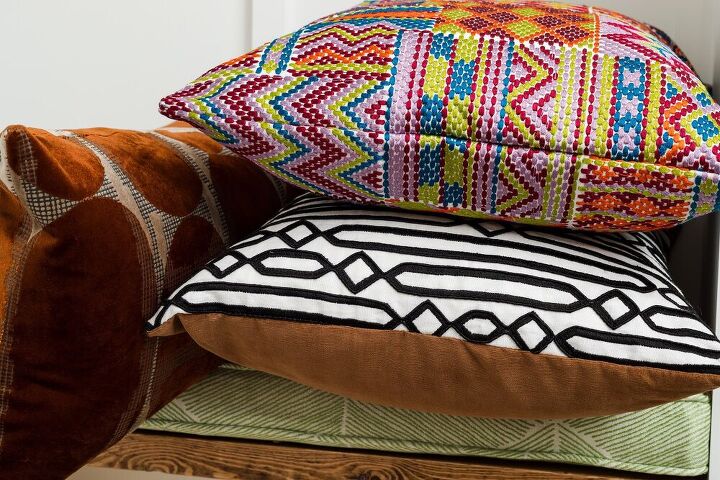
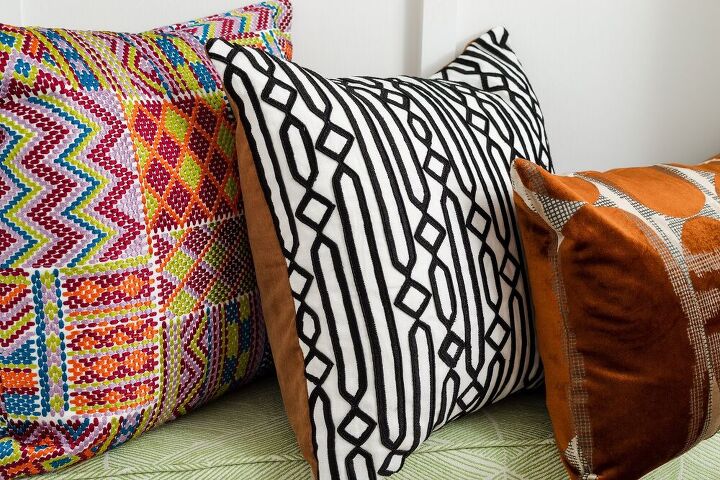
Easy envelope pillow covers
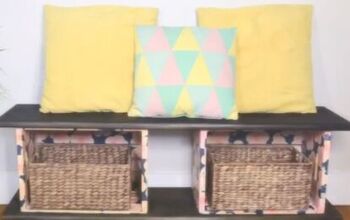
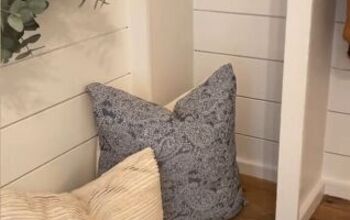
Below is the mudroom hall tree we built in our home. The bench cushion with piping and the pillows I made to add a Boho vibe to the space. You can find that post here.

DIY Mudroom Hall Tree with bench cushions and pillows
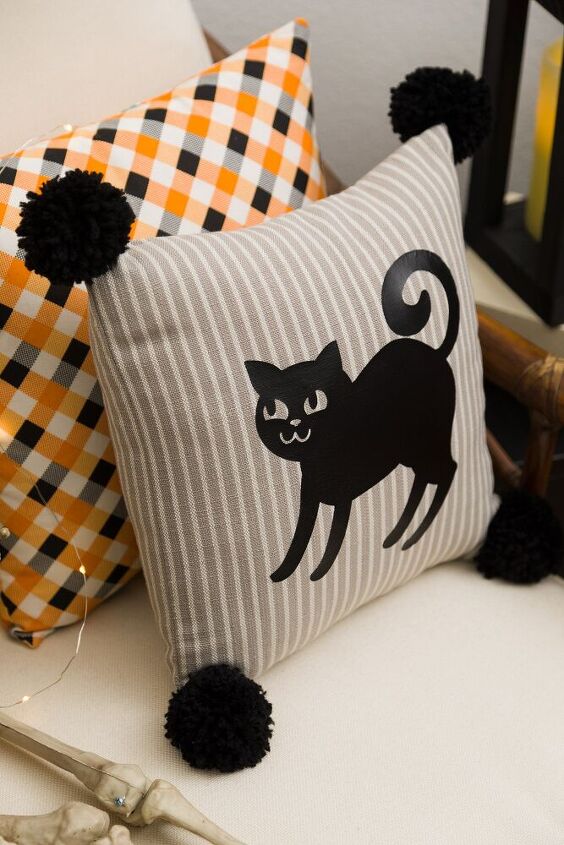
Envelope pillow cover and Cat pillow with pom poms
I made pom-poms (see how to make them here) to add to the corners for a whimsical vibe.
For the FREE cat, SVG file, please visit the post on the blog.
How to Make an Envelope Pillow Cover
Let’s begin learning how to make an envelop pillow since they are my favorite easy pillow cover ever! I like to DIY decorative pillows using fabrics that are too expensive to use for larger projects, such as upholstery or window treatments.
DIY Pillow Cover Supplies
- Fabric
- Pillow insert or pillow form (I use the same ones for every season)
- Scissors or rotary cutter
- Cutting mat (I use mine for all my projects)
- Sewing machine
- Thread
- Iron
- Measuring tape
- Water-soluble fabric marker
- Pins
- Serger
Envelope Pillow Cover Instructions
After gathering your supplies, it's time to measure your pillow form. My pillow form was 16″ square, but you can use any size.
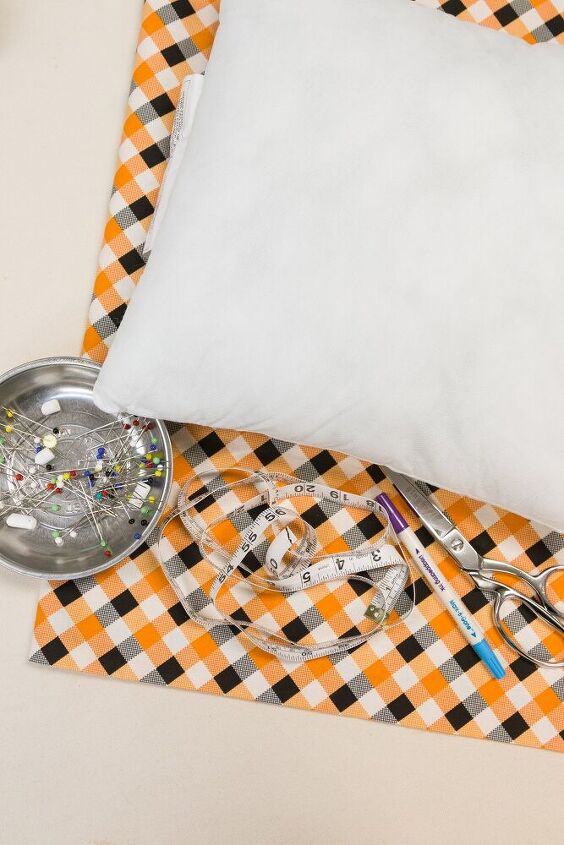
DIY pillow covers supplies
Envelope Pillow Fabric Cuts
- Cut one piece for the pillow cover front.
- Cut 2 back (envelope) pieces using the front piece size divided in half and add 5″. For example, my 16″ square pillow form (insert) was 16″, so half of that would be 8″ plus 5″ = 13″ (cut 2 @ 13″ wide by 16″ tall)
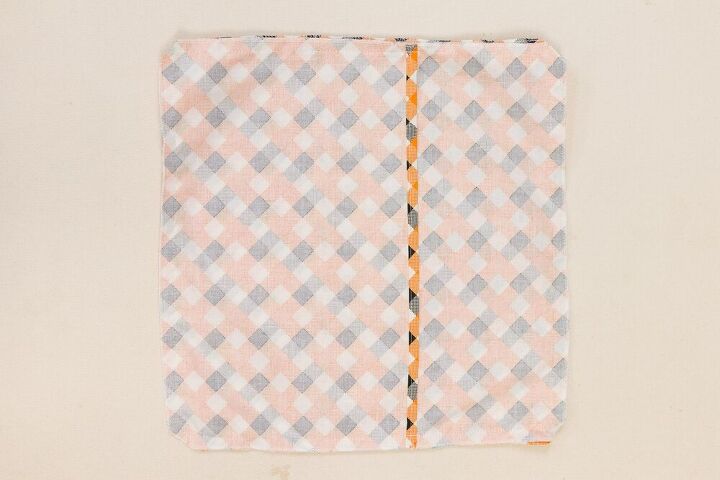
Hemming the outside edges of the back envelop pillow opening
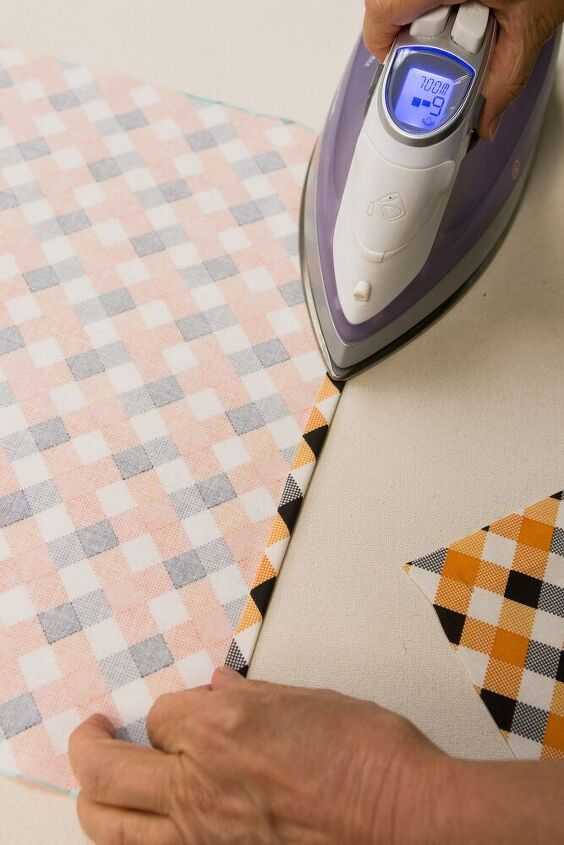
Hemming the Envelope Pillow Backs
Hem the back envelope pieces that will form the opening by turning under 1/2″ and turning it under again, then sew the hem in place. Next, serge all the raw edges of the 3 pieces.
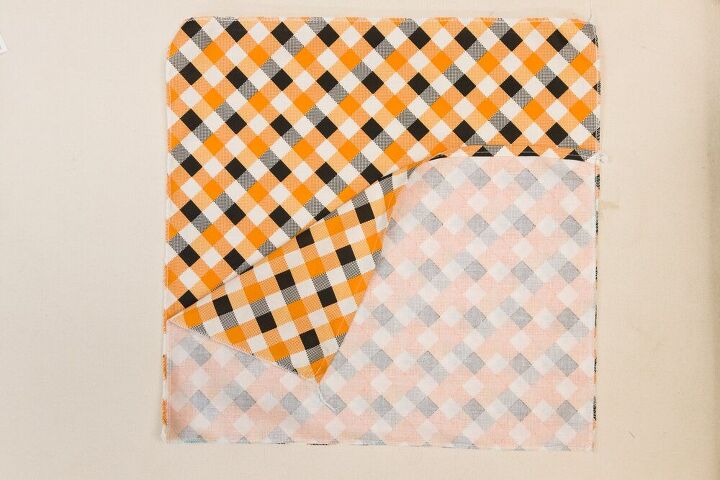
Checking the back envelope pillow pieces
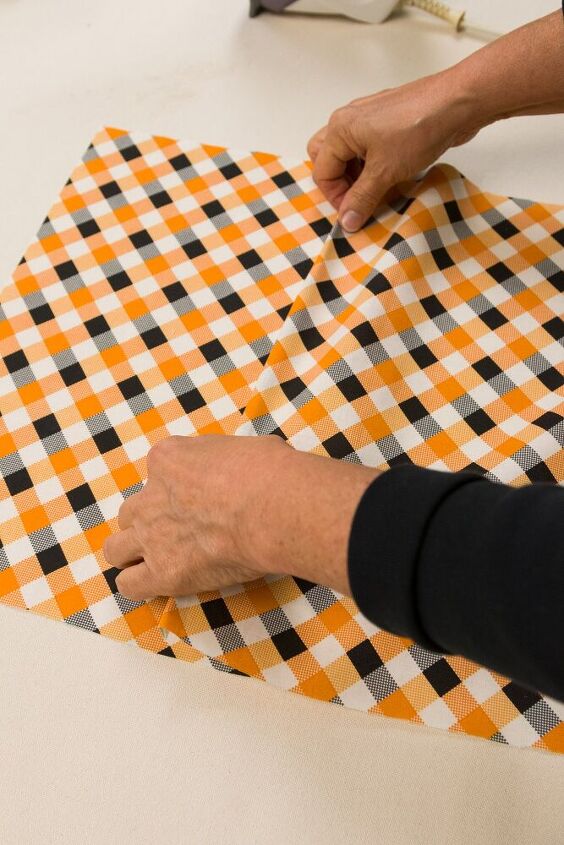
How to Sew Envelope Pillow Cover
Place the pillow front on your table with the right side up, then place the envelope pillow back pieces one at a time on the front piece with right sides facing and lining up the edges (they will cross over the center.) Pin all sides together, then sew using a half-inch seam allowance.
Placing back piece on the front
Trimming the corners, being careful not to cut the stitching.
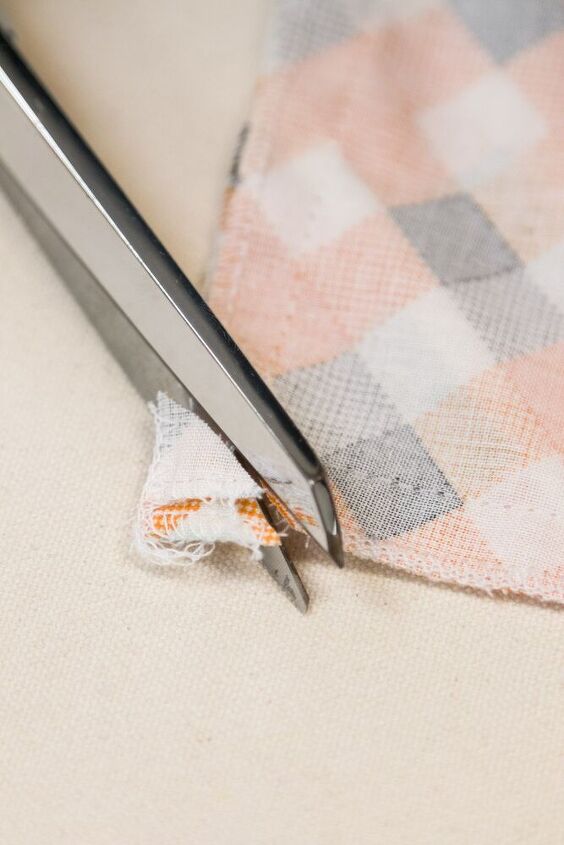
Trimming the corner of the pillow cover
Learning how to make a pillow is fast and easy, and you are going to enjoy all types of DIY decorative pillows. See more DIY throw pillow ideas at the end of this post.
Envelop pillowcase
Inserting Pillow Forms
Now for the easy part, turn the throw pillow covers outside right and open the back flaps and insert the form.
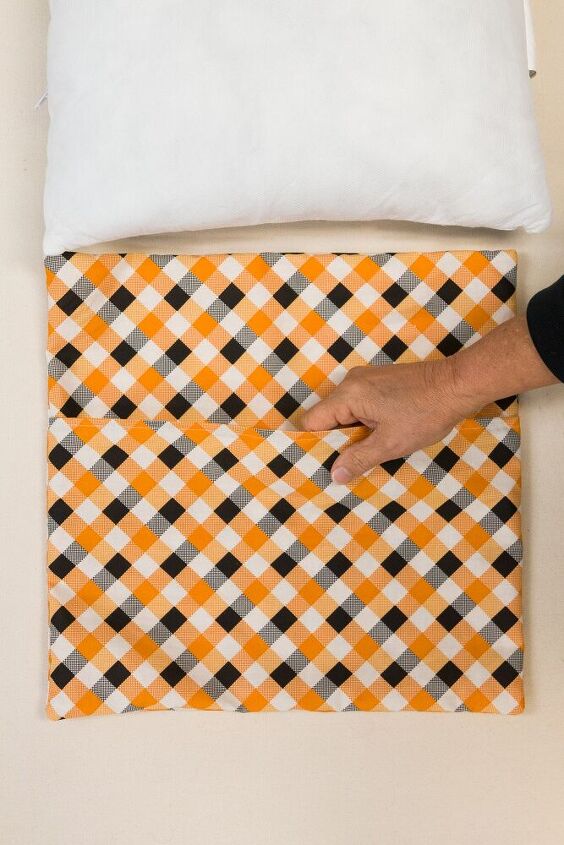
Envelope pillow cover ready to add the form
Perfection was never so easy! You will enjoy making a ton of these easy envelope pillow covers see below for more easy pillow pattern ideas too.
More DIY Envelope Throw Pillow Covers
I wanted to share some fun seasonal throw pillows you might also like.
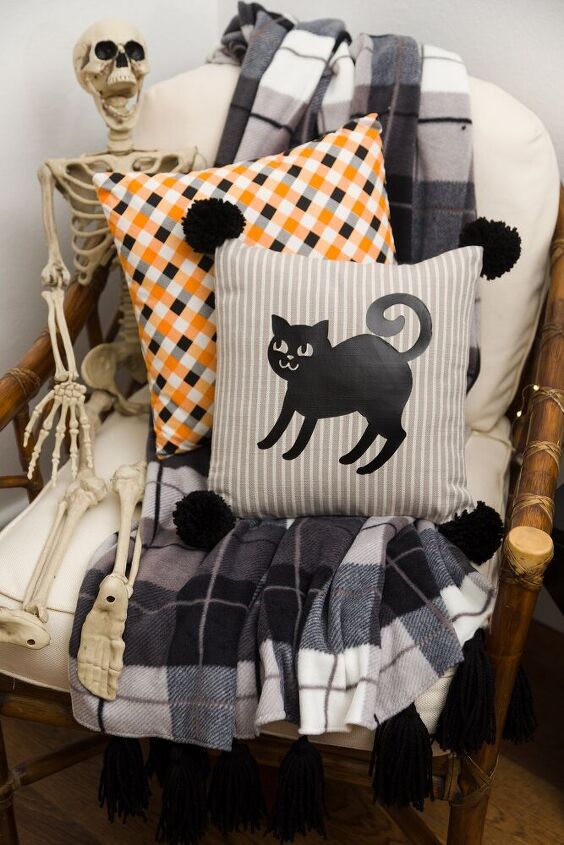
Halloween Throw Pillows
These cute Halloween throw pillows were made using the envelope pillow cover instructions in this post. The spooky cute Halloween Cat vinyl design I cut with my Cricut Maker and the pom poms I made with my pom pom maker and I sewed them to the corners for some added fun. 
Thank you so much for your visit today.
Happy sewing,
Kippi 

Comments
Join the conversation
-
This is a great tute. I don’t do zippers. I.don’t.do.zippers. This is quick and easy and still looks sharp. Thank you.
-
Can't wait to replace mine! Thanks so much!


Frequently asked questions
Have a question about this project?