


How to Sew a Silk Pillowcase From a Scarf (+ DIY Pillow Forms!)
Today’s post is really two tutorials in one: how to sew a silk pillowcase from a scarf and how to make DIY pillow forms.
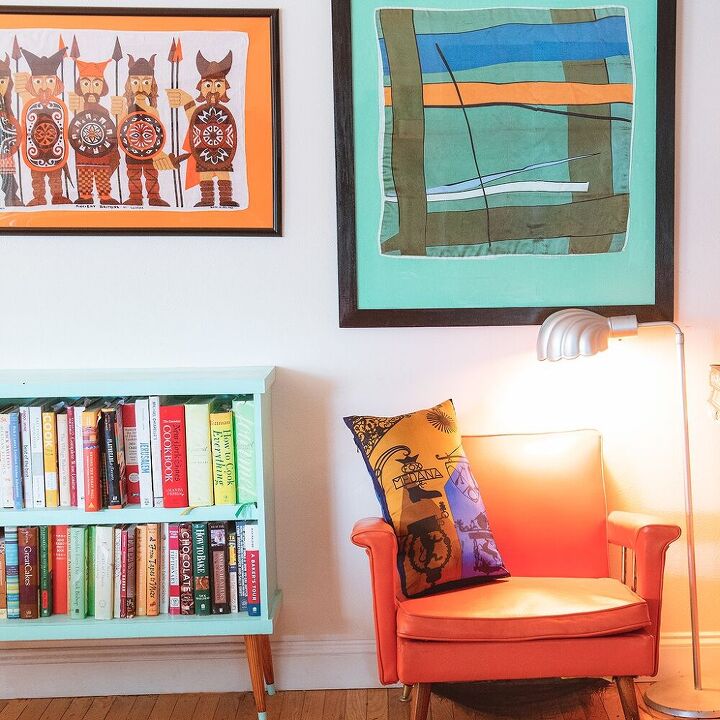
I love me some silk scarves, and vintage linens in general and my walls back up that statement. Since I can’t wallpaper my whole house with silk scarves, I’ve been trying to think up ways to display my vintage linens that don’t involve jumbo or custom picture frames.
Enter the silk pillowcase. This is a simple simple project that’ll teach you how to take a vintage silk scarf and turn it into a simple silk pillowcase to cover over a DIY pillow form. Learning how to make a pillow form is a basic home decor sewing project. DIY pillow forms are less expensive than store bought ones. Even better? You can customize the size on your DIY pillowcase to fit your silk pillowcase perfectly.
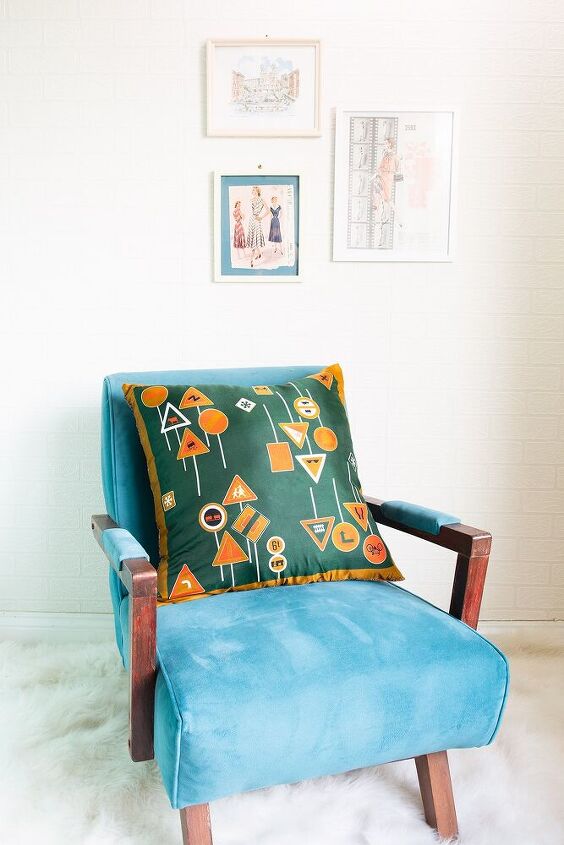
The end result will be a beautiful statement cushion that’ll rival anything you could plonk down big money for. And when people inevitably admire it, you’ll be proudly able to say, “Yeah, made it myself”.
So grab your vintage Vera and let’s get to working on how to sew a silk pillowcase.
Table of Contents
Supplies for making a silk pillowcase + DIY pillow forms
- Square or rectangular opaque silk scarf
- Polyester fiber fill like Polyfil
- Quality invisible zipper such as YKK
- invisible zipper foot
- standard zipper foot
- Tricot knit fusible interfacing
- 1-2 yards cotton muslin or similar fabric
- 3/4 yard contrast silky fabric (optional)
- silk organza press cloth
- hand needle and thread
- Wonder clips or binder clips
How to make DIY pillow forms
First things first, let’s make your pillow form.
Cut two squares (or rectangles) of fabric the size of your scarf. I can’t give specific dimensions since it’ll depend on how big your scarf is. You want these squares to be the same size as your scarf so that when you sew it, the pillow is nice and stuffed. Partially stuffed pillows are sad and we don’t want that!
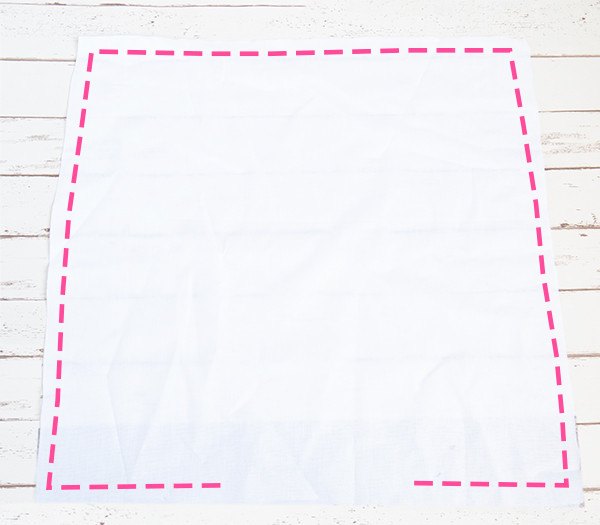
Next, put your fabric right sides together and stitch around the whole pillow, using 3/8″ seam allowances. Be sure to leave a hole about the size of your hand in the middle of one side.
After that, turn the pillow through the hole and give everything a good press with your iron. Be sure to press the seam allowances in the hole area towards the inside so that the edges are even with the rest of that side.
Stuff your pillow
Next, start grabbing handfuls of polyester fiberfill and filling the pillow. Use your hands to fluff out the stuffing into the corners. Periodically, fluff everything up.
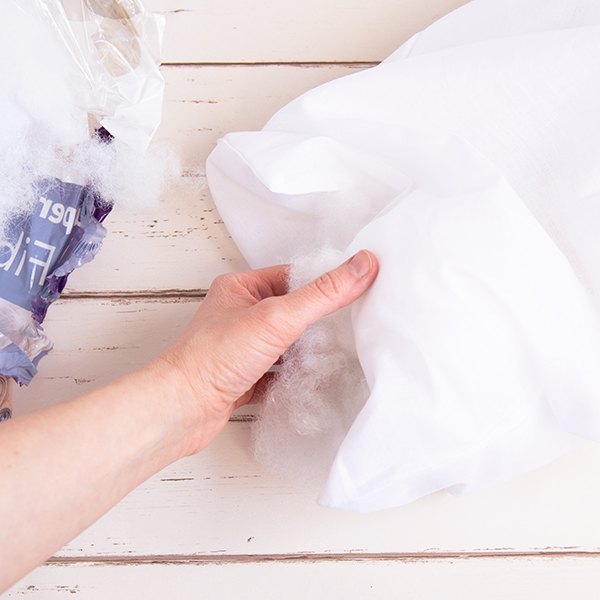
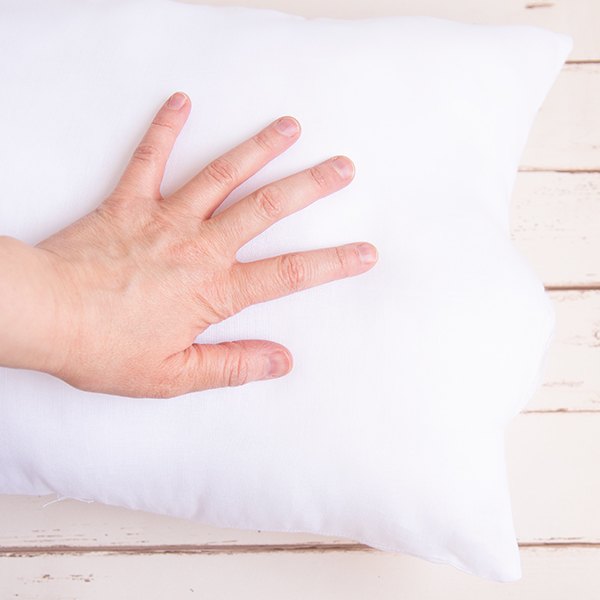
The goal here is to get a pillow that’s evenly stuffed. It’ll take more stuffing than you think, so be patient. Keep fluffing and moving the stuffing around until it looks nice.
Close up the hole
To close up the hole, first thread and knot your hand needle.
You’ll be using a whipstitch to close up this hole. To do this, bring up your knotted needle to right side. Next pierce the other
side, letting the fabric loop between layers.
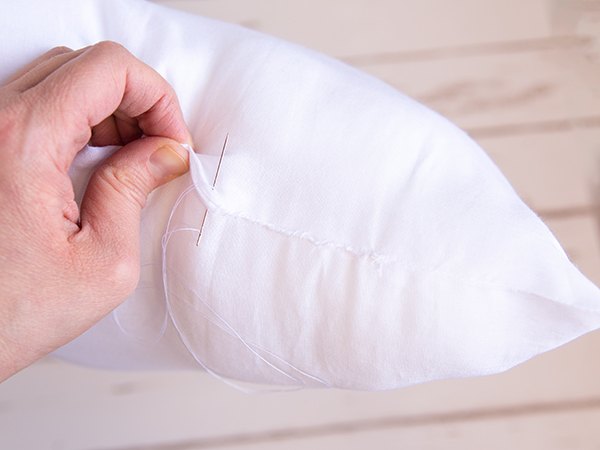
Bring up the needle close to the first stitch and make another looping stitch. Tie off the thread when you get to the end of the hole.
That’s all there is to making DIY pillow forms. This is a quick little thing that you can make for any new DIY cushion you want to make. Now that you’ve learned how to make a pillow form, read on to see how to cover it with your beautiful silk scarf.
Cutting contrast fabric for a pillow back?
You will not have to cut your silk scarf at all for this project.
If you are using a square scarf, cut a second piece of fabric the same size as your scarf. This piece is for the pillow’s back.
To keep the look of the silk scarf, I would choose another silky feeling print, though it need not be silk. I’m using a polyester peachskin, though linen would be really nice too. Try to use a fabric that’s a similar weight as the scarf.
For rectangular scarves, you won’t need to cut anything because you’ll be able to fold the scarf over on itself to make the pillow. Super easy!
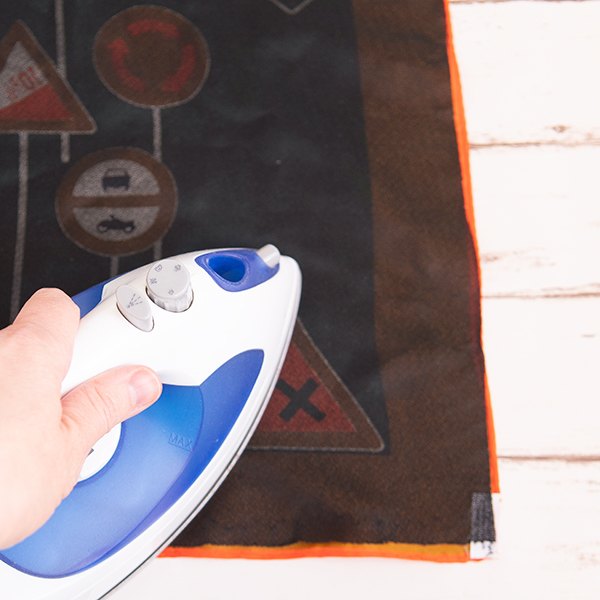
For the next step, you’ll need to interface the wrong side of your scarf. After you have your fabric ready, cut 2 pieces of tricot knit interfacing the size of your scarf. If you’re using a rectangular scarf, cut 1 piece of interfacing.
Lay the interfacing with the glue side down on the wrong side of your scarf. On top of that, lay over your organza press cloth. Fuse the interfacing to the scarf with a low heat. Hold the iron in place for 10-15 seconds, lift, then move it to another area. Be careful not to move the iron in a smoothing motion.
Repeat the fusing process for the contrast fabric.
Prep your invisible zipper
Next it’s time to press your invisible zipper. Unzip the zipper and cover it with your silk organza press cloth.
With the zipper on the wrong side, press through the press cloth. Really roll the teeth towards the center of the zipper and press with steam. This will help flatten out the zipper and make your seam really get that “invisible” look.
Make sure that your zipper is a couple inches shorter than one side of your scarf. This will make it easier to get a clean seam later when you go to sew the pillowcase together.
Do this to both sides of the coil. Since there’s already interfacing on the wrong side of your fabric, there’s no need to add a stabilizing tape as you would usually for sewing an invisible zipper. Time to sew that zipper.
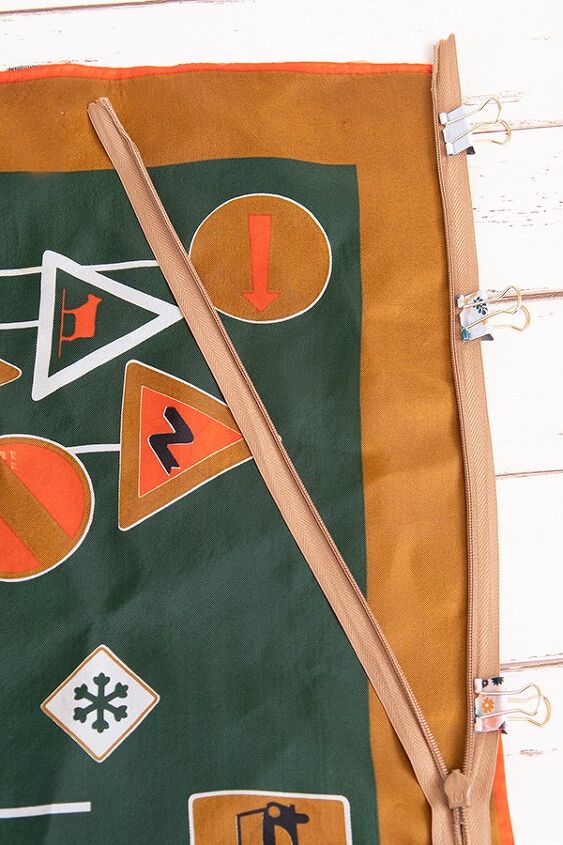
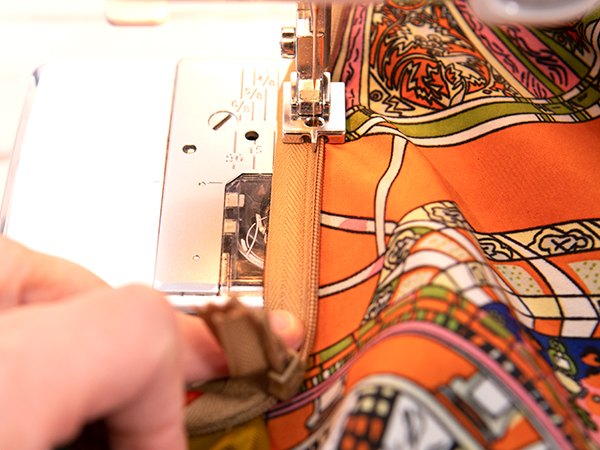
First, unzip the zipper. Use binder clips or Wonder clips to pin one side of the zipper to one side of the scarf, matching right side of the zipper to right side of the scarf. Align the top of the zipper stop so that it’s 1/2″ from the top edge of your scarf’s side. Using your invisible zipper foot, stitch from the top of the zipper down towards the stop. Be sure to let the zipper’s coil run through the left groove in the foot. Sew as close to the zipper’s pull as you can get. Backstitch when you can’t sew any further.
Grab the second piece of your fabric. Bring the right side of the contrast fabric to the right side of the second part of the zipper.
If you’re using a rectangular scarf, fold the scarf over on itself so that the right side of the unsewn part of the zipper is facing the right side of the matching edge of the scarf.
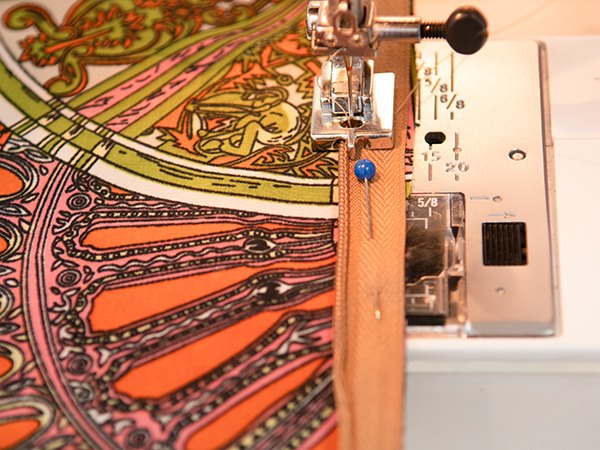
Line up the zipper so that it’s top stop is 1/2″ from the top edge just like you did with the first side. Pin below this point just to hold things in place.
From here, use a long straight stitch to baste the top of this second side in place. Only sew about 1″.
Flip over your work and zip up the zipper. Check the alignment. The top edges of your zipper should be even.
If you missed, pull out the few basting stitches and try again.
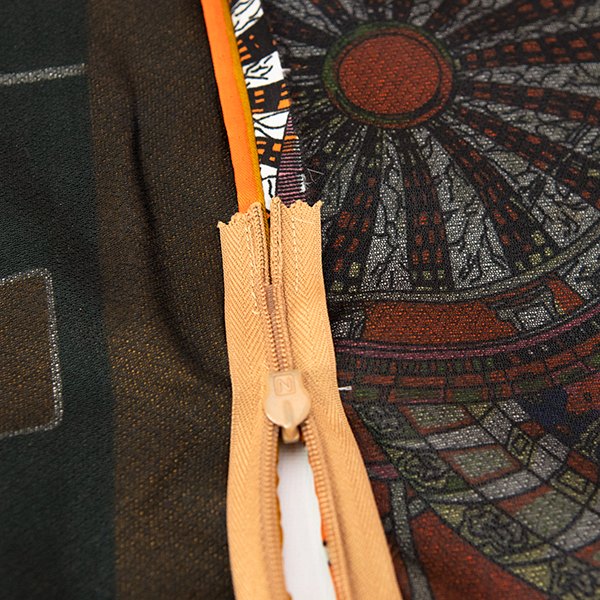
When the alignment looks good, flip your work back over. Sew down the second side of the zipper, letting the coil pass through the right groove in the foot. Sew as close to the bottom as you can, backstitching at the bottom.
Lightly press the zipper, using a press cloth to protect the teeth.
Fold the zipper right sides together on itself and sew the fabric below the zipper together with a 3/8″ seam allowance. Move the ends of the zipper tape out of the way as you sew so that you can stitch right up to the last stitches on the zipper.
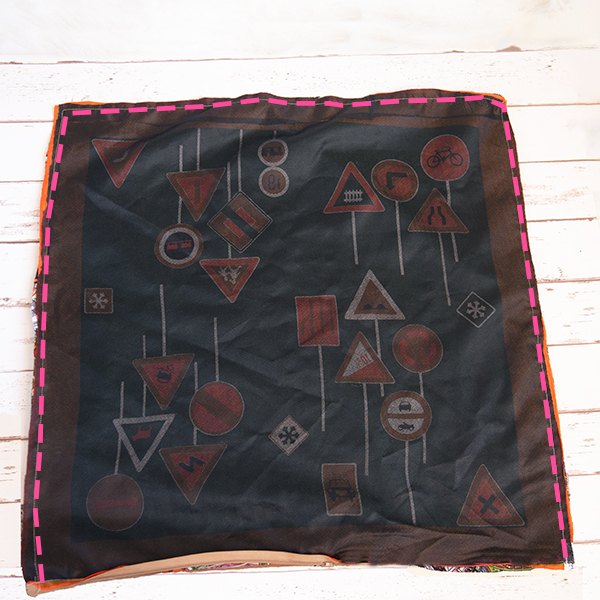
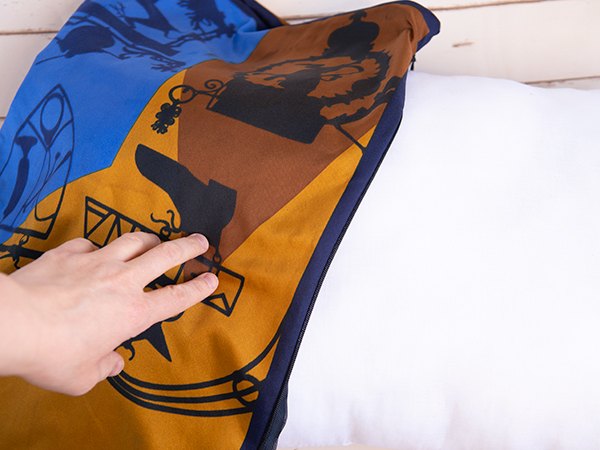
First unzip the zipper. Fold the fabric right sides together. Stitch around the other 3 sides of the silk pillowcase.
Turn the pillowcase to the right side and lightly press.
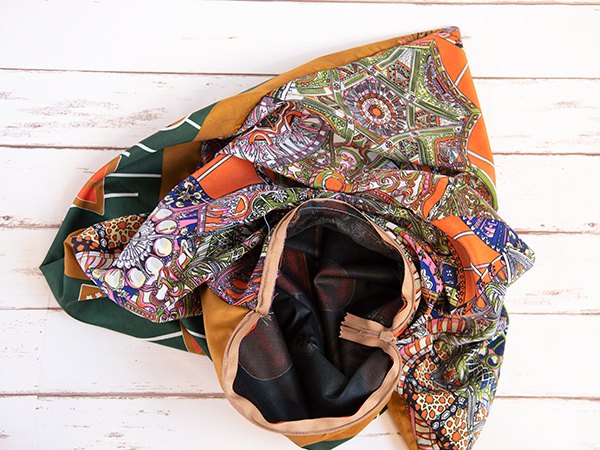
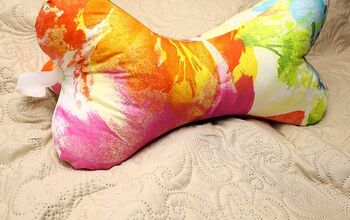
Pop your DIY pillow form inside your freshly sewn silk scarf pillowcase and enjoy your new statement cushion.


Elizabeth Farr is the writer behind the Elizabeth Made This blog where she shares helpful sewing tips, step by step sewing tutorials and videos to help you explore your creativity through sewing. She has written sewing Eguides and patterns, been a featured teacher at Rebecca Page’s Sewing Summit and Jennifer Maker’s Holiday Maker Fest and her work has appeared in Seamwork and Altered Couture magazines. She also created a line of refashioned garments for SEWN Denver. When her sewing macchine isn’t humming, she’s playing and teaching violin, and hanging around a good strategic board game with her husband and 4 kids.
elizabethmadethis.com
Pages: 1 2

Comments
Join the conversation
-
I love the idea of using a scarf!


Frequently asked questions
Have a question about this project?