


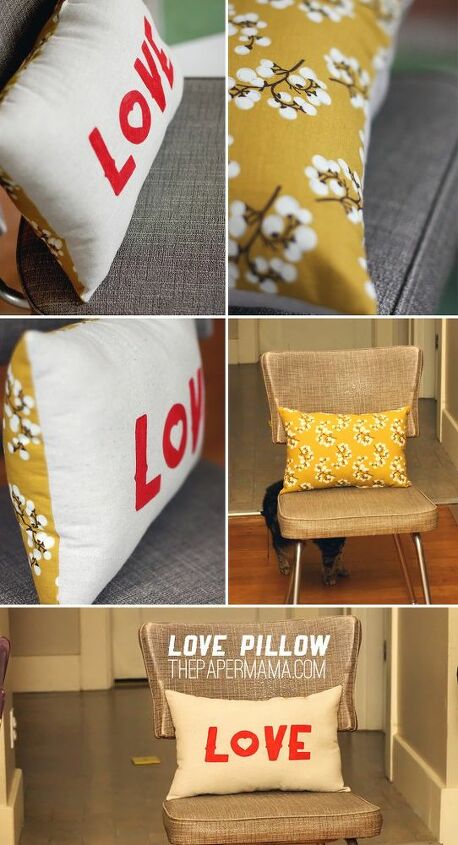
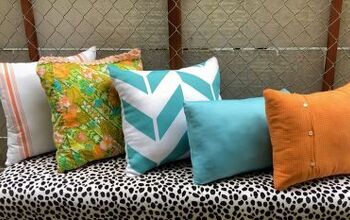
LOVE Pillow DIY
This LOVE pillow is the perfect decoration for you home.
This LOVE pillow DIY is great for anyone with basic sewing knowledge. If you know how to sew a straight line: this is for you. Ready to get started?
Start by cutting your fabrics to your preferred size. My finished pillow was about 12" x 22", so I cut my fabric to 13" x 23" for seam allowance.
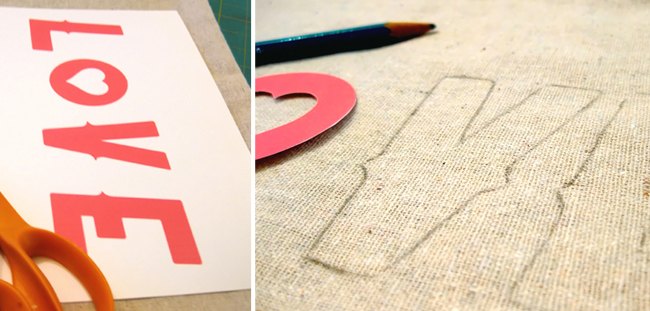
Print out the LOVE template (or make your own). Cut out the letters and trace the shapes onto the white fabric.
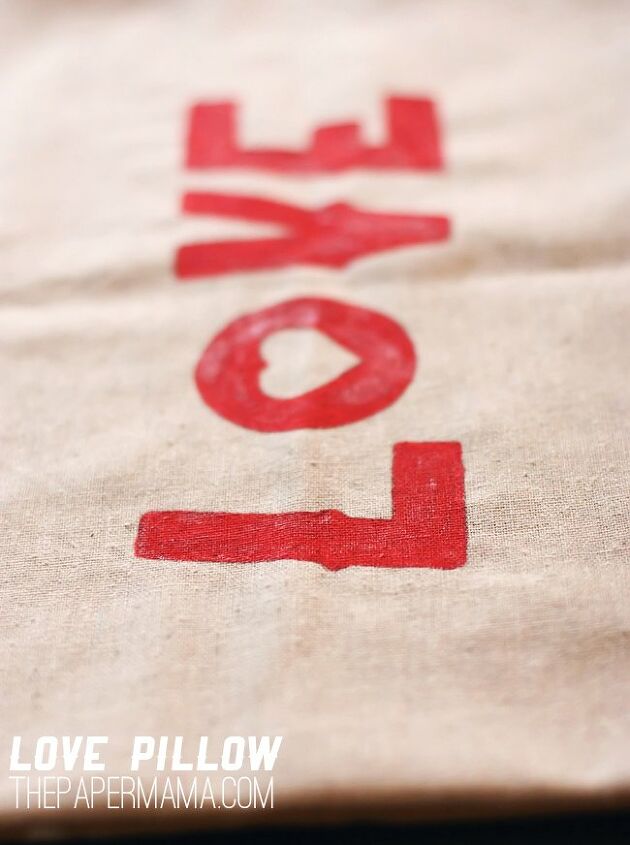
Fill in the traced shape with a couple layer of fabric paint. Let this dry completely.
When your fabric is dry, it's time to sew the pillow! Place the printed/painted sides of the fabrics together. Sewing around the edges leaving a seam allowance. Don't forget to leave a 3" wide opening!
Trim the excess fabric and turn the pillow inside out. Stuff the pillow, then sew the opening shut (I like to use my sewing machine for this part, but you can also sew by hand.
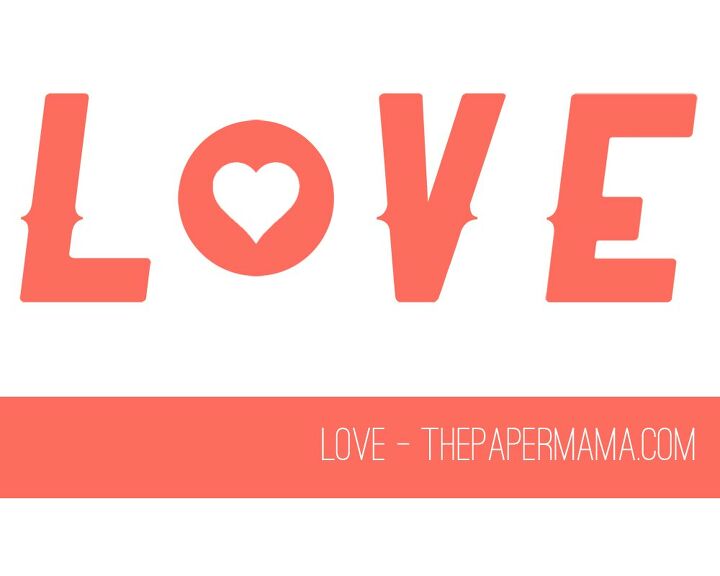
That's it! You've just made a super easy throw pillow. You can find the LOVE printout on my original blog post: https://thepapermama.com/2012/02/my-love-pillow/
Resources for this project:
See all materials


Frequently asked questions
Have a question about this project?