


No Sew BOHO Pillows

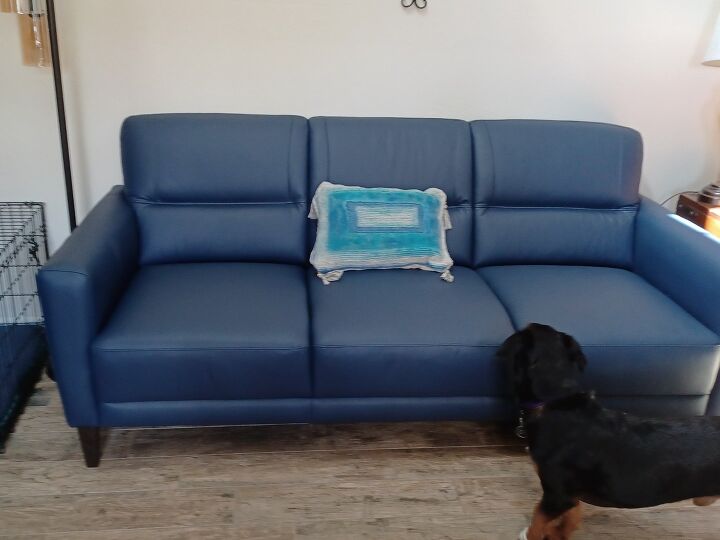
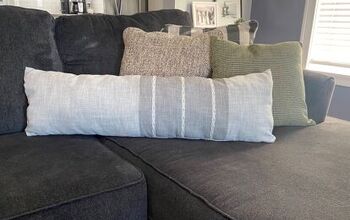
We finally got a new couch so I really wanted new throw pillows too. Megan from Glue Guns & Roses made pillows from Dollar Tree bath mats so I decided to try something similar with my own spin.
I was really skeptical about this project bit stuck it out until the end and am really glad I did because they came out really nice, especially for the minimal time and price.
Supplies used:
- Dollar Tree Bath Mats (2 per pillow)
- Hot Glue Gun
- Hot Glue
- Craft Paint (optional)
- Rope (optional)
- Beads (optional)
- Scotch Guard or Other Fabric Protectant (optional)
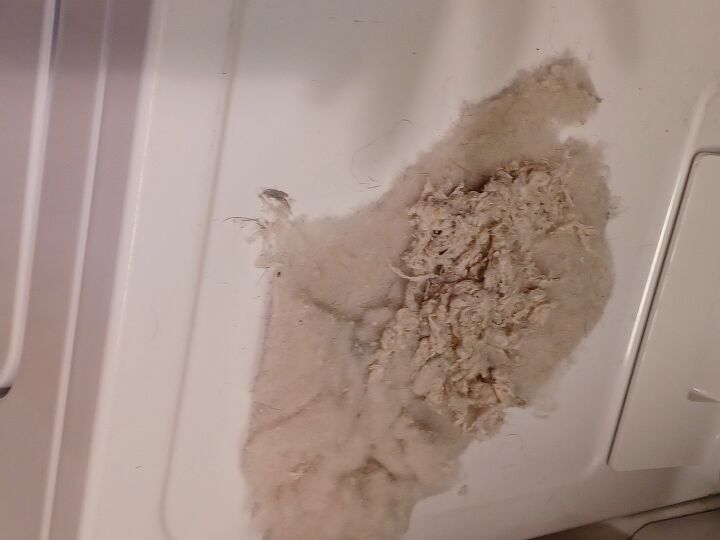
Step 1: wash the bath mats. After seeing the amount of lint created I reccomend washing separately on the delicate cycle.
I made two pillows (4 mats). 2 had designs I liked and planned to have them show on the exterior of each pillow.
Optional:
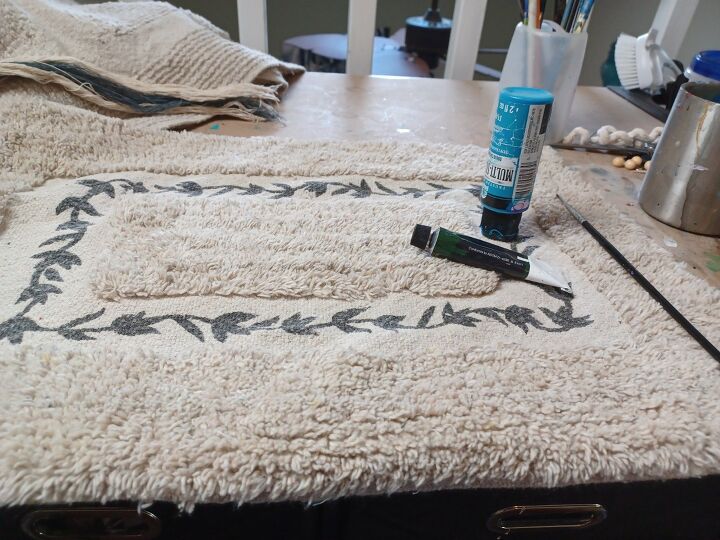
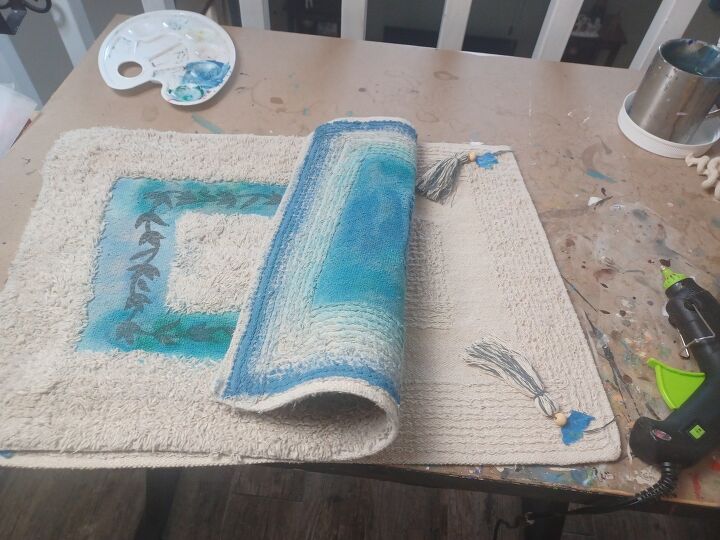
My intent was to enhance each design with paint. Starting with the leaf and flower design I attempted to apply blue to the flowers but it just wasn't working out how I thought it would. The fabric isn't smooth so the paint wasn't going on evenly (or well) at all. After thinning it out the fibers sucked up the paint causing the colors to bleed beyond my intentions, both outward and through to the other side, sigh.
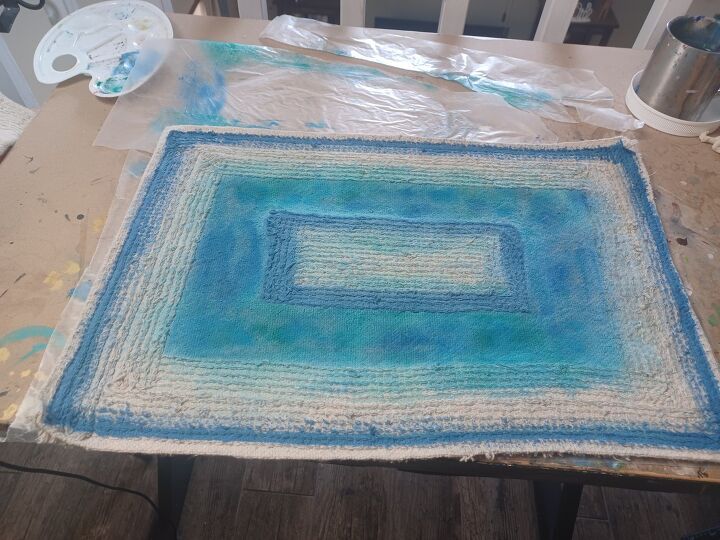
Plan B... go with it... create an abstract color scheme by dabbing watered down paint in multi shades of blue.
I placed a long sheet of wax paper under the mat so the wet paint didn't get on the work surface. Painting the lines (above) directly on the front was easier some how.
Let dry
Optional:
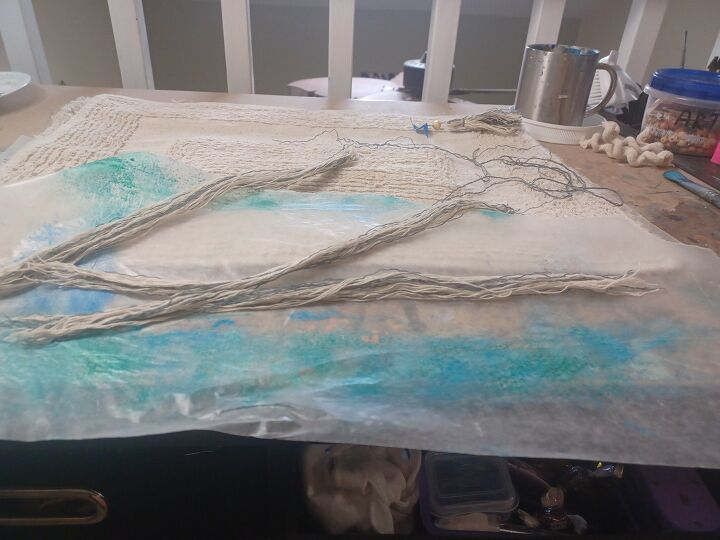
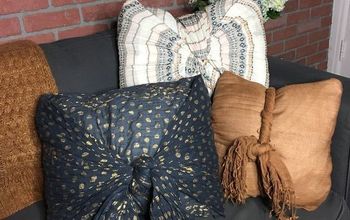
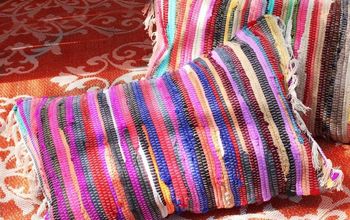
While waiting for the paint to dry I used some leftover DT Nautical Rope, hemp cord & beads to make simple tassels for the corners. The tassels are simply a handful of string cut to the same length then tied in the middle, this string is what you'll use to attach the tassel to the pillow. For additional interest I secured a small bead over the string then slid it to bundle & tied it in place. Fold the strings in half & tie a second string around the tassel itself, just slightly below the top.
Once the tassels were done and the paint was dry I placed the tassels on the front of the pillows and used painters tape to hold them in place. Hot glue is going to be placed around three edges then turned insude out. I had to really think about the placement here otherwise my tassels would've ended up inside the pillow...
Step 2: lay out the mats on top of one another with the "right side in" meaning, whichever side you want to be the front or outside of your pillow needs to be facing together.
Step 3: Apply a liberal amount of hot glue around one edge of the INSIDE if the mat (to include the end of the tassel string if applicable). Press the edges together allowing them to fuse and dry. Glue two of the remaining three sides together the same way.
Step 5: Turn your pillow "right side out" (tug lightly on the tassels if applicable to make sure they're secure and placed as desired)
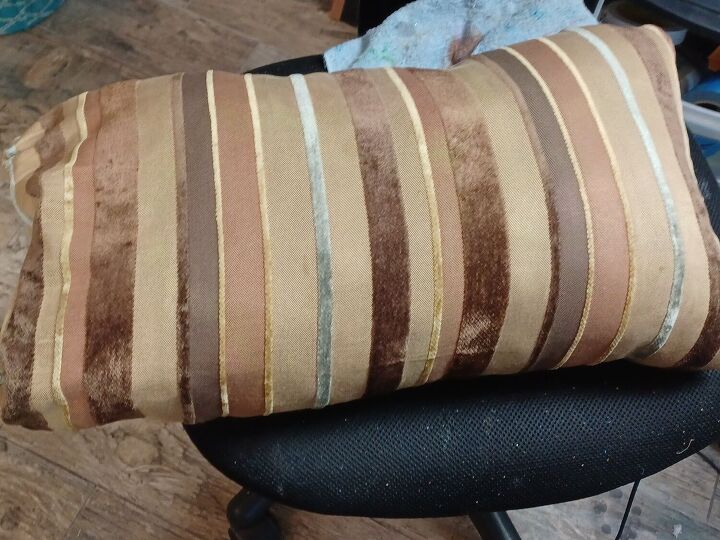
Step 6: Stuff your pillow to the desired firmness. Using a pillow I already had, which wouldn't fit inside as hoped, I cut it open & transferred the stuffing into the new pillow being sure to leave enough space to glue it shut. If you don't have a pillow, be creative & use items you have ie: batting scraps, old t-shirts. "Regular" pillows can be purchased at Walmart or Dollar General for only afew dollars. Cut them open & use the stuffing. Or, buy actual pillow stuffing- whichever is cheapest.
Step 7: On the inside of the bottom edge of the material (about a 1/4" from edge) apply a few dots of hot glue the fold the material in so you have a nice clean, finished edge (the the others). Repeat on both sides. (If your last tassel hasn't been secured, do it now)
Step 8: Apply a liberal amount of hot glue to the inside of one edge and press the other down until your pillow is complete.
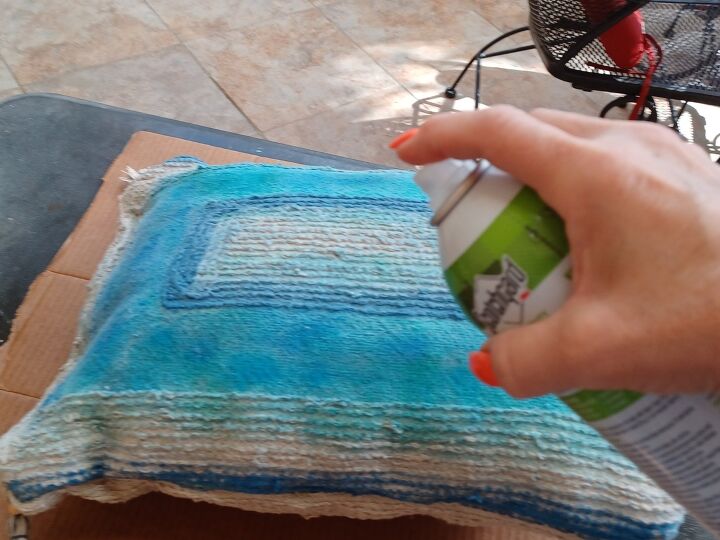
Optional: Apply fabric protection according to manufacturer directions. I used Scotch Guard because I had it.
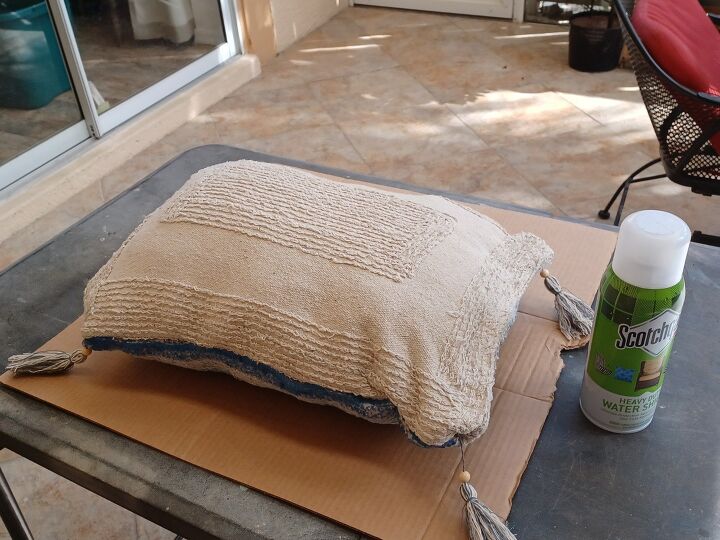
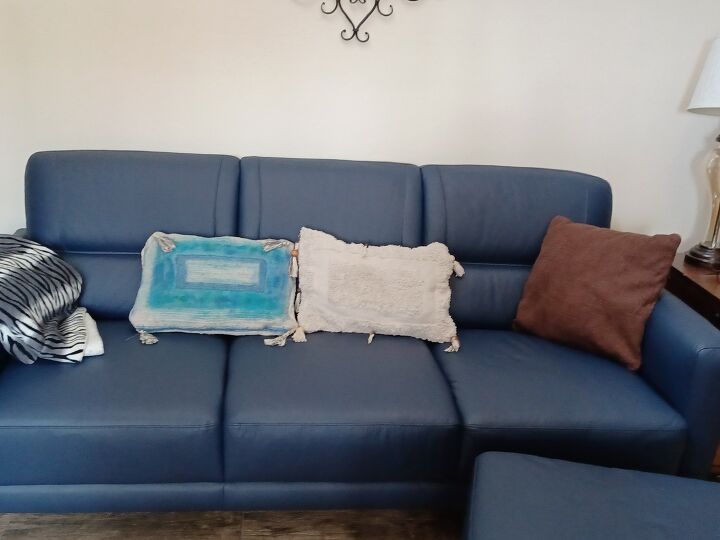
With the exception of the paint I followed the same steps for the second pillow, both are pictured above.
My only purchase for this project was 4 bathmats from Dollar Tree = $5.
Resources for this project:
See all materials


Comments
Join the conversation
-
Never thought of using bath mats for pillows. Like the idea. I have used double sided place mats from thrift stores and ugly pillows for the stuffing. I did try hot glue but it didn't work out for me so I used E6000 fabric fuse. Bleeding paint looks good. Kind of an ombre effect. Great share
-
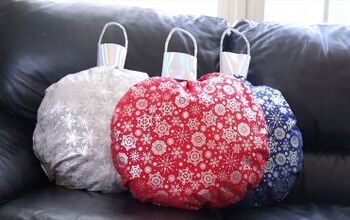
i remember my mum making hippy bags like this back in the 70s added old twine washing rope as the handles and i used it for school, she even added extra pompoms so i had an awesome hippy bag, thank you i think i may know now what to do with a couple of small bedroom rugs hiding in a cupboard , carpet bags 😎


Frequently asked questions
Have a question about this project?