


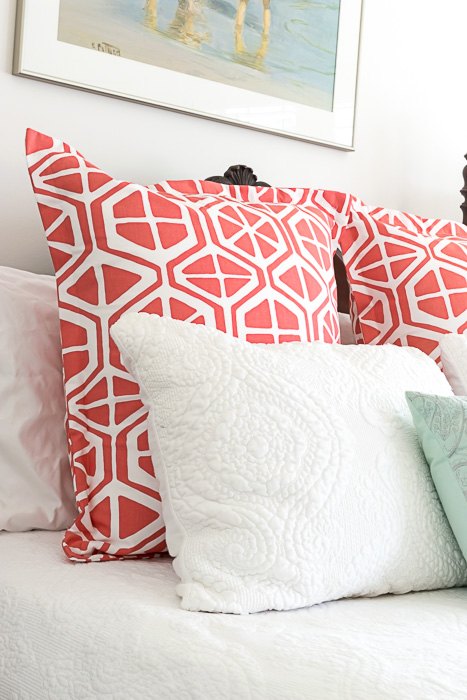
Pillow Sham Pattern With Flange Edge
This Flanged Pillow Sham is one of the first projects I completed when I refreshed our guest room.
My sewing skills are…sufficient. I wouldn’t want to sew clothes, but I can run a hem and sew seams together. And truthfully, those are the only sewing skills you need for this pillow sham pattern, even with the flange edge. If you can sew a straight line and read a measuring stick, you’ll be good.
What Do You Need For This Pillow Sham Pattern?
- Pillow Form
- Your choice of fabric. The first step is determining how much fabric you need. Most people working in fabric stores can help you, but if you want to figure it out on your own, this is what I do.
- For Euro Sham Pillows (26″ by 26″): I used 3.6 yards of 54″ wide fabric for two shams. I’m a visual gal, so this is how I figure out how much fabric I need.
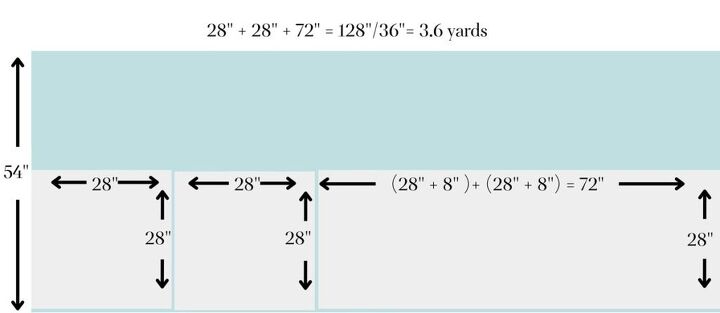
For Standard Pillows, you would only need 1.8 yards of 54″ wide fabric, as shown below. This assumes that you like the fabric pattern running lengthwise. Check that out before you buy your fabric.

- Fusible Fleece, 45″ by 60″ is enough for 2 pillows, whether you’re making euro shams or standard shams. This is optional, but highly recommended, especially if you don’t want floppy flanges!
- Yardstick
- Thread
- Scissors
- Pins
- Iron
- Sewing Machine
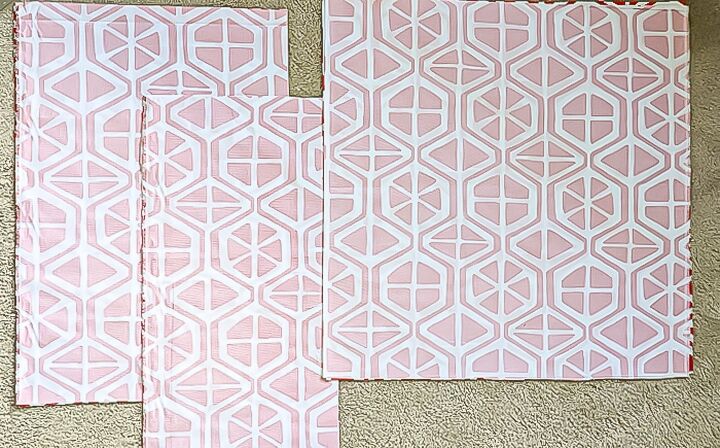
- Cut your fabric. The simple steps on the handy chart in the blog post will help you determine the fabric cuts you need to make.
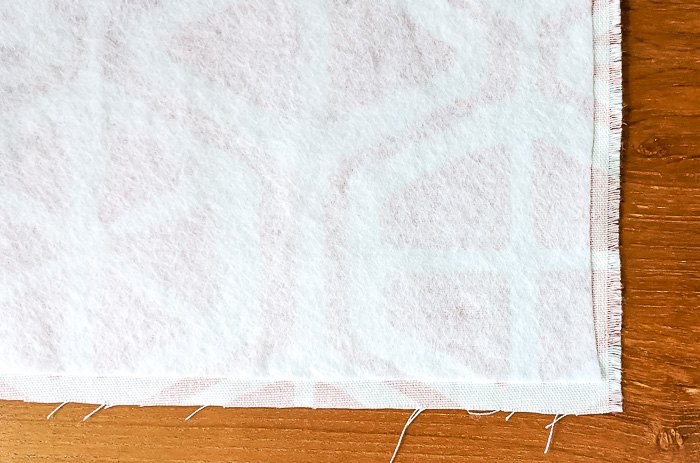
- Iron the Fusible Fleece to the Wrong Side of the Front Piece of Fabric
3. Iron Folds on the Back Pieces of Fabric
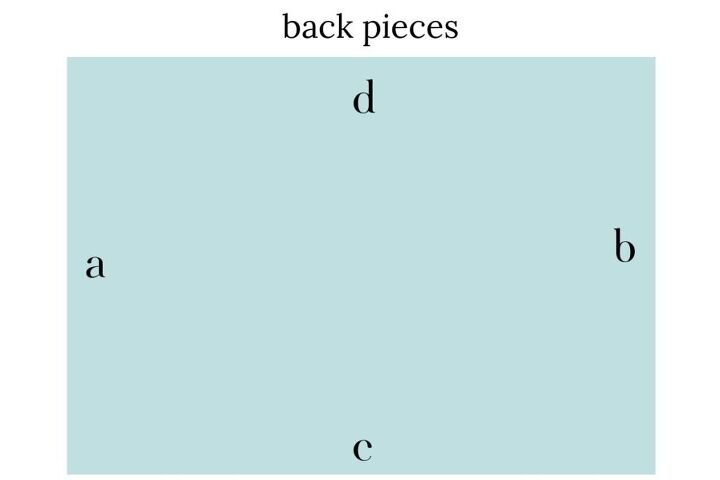
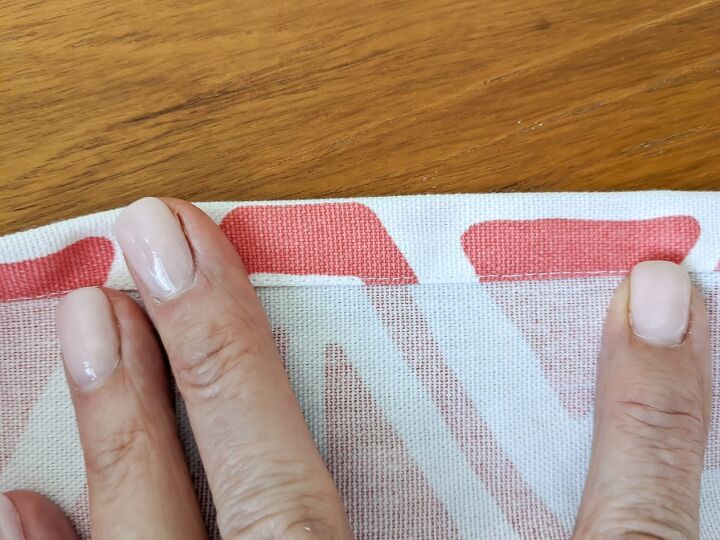
With the back of the back panel pieces facing up, fold over 1/2″ on one of the short edges (a or b) and iron. Then fold that end over 1/2″ again and iron. These hemmed ends are the ends that will overlap on the back of the sham. Do this on one of the raw edges of each of the back panels.
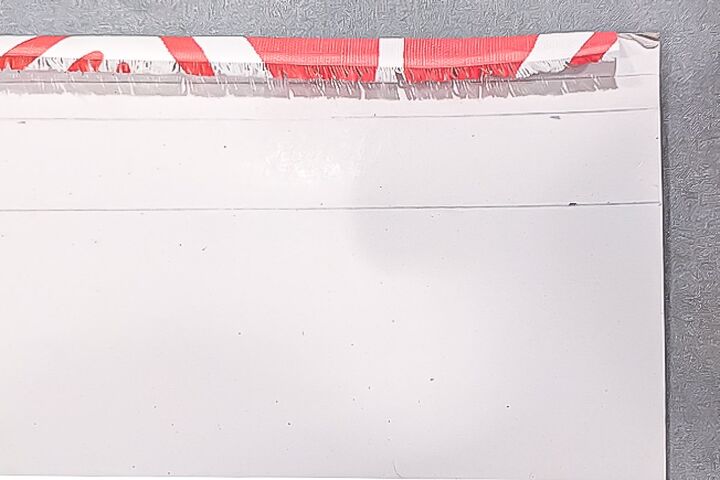

I use a thin piece of cardboard that I’ve marked 1/2″ increment lines. This helps me get a straight folded edge.
5. Place back pieces on the front piece, right sides together.
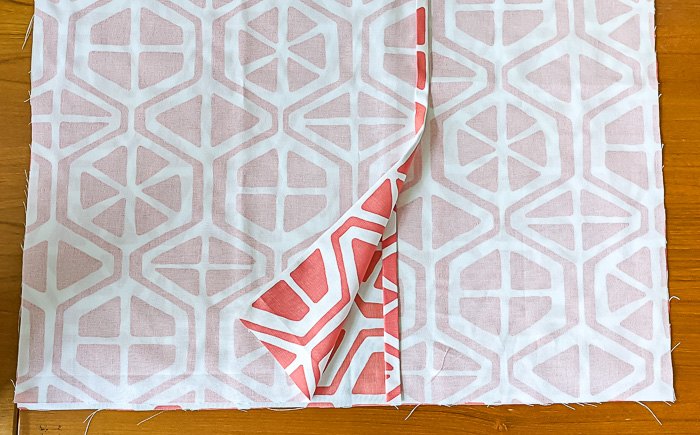
6. Pin in Place

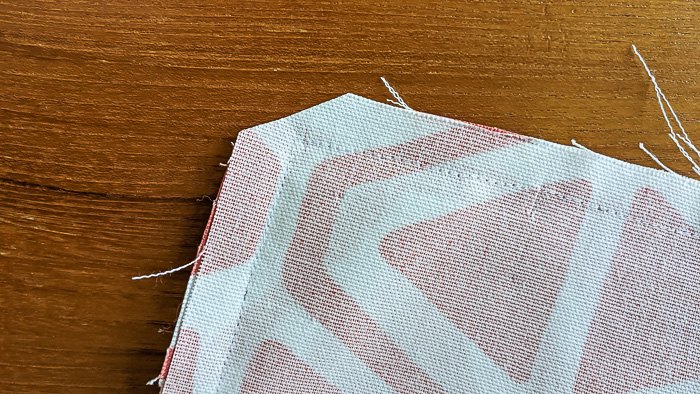
7. Sew in Place Using a 1/2″ seam allowance, sew around the entire sham. Secure the beginning and end of your seam by running your machine back and forth a few times. 8. Clip Each of the Four Corners, as shown
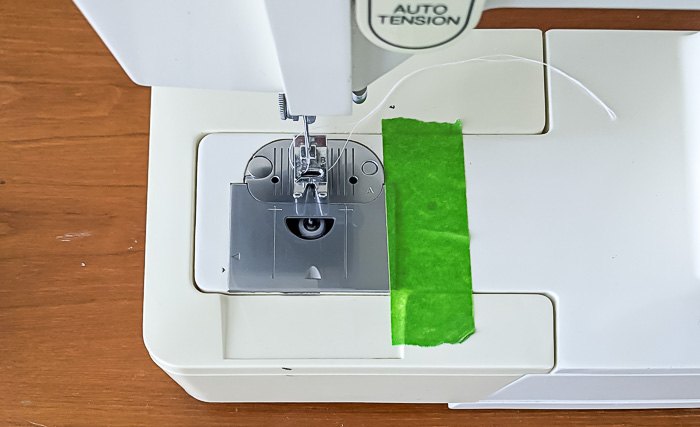
9. Turn your pillow sham cover right side out and use a butter knife to poke out the corners so that they are crisp. Iron well. 10. Sew/Top Stitch the Flange Place a piece of tape out from your needle at the width you’ve determined for your flange size. I opted for a 1.25″ flange so I placed a piece of tape 1.25″ out from my needle. Once again, you can make your flange as wide as you want it. But larger flanges are more likely to flop.
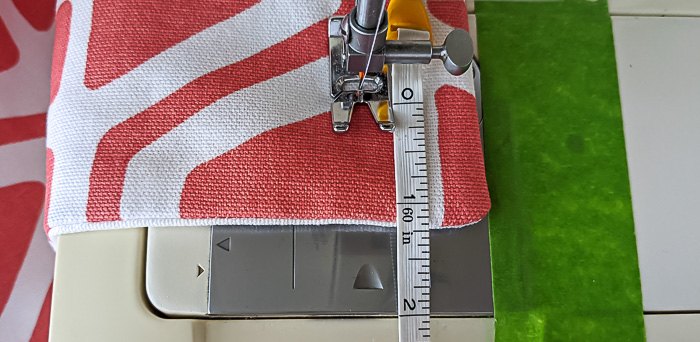
Using the tape as a guide, sew around your sham. These stitch lines designate the flange. When you get to corners, stop, raise the presser foot and turn your fabric at the same distance as you chose for the size of your flange. In this case, I stopped and turned the corner at 1.25″. Make sure to secure the beginning and end of your top stitch seam.
11. Give your entire pillow sham a good ironing and fill it with your pillow.
12. Step back and look at your handiwork!
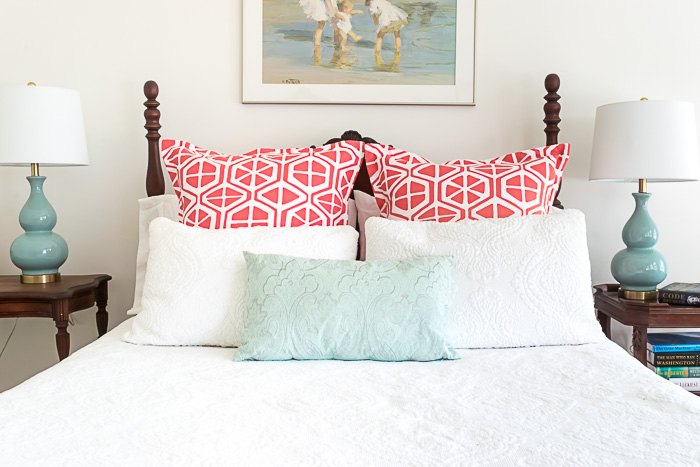
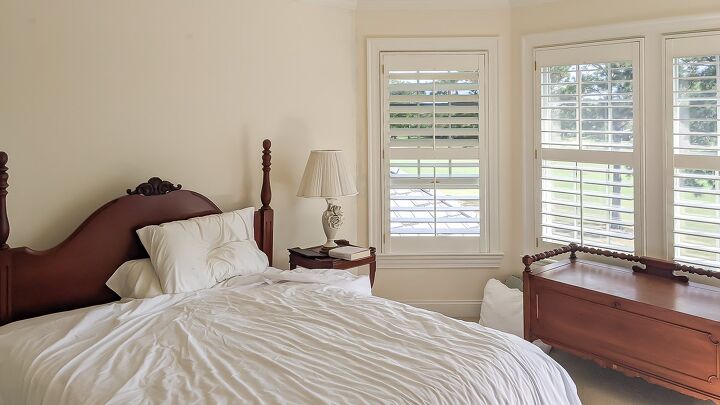
How about a little before and after? I had forgotten just how forlorn this room looked! And just wait until you see the bed skirt and cushion on that hope chest.


Frequently asked questions
Have a question about this project?