


Copper Dripped Pumpkins
Want a more elegant look this fall? Make these copper dripped foam pumpkins for a fancy fall display.
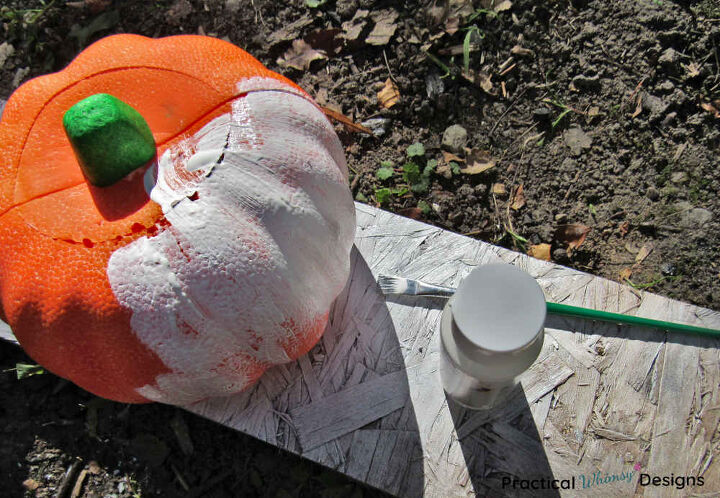
1)Paint the pumpkins
If you have an orange foam pumpkin, start out by painting it white. Make sure to use acrylic paint as your base coat on foam pumpkins. (To find out what happens to foam pumpkins if you spray paint them and for more tips and pictures, check out my DIY Copper Dripped Pumpkins post on my blog.)
Paint a couple of layers of paint on until the orange is hidden.
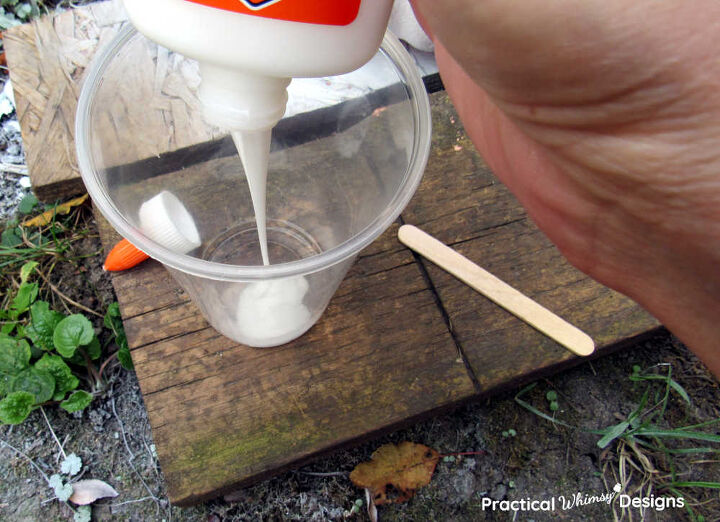
2) Dump craft glue in a cup
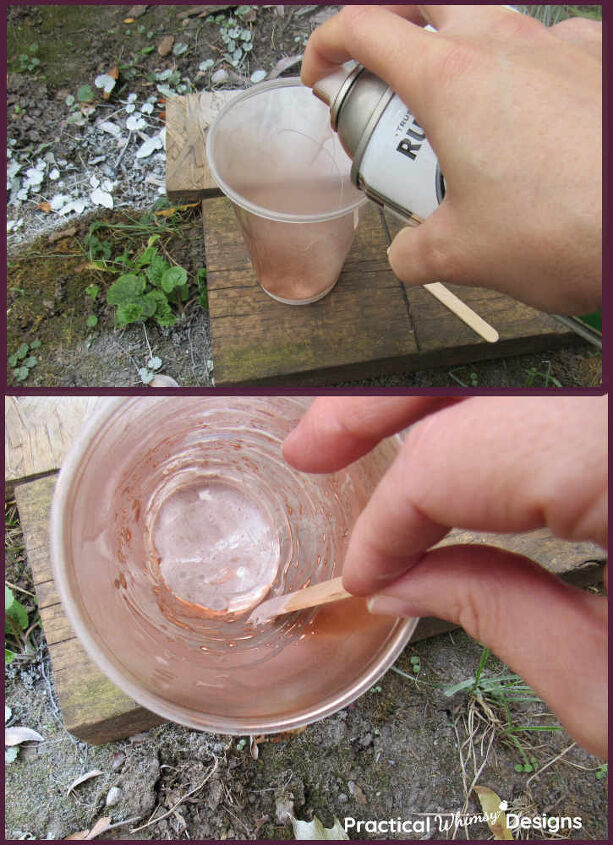
3) Mix paint into the glue
Spray a little bit of copper spray paint into the glue and mix it together.
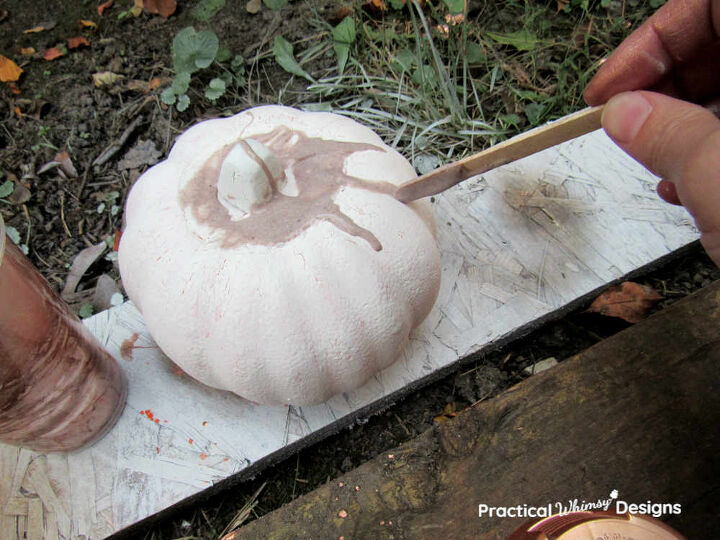
4) Pour the glue onto the pumpkin
Pour the glue-paint mixture onto the pumpkin and use a craft stick to help it drip down the side.
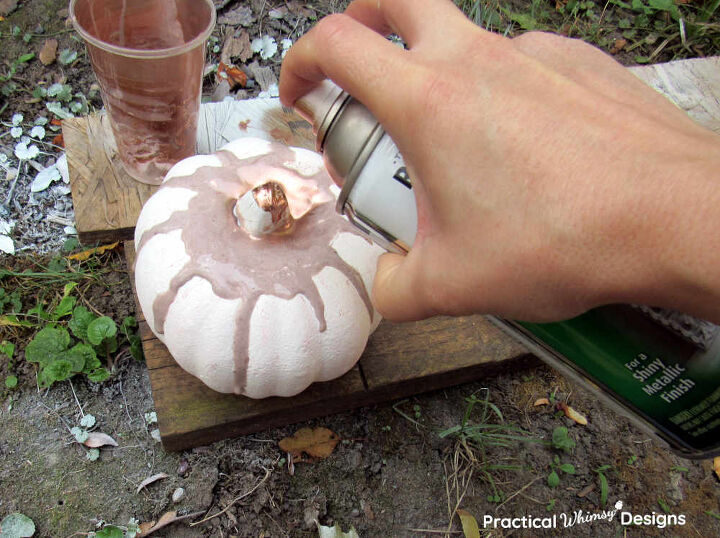
5) Spray extra copper spray paint onto the glue.
Then let the pumpkin dry over night so that the glue and paint set.
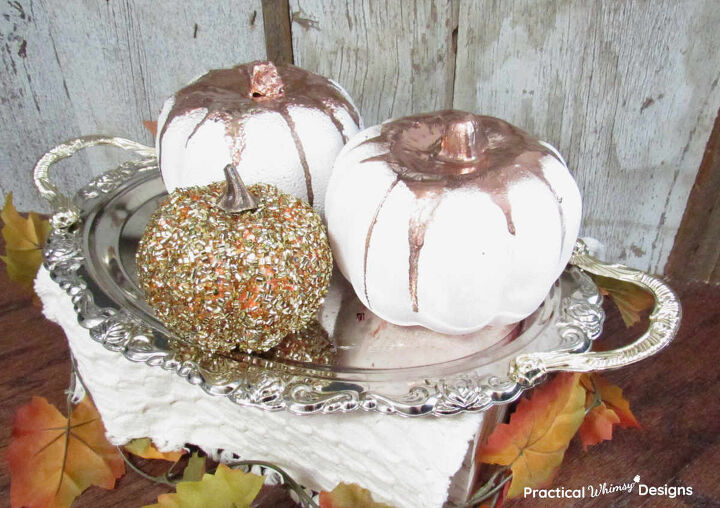
These beautiful fall pumpkins create an elegant display for your home, no matter where you set them. To see how I used them in my home check out my rustic chic fall mantel decor for more ideas on how you can decorate your home for fall.
Resources for this project:
See all materials


Comments
Join the conversation
-
All you need is copper acrylic crafts paint. Thin a tiny bit with water and let it drip. Craft stores have on sale all the time for 1.00.
-
Always enjoy seeing a new technique 😁 it wouldn’t have occurred to me to spray paint into glue😻


Frequently asked questions
Have a question about this project?