


DIY Custom Silhouette Painted Craft Pumpkins
Create a custom Fall heirloom piece with these darling DIY Custom Silhouette Painted Pumpkins.
They are quick, easy and inexpensive to make! This step by step tutorial will walk you through how to create your own DIY Custom Silhouette Painted Craft Pumpkin in just a couple of hours. No special craft equipment required!
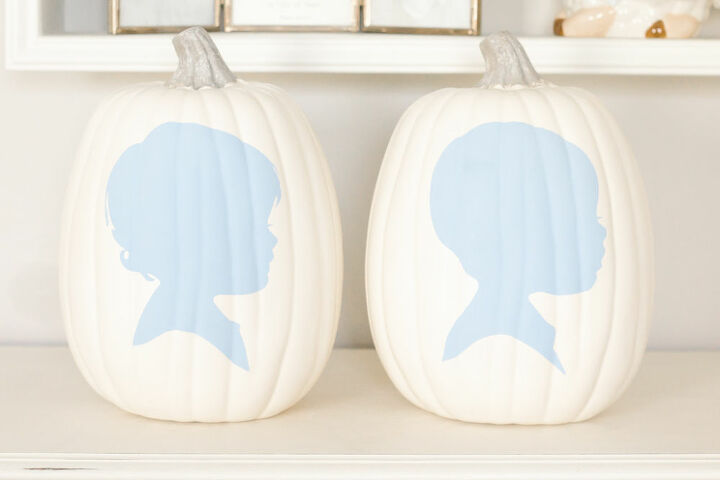
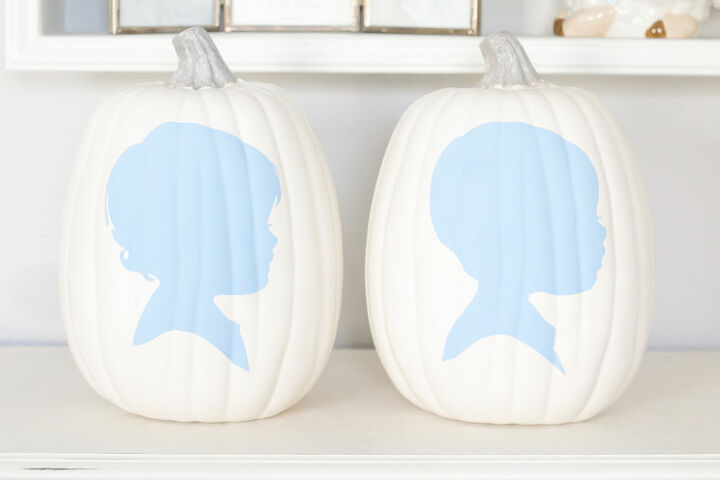
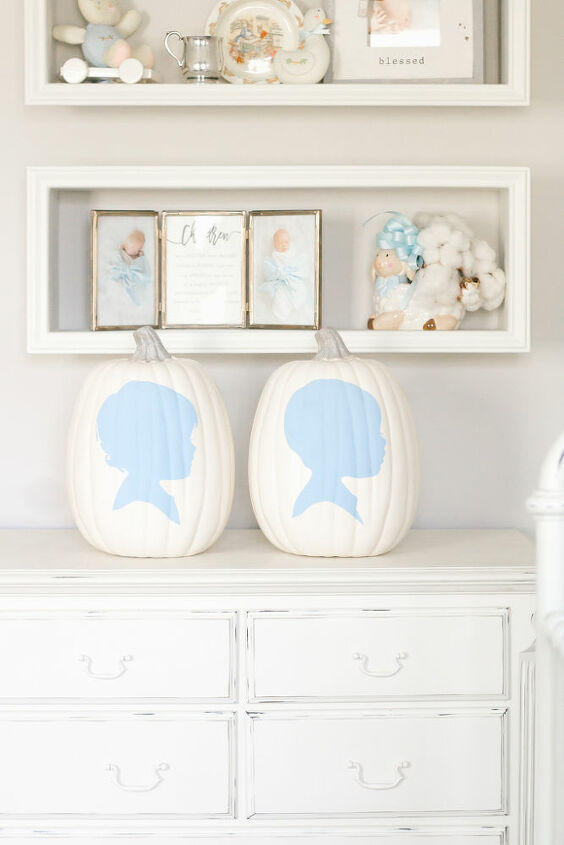
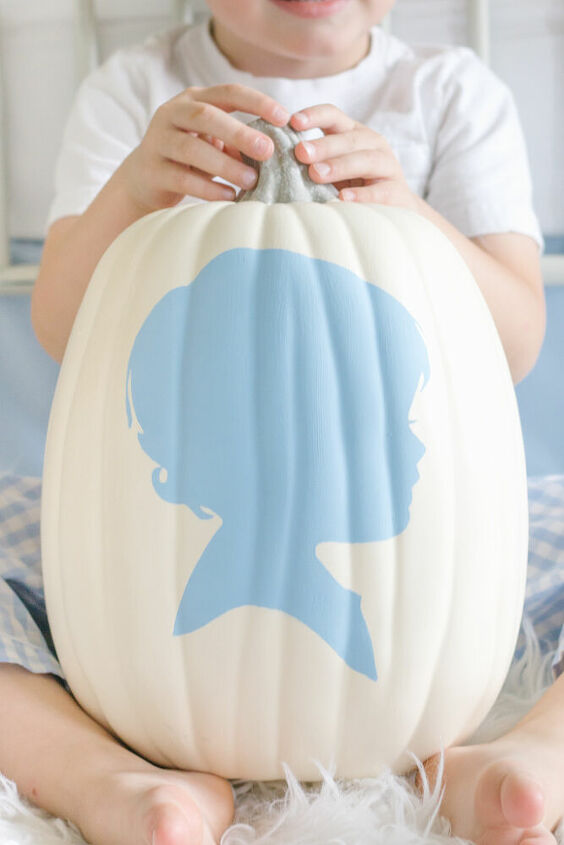
This tutorial will show you how to create your very own DIY Custom Silhouette Painted Craft Pumpkin. This is what the finished product will look like!
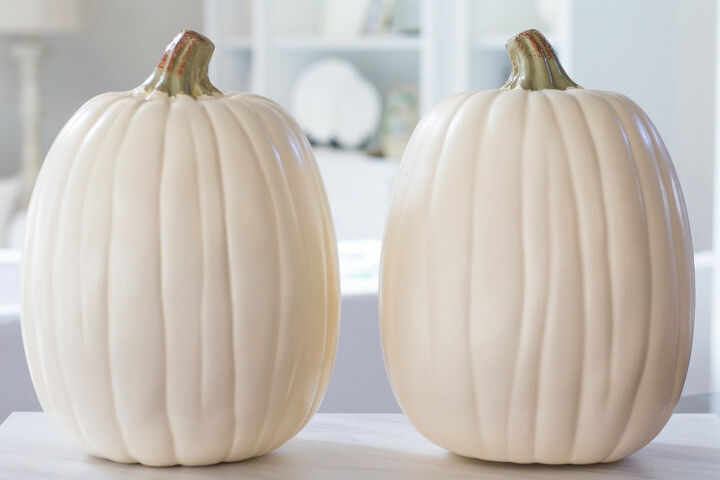
You will need a white craft pumpkin. I found mine at Walmart (they are not available online), but white craft pumpkins are available at most craft stores like Hobby Lobby, Michaels and Joanns.
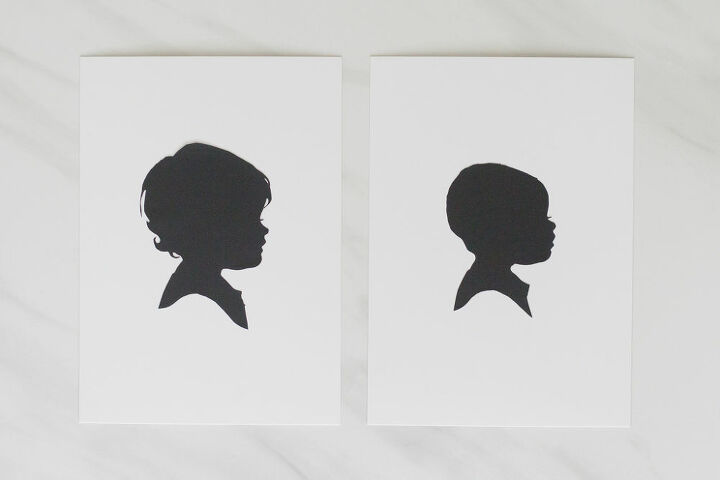
You will need a silhouette of the person you would like to paint. (It would also be darling to do a silhouette of your pet!).
I had professional silhouettes done of my children so I used them for this project.
If you do not have a silhouette photo, YoungHouseLove walks you through how to easily create your own silhouette photo in this blog post: https://www.younghouselove.com/head-shot/
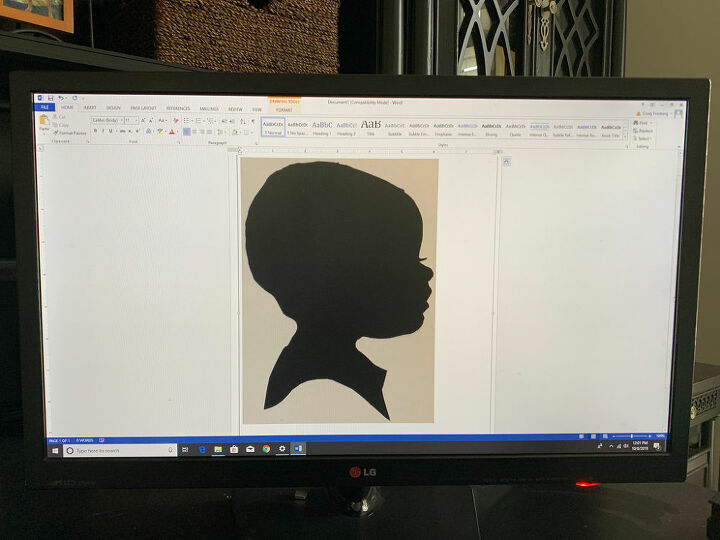
Either take a photo or scan your existing silhouette photo and upload into word. The quality of the photo does not matter as long as you have a clear outline of your silhouette.
Adjust the size of your silhouette to the size you want it to be on your pumpkin. I adjusted my silhouette to be 6 inches tall.
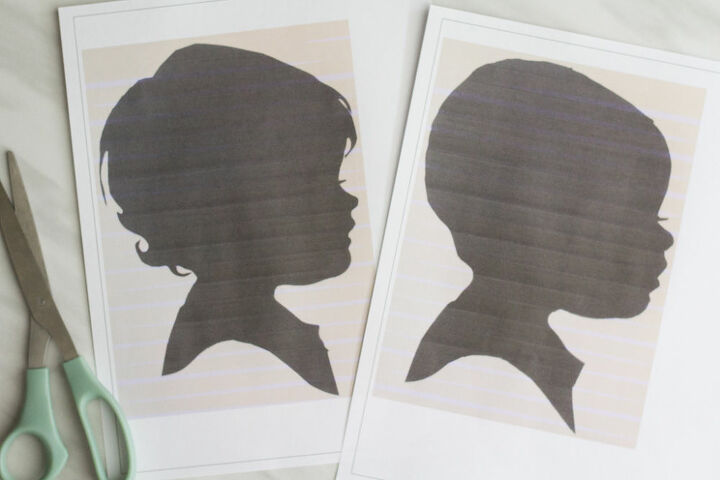
Print your silhouette onto paper.
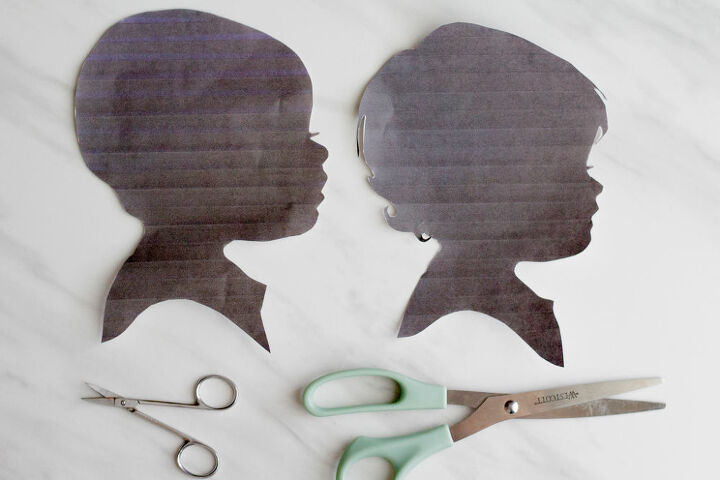
Cut out the outline of each silhouette. You will need to use small scissors to cut around the details.
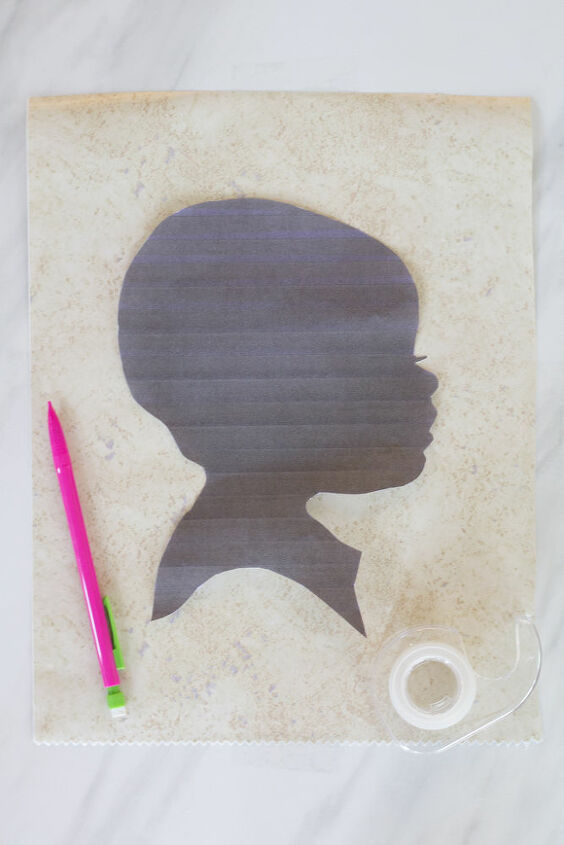
Lay out a piece of removable vinyl adhesive.
Trace your silhouette outline onto the vinyl adhesive.
It does not matter what color vinyl adhesive you use; just make sure that it is removable!
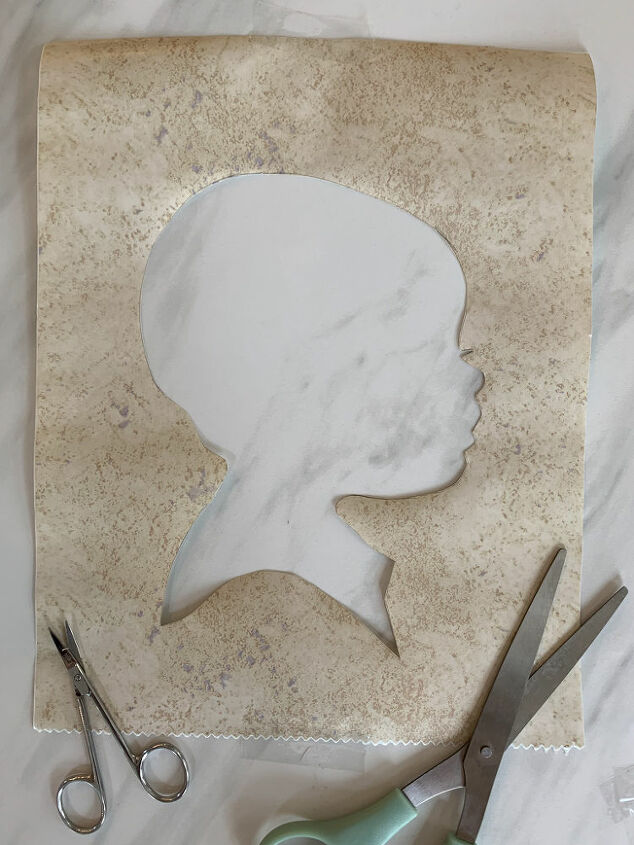
Use scissors to cut out the inside of the silhouette from the vinyl adhesive.
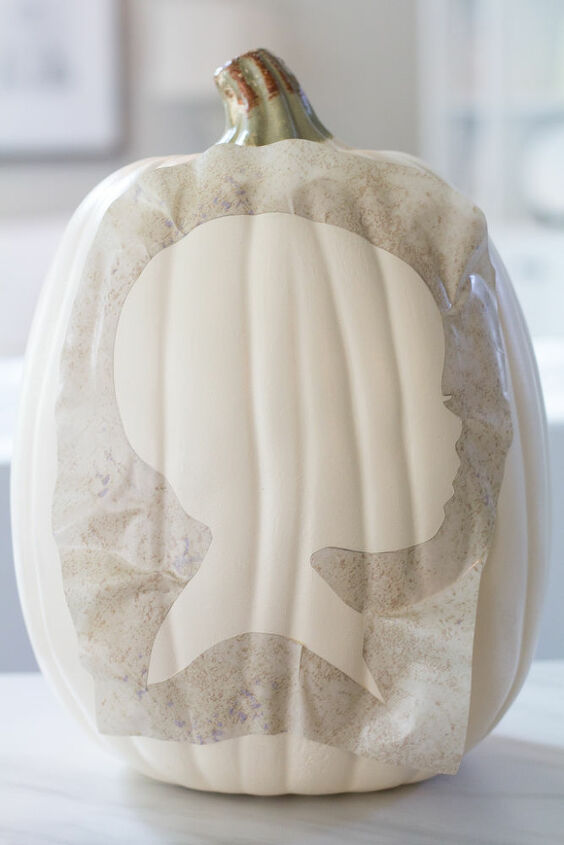
Peel away the paper backing from the vinyl adhesive and place the vinyl adhesive onto the pumpkin. This will act as your stencil.
Ensure that all of the edges are firmly pressed down onto the pumpkin.
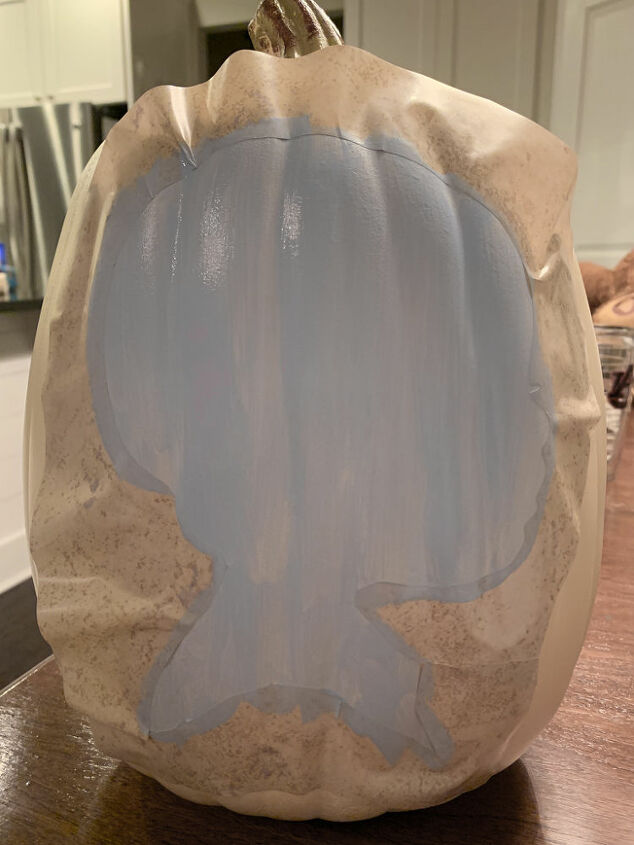
Paint the inside of the vinyl stencil with craft paint. (I used FolkArt craft paint in the color "Light Blue.") You can use any color paint you like.
It took two coats for complete coverage.
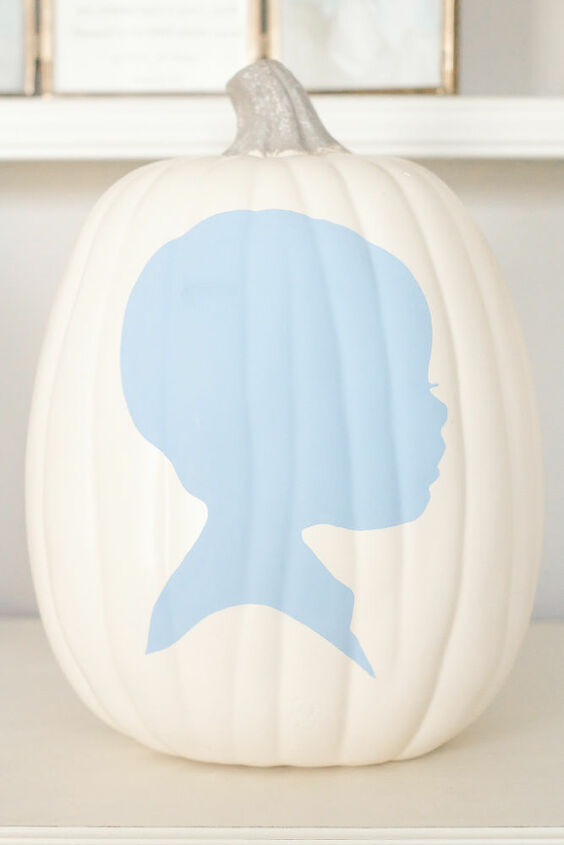
Once the paint dries remove the vinyl adhesive to reveal your silhouette.
If needed, you may touch up any edges with a small paint brush.
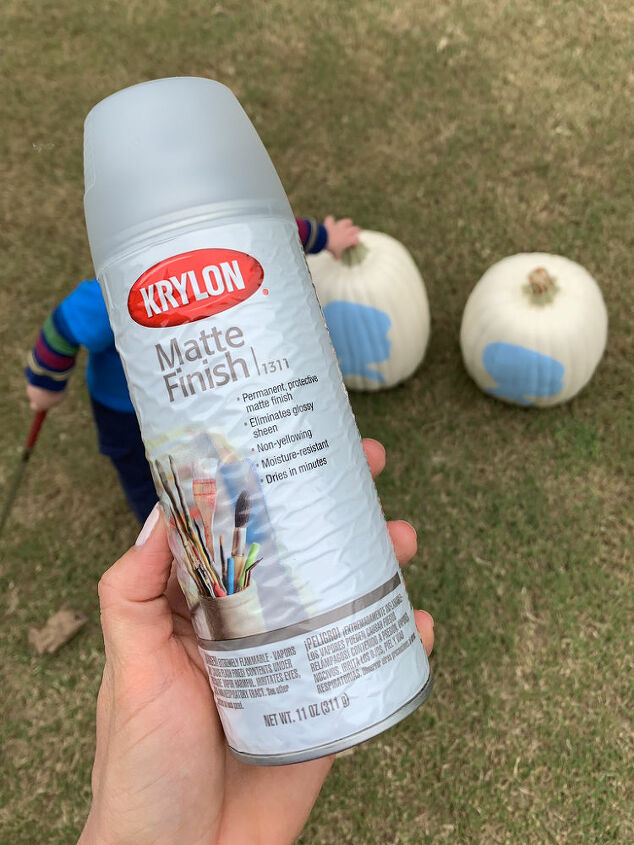
Spray your completed silhouette pumpkin with a clear matte protectant finish. I used Krylon Matte Finish spray.
*Do NOT use polyurethane and make sure sure your spray is NON-yellowing!
That's it! Your custom silhouette pumpkin are done and ready to be displayed.
See the original tutorial on my blog: http://homeandhallow.com/diy-custom-silhouette-painted-pumpkins/
Resources for this project:
See all materials


Frequently asked questions
Have a question about this project?