


DIY Fabric Pumpkins

These cute little fall pumpkins take less than 20 minutes to make and are super low cost!!
Supplies:
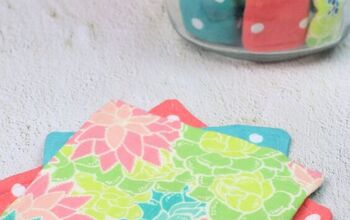
•Fabric remnants
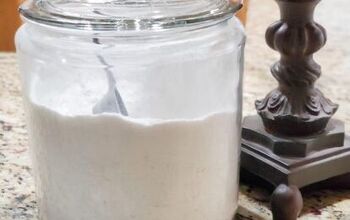
•Poly-fil (I’ll list an alternative below)
•Brown paper bag
•Needle and thread
You can find both poly-fil and fabric remnants at Walmart or any craft store for just a few dollars each. I had leftover fabric from a Halloween costume I made several years ago, so I used that.
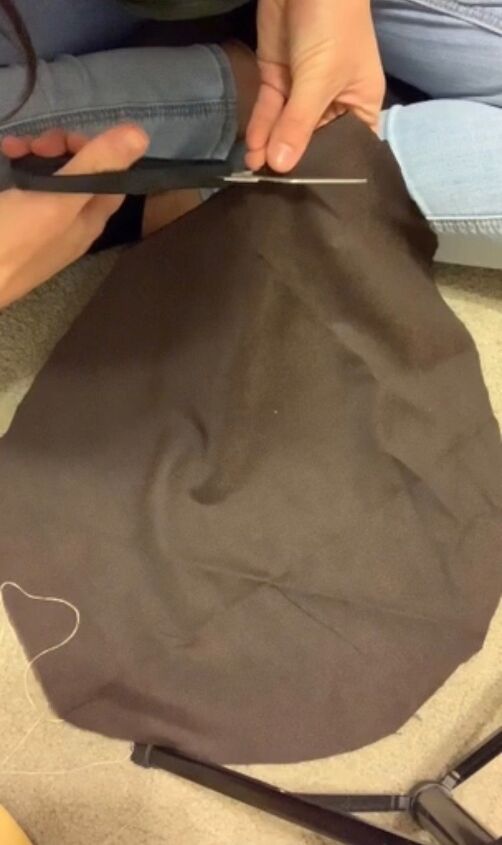
Cut your fabric into a circular shape. It doesn’t need to be perfect.
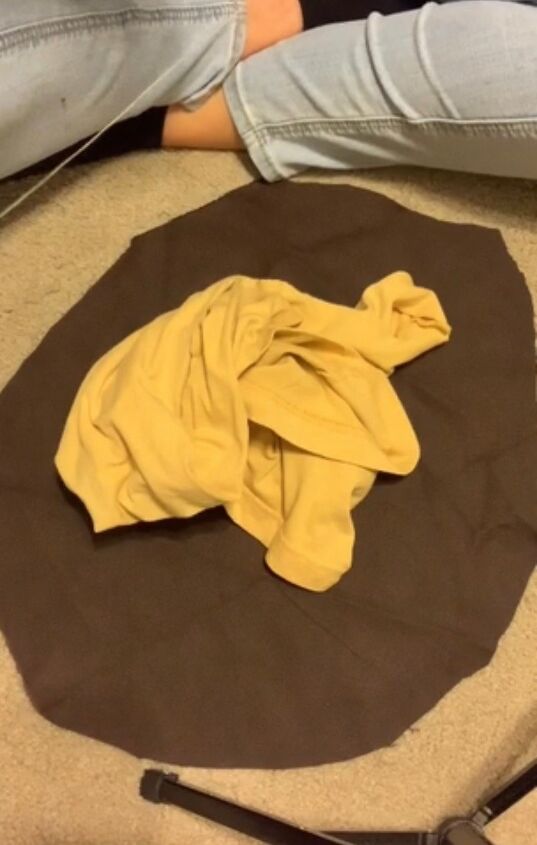
Here’s where I got creative! I didn’t have much poly-fil at home. What I did have was a stack of clothing to donate that had been sitting in the laundry room staring at me for a couple months. Kind of a weird idea, but it worked great! I love coming up with projects that I can make completely with things I already have at home.
You can take some poly-fill (or clothing!😉) at this point and get an idea of how much you will need—place it in the middle and pull the edges of the fabric up to visualize how much you’ll want.
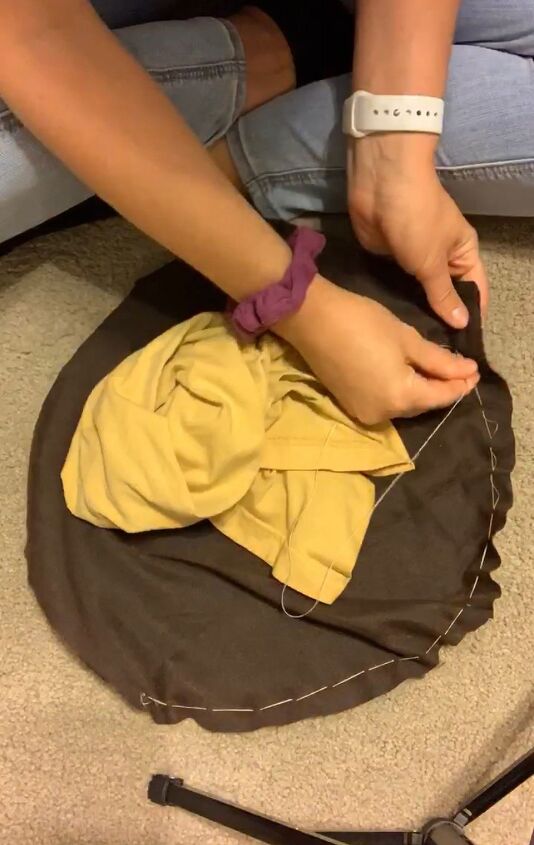
Next you’ll need to stitch it up. You really don’t see the thread once it’s all done, so I wasn’t too concerned about the color. I doubled up the thread so it was stronger and I recommend doing that! Stitch all the way around the outer edge of the fabric.
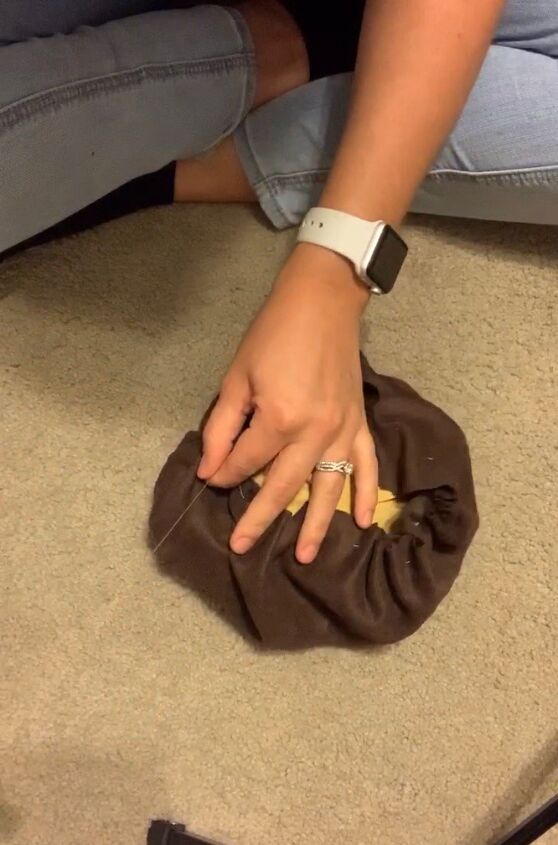
Carefully pull the remaining thread to cinch it up. Check to see if you’ve got enough stuffing to fill it out before you tie off the thread. You can decide to add more after, it’s just easier to do it at this point.
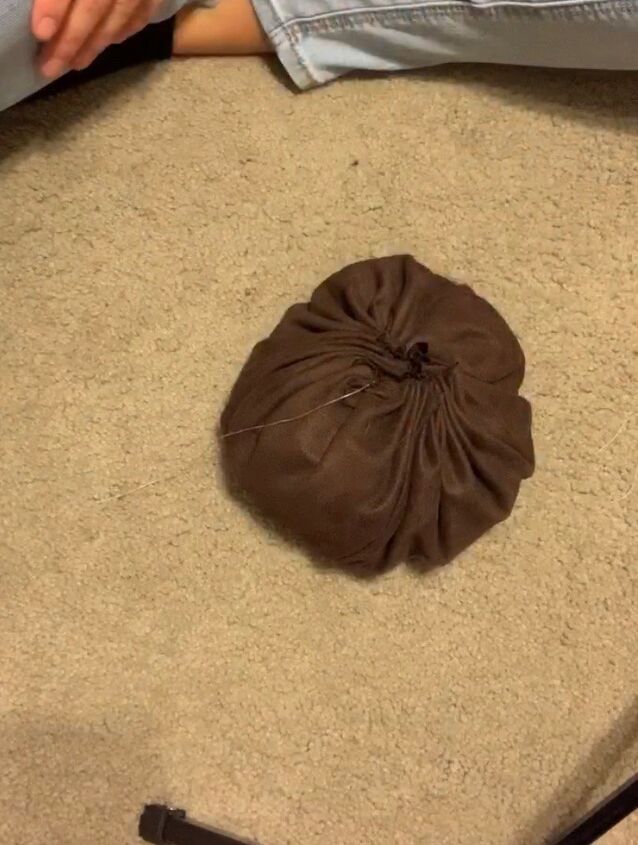
I ended up stuffing some fabric scraps into this one later on to make it fuller than it is here.
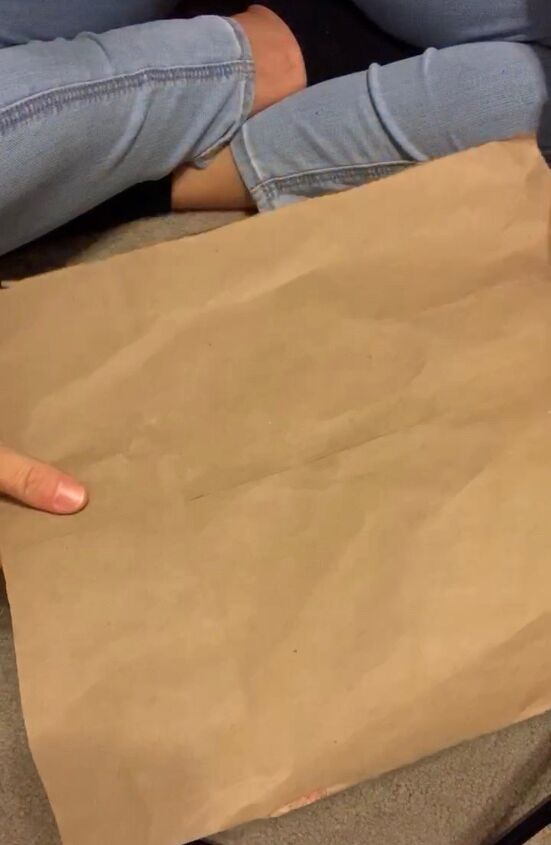
I cut a rectangle out of an old Trader Joe’s bag and folded it in half lengthwise. Then I rolled it up and twisted it to make the stem. If you’re using a paper lunch sack you could probably just roll that from the bottom up and twist it into a stem shape.
It might take some trial and error to get the right shape and size stem for your pumpkin. I cut mine down a little after trying it out.
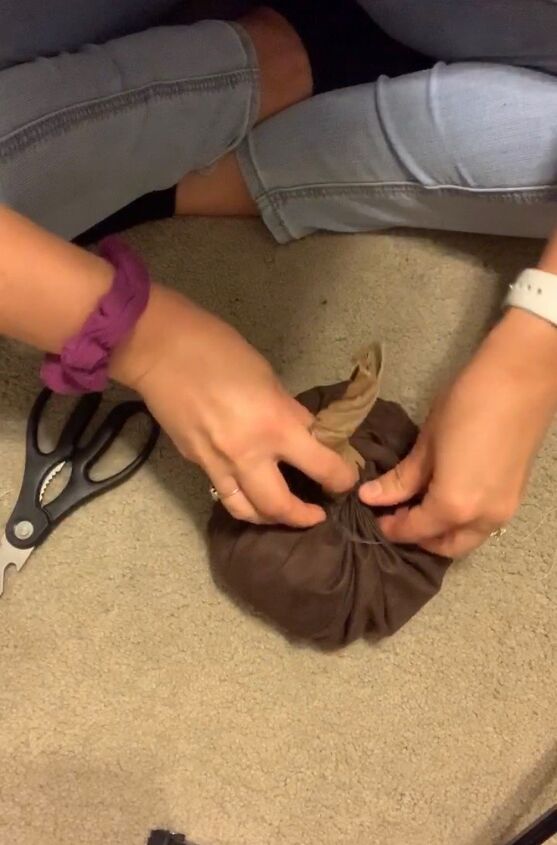
Before you put the stem in the top, use your fingers to fold the raw edge of the fabric underneath. (I’m sorry I don’t have a better photo of this part!) You basically want to tuck in the edges to give it a finished look.
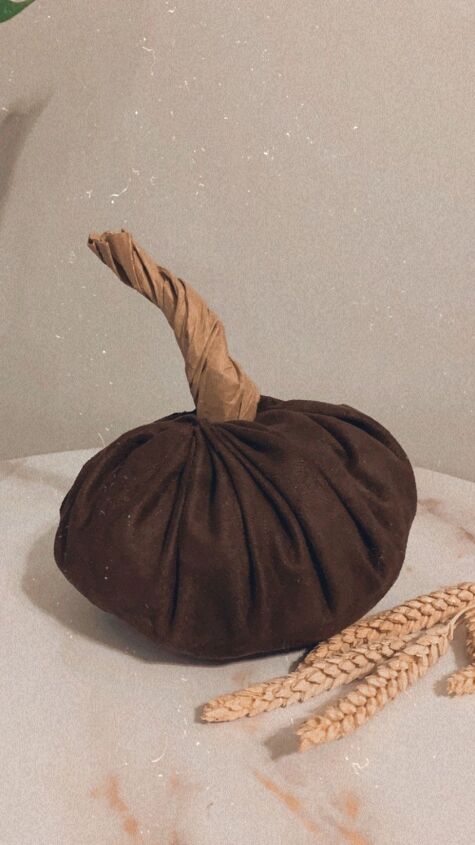
Here’s the final product!! I ended up making four pumpkins total and it took me about an hour to do all of them. The first one takes the longest and once you get your method down they go faster!
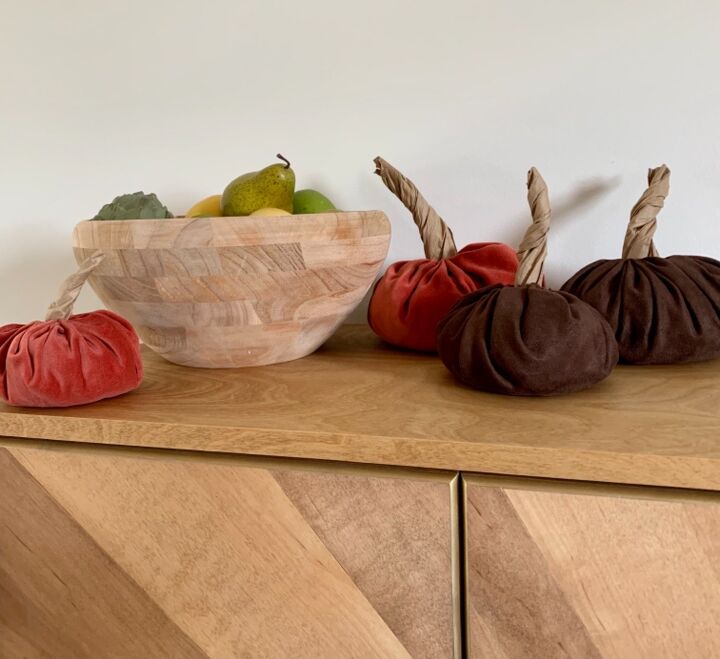
Gathered everyone for a group photo!
Resources for this project:
See all materials


Comments
Join the conversation
-
Really cute idea - so many ways to do this - fun to use your imagination to make different types etc. Thanks for the inspiration!!!
-
Probably will and will get my little kindergarten grandson to make with me and for sure, will turn out sooooooo cute!!


Frequently asked questions
Have a question about this project?
Where are the finished pictures of the project?