


DIY Fall Decor: Paper Pumpkins and Fall Leaves

5 Materials
$10
2 Hours
Easy
Yay! It's fall! What a wonderful season to get festive, cozy, and warm in front of the fireplace with a cup of hot cocoa in hand, surrounded by friends and family.
What makes this season even more beautiful is redecorating!
I don't know what it is, but changing the colors and textures of your home decor from vibrant summer to warm autumn is so satisfying. I always look forward to autumnal decor because it makes everything feel cozy and warm.
I like the smell of ginger bread cookies and pumpkin spice lattes. I love the smell of fire and the feel of wool sweaters. I love it all.
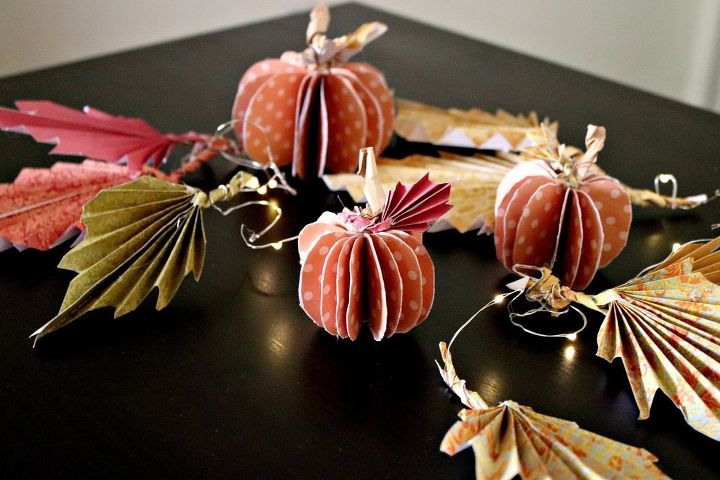
The fallen leaves in my backyard inspired me to create a little display for my dining table. I wanted something simple, yet effective - messy fall leaves tangled in a web of string lights, highlighted with cute round pumpkins. How does that sound?
Paper is my favorite material to work with. I strive to make my projects as simple and easy to make as they are affordable. Everyone can make this fall display, even share the process of creating with family and friends, which I always recommend! That's my favorite part about crafting - sharing laughs and creative ideas with loved ones!
Okay. Enough rambling. Let's create and decorate!
The complete video tutorial for this DIY project is available to watch below. Give it a click if you like to see every little detail of the creation process.
{
"id": "4459438",
"alt": "",
"title": "",
"video_link": "https://www.youtube.com/embed/8YmjVczvFjg",
"youtube_video_id": "8YmjVczvFjg"
}
{
"width": 634,
"height": 357,
"showRelated": true
}
The materials you'll need are:
*Scrapbook paper - preferably fall inspired colors
*Glue - I always like to use hot glue, but it does burn your fingers when working with paper, so be warned.
*Scissors
*Pencil
*Brown paper bag
*Wire string lights
That's all!
Let's begin with the paper pumpkins. You can make different sized pumpkins for more dimension to your display.
Select one piece of paper. Fold it in half at least four times. Then, trace the shape of a pumpkin with a pencil. It also kind of looks like an apple.
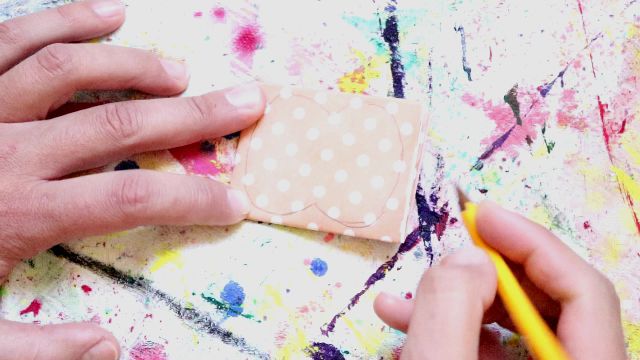
Next, cut out the pumpkin. You'll notice that this will produce as many pumpkins as the folds you did previously.
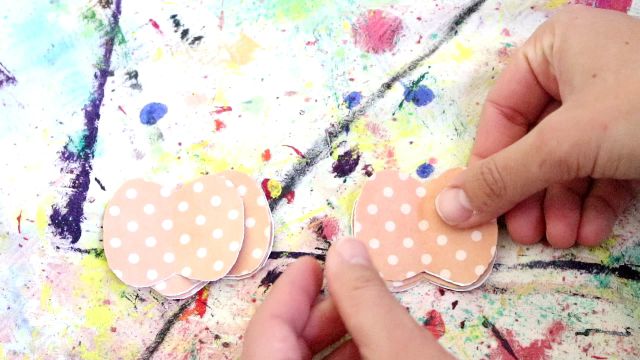
Because my paper is white on the back, I paired my pumpkins and glued them together to create one pumpkin that has the paper design on both sides.
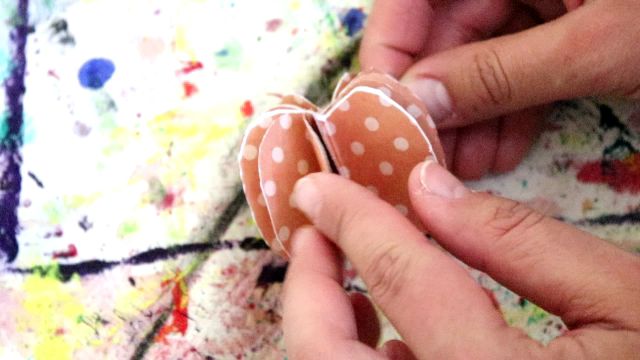
After that I layered all of my pumpkins on top of each other and folded them at the center. I applied glue to the center fold between each layer.
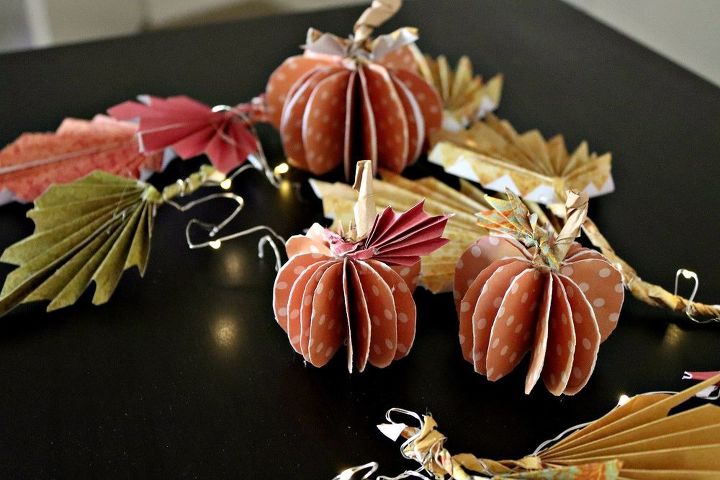
Then, I just fanned out the sides to create one cute round paper pumpkin.
We're going to use the brown paper bag to create the stem of the pumpkin. Cut a small strip and twist, then glue on top of the pumpkin.
If you want to make more pumpkins, follow the same steps. I promise that it's easier than it sounds. If you watch my video tutorial, this will all make so much more sense!
Next is my favorite part - the leaves! I loved making these! I think I made more than 20!
Begin with a piece of paper. Fold in half. Begin cutting a leaf shape from the bottom corner at a diagonal toward the opposite corner. It will kind of look like a Christmas when you're finished.
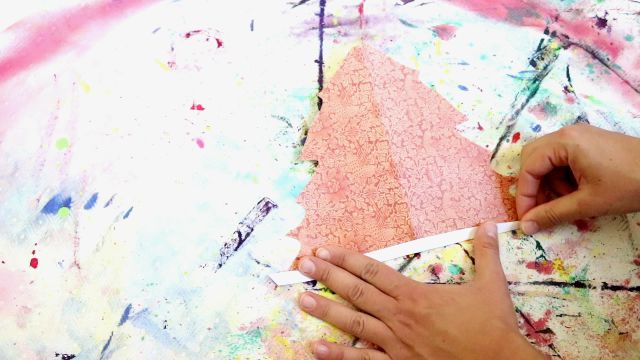
Start from the bottom of the "Christmas tree" and fold into accordion all the way to the top. Fold the accordion folded paper in half. Now make a leaf stem from another piece of paper - I used the scrap paper from my leaf, and just twisted it into a stem.
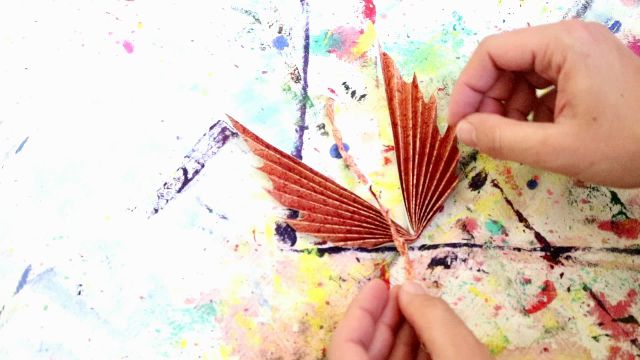
Then twist the stem at the center of the leaf and apply glue on the inside to complete the leaf.
Make many sizes and colors for your perfect fall display. Watch my video tutorial to see how I made smaller sized leaves.
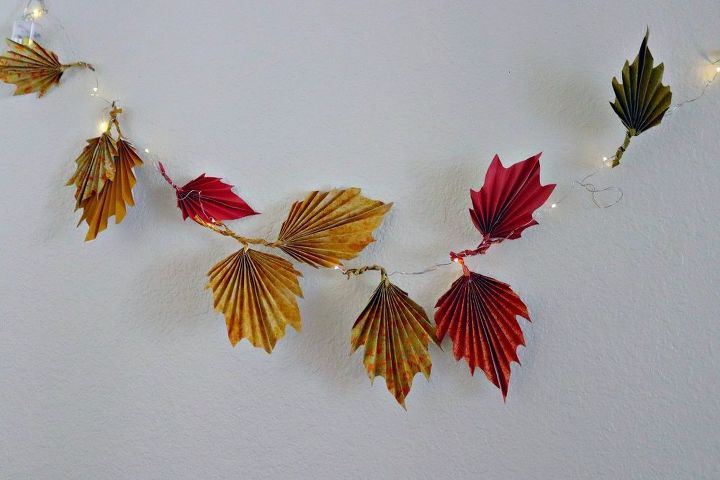
Now, if you have some wire string lights, twist the leaves around the lights. Then you can hang the lights on the wall in your home. That's one way you can bring fall into your home.
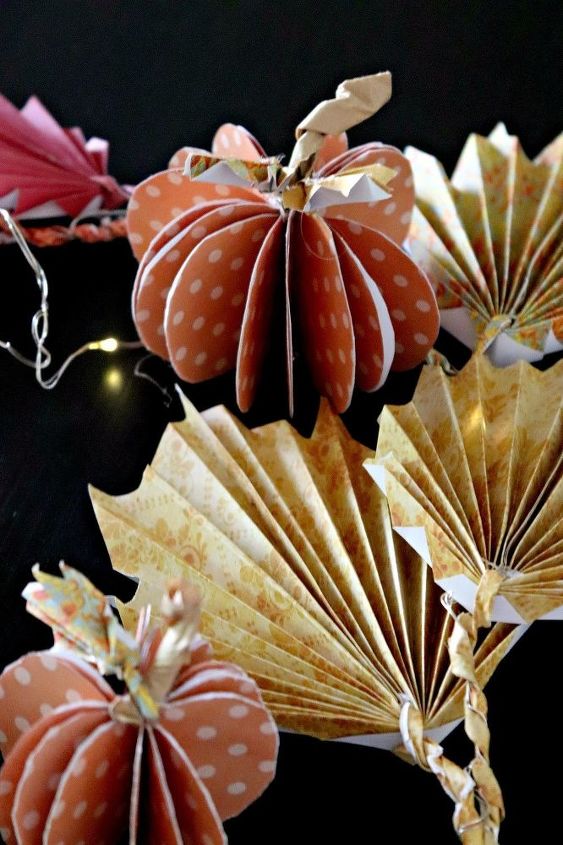
Or you can do a little cute table centerpiece by arranging the leaves and lights with the paper pumpkins as I did in the photos below.
I hope you liked this post! It really is a fun project to make! I know that I love losing myself in creative things like this. It's a form of mediation for me and plus, my home looks beautiful afterwards!
Have a happy, warm, beautiful autumn season! Happy Thanksgiving!
Best wishes,
Daniela
Resources for this project:
See all materials


Any price and availability information displayed on [relevant Amazon Site(s), as applicable] at the time of purchase will apply to the purchase of this product.
Hometalk may collect a small share of sales from the links on this page.More info


Frequently asked questions
Have a question about this project?