


DIY Gold Striped Pumpkin
Fall fall fall! For me fall is a time for reflection and putting things in order. It is a time to give thanks and be with family and friends. This gold striped pumpkin is a statement piece as it is over 16" wide. But it's 16" of awesome!

Let's all give thanks for fall finally coming back, shall we?

Start with a raw wood pumpkin and paint white (acrylic + brush or spray paint works well)This is your base coat so use a bright white to give good contrast with the black lettering. (Sources for materials in original post)
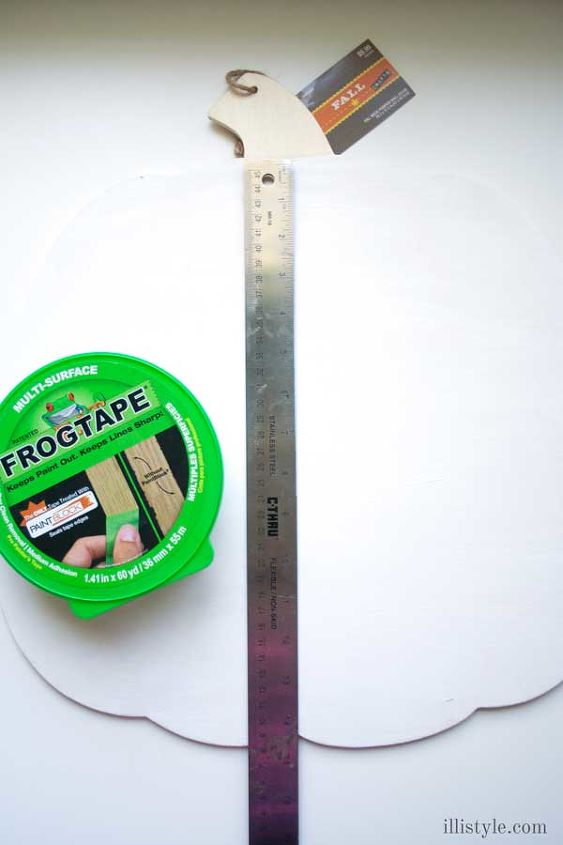
Next, using a ruler and pencil, draw light horizontal linesacross pumpkin where you want your stripes.
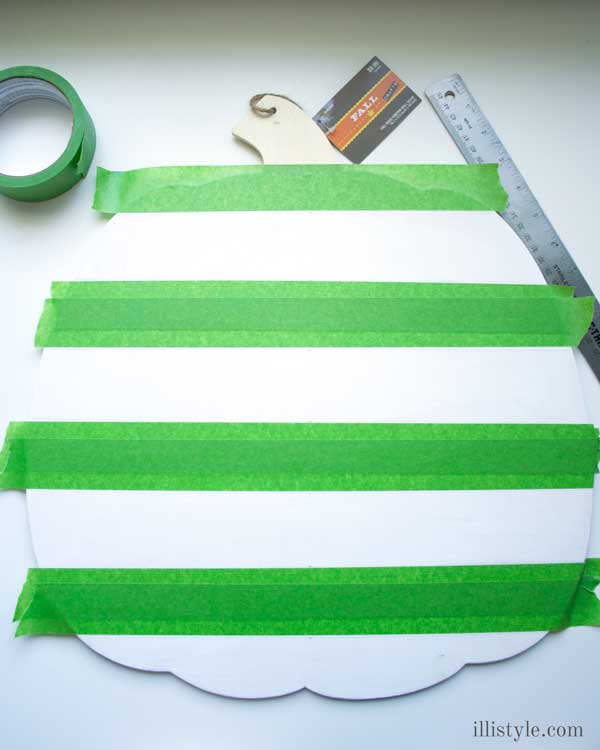
Cover the areas you want to stay white with painters tape, making sure that any pencil lines are still showing (so the gold paint of the next step covers them and you don't see them when you remove the tape alter) also, ensure you press down the edges of the tape well so the lines come out crisp and lovely.
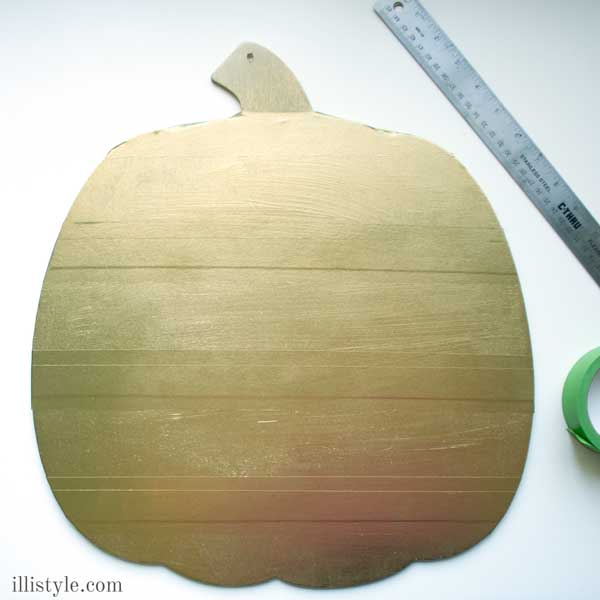
using gold spray paint, cover the whole pumpkin (2-3 coats should do it)
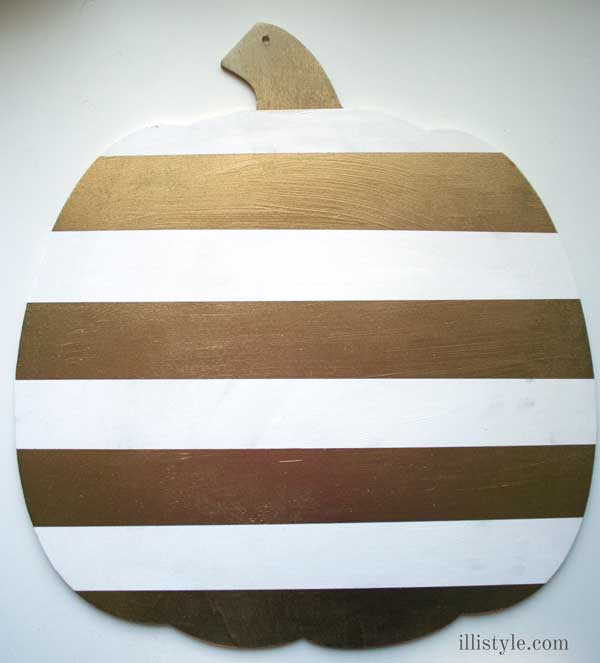
carefully remove the tape and you are left with this striped beauty... but it's not quite complete
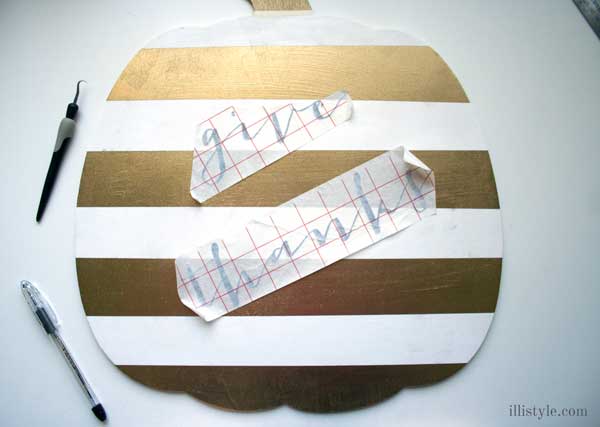
Using a vinyl cutter or free handing it (you brave girl!) with paint, write "give thanks" in your favorite font

OMG, right?

Do you love it? And it works perfectly with my decor (which is primarily white because I have a love affair with white decor. Too bad my young family and dogs don't know how to keep white white - ya know?)

Want more details about this and other DIY projects? Check out my blog post!
Comments
Join the conversation
3 of 4 comments
-
This is so cute! Welcome to Hometalk! :)
-
I love gilding and this is so pretty!


Frequently asked questions
Have a question about this project?