


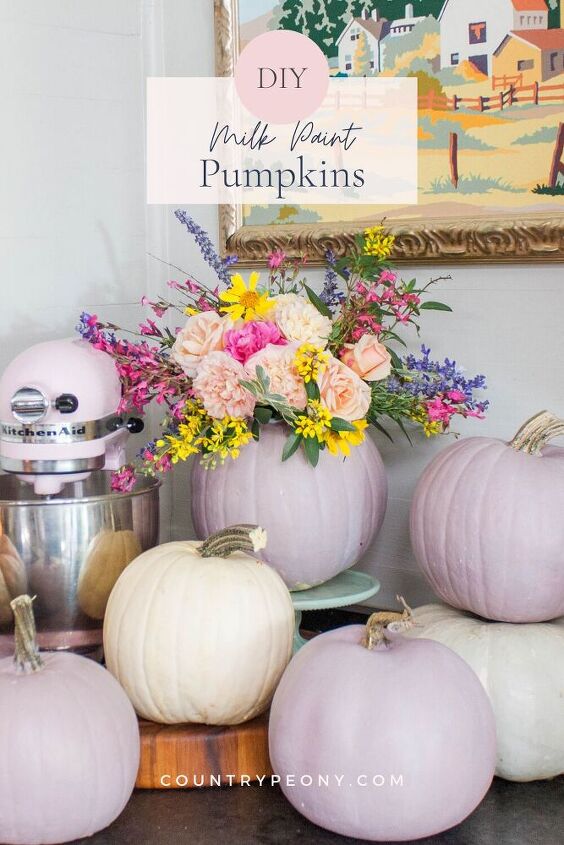
DIY Milk Paint Pumpkins
Do you want another fun way to decorate with pumpkins this Fall? This simple step-by-step tutorial will show you how to add the pretty to your pumpkins, and to give them a farmhouse flair with Miss Mustard Seed's Milk Paint and white wax. Containing only 5 ingredients, Miss Mustard Seed's Milk Paint is non-toxic and brings so much charm to any piece. I hope you enjoy experimenting with it as much as I do!

I love decorating with pumpkins for Fall. I am not great at carving pumpkins, and so I love embellishing them.
My Fall front porch is full of pink and purple flowers, with light green and light orange pumpkins. I wanted to add some purple pumpkins to the mix this year.
Today I want to show you the very simple way I achieved this farmhouse look for my Fall decor with a little milk paint and white wax. The beauty in this DIY is that it is fully customizable. You can turn your pumpkins into any color that you want to. You can also use faux pumpkins, if you want them to last for more than one Fall season.
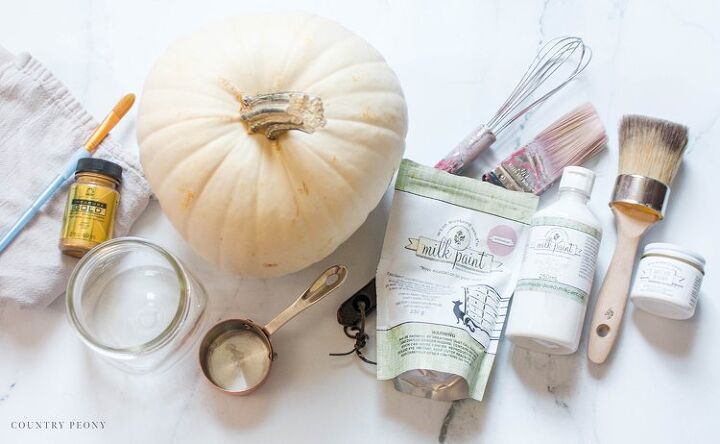
- Miss Mustard Seed Milk Paint. I used the color: Arabesque (Affiliate link)
- Paint Brush
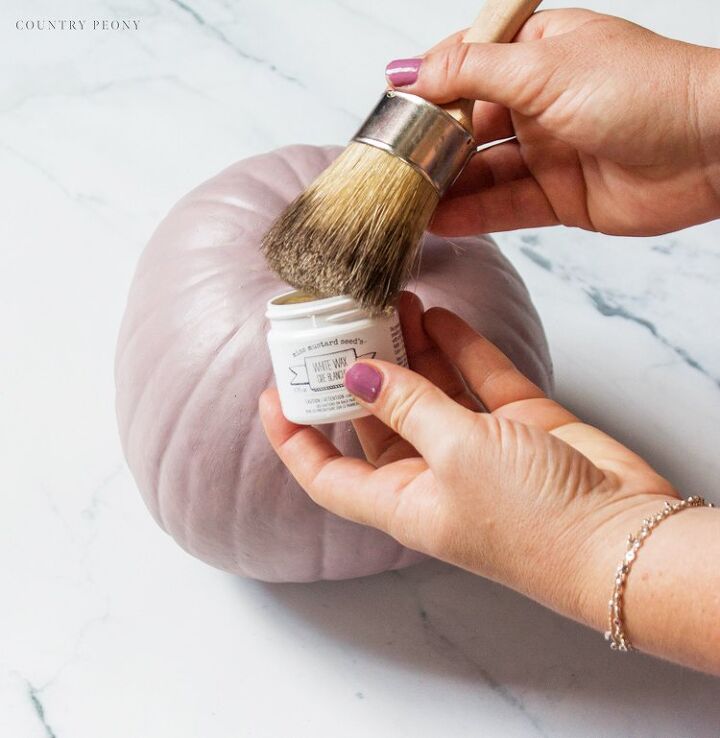
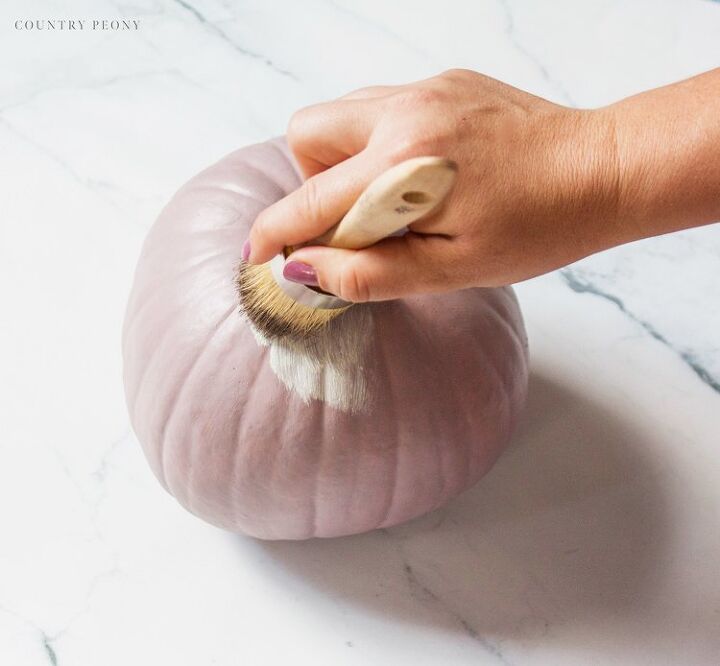
- White Wax (Affiliate link)
- Wax Brush
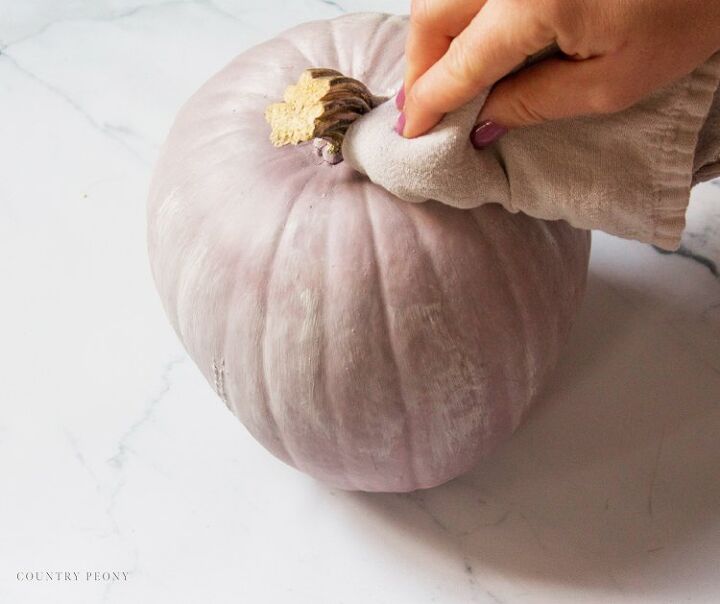
- Dry Cloth
- Cup for Mixing
- Miniature Whisk for Stirring
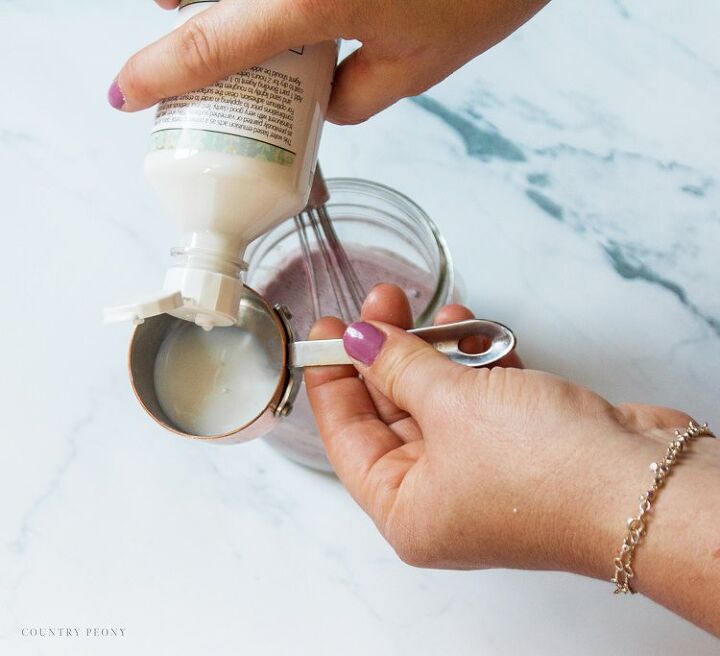
- Measuring Cup
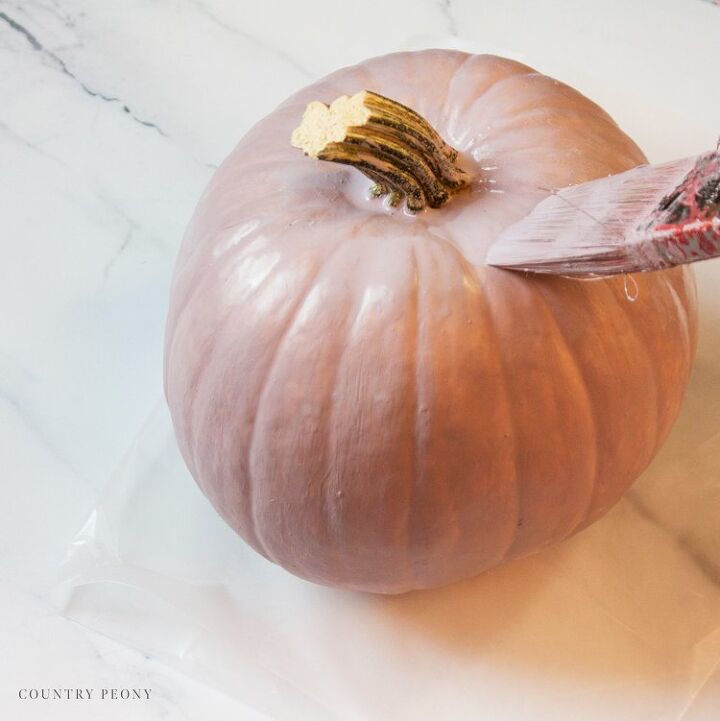
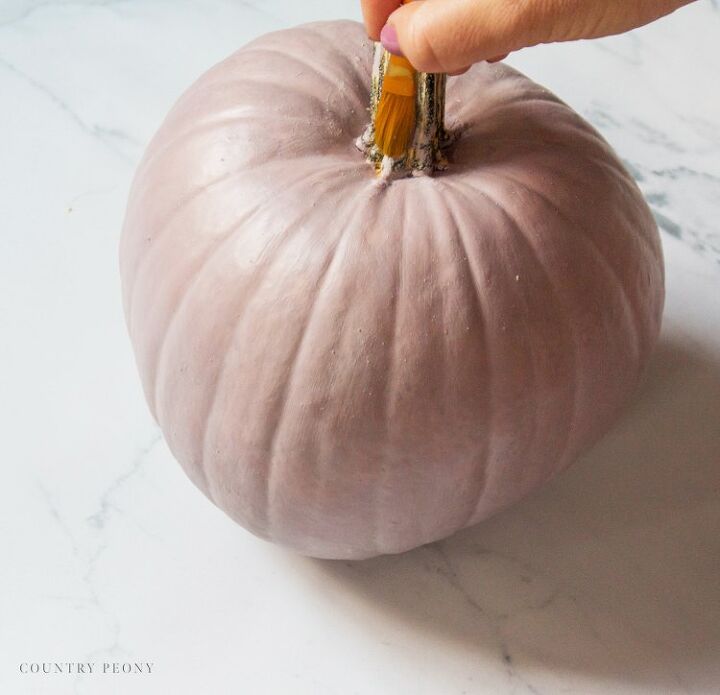
- (Optional) Gold Craft Paint & Paintbrush
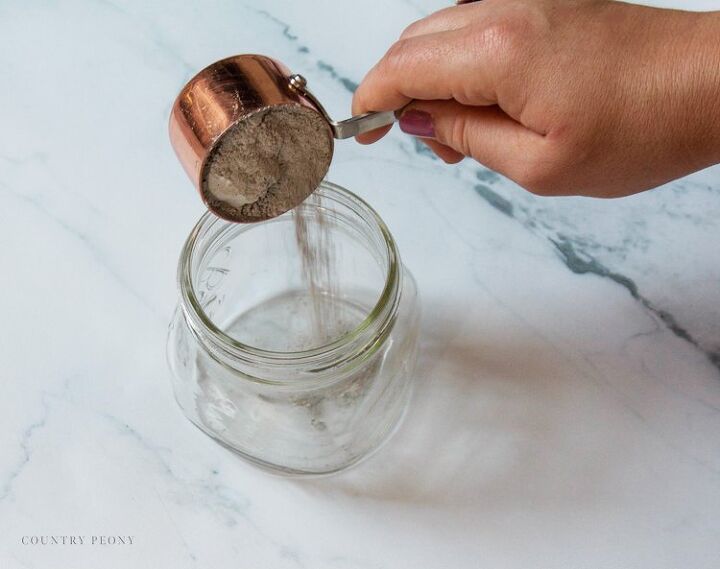
I always recommend starting with less than more so you don’t waste your product. You can always make more paint later.
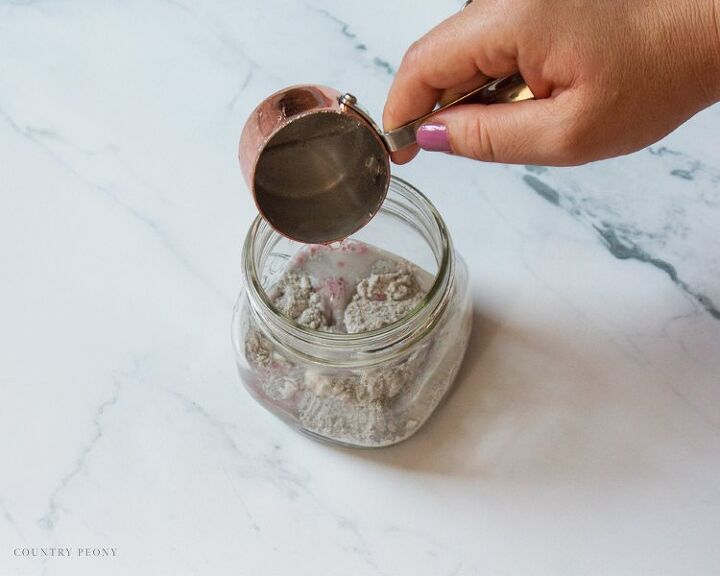
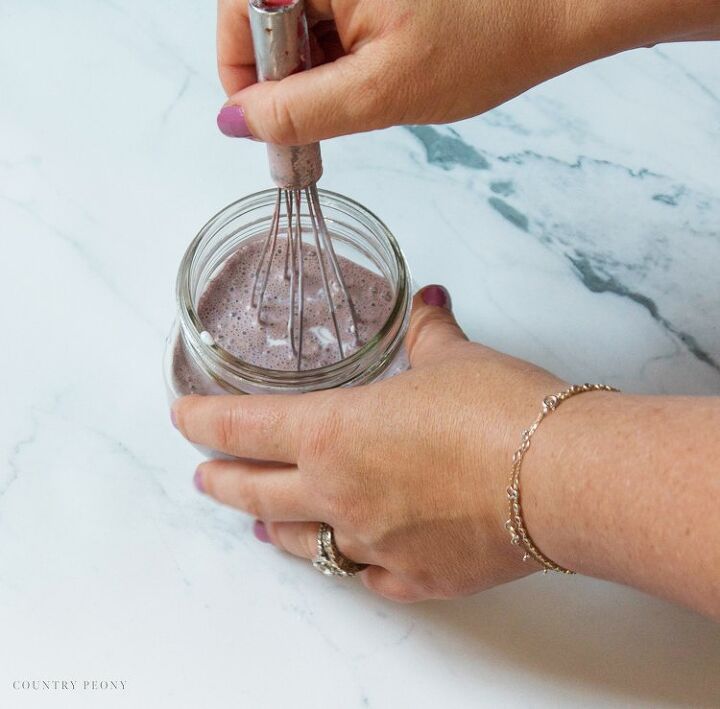
Whisk the paint together with the water until the paint is fully integrated into the water.
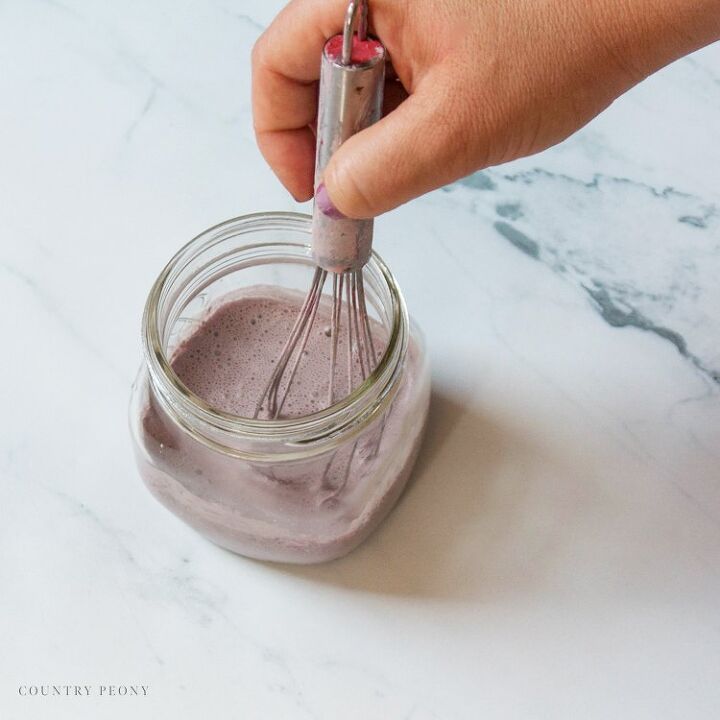
I have found that a miniature whisk is the best mixing tool to ensure the milk powder stays fully integrated into the water.
Your paint mixture should look like a thin pancake batter once it is mixed.
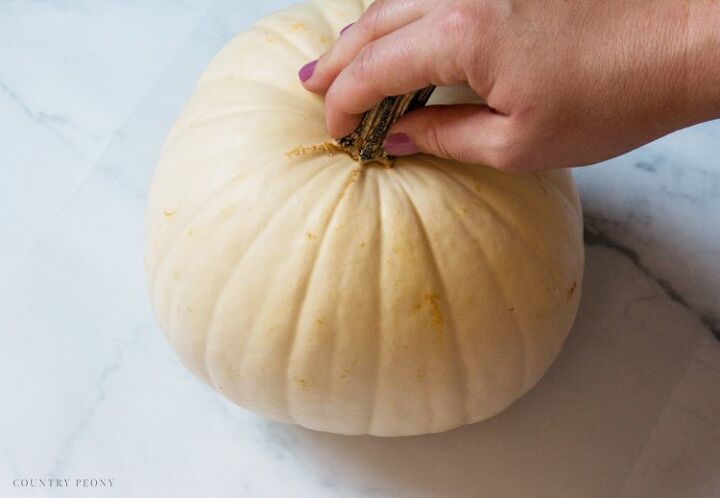
I used wax paper to protect my work surface.
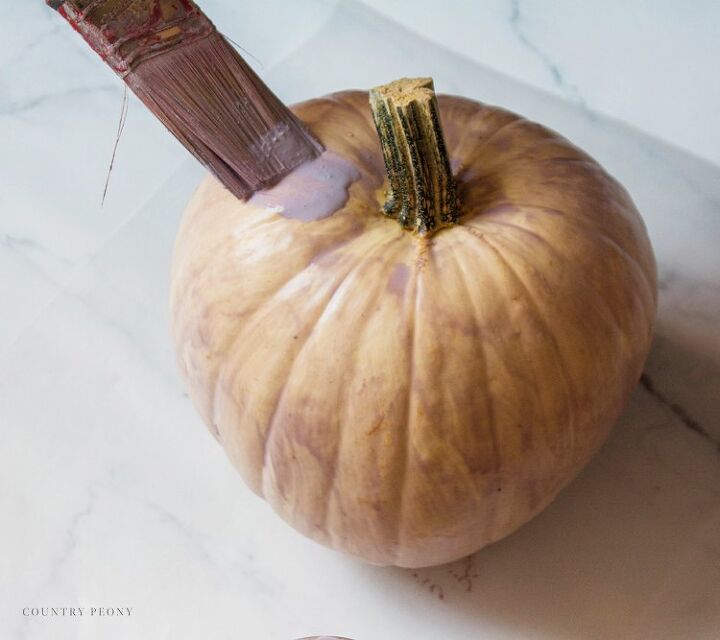
Clean your pumpkin by placing it in a bleach bath. I applied 1 capful of bleach to a bath tub full of water. I let the pumpkins sit in the bleach bath for about 30 minutes, then I set them aside to dry completely.
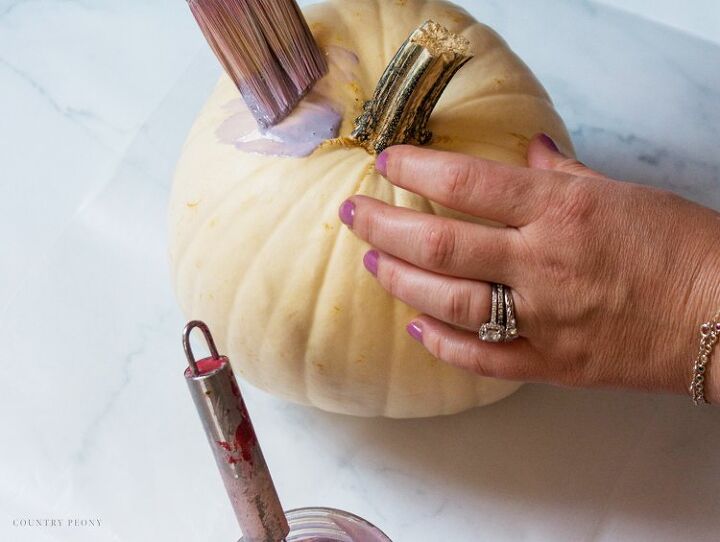
Allow the paint to dry fully before you add another coat. My first coat took about 1 hour to dry.
A little bit goes a long way with milk paint.
If the milk paint starts to settle, you may need to whisk it some more.
After your first coat of paint dries, add another coat of milk paint. Allow the second coat to dry completely.
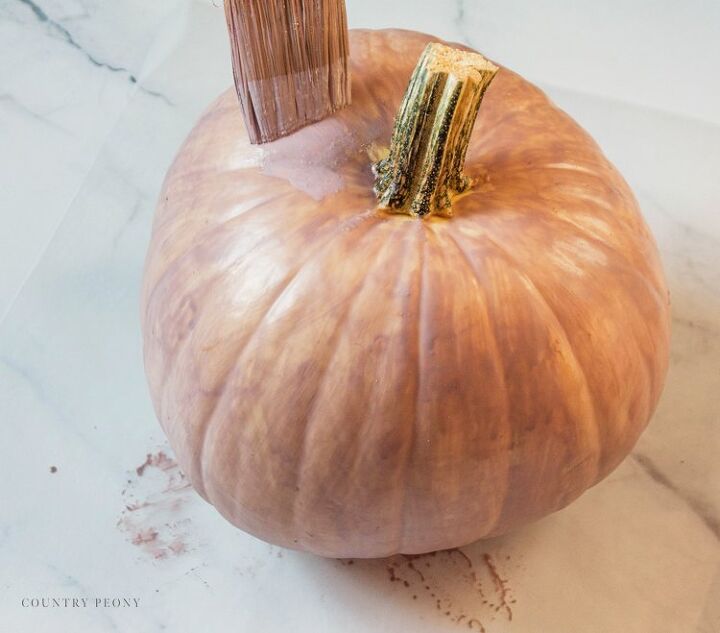
Let it dry completely.
Then, let it dry overnight.
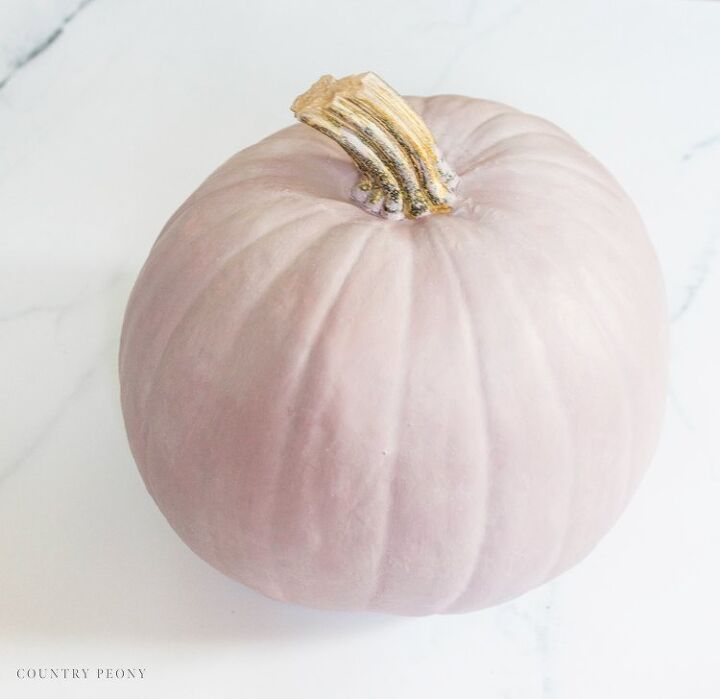
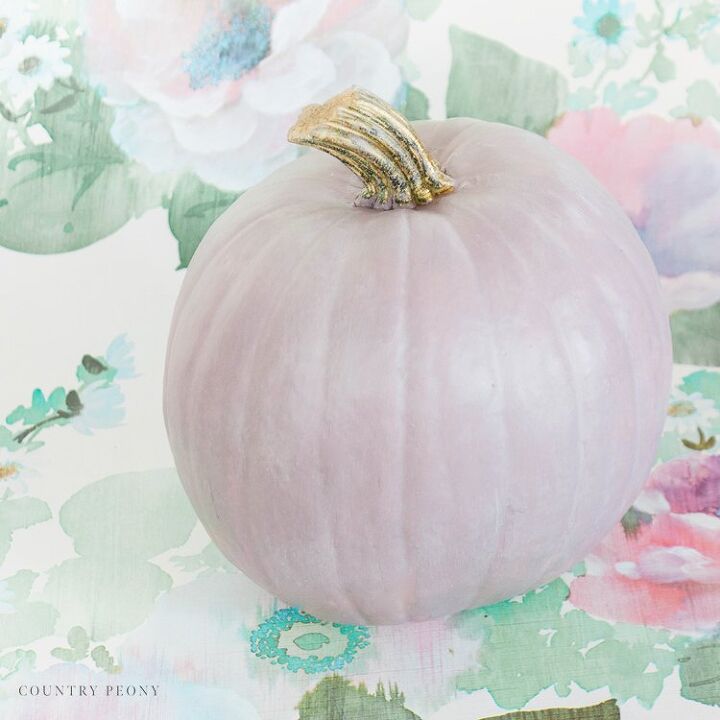
I absolutely loved how my pumpkins turned out. I think they add such a pretty and whimsical flair to my Fall decor.
I was so inspired by them that I decided to create a cute Fall vignette in my kitchen. I even turned one of the pumpkins into a pumpkin floral centerpiece (full tutorial on the blog).
Thank you so much for following along today. I hope you enjoy experimenting with Miss Mustard Seed’s Milk Paint as I do!
I believe crafting is more fun when we share our projects. Please email me at elizabeth@countrypeony.com, or please tag me @thecountrypeony or to show me your beautiful, custom creation!
Resources for this project:
See all materials


Frequently asked questions
Have a question about this project?