


DIY Painted Pumpkins

by
Charity
3 Materials
$25
2 Days
Easy
Towards the beginning of the fall season, I was looking for a specific color scheme for my pumpkins that I wanted to include in my dough bowl on the dining room table. And for the life of me, I could not find the exact colors I was looking for. Since I couldn’t find what I wanted, I figured I would take it into my own hands and paint my own. This DIY is so, super simple and the longest part about it is just waiting for the paint to dry! If you’re looking for an easy way to decorate your Thanksgiving table this year, this is definitely it! Keep on reading to see just how these DIY Painted Pumpkins turned out!
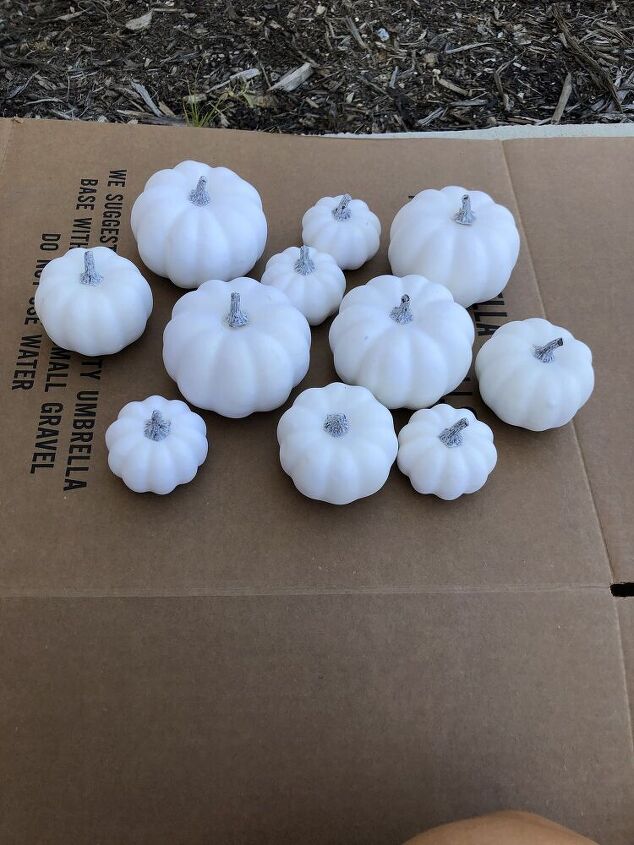
Getting the Pumpkins
The first thing I did was order a pack of Assorted White Pumpkins from Amazon. I liked this particular pack because it was a nice variation of different sized pumpkins. But basically any white craft pumpkin of any size will do just fine!
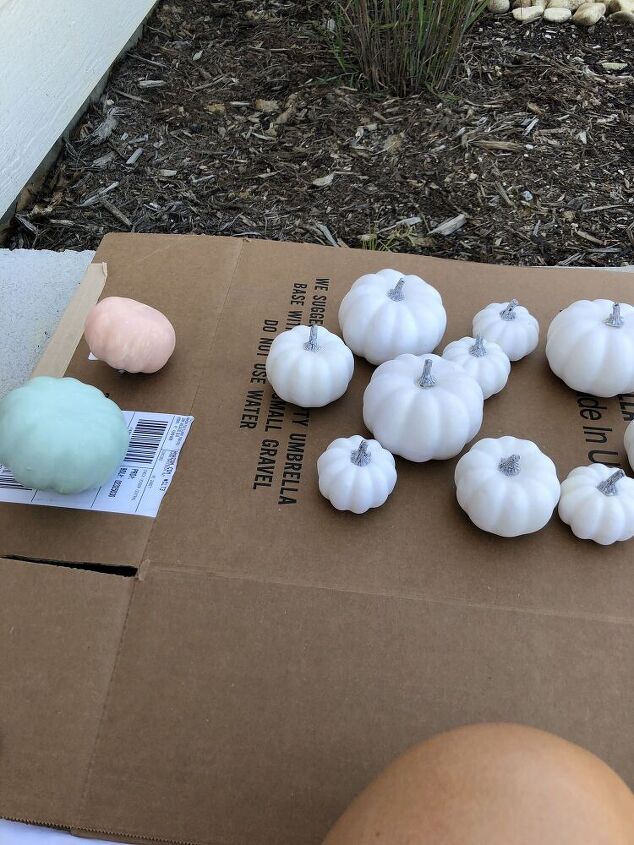
Painting the Pumpkins
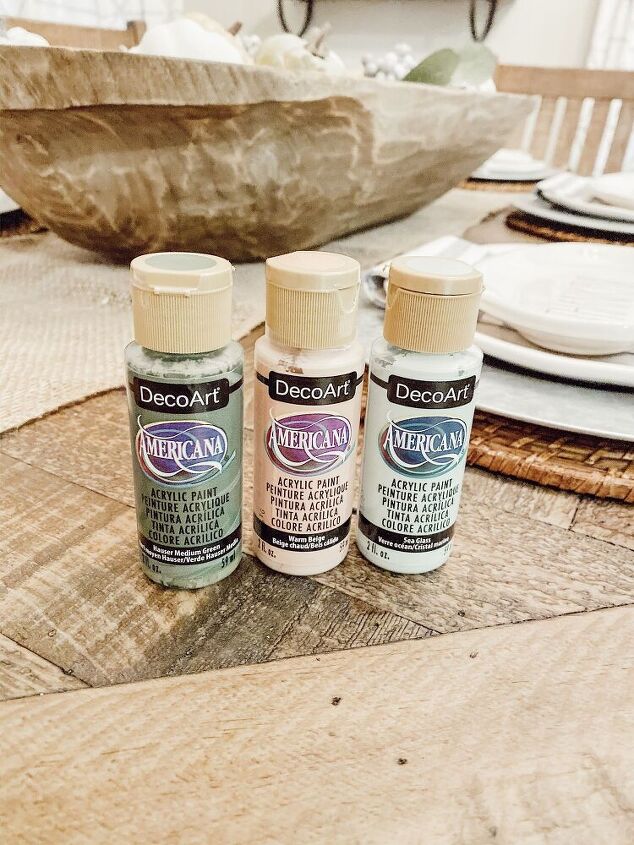
Paint For The Pumpkins
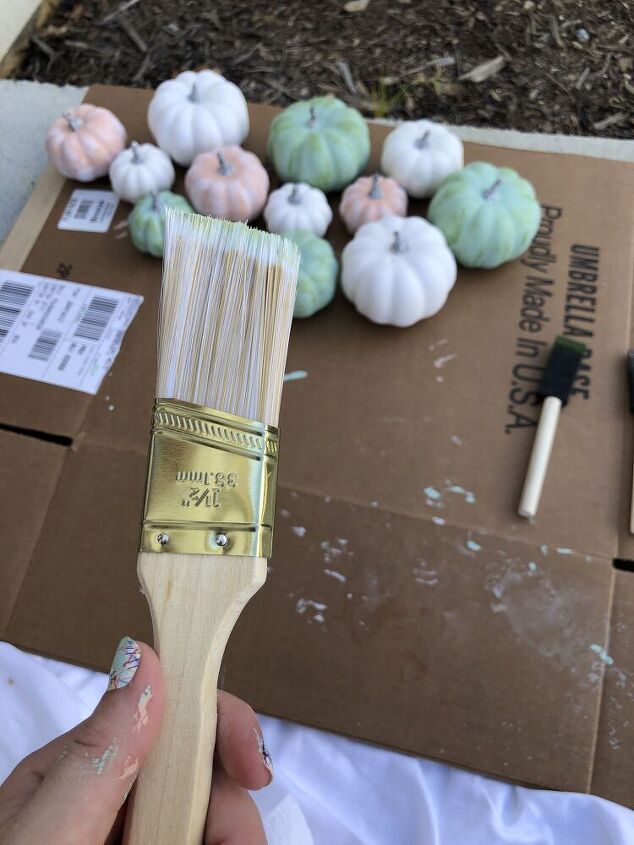
Dry Brushing Technique
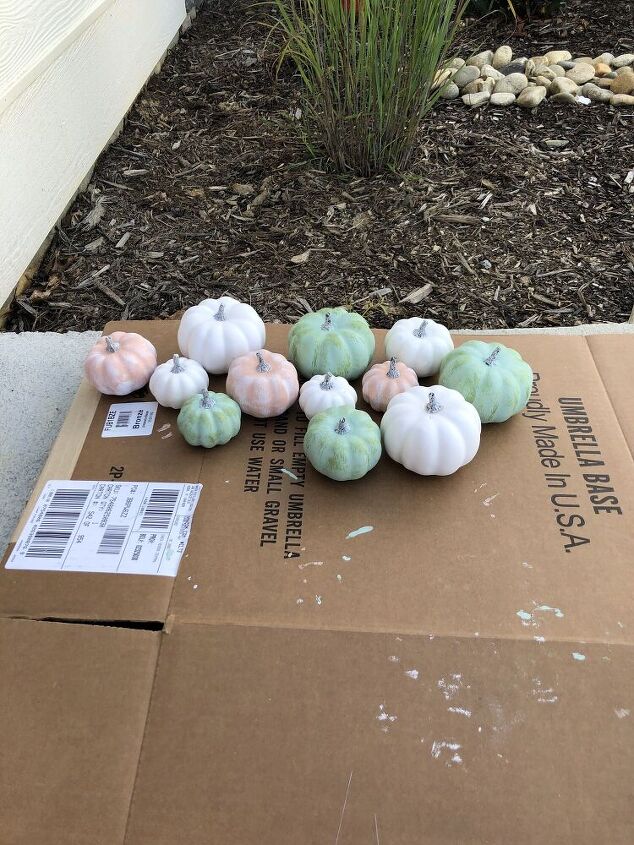
Let The Pumpkins Dry
After you painted them how you wanted, be sure to let them dry completely. I let them dry overnight before I started decorating with them.
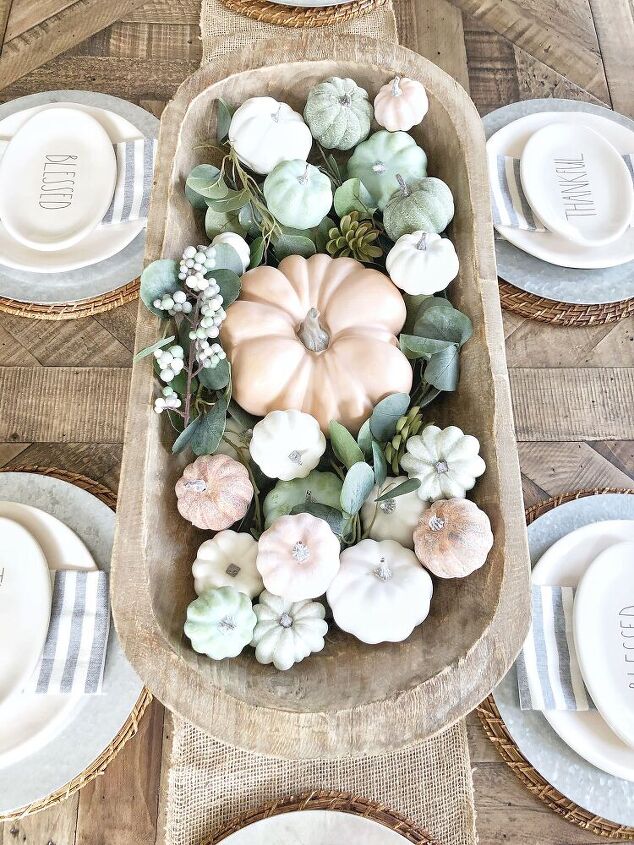
Decorate with Painted Pumpkins!
Now, here is the fun part- time to decorate with your pumpkins! I chose to put mine into a large dough bowl I got from Hobby Lobby and use it as a centerpiece for my Thanksgiving tablescape! But you can use your painted pumpkins anywhere your heart desires!


Any price and availability information displayed on [relevant Amazon Site(s), as applicable] at the time of purchase will apply to the purchase of this product.
Hometalk may collect a small share of sales from the links on this page.More info
Want more details about this and other DIY projects? Check out my blog post!
Comments
Join the conversation
4 of 6 comments
-
So pretty!
-
Very pretty! Love the way you painted them. Looks so nice for a table.


Frequently asked questions
Have a question about this project?