


DIY Paper Book Pumpkins

by
Katie Nathey
I know it’s not quite fall, but I recently teamed up with 4 other bloggers to work on a group series of holiday projects, the first being a fall tablescape. I will be showing my finished tablescape, along with a photo and links to what the other fantastical bloggers created on September 3rd. Here is a sneak peak because I just couldn’t wait to share my DIY paper book pumpkins with you! You can view the full tutorial on my blog at the link below and just so everyone knows - these books were on their way to the dumpster and I decided they would make better pumpkins than trash. They make me smile every time I look at them :)
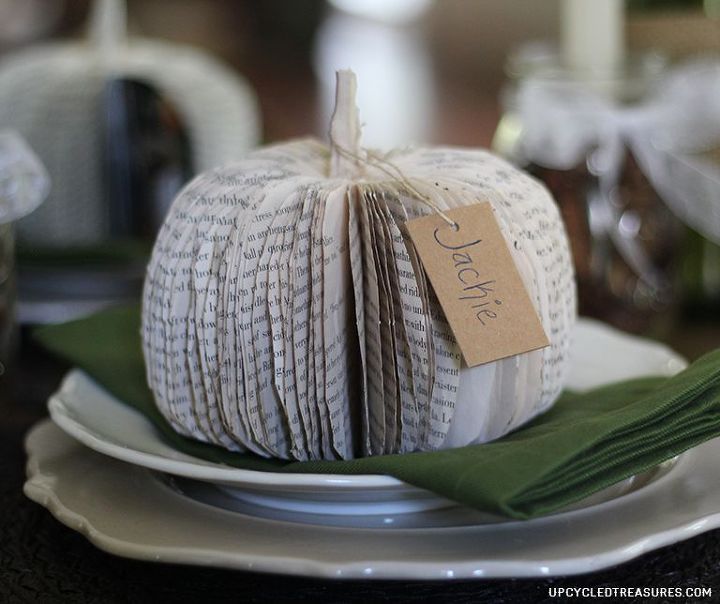
DIY Paper Book Pumpkins via Upcycled Treasures
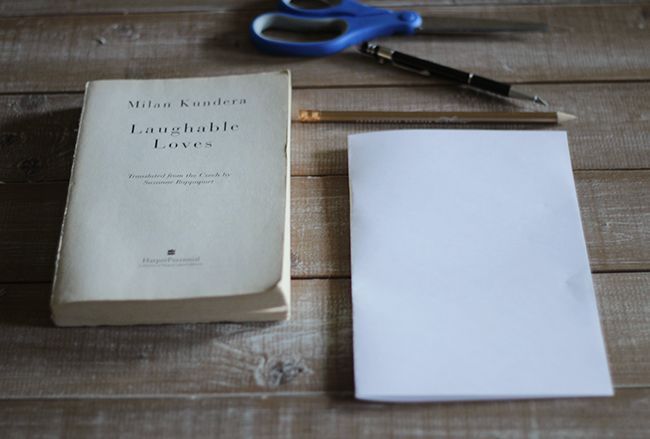
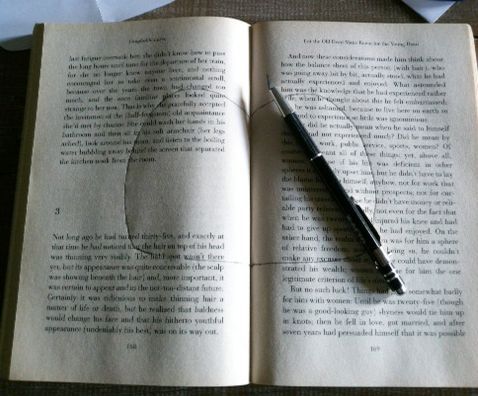
Gather all of your materials and remove the front and back cover from the book
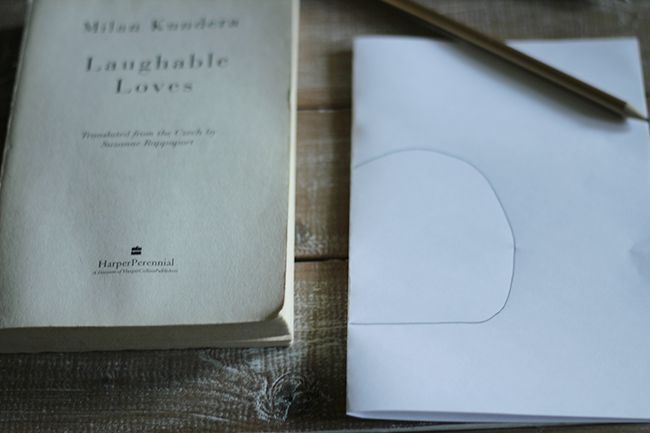
Take your blank piece of paper and fold it in half. Then draw half of a pumpkin shape using the edge of the creased line.

Cut out your pumpkin shape from the piece of paper. This is the template you will use to create the pumpkin shape out of your book.
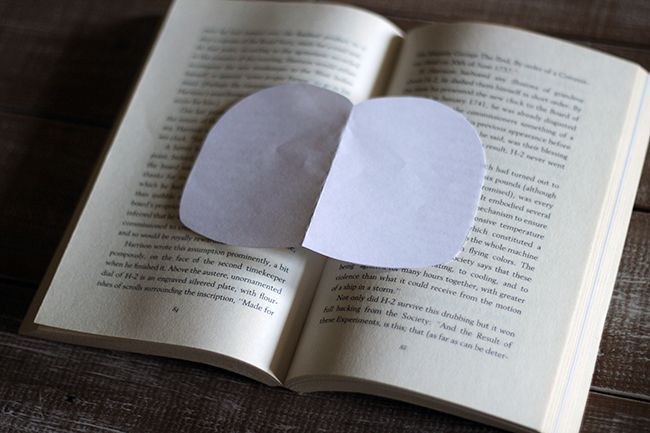
Open the book about halfway and place your paper template on top with the center of the pumpkin matching up to the center binding of the book.
Trace around the pumpkin template with your pencil.
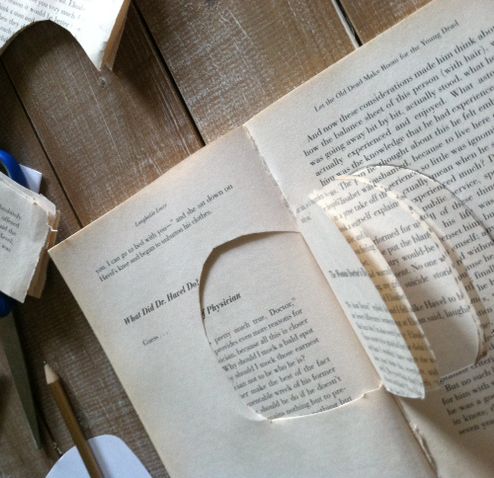
Using your exacto knife, begin cutting around the edge of your outline.
You will probably have to cut through a few pages at a time, so this will take some patience. You could also use scissors but I found the exacto knife to be easier and less messy.
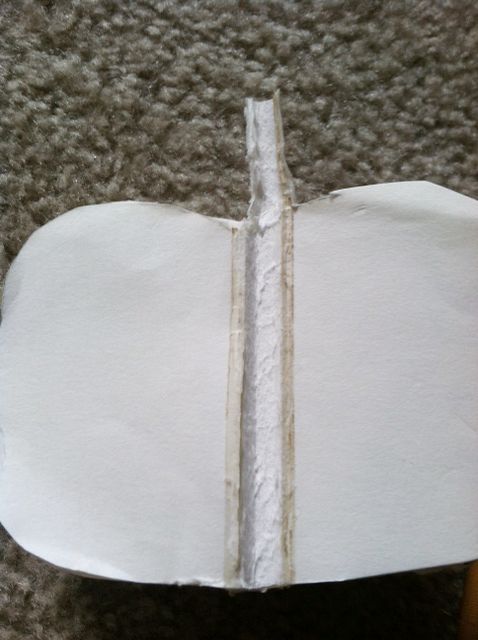
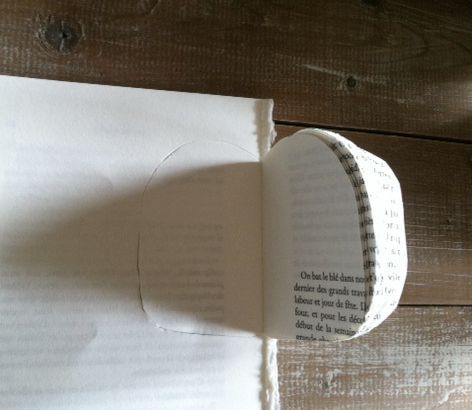
Once your pumpkin is all cut out then you will need to add glue down the center of the book bind with your glue gun. Then close the 2 halves together to make the pumpkin shape.
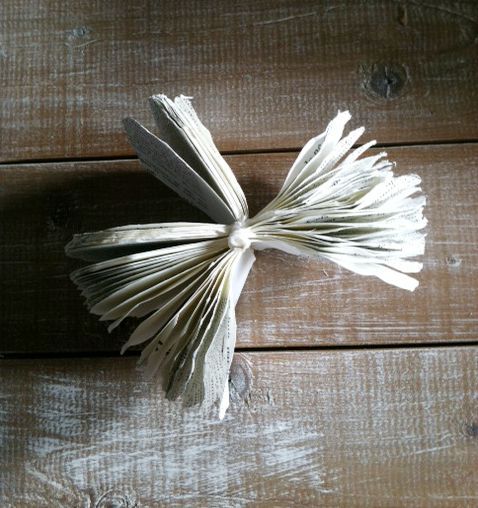
Don’t freak out when you place your pumpkin down on the table and it looks all awkward, it just needs some fluffing :)
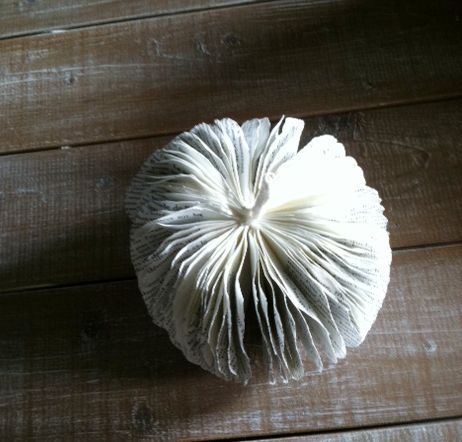
I went through each page and crinkled it just a tad to help keep it separated from the other pages. Here is my pumpkin all fluffed and crinkled.
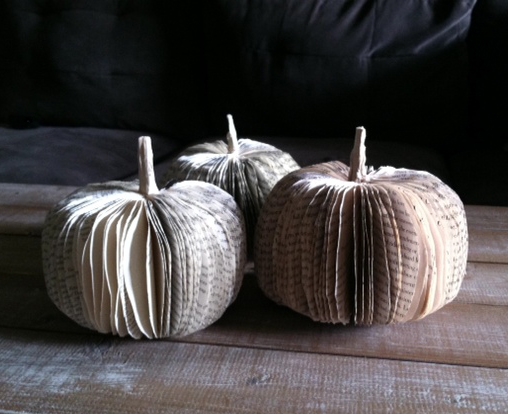
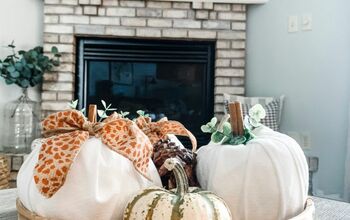
Here are the paper book pumpkins all finished up! You could also add paint to give them some color. I wanted a more monochromatic look.
Want more details about this and other DIY projects? Check out my blog post!
Comments
Join the conversation
2 of 96 comments
-
Love it!
-
They are beautiful!! I've got to try this!


Frequently asked questions
Have a question about this project?
Is there an page count I should look for when choosing books? Thanks
What did you use for the top of the Pumpkin