


DIY Splatter Screen Pumpkin
Make a cute fall decor pumpkin with Dollar Tree splatter screens. This project was definitely a one of a kind creation. The secret ingredient to this craft was the beanie which made it just that much easier to put together.
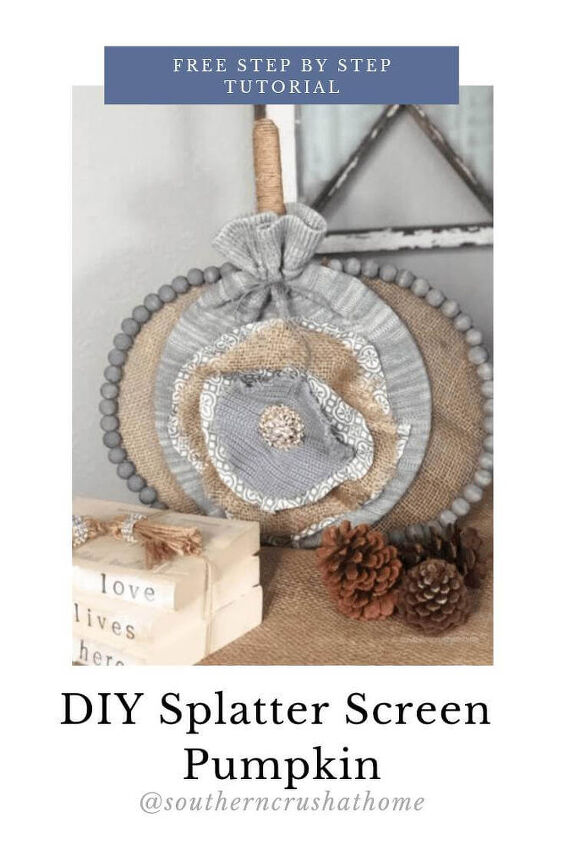
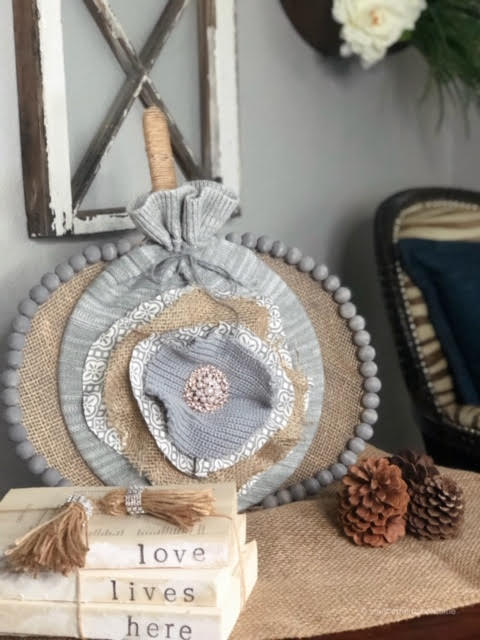
The splatter screen is a perfect size and shape for a pumpkin decor piece. Since it’s flat, you can hang it up on your wall or set it up on your mantle. Below, I’ll share some photos and instructions, showing you how to make your own splatter screen pumpkin.
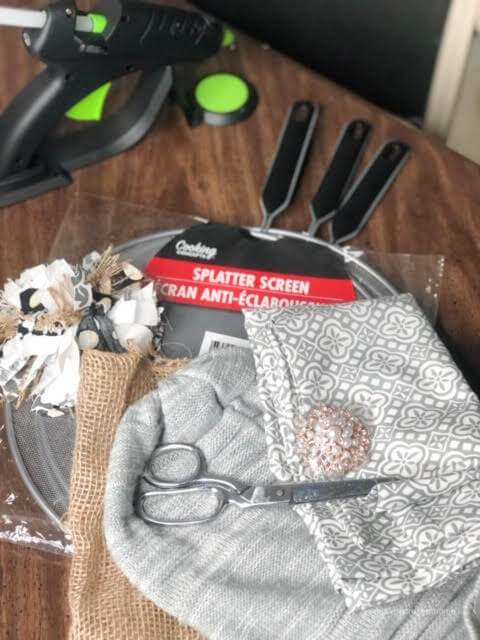
SUPPLIES FOR SPLATTER SCREEN PUMPKINS These are the supplies you’ll need. All of these together make one splatter screen pumpkin.
- 3 splatter screens with handles
- beanie of your choice
- burlap material
- scrap fabrics
- scissors
- hot glue gun
- wooden beads
- hemp twine
- regular twine
- large needle
- chalk type paint
- paintbrush
- rhinestone bling
- floral wire
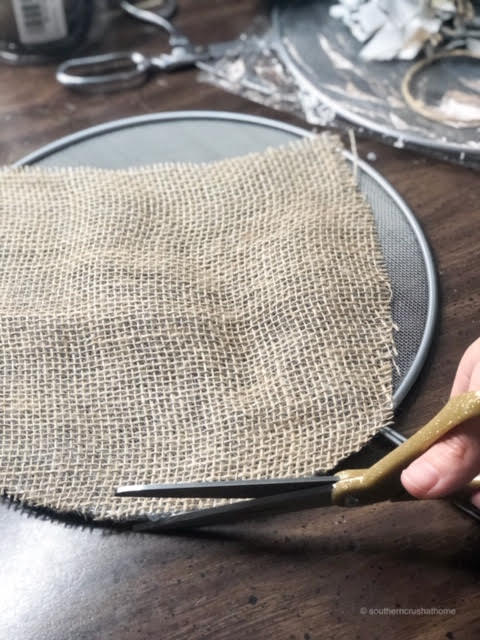
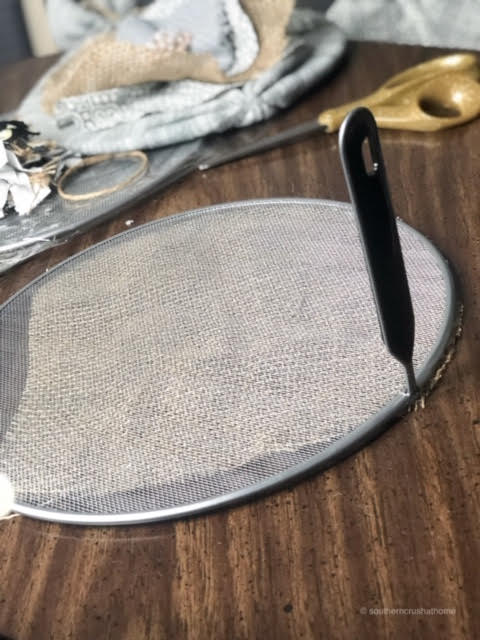
1. Glue a burlap piece onto two of the splatter screens in opposing directions. Trim the burlap around the edge of the screen.
2. Bend the handles down on the two screens to be used for standing up your pumpkin and for support.
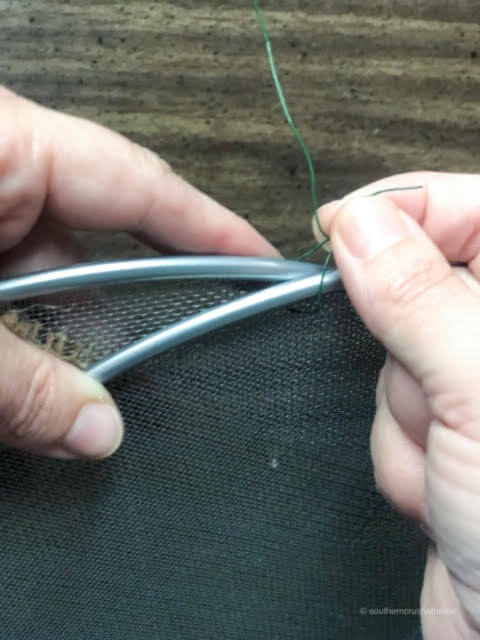
3. Attach the two screens together using the floral wire. Try to attach them together so they look like a wide oval.
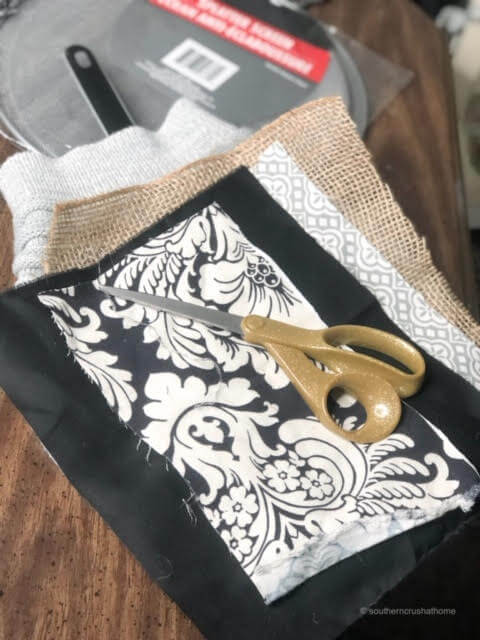
4.Cut up your scraps of desired fabric into circles each one bigger than the next.
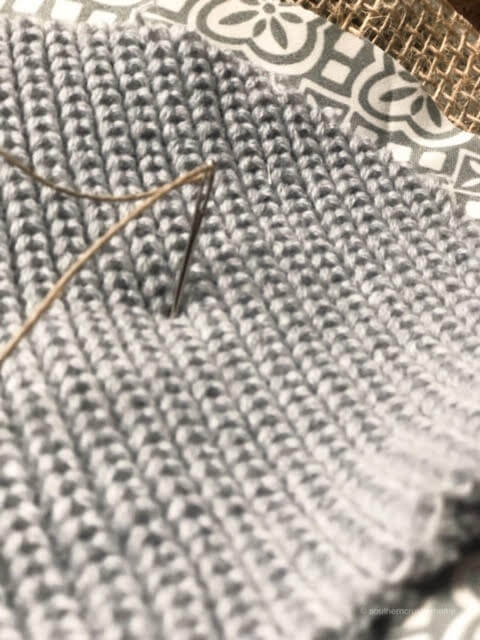
5. Take the circles and connect them by using the hemp twine and a large needle. Sew them together from the center, then fold and pinch as you go to make a ‘rosette’ effect.
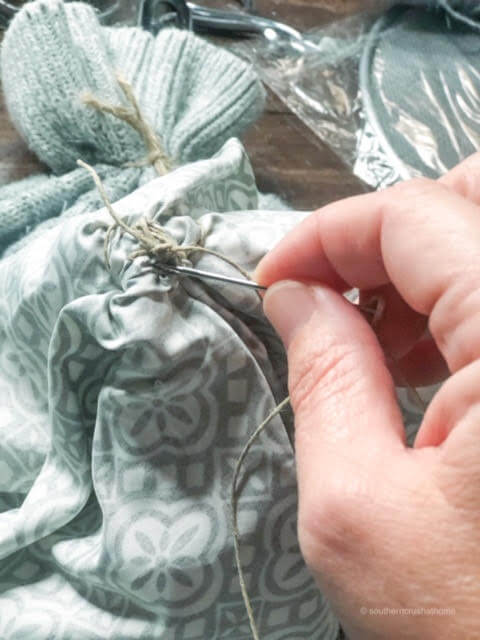
6.Flip over the circles and sew them from the center on the back to create a ‘cinched’ effect.
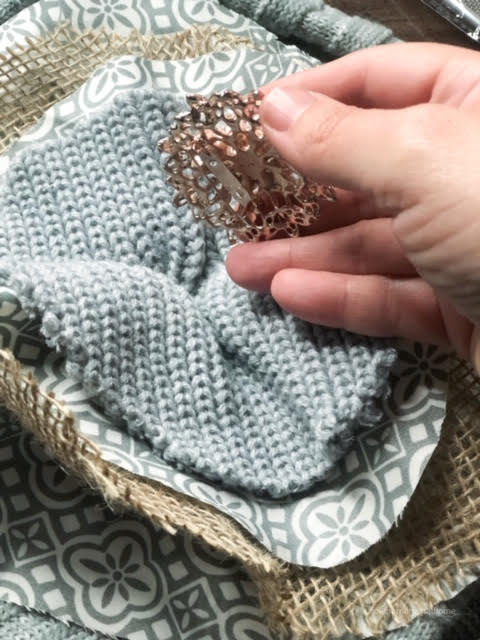
7. Flip back over and add your rhinestone bling brooch/piece by either pinning it or gluing it down to the center.
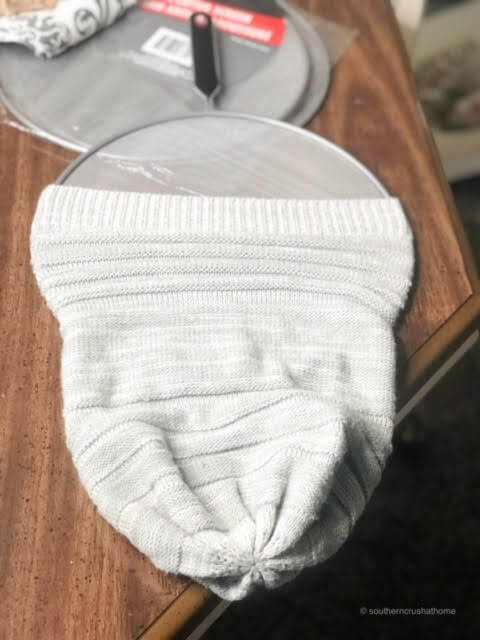
8. Take your beanie and use it to cover your final splatter screen.
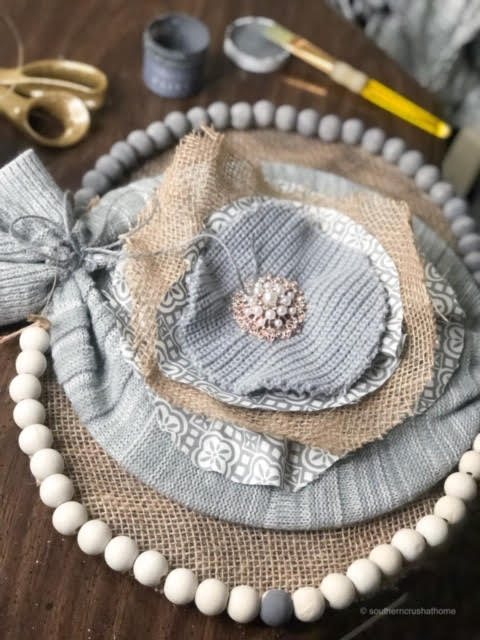
9. Attach the final screen to the other two screens as the center of the pumpkin using the floral wire. Cinch the top of the beanie and tie off with a piece of twine. Hot glue the ‘rosette’ you created to the center of the beanie.
10. Take the wooden beads and string them onto the hemp twine to the desired length for the edge of the screen.
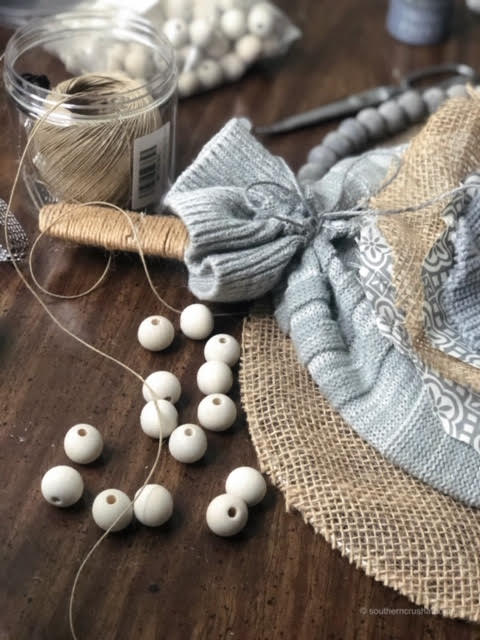
Tie them off with another piece of twine as shown.

Hot glue your wooden bead strand down to the edge of the splatter screen and paint them your desired color once they’re in place.
Take more twine and wrap around the handle ‘stem’ of your pumpkin, gluing down as you go.

That's it! Now just decorate with your beautiful pumpkin! Visit my blog for even more fun craft ideas! https://www.southerncrushathome.com/
Since these are flat, you can hang them up on your wall or set them on your mantle.
Resources for this project:
See all materials


Comments
Join the conversation
-
Love this idea but since this has become this years craze I can't find any screens.
At least not at any of the 4 dollar trees near me. I'll keep looking but they're sold out for now. And I'm not paying $8 for one at Walmart. Lol


Frequently asked questions
Have a question about this project?