


DIY Wire Pumpkin
Do you ever find yourself with too many wire hangers? Check out this fun pumpkin tutorial that will help you upcycle some of those extra hangers and put them to a new use.
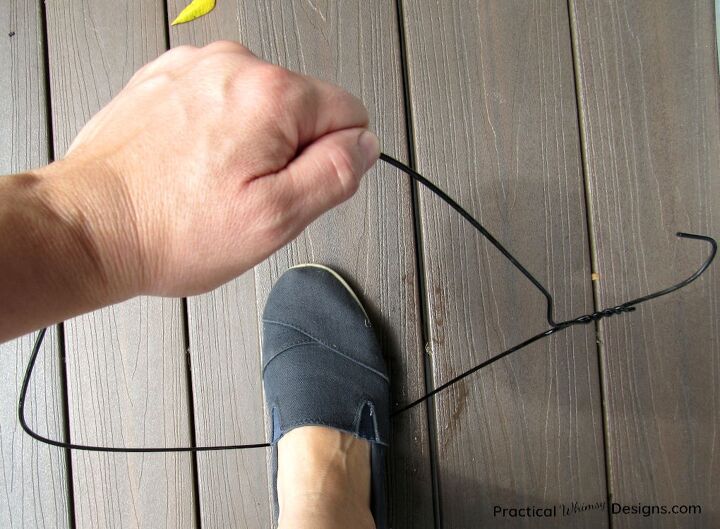
1) Bend your hangers
Start out by grabbing 5 wire hangers.
Use your muscles (feet, hands, arms, whatever it takes) to bend those hangers into a relative pumpkin shape.
Remember that it doesn't have to be perfect. Pumpkins are rarely symmetrical, so why should your wire one be?
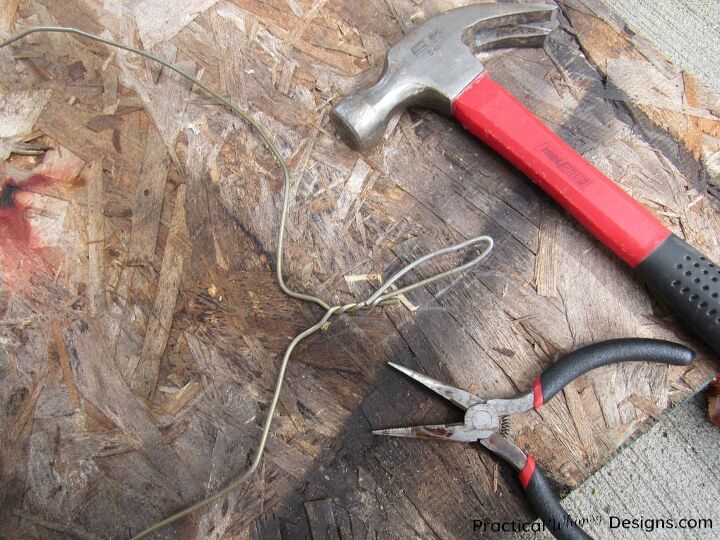
Bend the end of your hanger down with a hammer or pliers.
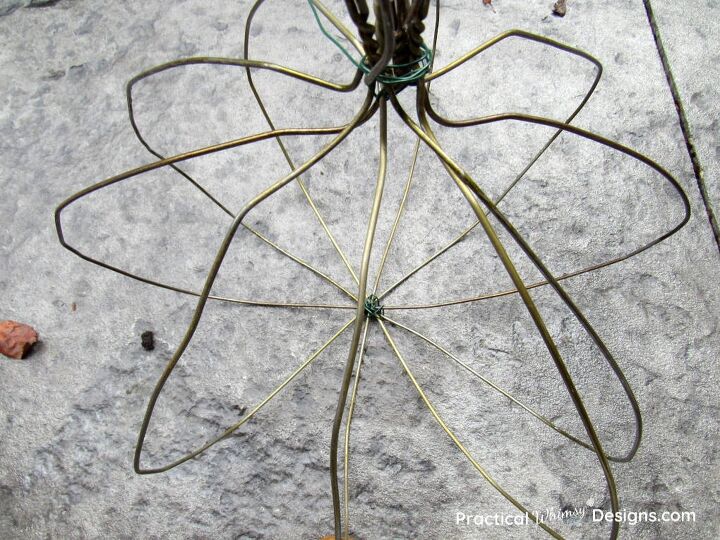
2)Build your Pumpkin
Once your 5 hangers are bent, start adding hangers together and use wreath wire to tie them into place. Tie both at the bottom and the top so that each hanger is secure.
For more photos and detailed explanation check out my DIY Wire Pumpkin tutorial on my blog.
Remember the flattened hanger hook should meet in the middle of the wire pumpkin to create a stem.
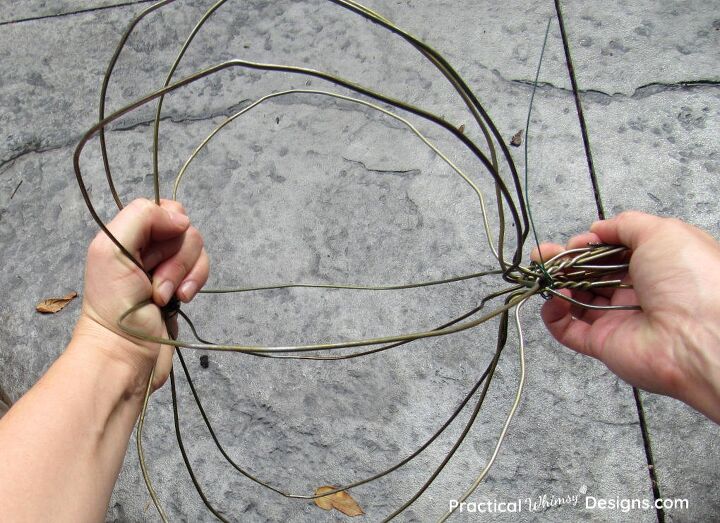
3) Flatten your Pumpkin Bottom
Use your hand to flatten the bottom of your pumpkin so that it rests squarely on the ground.
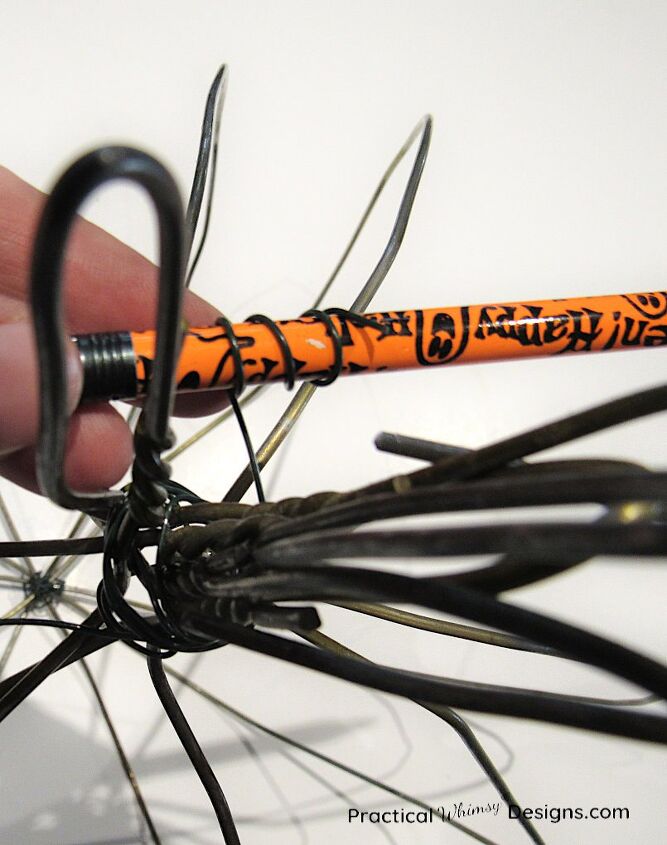
4)Create vines
Use more wreath wire to create vines by wrapping it around the pumpkin stem and then twisting the end around a pencil.

5) Decorate the wire pumpkin
Stick fall leaves onto the wire vines you created. Use leaves and mini pumpkins and gourds to decorate inside your wire pumpkin.
Now you can decorate your home for fall with these upcycled wire hanger pumpkins. Check out my blog for more fun fall ideas.
Resources for this project:
See all materials


Comments
Join the conversation
-
How neat! Great idea and creative
-
I found that a roll of 12 gauge wire and a fallen tree limb worked well. Just add a bow and some bling! Still looks great 5 yrs later.


Frequently asked questions
Have a question about this project?
Could you do with the $1 tree pumpkin frames. Wire back to back, fill enjoy?