


Easy Buffalo Check Pumpkin For Fall
Fall is in the air and so is pumpkin spice and falling leaves! I wanted to share this easy DIY Buffalo Check Pumpkin craft with you today! My fall mantle needed a little something and what better than buffalo check to give it the Fall feel. It needed more texture and of course, who doesn’t love black and white buffalo check!
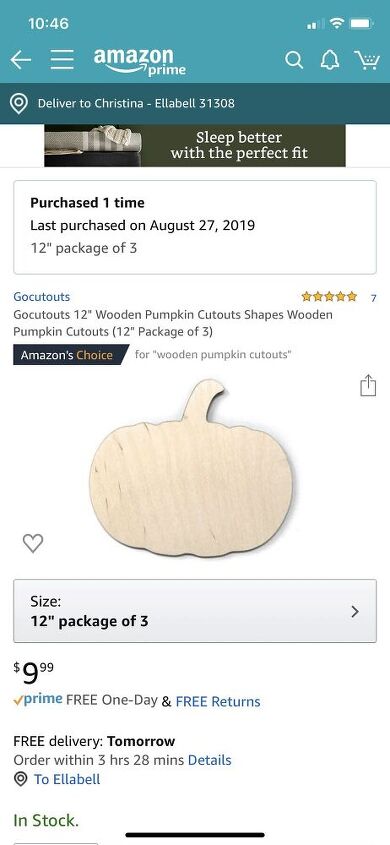
I purchased this set of unfinished pumpkins off of Amazon. They were $9.99 for a set of three with free Prime shipping. I have included the link in the supply list for your convenience. I am not sure what I will do with the other two, but there are tons of options.
There are only a few steps for this project. It will take you no time at all.
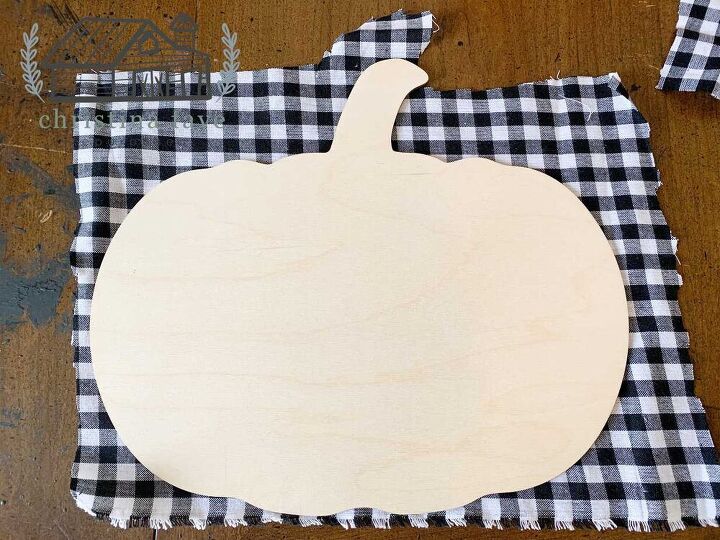
First, lay your fabric flat. Trace around your pumpkin with a pencil to make a pattern. This doesn’t have to be perfect. Lastly, cut out the pattern.
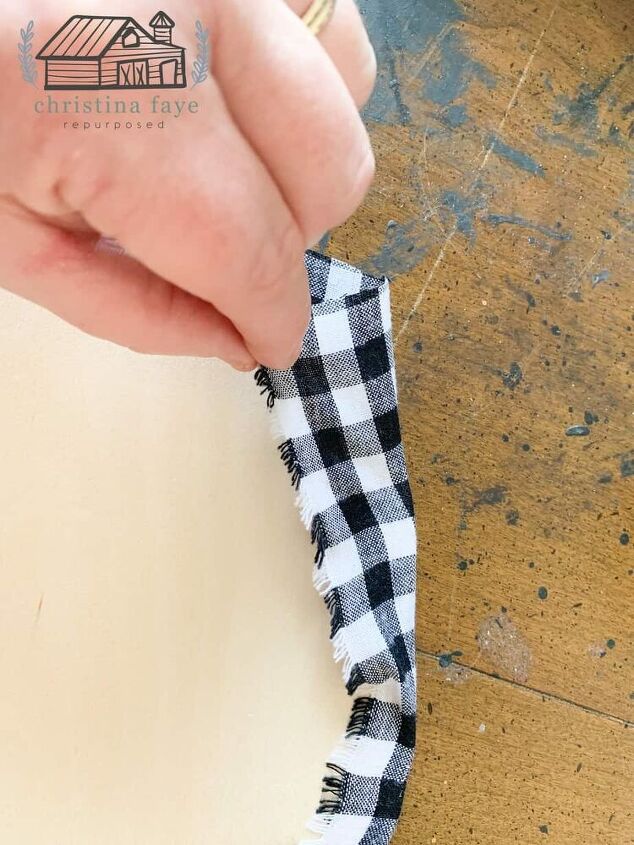
Turn your pumpkin over and apply a light coat of the self-adhesive spray to the back and edges. Pull the fabric tight, smoothing out any wrinkles. Then fold over any access fabric and gently press. Trim the back of any excess fabric so the pumpkin will lay flat.
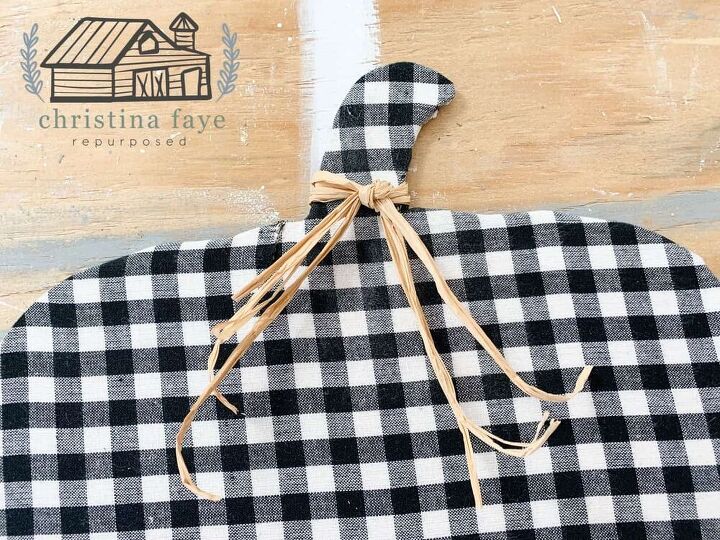
Tie the desired length of raffia around the stem of the pumpkin. You can use as much or as less as you like. In place of the raffia, you can also use ribbon.
I found this cute little “Hello Fall” sign at Hobby Lobby. It was %50 off costing only $2.50.
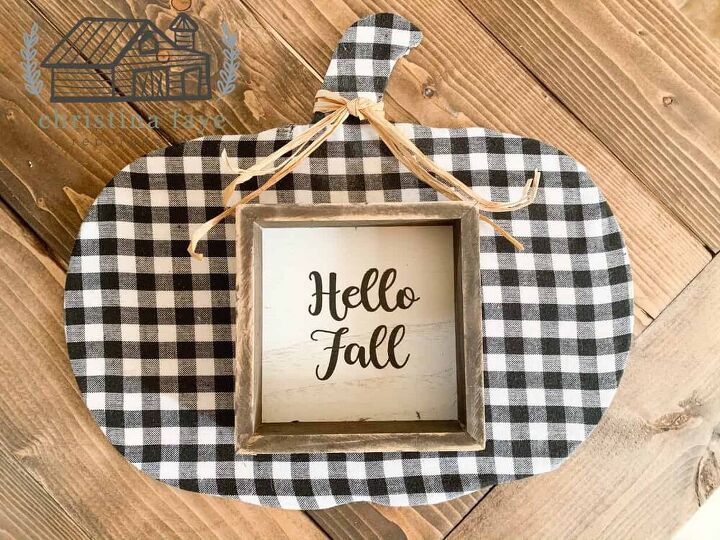
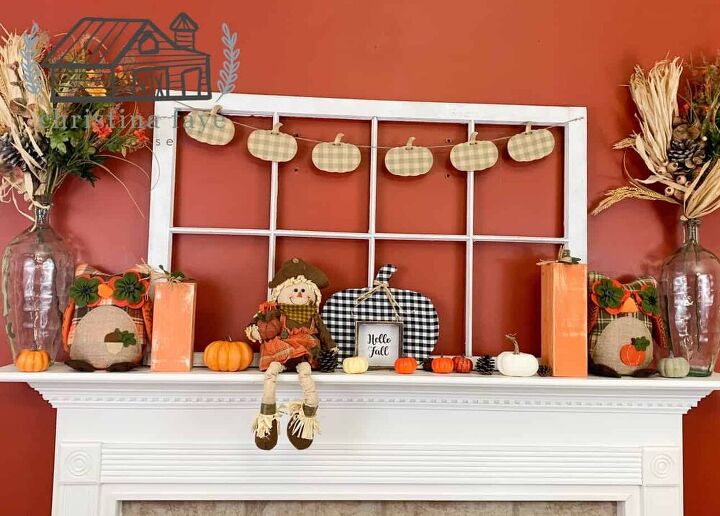
Here it is on my mantel.
These were super simple, so with a pack of three, you can create any design that you desire!
Resources for this project:
See all materials


Comments
Join the conversation
-
Just ordered the pumpkins from Amazon
I love this , Thanks


Frequently asked questions
Have a question about this project?