


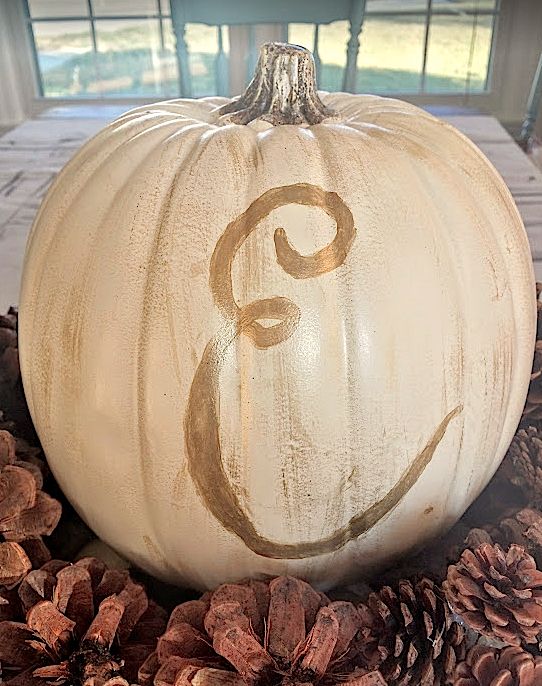
Easy Cream and Gold Monogrammed Pumpkin

This cream and gold monogrammed pumpkin is so quick and easy. It takes about 5-10 minutes from start to finish and would be a great gift for a teacher's classroom or as a personalized pumpkin for each child.
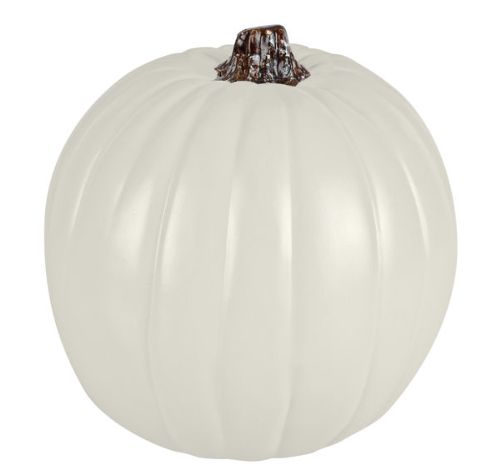
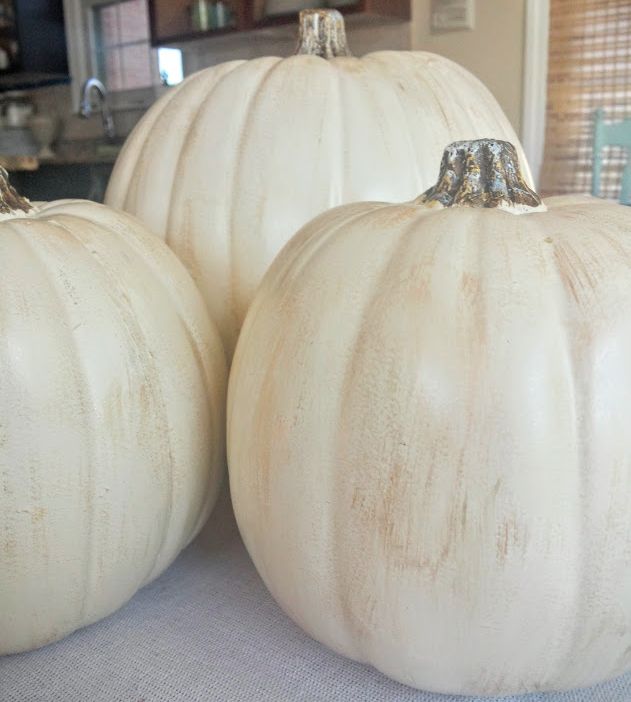
I bought a few cream colored pumpkins like this one at Michael's craft store for half price. I used the 9" pumpkin for the monogram, but you can do this project on any size pumpkin you want. If you have an old plastic pumpkin that's past its prime, then you can use it instead of buying a new one. Just paint it cream and let it dry completely before moving on to the next step. You could use chalk paint, acrylic craft paint, or spray paint.
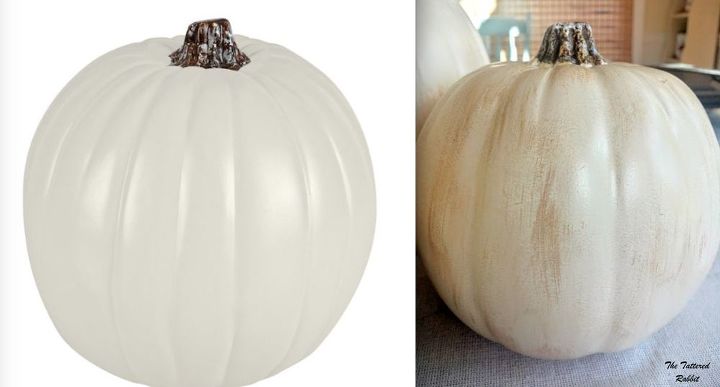
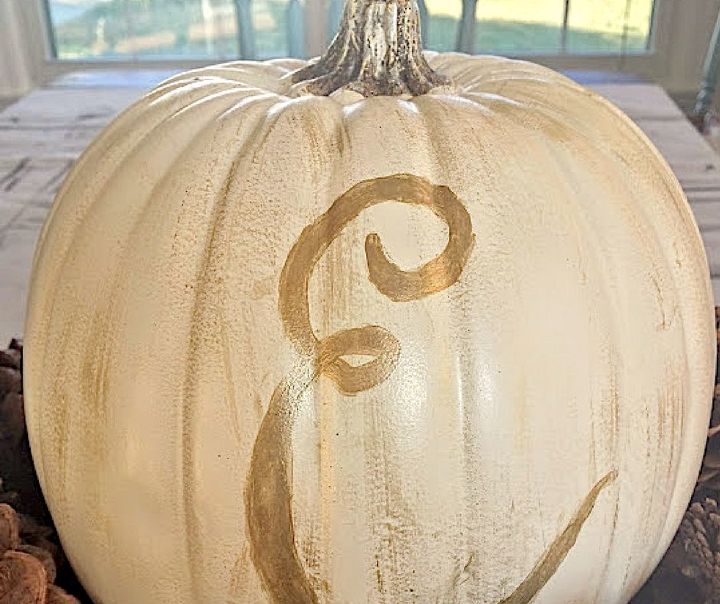
As you can see, the cream pumpkin on the left is very one-dimensional and obviously is fake. To add a depth and dimension, I used a dry brush technique in 3 different stages. I dry brushed several pumpkins at one time. I monogrammed the large one and the smaller pumpkins will be used as decorations in a separate area of the house.
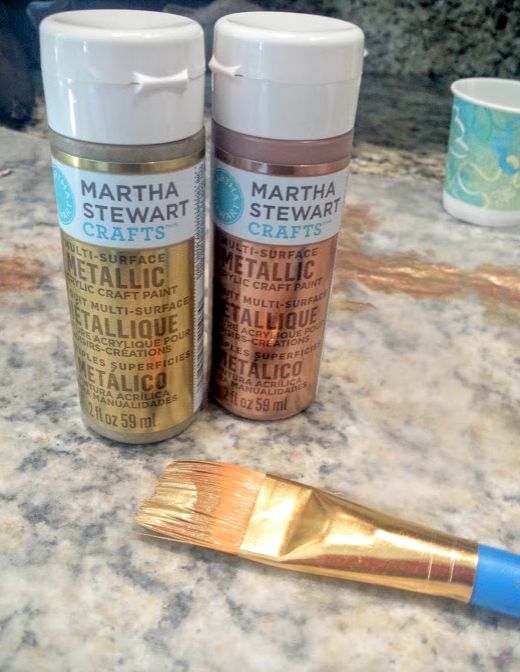
In the first stage of dry brushing I used gold metallic paint. Remember we are dry brushing and not "painting" it on. You want to follow the contours of the pumpkin from top to bottom of the pumpkin as you dry brush the paint on. The gold paint was followed by a mixture of gold and rose copper metallic paint, and finally I did some random "highlighting" with the rose copper by itself.
Since the paint dries quickly you can move right onto the monogram. I painted the letter "E" with the gold metallic paint. I did this free handed with a small flat craft brush, but you could always use a stencil or a paint pen to make it easier.
For more information and tips on the project, please see my blog post.
Comments
Join the conversation
1 comment
-
Very pretty!


Frequently asked questions
Have a question about this project?