


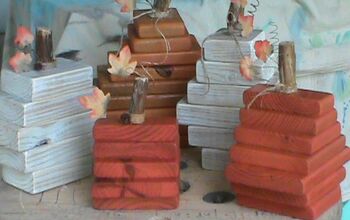
Easy Rustic Wood Pumpkin
$15
20 Minutes
Easy
I had some extra pieces of wood laying around and want to start transitioning to fall decor. This is that perfect piece to help make that transition and was so easy to make. I’ll give you all of the steps and a sped up tutorial so you can make your own.
Supplies
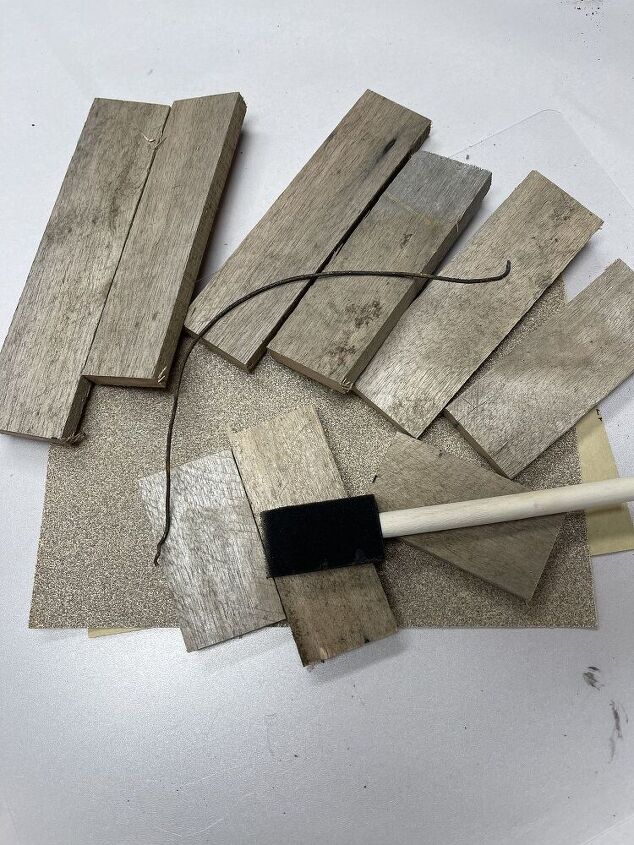
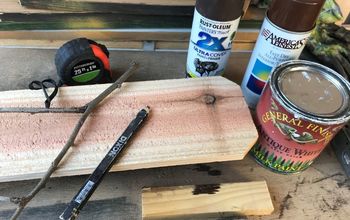
- Wood Supply Kit
- orange paint/paint brush
- wood glue/hot glue
- ribbon, raffia, etc.
- staple gun
That’s it. That is all you need. I wasn’t lying when I said it was easy. So, here is the individual steps and tutorial.
- Start by sanding your wood pieces. This just helps get some of the splintered pieces off for a more smooth painting.
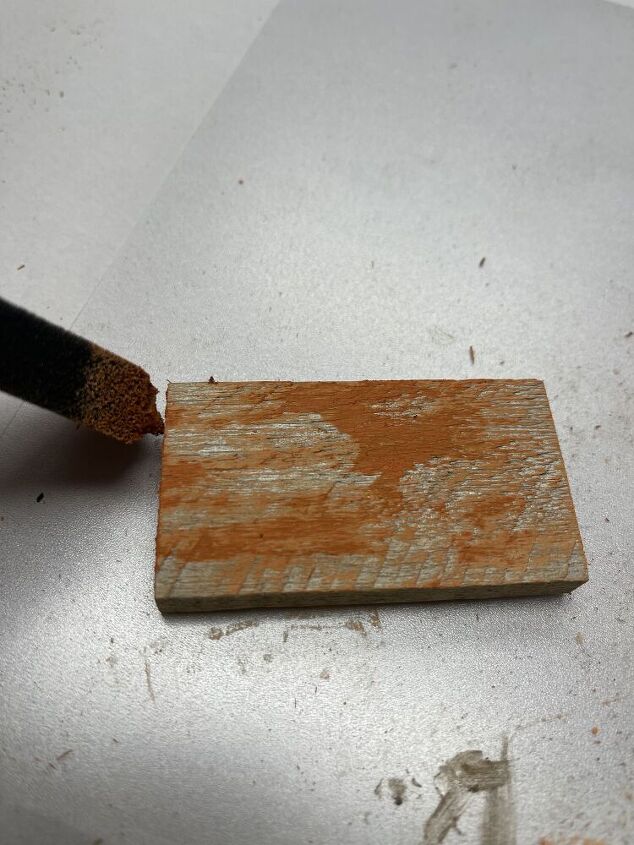
- Then you will paint your wood pieces. You don’t have to paint the bottoms. Just the tops will do since you won’t see the bottom. I opted to do more of a dry brush technique by off loading some of the paint and not have a full coverage. This is completely up to you. You can cover it to your liking,
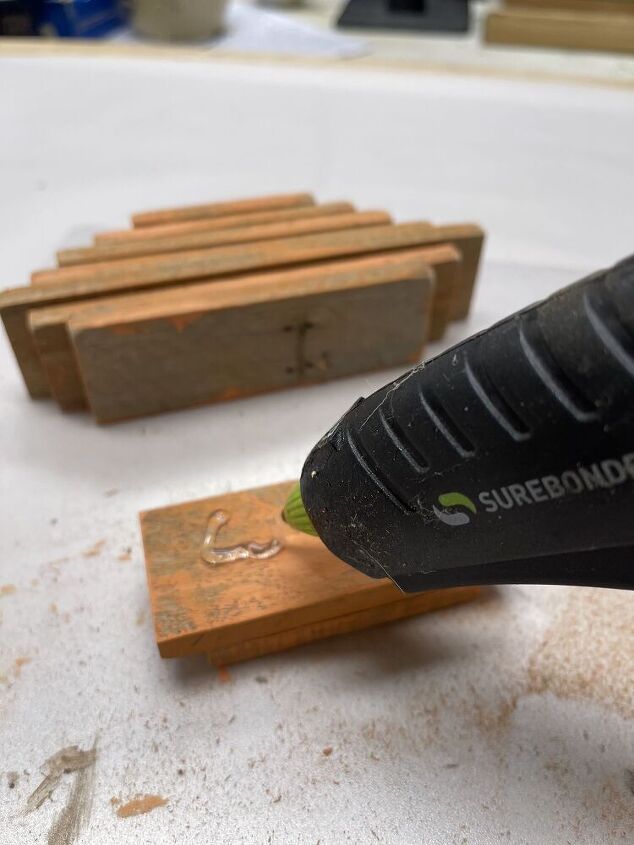
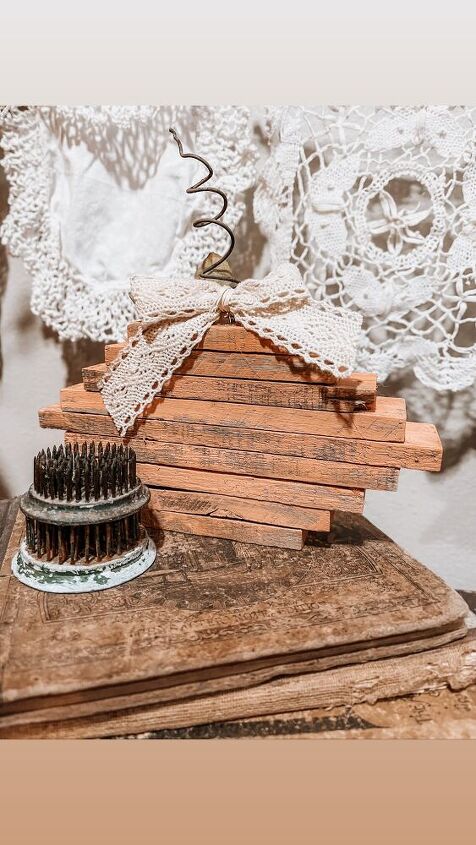
- After the paint dries, you will start with the smallest wood piece working your way to the largest piece and gluing each piece. You will also want to center each piece the best you can. Once you are to the longest piece, you will work your way back down to the smallest piece on top.
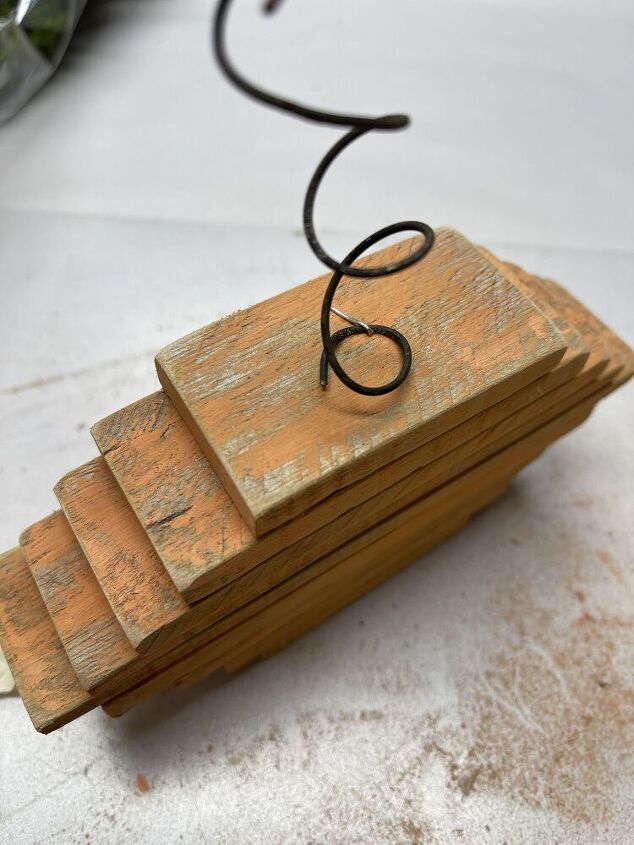
- I twirled the rustic wire around my finger, not too tight, to get a “corkscrew” effect.
- I used my staple gun to attach the wire to the top of the pumpkin. This just ensures a good hold.
- Top it off with your ribbon, raffia, etc of choice and TA-DA!
If you loved this, you should check out my vintage jello mold pumpkin

Want more details about this and other DIY projects? Check out my blog post!
Comments
Join the conversation
1 comment
-
That's cute with the bow! They look like mine I did a few years ago
 .
.


Frequently asked questions
Have a question about this project?