


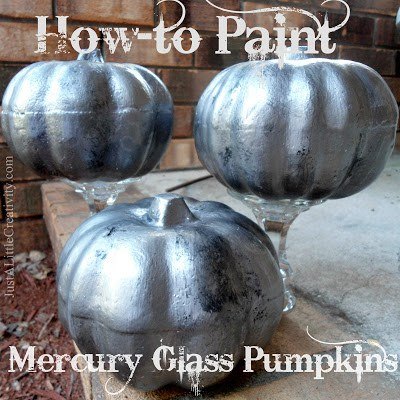
Faux Mercury Glass Pumpkins
4 Materials
Fall is just around the corner so now is the time to get your decorations started. This easy technique uses plain orange craft pumpkins from the dollar store, and turns them into high end looking piece for your Fall designs.
The faux mercury glass look is all about adding depth in color to these pumpkins. Mercury glass tends to have a worn, mirrored look, so here's how you create this look on an inexpensive piece.
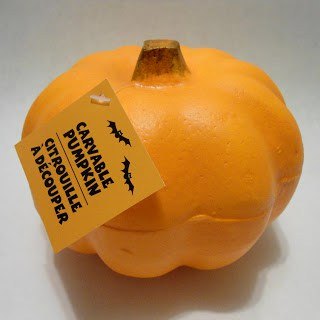
Begin with craft pumpkins in any size. If yours have a ridge or seem in the middle like this one, you can sand it down to make the pumpkin more smooth. I didn't do that to these, and now I wish I had.
To make your pumpkins silver, you can either spray paint them (which is easiest) or brush on a silver gilding paint. Both look equally as nice and shiny.
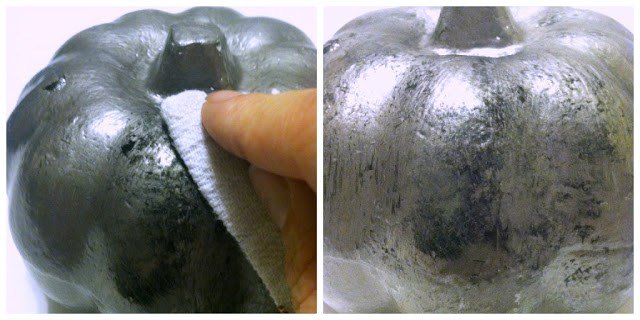
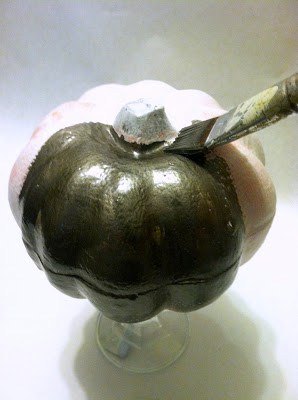
Because you don't want the shine all over for the mercury glass look, you're now going to dab black craft paint onto the pumpkin haphazardly. Do a few small areas at a time. Dab, and wipe off the excess. Get the paint in the cracks and on the curves of the pumpkin for added depth in color.
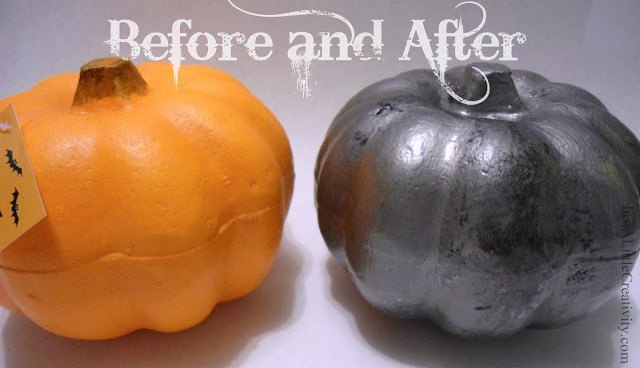
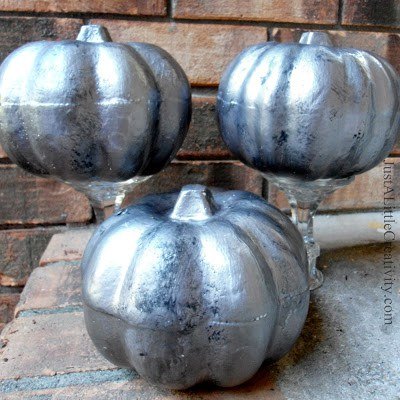
The end results are really great, as you can see in this before & after. You'd never guess these pumpkins began as they did.
You can display them on a porch, or indoors. If you choose to display them outside, make sure you keep them away from rain.

Want more details about this and other DIY projects? Check out my blog post!
Comments
Join the conversation
2 comments
-
Glam!
-
Wow! These are so beautiful!!


Frequently asked questions
Have a question about this project?